Hello, Ai Fans!
Welcome to another Watercolor Roundup!
Our fantastic design team has brought some beautiful and unique creations to share with you.
Welcome back Ai Watercolor Fans! Here is my project for this weekend.
I started off by inking the umbrella from the WC Beach Girls set with 969. I left off the end of the umbrella so I could paint in a rounded handle. In order to make the bouquet fuller, I wiped off the back of the umbrella. I also wiped off the top of the umbrella so it wouldn't show through the grass making the grass appear thicker. Next, I added some water to the lines to create depth. I added a little 969 to my palette and painted in the handle.
I added some 636 to my palette and painted in the umbrella, being sure to lay down the color where I wanted it darkest and blending it out towards the top. It is very important, as Bonnie and Kendra remind us, leave white space near the tops to your image isn't flat.
I knew I wanted to have the flowers spilling out onto the ground, so I drew in a pencil line from just below the right side of the umbrella about 2 inches long. By doing this it kept my flowers from going too low.
I started off by stamping in the small vine from the WC Foliage Set 4 in 177 around the bottom (or top depending how you look at it) of the umbrella. I softened them with water.
Next I inked the small hearts from WC Mini Flower Set in 925 and stamped it several times in a circle in 3 different areas. Next I took the small dots from the same set and inked it with 725 and stamped it several times in a circle in 3 different areas. I softened the blooms with water.
Using my vine again, I filled in the bouquet with more leaves to create a fuller bouquet. I softened the lines. I added the small grasses along the ground making sure to stamp up to 5 times in a straight line. I pulled the color out of the lines using a brush stroke (up and out). I painted in some ground using 969 from my palette.
I added some of the decorate twigs (not sure what to call them) inked in 526 (cuz I love this color) and stamped it several times to create some height and interest. You don't need to add water to these unless you want to (I do because I think it looks more watercolory (is that a word?).
I used my stamp positioner to position the bird on the handle. I inked one of the birds from the WC Large Birdhouse set in 969. I stamped it off so it was not so dark. I added 856 to my palette and built the color up slowly until I was happy with it. It is imperative to leave white highlights. I used my black twin tone marker to draw in his black eye.
Lastly, I used some 526 and a lot of water to create the sky. I tend to go overboard with my sky but I am ok with it. I signed and dated. That's it! Thanks so much for joining us this weekend and I hope you were inspired by all of the beautiful projects! Have a crafty day.

Dot Freel - Instagram - Blog - Pinterest
Hello,
Summertime always has me pining for the beach so I made this beach card for the Art Impressions Watercolor Weekend.
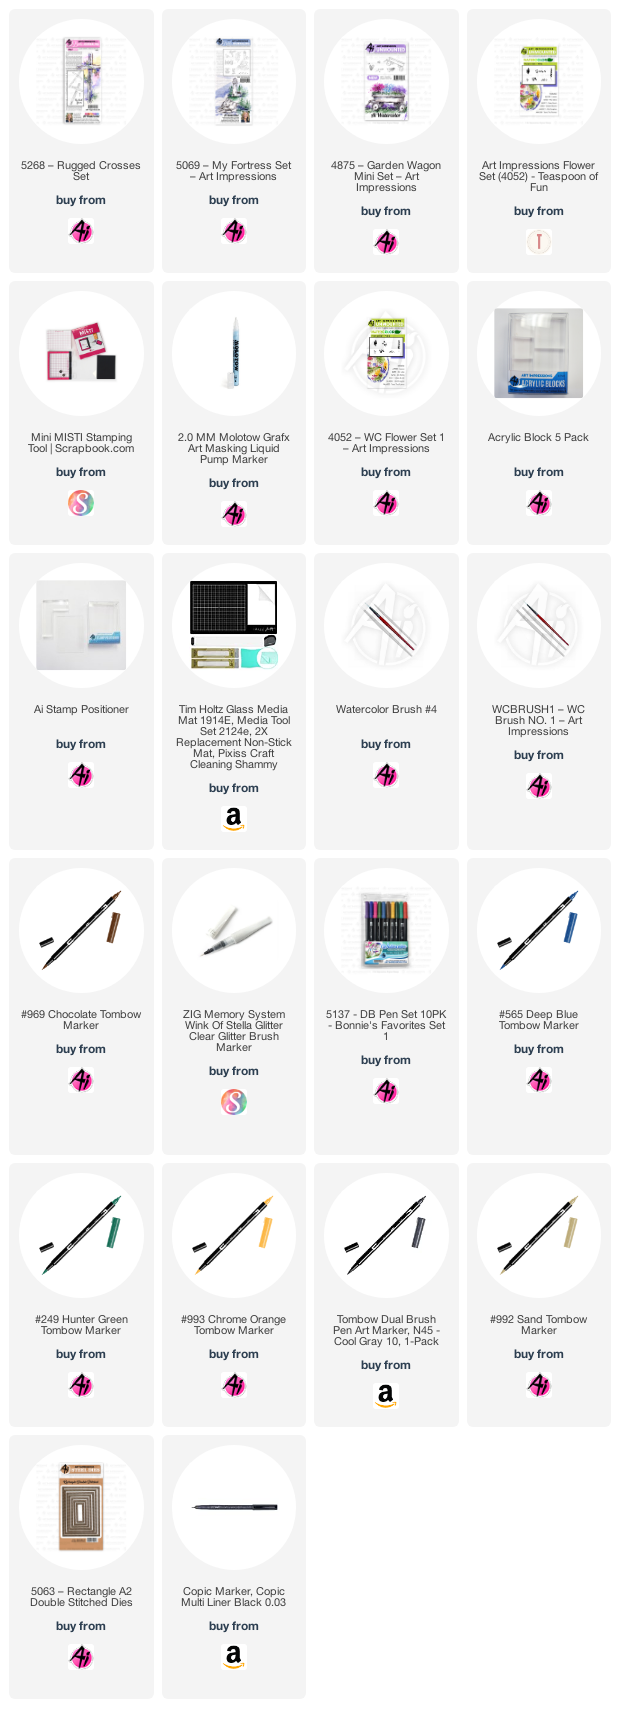
I watched Georgia Sommers tutorial on YouTube that taught me several things that I implemented in this card. My favorite technique was how to use Molotow to mask off the white parts of the waves.
I used the same color for the water that she used - Tombow 249 and I used the dot flowers from the 4052 - WC Flower Set to make the sand pebbles. I also used a Wink of Stella glitter pen-like Georgia did to blend the lines of the water. If you haven't watched Georgia's tutorial yet, click here to see it. I also created a tutorial on YouTube for this card that I made and you can watch it by clicking on this link.
I hope you like it and try it!
I haven't made a wreath in a while with my watercolour stamps, and after seeing inspiration on Pinterest, I decided to try something a little different from my usual style.
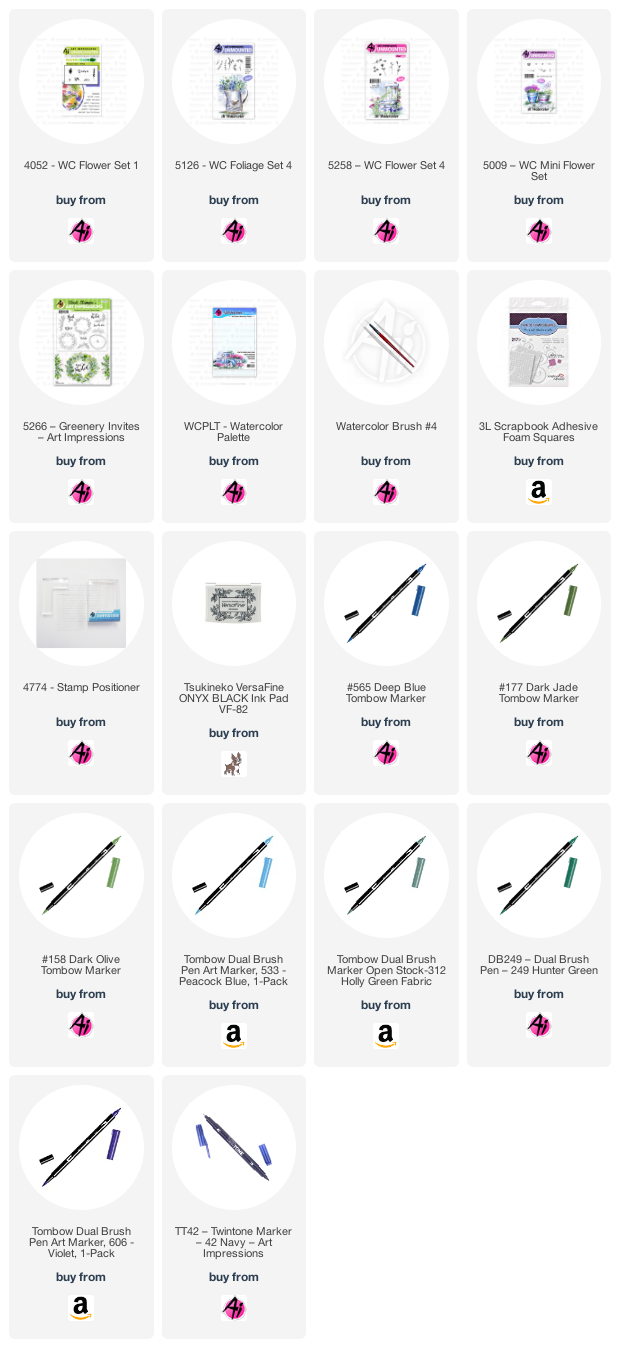
I used the triple rose cluster from 5258 WC Flower Set 4 and my #533 Peacock Blue marker to create the flowers, sometimes colouring only one or two of them. I placed several more flowers sporadically around the wreath. After dabbing them with my damp #4 paintbrush, the flowers needed to be darker, so I used my #565 Deep Blue picked up off my palette, to deepen their centers.
With the larger vines from 5126 WC Foliage Set 4, I stamped in the greenery around my cluster using #373 Sea Blue - but the colour was too harsh, so I went over it with #249 Hunter Green, which was a better choice. With the tiny Foxglove stamp from 4052 Flower Set 1 and my #606 Violet marker, I stamped it 3 or 4 times moving the stamp out slightly each time, to create trailing blooms coming out of my cluster. After touching them with my damp brush, I added another few dots off the end of the flowers to make them appear to be a pointed shape.
Finally, to create the strings of flowers coming off the bottom of the wreath, I used the image from 5009 - WC Mini Flower Set that has 3 heart-shaped flowers. Colouring just one of them with #565 Deep Blue, I carefully moved it straight downwards and stamped numerous times without reinking (If I had moved the stamp away to reink, I would never have gotten it back to the same spot to continue). I used my TT42 - Twintone Blue Marker - 42 Navy to draw in the stems, and to add dark centers to the roses. Anywhere there were spaces needing to be filled, I stamped in a little greenery, or used my markers right on the image to draw in a leaf.

Thank you, ladies, for your wonderful weekend additions to our blog!
Happy Stamping!


2 comments:
These are all just beautiful! Thanks for the inspiration.
Ladies these are beautiful! Just wow!! Beautiful inspiration. ❤
Post a Comment