

We are pleased to announce not one, but TWO brand new lines! Our three beautiful new Mini TryFolds include dies that cut openings to reveal the images underneath! In two intricate designs, Clasp Keepers are the perfect accessory to keep TryFold cards closed. Watch the videos from our friends at Scrapbook Expo to see these new stamps and dies in action!
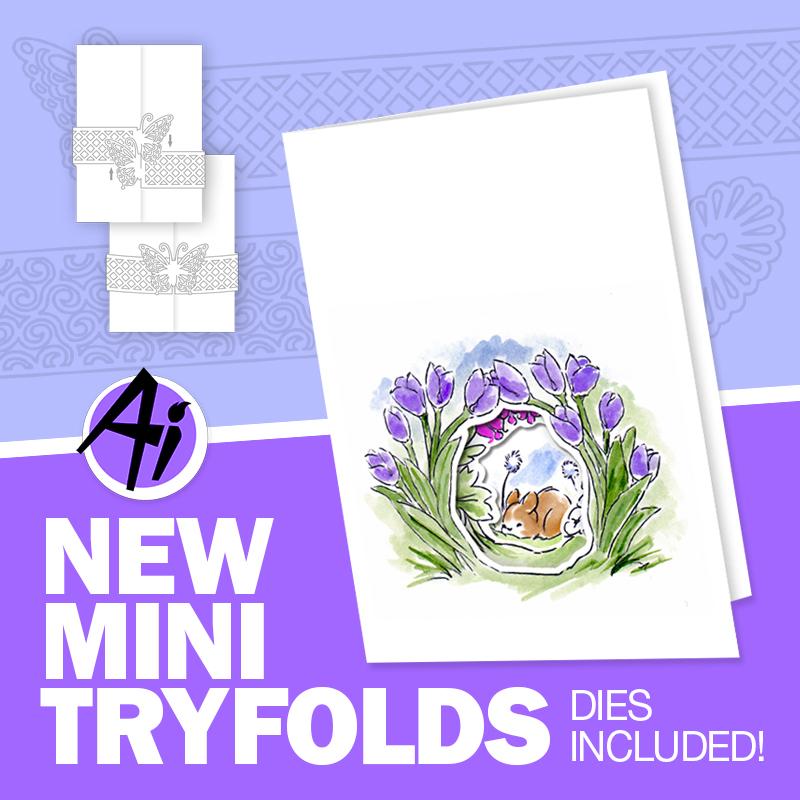      |
From our design team, Karen is here to give a fabulous tutorial to make a Mini TryFold card with a Clasp Keeper!
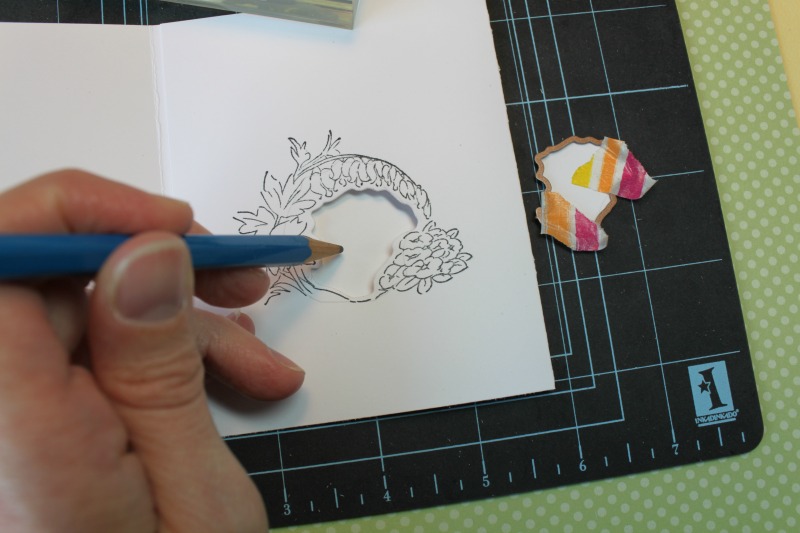
I'm so excited to share the new Ai Mini Try-folds with you today! These make the absolute prettiest cards that you can imagine. I have all kinds of photos to share, with step by step instructions, so grab your coffee, and scroll down a ways to see how easy these are to create.


Thank you, Karen! What a beautiful card and great instructions! We're launching a new challenge, and we hope Karen's tutorial has inspired you to create a card with layers! We're looking for cards with 5+ layers (Karen's card includes the lovely Clasp Keeper wrapped around the tri-folded card). Let's see what you got!

✻ The Ai Challenge is open to everyone, international submissions are welcome!
✻ Include a link back to the Ai Blog or grab our button on the top right of our sidebar!
✻ Share the Ai love by clicking and commenting your fellow crafters.
✻ Make sure to get your link up by Wednesday, June 8 at 5:00 p.m. PST to enter your creations.
✻ Good luck and happy stamping!
Let's not forget the winners of our last challenge, "Laughing WITH You!"
Top Spot goes to...
Dotty Jo!

Congrats, Dotty! We loved the lovely coloring and funny addition of the cupcake Yoga Yolanda is dreaming of! Email annelise@artimpressions.com with your address to claim your prize pack!
Honorable Mentions go to...
Terri Thill!


Amy Marshall!

Congrats, you two! We're loving the hilarious sentiments you've used! Terri, our Fire Out Set is perfectly matched with Light a Room for a funny birthday card! And Amy, we love the coloring on the Laughing Set! Email annelise@artimpressions.com with your address and the stamp set of your choice as a prize!
We had some wonderful entrants this challenge! Please join our next challenge for a chance to win Art Impressions stamps!

Here are the challenge rules …
✻ Please make a new card or creation. You can make any crafty item you wish; this is not limited to cards!
✻ Limit two submissions per person. You will receive extra votes if you use Art Impressions stamps!✻ The Ai Challenge is open to everyone, international submissions are welcome!
✻ Include a link back to the Ai Blog or grab our button on the top right of our sidebar!
✻ Share the Ai love by clicking and commenting your fellow crafters.
✻ Make sure to get your link up by Wednesday, June 8 at 5:00 p.m. PST to enter your creations.
✻ Good luck and happy stamping!
Let's not forget the winners of our last challenge, "Laughing WITH You!"
Top Spot goes to...
Dotty Jo!
Congrats, Dotty! We loved the lovely coloring and funny addition of the cupcake Yoga Yolanda is dreaming of! Email annelise@artimpressions.com with your address to claim your prize pack!
Honorable Mentions go to...
Terri Thill!


Amy Marshall!

Congrats, you two! We're loving the hilarious sentiments you've used! Terri, our Fire Out Set is perfectly matched with Light a Room for a funny birthday card! And Amy, we love the coloring on the Laughing Set! Email annelise@artimpressions.com with your address and the stamp set of your choice as a prize!
We had some wonderful entrants this challenge! Please join our next challenge for a chance to win Art Impressions stamps!
11 comments:
Lol greats cards!! Congrats winners!!
Beautiful! I haven't made one of these yet so I appreciate the tips for sure!
Awesome tutorial! You always explain it so well! Your card is adorable and I love the added ink on the edges of the butterfly clasp!
Lovely tri-fold card, Karen. Congrats to this week's winners! Looking forward to playing along this week.
Such a sweet card!!! thanks for sharing.
Paper Hugs,
Jan
Thank you so much. :)
Congrats to the winners!!! Karen, awesome tutorial and a stunning card! Love! <3
Oh my goodness, thank you soooo much! Jo x
Congrats to all the winners!! Beautiful card, Karen! Love the pretty colors!!
Congrats to winners
Beautiful card Karen, it looks quite easy as you explained it so well. They are really adorable these stamp sets!
Post a Comment