

Hello, Ai Fans!
Welcome to another Watercolor Roundup!
Our fantastic design team has brought some cards that they have created for our partnership with Scrapbook.com's Cards for Kindness.
Welcome to another Watercolor Weekend Roundup. Can you believe it is already August?
This weekend I decided to take a painting I did a while ago and make it into a card. I think I posted this sleeping fawn on Instagram. This is one of those simple but satisfying projects that doesn’t take a long time.
I love that I can pretty much put any sentiment on it and it works.
For this one, I decided to go with “Thinking Of You”.

The Painting
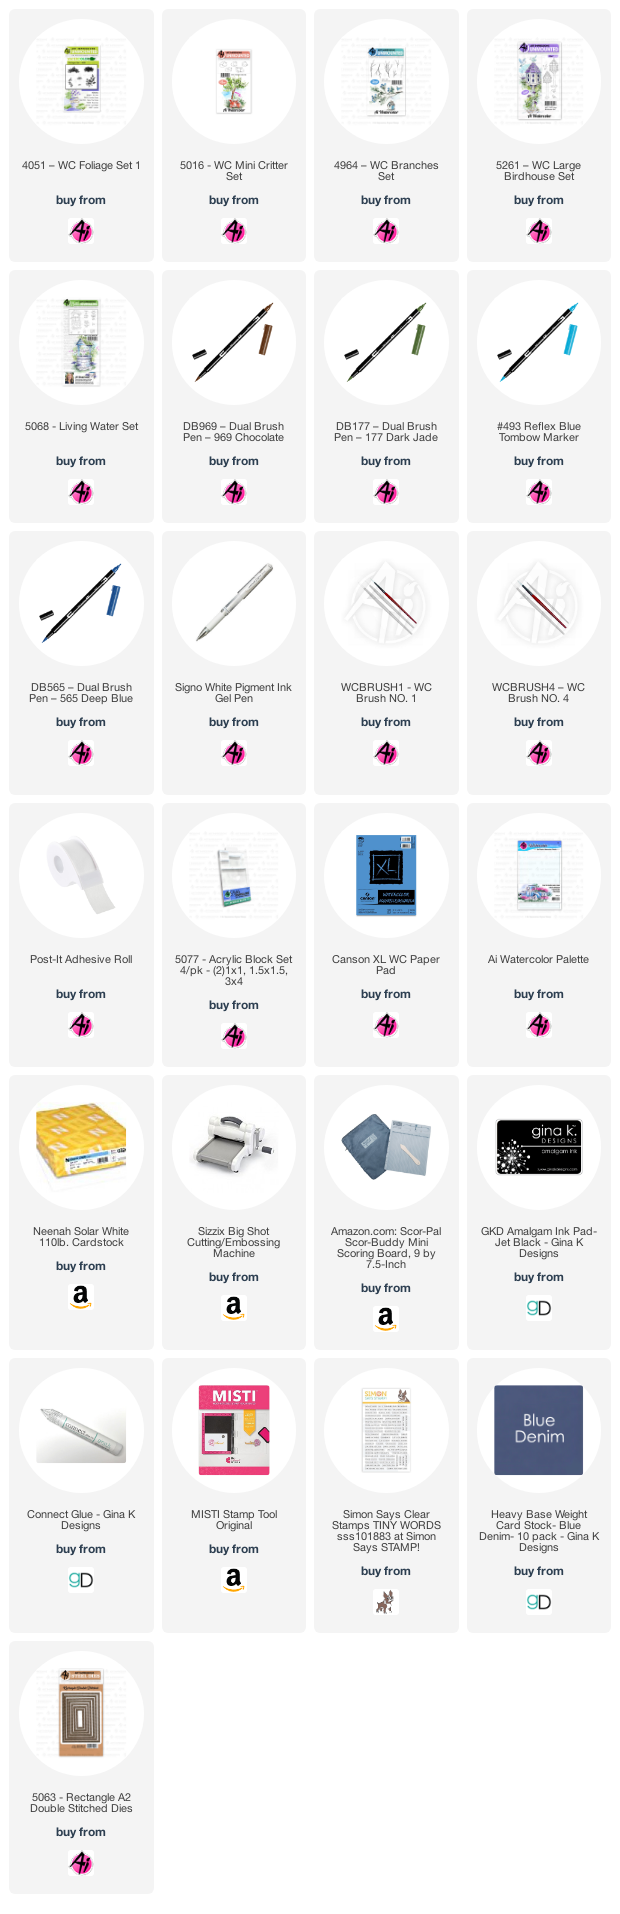
First, I inked the fawn from the Mini Critter set with brown and pulled the color out of the lines. I added some brown to my palette and added some additional color in layers until I was happy with the shadows. Once it dried, I added the spots with a white gel pen. I stamped it again on some post it tape and cut a mask out so I could stamp my tree behind it.
I inked the large branch from the Branches set with brown and stamped it behind the fawn. I added some additional brown from my palette and painted in a larger trunk onto the branch to create a tree. Next, I inked up the vine from the Original Foliage set with green and stamped it around the branches making sure to stamp it several times to get variations. I added water and softened the leaves.
Next I inked up the bird from the Living Water Bible Journaling set with brown. I stamped it off to make sure it was light (because he is so small). I used my #1 brush and pulled some of the color out of the lines. I added some blue from my palette and added it to the bird. Make sure that you start where the color is going to be the darkest and soften it out from there. I added layers of blue to darken the shadows. I used my fine tip of my brown marker to darken the eye.
To ground the fawn and tree, I added the small grass from the Original Foliage set inked with green. I pulled the grass up and out along with a small amount underneath. Lastly, I added some blue from my palette to create a sky. Make sure you remember to sign and date your work.
The Card
I used my MISTI to line up and stamp my sentiment in the top left corner of the card using Gina K Amalgam ink. Next, I placed it in my Big Shot and ran it through using one of the smaller rectangle stitched dies. I cut a piece of Gina K Designs Blue Denim card stock cut to 4 x 5.25. I added this panel to a white card base.
Thank you so much for stopping by today and I hope you will try out something new this weekend. Please make sure to tag us so we can see your work.

Dot Freel - Instagram - Blog - Pinterest- YouTube
Hello,
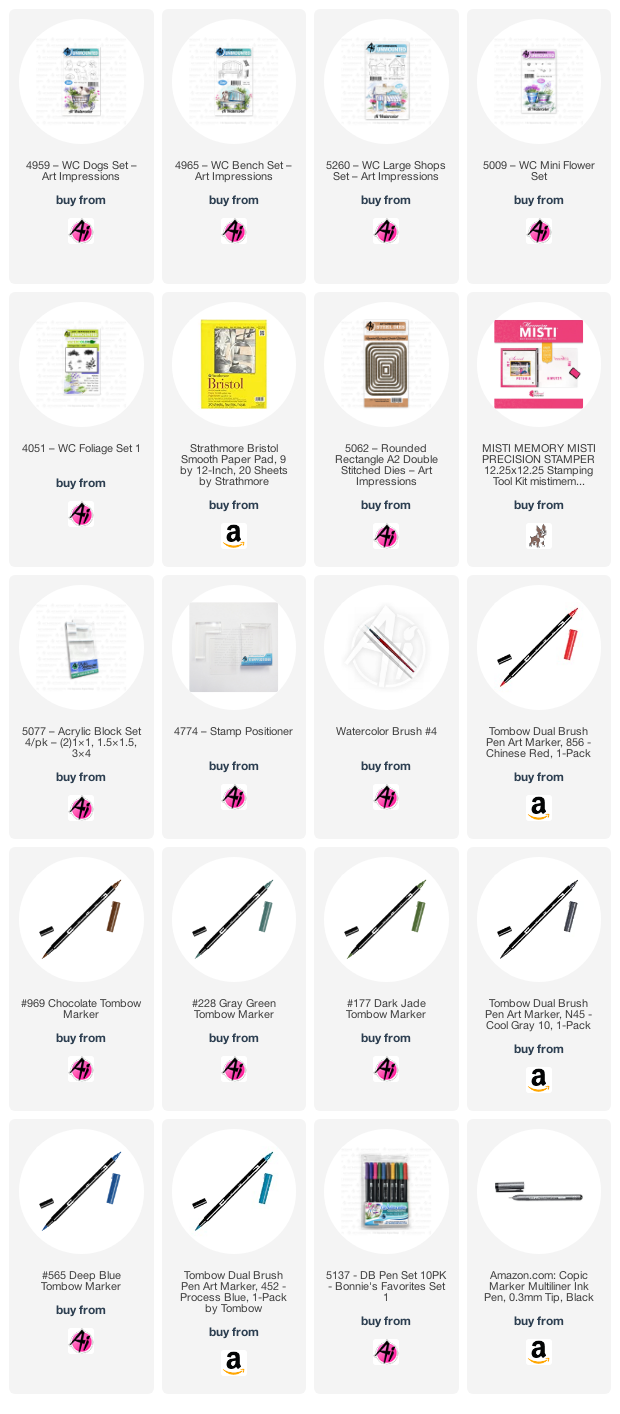
I have created a Pet Shop card for the Art Impressions Watercolor Weekend.
I have created a Pet Shop card for the Art Impressions Watercolor Weekend.

I made a YouTube tutorial on how to make this card so click here to check it out. If you make this, wouldn't it be cute to put a cat up there beside the dog and or a bird on the top of the bench?
I hope that you enjoy this project, and thank you for joining me!

Hello Ai Watercolor fans!

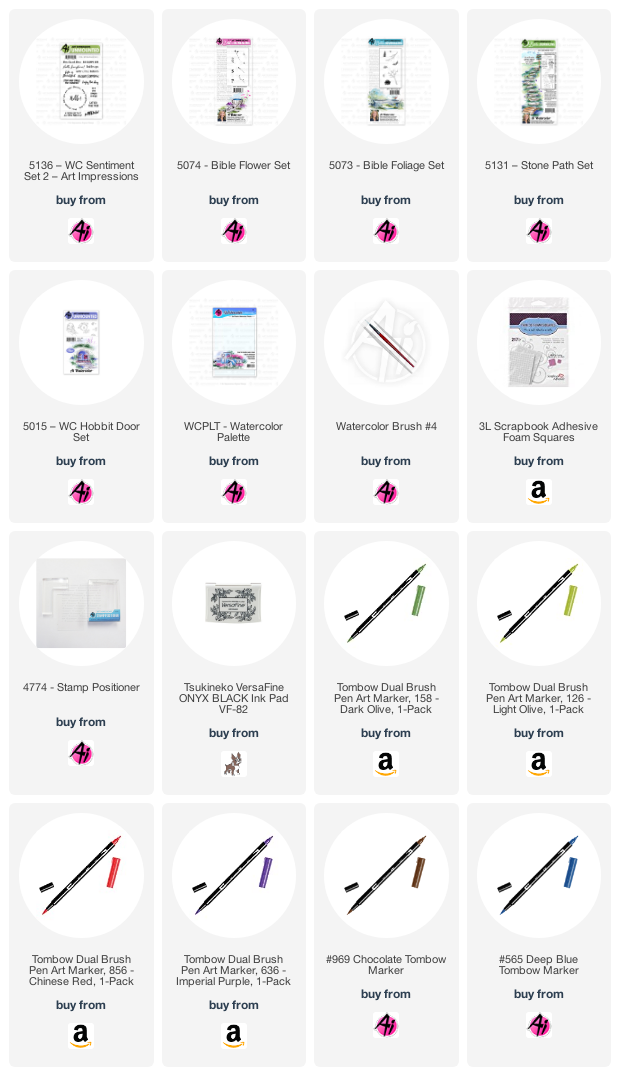
With a damp #4 paintbrush, I pulled out the grey/brown colour from the images, concentrating the colour in the shadowy areas of the stones and doorway. After scribbling #126 Light Olive onto my palette, I painted the light green as a wash of colour to suggest the grass and a hillside over the door.
Using the small grass from 5073 - Bible Foliage Set, coloured with #158 Dark Olive, I stamped the grass repeatedly in and around the stones, around the door, and across the top to define the hill. Some extra greenery was added around the door, and I concentrated the darker green here to frame the doorway. #565 was used to paint in the door, layering it near the top where the shadows are, and also on the mailbox.

The sky was painted in with #493 Reflex Blue. After softening everything with my damp brush, I added touches of #565 to add greater shadows to the stones. The sentiment is from 5136 - WC Sentiment Set 2. I adhered my panel to my blue base with 3D foam adhesive to finish it off.


Thank you, ladies, for your wonderful weekend additions to our blog!
Happy Stamping!
No comments:
Post a Comment