

Welcome Watercolor Fans to another Watercolor Weekend Roundup! We are so excited to showcase the new Watercolor Line of stamps and dies. I love this new release and I know you will too! My Bird in a Cage painting was so much fun to create.

The Painting
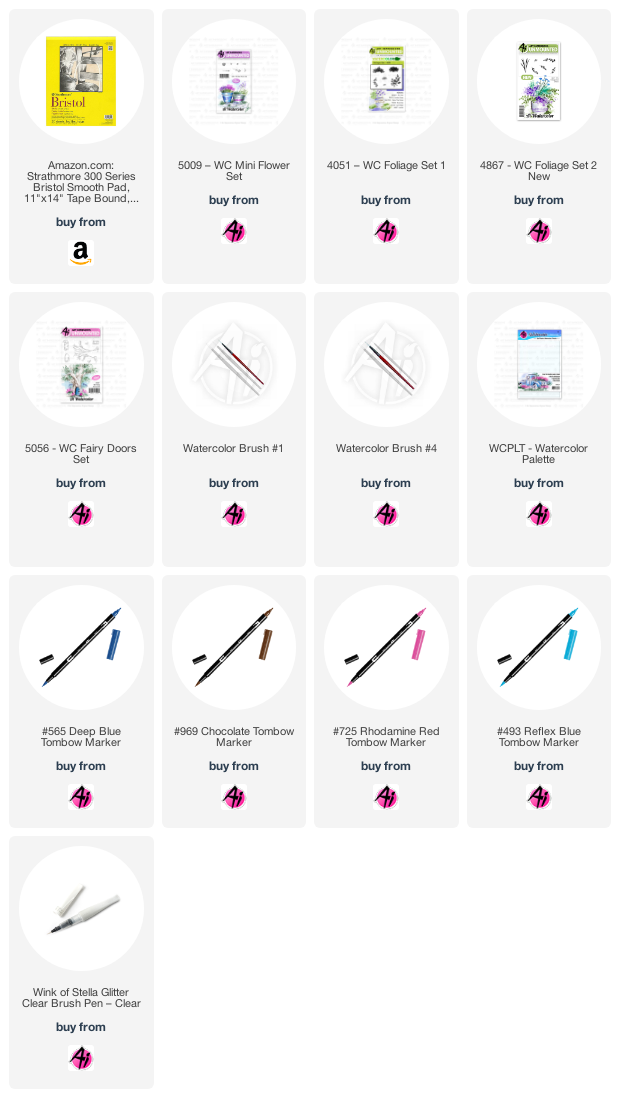
First, I inked my bird with brown and stamped it off a couple of times and stamped it onto my watercolor paper. I cut the bird cage out of a separate piece of watercolor paper. Keeping the bird cage cutout together, I added some yellow and brown to it from my palette. Once that was dry, I added some wink of stella for some bling. Next, I marked with a pencil where the bird cage would be so I could add my bird and flowers inside the cage. I cut the middle bar from the cage to show the bird.
I inked the small vines (left & right) in green and stamped them on either side of the bird. Next, I inked the middle flower in the three flower bunch from the mini flowers set with purple and stamped it several times on each side of the bird. I added water to the blooms and foliage.
I added some brown below the bird’s feet and some blue to the sky. To color the bird, I used two different blues and a dark blue. I used my #1 paint brush to add color to the bird. Once that was dry, I glued the bird cage over the painting, positioning the bird within the cut bars. As an afterthought, I added another bird to the top of the cage using the same colors on my palette.
I drew in a string at the top, signed and dated my piece.
The Card
I put the painting in my big shot and ran it through with a circle stitched die. I also cut a mat from a piece of watercolor paper that I created with some watercolor paints. I glued them together using my Connect Glue from Gina K Designs.
Using the new snowflake dies, I put the entire die (snowflakes not cut apart) and die cut from a piece of Neenah Solar White 80lb card stock. I glued them to my Neenah Solar White 110lb card base. (I only put them around where they would show. I added some wink of stella to each snowflake. I attached the painting to my card base using some 3M dimensional tape.
That’s the whole card! This one is so quick and easy, I really hope you will try this technique, I know you will enjoy it! Make sure you tag us on Instagram and use #AIWatercolor so we can all admire your work.
Check out the inspirational projects from my fellow team members, I know you will love what they have done, as always.


Hello,
Have you seen the new stamps and dies sets from Art Impressions? I want/need them all! This rocking chair is so fun and easy to stamp and color up using a mask.

Wouldn't a sentiment of "Hey, Foxy" be cute on it? I need to order the 5284 - Small Alphabet set. I made a tutorial on YouTube for this card:

Hello Ai fans!
I've painted another slimline card this week, this time done horizontally, with an ethereal feel:

I am all about bright colours, so to paint something light and pastel toned, was a real change for me! I began with the tree image from 5056 - WC Fairy Doors Set, coloured in Tombow #969 Chocolate before stamping it twice onto my Bristol Smooth Cardstock. I used two of the doors from the stamp set, to add a fairy door to each one. I sketched in the rest of my scene with a pencil. With a damp #1 paintbrush, I pulled out the colour from the lines of the trees, leaving a few light, highlight areas, and concentrating the colour in the shaded areas. I used the greenery image from 4867 - WC Foliage Set 2 and #126 Light Olive to add in the leaves, and after going over them with a damp brush to soften them, I went in a second time to add more leaves with some definition.

I thought a rainbow/sunset sky would work well, so using a lot of water as a wash - the sky was faded from # 565 Deep Blue, down to #725 Rhodamine Red, and finally #991 Light Ochre. The mountains were painted in shades of #565, keeping the closer hills a bit darker, and the farther hills a little paler. The hillside was done in a wash of #126, and the stream and lake are in #493 Reflex Blue - where I kept the colour a little stronger at the edges. I used #126 on the tiny grass image from 4051 - WC Foliage Set 1, which I stamped around the tree roots, and I added flowers with the tiny dot image from 5009 - WC Mini Flower Set using #725 and #623 Purple Sage. The doors were painted in #493 Reflex Blue and #761 Carnation with #623 on the overhang. The doors each have a couple of stones in front of them, so I used my paintbrush to add in several more, to create more of a pathway. To finish my scene off, I picked up #565 from my palette, and added shadows to the tree limbs, around the doors and to the stones.

I die cut my panel with a pierced edge slimline die, and mounted it with 3D foam tape to my green cardstock base. I also added Wink of Stella to highlight the greenery and water, so it's got a lovely shimmer across it!

No comments:
Post a Comment