Showing posts with label 5065 Oval Double Stitched Dies. Show all posts

Thursday, August 7, 2025

Gnome Frame by Dori Mendiola

Happy Thursday AI Friends!

Today I have a cute little frame that fits right in with the current blog challenge called "Stitches and Scallops".  I love this little #5902 - Mini Scallop Frame set.  It makes the cutest little display card for a desk, mantel, shelf or anywhere for that matter.  This one with the gnomes brings a smile to my face.
        

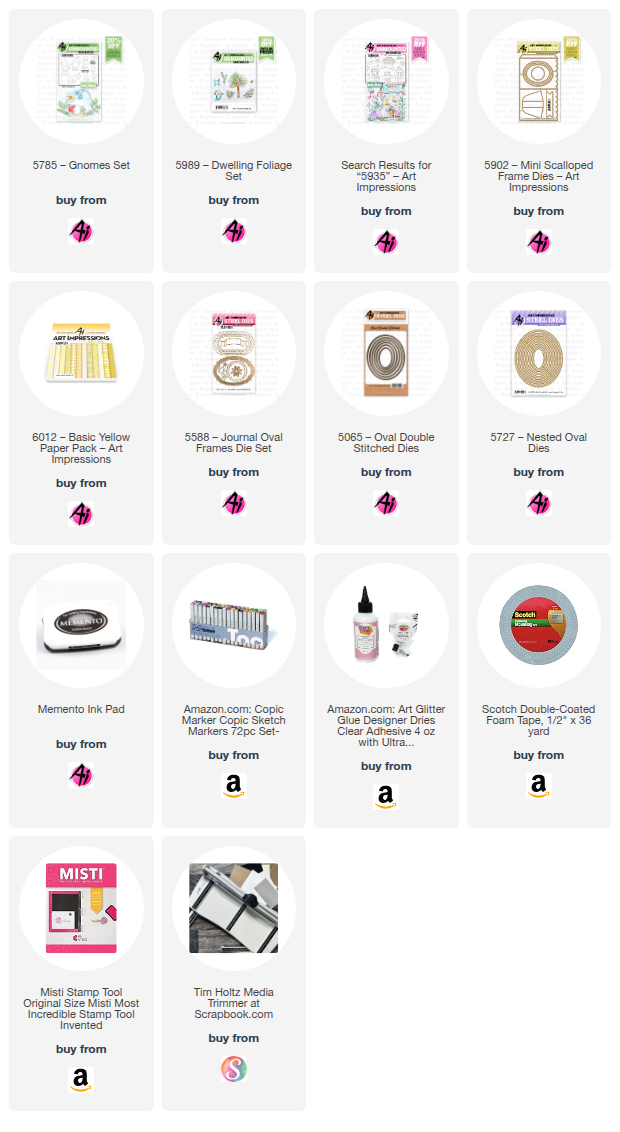
I began by stamping the images onto copic friendly paper with Memento black ink and coloring with my copic markers listed below.  The gnomes (5785 - Gnomes set) and the bees (5935 - Fairytale Houses) were cut using their corresponding dies that are included in these sets.  
The scene was stamped onto a 3 x 2 1/2" piece of copic friendly paper.  The tree stump is from the 2025 freebies part 1 - #5999 - Exclusive Stump House (still available, just request in the note section on your order).  If you don't have that freebie, you can use the stump from the KH5951 - Foxes set and draw in the door and window.  I colored, free hand, the walkway and the grass.  Don't look too close because they are pretty rough.  😞  The leaves were stamped with Memento black ink using the 5989 - Dwelling Foliage set and colored with my copic markers.

I die cut the frame from a piece of striped paper from the 6012 - Basic Yellow PP using the #5902 - Mini Scallop Frame die.  I also die cut the oval opening using the #5727 Nested Oval die.  I then die cut a stitched oval frame to place on the outside of the oval opening using the #5065 - Oval Double Stitch die with a slightly larger nested oval from the #5727 - Nested Oval dies.

I popped the gnomes up on foam tape and adhered one to the top of the stump and the other to the outer side of the stitched oval frame.  I adhered one bee directly to the image and the other to the outer frame.  Lastly, I cut the sentiment banner from the #5588 - Journal Oval Frame set and stamped the sentiment from the #5785 Gnomes set onto the center of the banner.  

Oops, almost forgot the easel.  Make sure to die cut one from the #5902 - Mini Scallop Frame die and adhere to the backside of the scallop frame so that it stands nicely.


That's it for me today.  Hope you play along and enter the challenge "Stitches and Scallops" to win a free stamp set of your choice.  It's easy and so fun (especially if you win). 😁

Have a great weekend and keep creating but make sure to share because we love inspiration!

Copics used:  E01, E11, E21, E23, E25
W0, W1, W3, W5
Y15, Y17
B32, B34
G40, G43

Monday, August 4, 2025

Lying about your age? by Sharon Caudle

 Hello AI Fans!!

Ok, who is really honest about how old they are? I must admit, I am. LOL! I've earned every one of my gray hairs in my 68 years on this earth and I'm proud to say it.  I love Bonnie's funny stamps and sentiments and used a great one for my card I'm showing you today. It also happens to fit right into the new challenge Stitches and Scallops! I started with #5114 Never Too Old set from Art Impressions Laugh Lines. After stamping her with Memento Tuxedo Black ink, I colored her with Copic markers which I've listed for you below. At the end of this post, you will find a list of links to the products I used to create the card. It's kind of hard to see, but I swirled my Copic blending pen around on her dress to try and make it look like a brocade. I just thought she looks like she would wear a brocade dress. :) 


So that's it for me today. Thanks so much for stopping by for a visit and until next time - stay crafty!!
Copic markers used:
E000, 00, 11, 21, and 23
B00, 93, 95, 97, and 99
R02, 20, 81, 83, and 85
YG61 and 63
W3, 4, and 5


Thursday, July 24, 2025

Hedgehog Tuck Flap card by Dori Mendiola

 Happy Thursday AI Friends!

We have a new blog challenge currently going on called "Let Them Eat Cake".  Any card, project with cakes or cupcakes, etc.   I decided to make a cute little Hedgehog Tuck Flap card using the #5112 - Hedgehogs set with the cake from the #4980 - Birthday Circlet MTF and the presents from the #5491 - Front Porch Party set as accents. 

I stamped all of the images onto copic friendly paper with Memento black ink and colored with my copic markers listed below.  The hedgehog was stamped onto a 3.5 inch square.  The other images are cut using the dies, so can be stamped onto any size paper.  

I die cut the cake and balloons with the corresponding die (#4980 Birthday Circlet) and then fussy cut the portion that wasn't cut out with the die.  The presents (#5491 - Front Porch Party) were cut with the dies included in that set.  I mounted each of those onto a white circle die cut and then layered onto a blue circle die cut.  I cut two corner bookmarks using the new #6042 - Corner Bookmark dies.  I assembled the bookmarks and adhered the circle die cuts onto each of the fronts of the bookmarks. 
For the card base and fold, I cut a top folding A2 card size 4.25 by 8.25 inches and scored at 5.5 inches.  This will leave a 2.75 inch flap for the front.  Using the #6011 - Basic Teal PP, cut two pieces (front -
2.5 x 4 inch and the inside - 5.25 x 4) to be layered onto blue cardstock.  Place the corner bookmarks over the bottom edges of the inside layer and adhere this layer to the inside of the card base.  This will glue the bookmarks to the inside of the card and leave the back of the card white.  Mount the hedgehog image onto blue cardstock.  Place glue onto the backside of the top half only and adhere to the front flap of the card base.  Add the sentiment from the Hedgehog set and die cut with the #6046 - Scallop Oval dies with a blue layer cut from the #5065 - Nested Oval dies.

Create an easel with the #5902 - Mini Scallop Frame die and glue to the back of the card base.  Tuck the hedgehog image piece inside the bookmark edges and you have a Tuck Flap card that stands on display, thanks to the easel.

Hope you join us in this "Let Them Eat Cake" challenge for a chance to win a free stamp set of your choice.  We LOVE to see your creations!

Hope you have a wonderful weekend and keep creating!

Copics used:  E01, E02, E11, E21, E23, E25
R20, N0, N1, N2
B000, B00, B01, B02
Y13, Y15, Y17, Y21
YG21, YG23, YG25 

Saturday, January 11, 2025

See You At Noon With a Latte by Janet


Today I have a quintessential Ai Card with an attitude! It's their cute images and tongue-in-cheek sentiments that originally attracted me to the Art Impression line so many years ago. The slightly irreverent humor just gets me! The set I used for this card is called AiCS40 - Spring Chicken Set. There are three chicken images and several funny sentiments.

The card layout was inspired by a Pinterest sketch which is where I sometimes find ideas when something doesn't pop into my mind. I used several patterns of paper from the 5873 - Mini Birthday Paper Pack. There's a lot of purple hues in these patterns so I chose a dark purple cardstock to use as an accent and dark purple pearls and rhinestones to decorate it. I used 5065 - Oval Double Stitched Dies, 5727 - Oval Nested Dies. and 5724 - Nested Rectangle Dies to create most of the shapes used in the design. 

This image is perfect the way it is but I still decided to add some additional touches to it. I sketched lines in the feet and in the hat to give those items a little more dimension and texture. Otherwise, this was a quick image to color since the chicken is mostly white with shadows in gray that I colored in with markers. I used two colors of gray and a blender to soften them. After coloring, I fussy cut the chicken out and popped it up on foam pads. This chicken has an attitude that makes smile. I hope it puts one on your face too.

Thanks so much for joining me here at the blog today. As always, please visit the Ai store for the products I used and all the things you need for your card, journal, and tag making projects. Happy creating!

Janet YouTube - Blog - Facebook - Instagram - Pinterest

Thursday, September 19, 2024

Hydrated by Dori Mendiola

 Happy Thursday AI Friends!

Today I have a card that fits both the Monthly Challenge - "We Don't Use Enough Purple" and the Bi-Weekly Challenge - "Not Just Paper".

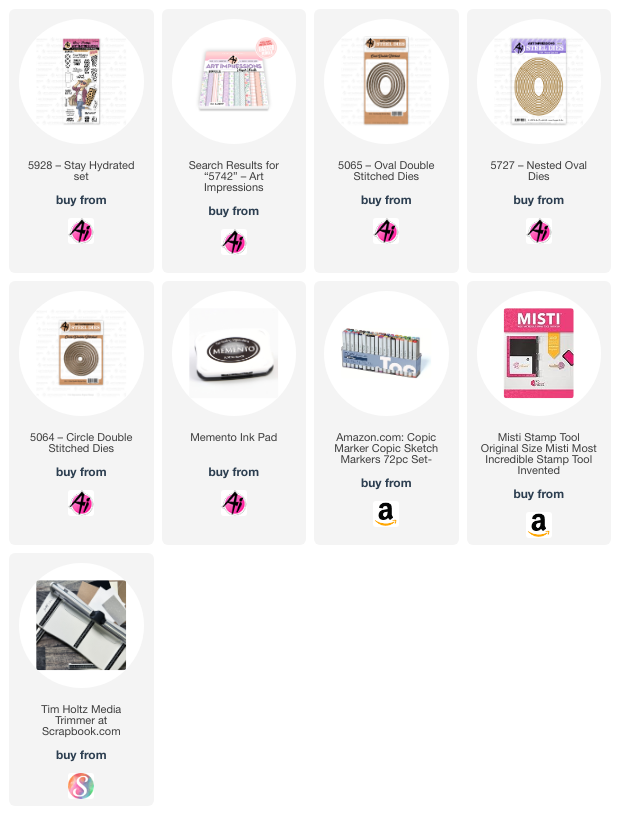
I used the cute #5928 Stay Hydrated stamp set, which includes the die for the girl as well as for the tumbler.   I stamped the images and sentiment on copic friendly paper and colored with my copic markers (colors listed below).  The stamp set includes several different patterns for the tumbler and several fun sentiments.  What a fun way to change it up!

I hope you enjoyed my card today and you decide to play along with either or both of the challenges currently going on.  Check out the tabs above for the rules to enter for a chance to win a free stamp set.  Who doesn't like to win a free stamp set?

Have a creative day!

Copics used:  E000, E01, E11, E21, E23, E25
R20, R22
YG41, YG45
RV63, RV66
Y32, Y35
V12, V15, V17
YR32


Saturday, August 24, 2024

Beach Babes Rule by Janet


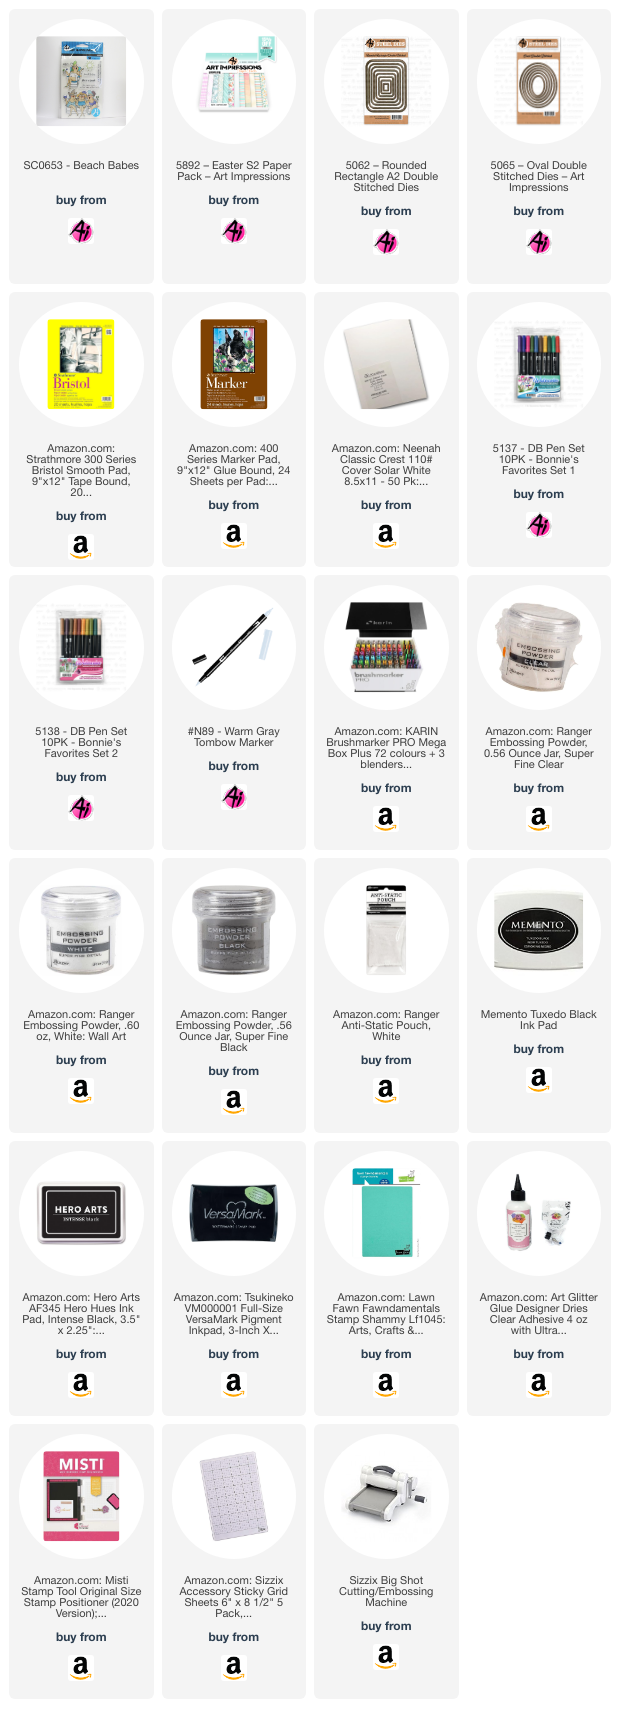
Greeting! Today I'm here with a summer card that I hope will give you grin. I do love Ai's people and the Girlfriend's line is always good for a laugh. This set is called Beach Babes SC0653. As a lady of a certain age, I can easily image myself in these girls although I don't particularly look like any of them. Rather, they reflect my attitude and way of looking at life and this set doesn't disappoint! After stamping it, I loosely drew and colored a sidewalk or cement deck for the chairs to rest on. It's pretty basic but it works for a cartoon style of card that this is.

I colored the three ladies and then used a die from the 5062 Rounded Rectangle A2 Double Stitched Dies to cut it out. I cut out an oval out of orange cardstock using 5065 Oval Double Stitched Dies. Then I cut another rounded rectangle out in blue cardstock. I cut a rectangle with my paper cutter out of 5892 Easter S2 PP. The pattern of loose stripes and colors reminds me of the beach. 

I made an A2 side-folding card out of Kraft cardstock. Next came the patterned paper, then the largest rounded rectangle and the oval on top of that. I adhered the ladies slightly high on the card front, leaving enough room for the sentiment. I added round pale blue and clear jewels to each corner to finish it off. I don't know about you, but it makes me want to grab a couple friends and visit a pool deck!

Thanks so much for joining me here today. Please visit the Ai store for the sets I used and all the things you need for your card, journal, and tag making projects. Have a great weekend!

Janet YouTube - Blog - Facebook - Instagram - Pinterest


Thursday, August 15, 2024

Keep Calm & Celebrate On! Challenge #385 Week #1

 Hello Ai fans!

Welcome to our newest challenge.

Keep Calm & Celebrate On!

We want to see your creations that celebrate something.
Birthdays, Anniversaries, new baby, new job, new car,
new home, retirement, holidays, graduation...
anything you would celebrate!

Before we see what our Featured Artist Janet created,
let's see who won our Never Have I Ever challenge.

For our Top Spot we selected 
She used the flowers, mushrooms and bees from 
and the houses from 5916 – Woodland Castle Set


Please contact Leah at Feedback@artimpressions.com
to claim a free stamp set of your choice!!
Also, be sure to grab our badge to display on your blog, Facebook or Instagram!

Our Lucky Random Winner was:


Please contact Leah at Feedback@artimpressions.com
to claim a free stamp set of your choice!
Also, be sure to grab our badge to display on your blog, Facebook or Instagram!

Congratulations!

Now we're on to our amazing feature from DT Member Janet.
I love this new boat so much and need to find time to use it!
Janet made such a cool, masculine card and she has a great picture
tutorial for her Gatefold Pop-Up Card so that you can try one of these yourself.
How fun!!

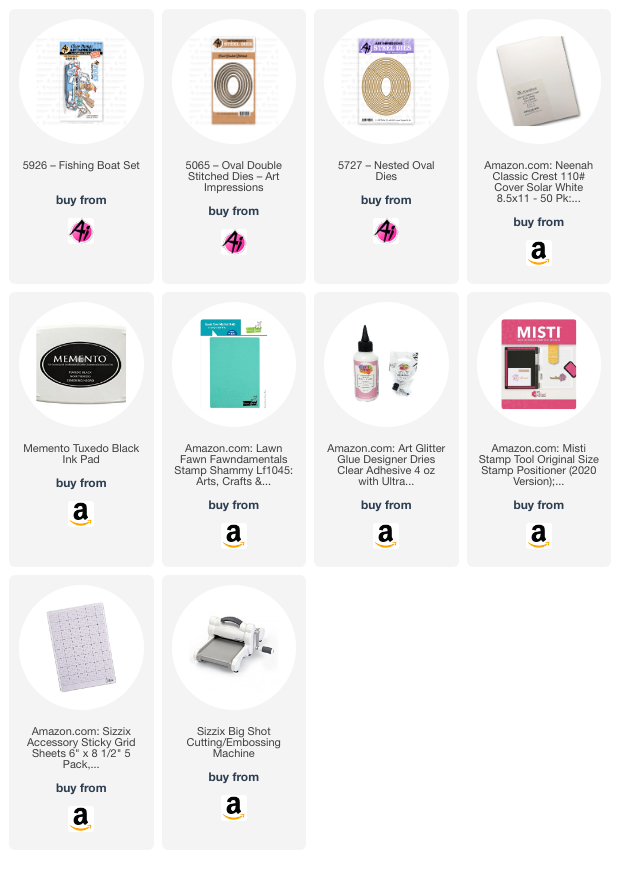
Hello everyone! I am excited to present my project for the newest challenge, Keep Calm & Celebrate On! The challenge is about all and any types of celebrations. Mine is a masculine birthday card. I'm a big fan of fancy folds and this is one I have not made before. It's called a Gatefold Pop-Up Card and it's so easy to make without having any special dies. The card features a gate-style front. I decorated the panels on both the outside and the inside. Also on the outside is a the focal image created with 5926 - Fishing Boat Set. This is a new set issued as part of the Ai Rides collection. It's so very perfect for the guys.

When the card is opened, the pop up feature is revealed. This is so simple but so effective! So let's get crafting!


To create this card, start by making the card base. Cut a piece of cardstock at 8 1/4" x 5 1/2". Score it at 2 1/8", 4 1/4", and 6 3/8".  Fold on the score lines to prepare it for decoration.

The second piece needed for the card base is the pop-up mechanism. This is a simple strip of cardstock sized at 1" x 5". Score each end 1/2" from edge then fold and fold on the lines. I chose to use vellum for this but cardstock works perfectly also. Set this piece aside for now.


Choose papers you would like to decorate your card with and cut 4 strips for the inside of the card. For this matted look, cut 4 pieces at 1 7/8" x 5 1/4". Glue them inside as shown.


Flip the card base over and apply two additional pieces of decorative paper. These are also 1 7/8" x 5 1/4". Only the sides need to be decorated since the center panels will be the back of the card.


I next created two nested ovals with dies from the 5065 - Oval Double Stitched Dies and 5727 - Nested Oval Dies. I combined wood and water patterned papers on the larger of the ovals at a horizontal orientation. This is for the front of the card. I used the wood paper on a second smaller nested oval at a vertical orientation. This will be used inside the card.   


Next comes the most fun part if you ask me! I stamped all the images in the Fishing Boat Set. I made a few doubles because I knew I would need two fishermen, fish buckets and anchors. You'll notice I didn't color the boots of one of the fisherman. I didn't need to do that because I would not need his lower half on the card front since he tucks into the boat window. I cut all the images out with the dies included in this set.


At this point, I arranged the fisherman in his boat with all the accessories. There are so many ways you could place the items in the boat. There are slits that make slipping these items in super easy. Once I had them where I liked best, I glued them to the boat. Then I glued it to the front of the card. Be sure to only adhere one side of the oval so that it will open.


Since this is a gate fold, it's best to hold it shut with a belly band or a tuck piece. A tuck piece is the best option for this one. I glued the boots and an anchor together and then I mounted it with a foam dot. The oval will tuck under this when shut and keep the card closed. In the photo I had placed it on the top of the oval but after I did that, I realized it would be better at the bottom of the oval so I moved it there instead. There's always options when you are card making! I also stamped the sentiment on the banner and glued that on one side as well.


In a similar manner, I arranged the fisherman and fish on the smaller oval. I also stamped it with one of the sentiments. Now it's time to bring back the pop-up mechanism. Apply glue to the folded ends and center it between the 1st and third fold. Then apply a strip of adhesive as shown and apply the pop-up image. When the card is opened, the middle card fold will bend and cause the pop-up mechanism to pop out away from the back of the card. I told you it was simple!


Let's take a look again at the finished card. First the front. I'll call your attention to the boot and anchor tuck piece. The front oval tucks under it and hold it shut.

And here is the pop-up feature inside. You can see how the oval piece stands out from the back of the card for dimensional interest.

 That'll wrap it up for me today. As always, thanks for stopping by. Don't forget to post your Keep Calm & Celebrate On card to our challenge. It's a great way to win free sets. Please visit the Ai store to see all the things you need for your card, journal, and tag making projects. Have a great weekend!
 Janet YouTube - Blog - Facebook - Instagram - Pinterest   


WOW Janet!
That's an amazing card. You know how much
I love masculine cards and this one did NOT disappoint.
So much detail to enjoy.  Thank you for the inspiration.

Now, let's see what YOU create for a celebration.
Be sure to link up your project below.
✻ Please make a new card or handmade crafty creation. You can make any item you wish; this is not limited to cards!

✻ Limit two submissions per person. You will receive extra votes if you use Art Impressions stamps!
 ✻Please include your first name and last initial on your submission.
✻We love to comment on your entries, but keep in mind if you use a private group or a platform that you need to sign up for, we probably won't be able to.
✻ The Ai Challenge is open to everyone, international submissions are welcome!
✻ Include a link back to the Ai Blog or grab our button on the top right of our sidebar!
✻ Share the Ai love if you can, by clicking and commenting on your fellow crafters.
✻ Make sure to get your link up by the deadline to enter your creations.
✻ Good luck and happy stamping! 

You are invited to the Inlinkz link party!

Click here to enter

Thursday, July 11, 2024

FairyLand PopUp Card by Dori Mendiola

 Happy Thursday AI Friends!

Today I'm sharing a card that was inspired by the current challenge - Magical Creatures.  I decided to make a popup tunnel card using the new 5915 - Woodland Fairies and 5916 - Woodland Castles.  This type of card provides several layers so that you can display many of the little fairies.  From of this set, I was able to place five, out of the eight, nicely on this card.


I started with the background by inking up three panels of 6 x 6 Strathmore Bristol Smooth cardstock with Ranger Distress Oxide Spray.  I used tumbled glass and prize ribbon for the top portion of the panels and shabby shutters and mowed lawn for the bottom portion.  Once dry, I brushed on a layer of Ranger Distress Glaze over each panel and wiped off the excess.  I placed some Dr. Ph Martin's bleed proof white paint on my glass mat and diluted with some water.  I then dipped a No. 5 paint brush into this mixture and spattered onto each panel by tapping the brush over my finger onto the cardstock.  This will create a magical background.  I determined which panel I wanted for each layer of the tunnel and used the 5065 - Double Stitched Oval dies to cut the top two layers using the largest ovals.  Cut the forefront panel first with the largest die and then place the middle panel under the forefront and place the second largest oval die to cut the middle panel.

To make the popup feature, I used 80 lb. cardstock and cut two pieces of 2 1/2" x 6 ".  Score each piece every 1/2" lengthwise to form the side popups.  You should have four score lines on each piece.  Fold and score each (mountain, valley, mountain, valley).  Refer to picture below for adhering each background panel.  You may need to trim the middle layer down slightly so that it lays flat when popup is pushed down.


I stamped all of the images onto copic friendly paper with Memento black ink and colored with my copic markers listed below.  Using the coordinating dies, cut each of the images.  I used green polka dot paper and die cut with a grass die I had in my stash.  I inked the grass tines with mowed lawn oxide ink so it matched nicely to the background.  I stamped the sentiment, included in the 5915 - Woodland Fairies stamp set, onto a cloud die cut.  Lastly, I used stickles on the fairy wings to give them some sparkle.

This popup card will lay flat in an envelope and pop up when you take it out.

I hope you enjoyed my "magical" card.  Have a wonderful crafty day!  

Remember to join our challenge to win a free stamp set.  Check out the tab "Bi-Weekly Challenge" above to participate.


Copics used:  B0000, B00, B12, B14
C1, C3, C5, C7
E000, E00, E11, E21, E23, E50, E51, E53
R11, R12, R14, R20
V12, V15
Y21, Y23
BG000
YG41, YG45


Thursday, June 20, 2024

Golfer Dad by Dori Mendiola

 Happy Thursday Ai Friends!

I realize that Father's Day was last weekend but I wanted to share the card I made for my husband.  He likes to golf.   However, lately he isn't such a fan.  😏  I think every golfer has those days, right?

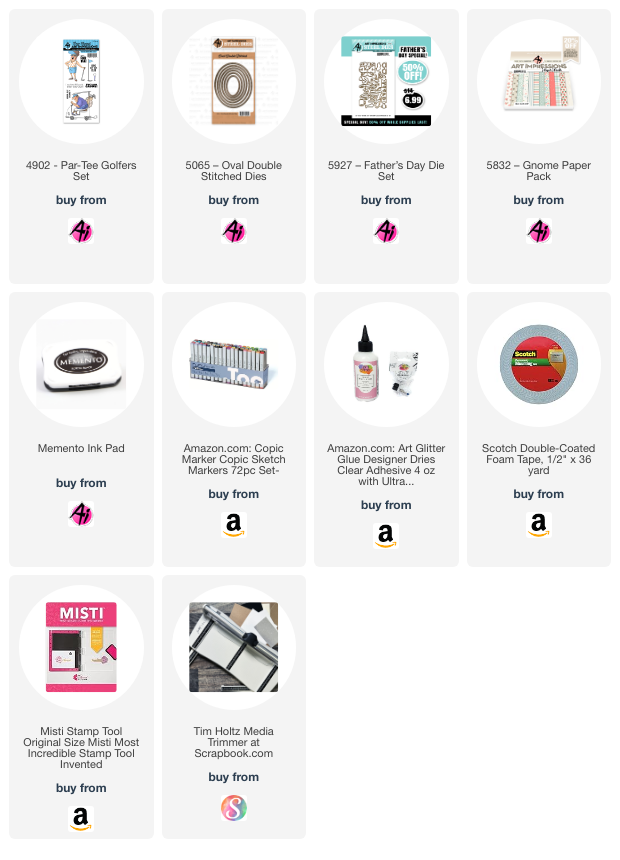
The #4902 Par-Tee Golfers has always been one of my favorite stamp sets.  I just love this golfer guy!  So, to show him off, as well as the #5927 Father's Day die set, I decided to make my card an easel card.  This Father's Day die set is on sale while supplies last, so make sure you visit the website and grab your die set today.  It's a great one and so is the Par-Tee Golfers stamp set!

Opened it looks like this:

And closed, it looks like this:

I stamped the image on copic friendly paper and colored with copic markers.  (Colors listed below) After coloring the golfer, I cut him out using the #5065 Oval Double Stitched Die.  I also cut a piece of kraft cardstock out of the same oval die to adhere to the back of the colored image to hide the copic coloring on the back side and also add strength to the colored image.  I used the #5832 Gnome paper pack for the striped background paper and also used a small piece for his hat.  The easel card is a 5 1/2 x 5 1/2 card with the front side scored at 2 3/4 and folded in half.  I then cut two 2 1/2 x 5 1/4 panels of kraft cardstock and two 2 1/4 x 5 panels of the striped pattern paper for each of the front folds.  I die cut the #1, Super Dad and the Happy Fathers Day out of the kraft cardstock.  I cut the "Dad" out of the Super Dad die cut and made the card say #1 Dad.  Easy Peasy card!

I hope you enjoyed my card today!

Have a great day!

Copics used:  

E000, E01, E11, E21, E23, E42, E43, E44

T0, T2, T4

R20, B000, B32, B34

BG90, BG93, BG96