Saturday, September 6, 2025

A Fish Tale: Featuring an Open Bay Window Card by Janet

I had an absolutely fantastic time making this fish-tale of a card for the "When One Door Closes" challenge on the Art Impressions blog. The sides of this card collapse inward, so you have no idea this incredible 3D scene is going to pop out when you open it up. It's super cool!

To make this card, I followed a pattern published on YouTube by AveeReneeCardDesigns, who calls it a "Open Bay Window" design. Her card featured a hot air balloon, but it instantly made me think of aquariums and underwater scenes. Isn't it funny how our minds work so differently? For her, it represented the open sky, and for me, the depths of the water.

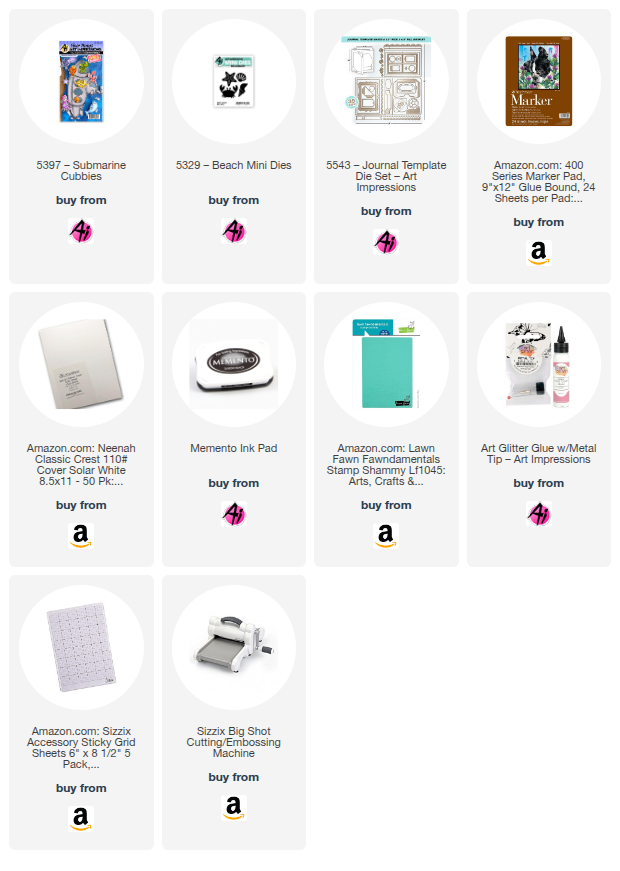
Once I had constructed the card base, I got to work decorating it. I used the 5397 - Submarine Cubbies set for most of the elements on this card, and supplemented it with some shells and cheerful crabs from the 5329 - Beach Mini Dies. I also used a banner die from the 5543 - Journal Template Die Set for the sentiment at the top. Most of the elements "float" on 3, 1/4" acetate wide strips which are almost invisible to the naked eye. It makes the submarine and marine life look like they are in the depths of the ocean. While the picture makes it appear like the submarine is attached to the sides of this card, it isn't. It's just hanging in mid-air thanks to the acetate strips. Most importantly, this construction allows the card to close without interfering with any of the elements.

This card looks complicated, but I promise you, it's not hard at all. The design is so versatile and can be used for anything that floats—in air, water, or outer space! My mind is already churning with so many new ideas for this one.

Thanks for joining me here today. Be sure to enter our current challenge, "When One Door Opens." Just show off a door of any type or size on your card for a chance to win a free stamp set!

As always, don't forget to find your favorite stamps, dies, papers, and accessories at the Ai Store! You'll always find something that calls to you. 

Happy Crafting!

Janet YouTube - Blog - Facebook - Instagram - Pinterest 

Friday, September 5, 2025

Cozy Fall Card by Tasha!

 Happy Friday Art Impressions friends!

Tasha here sharing a new card inspired by the When One Door Closes challenge. Since Fall is right around the corner (my favorite season!), I used the 5492-Front Porch Harvest Set to create a cozy autumn scene; pumpkins included, of course! 🎃

For the background, I stenciled a soft brick design with beige distress ink and popped up the stamped images with foam tape for extra dimension. To finish, I layered brown, golden yellow, and white card stock with a touch of leafy patterned paper to tie in the fall colors. A stitched die cut panel and a few white gel pen details pulled everything together.

I hope you enjoyed today's card and will join in the fun When One Door Closes challenge!


Thursday, September 4, 2025

When One Door Closes Challenge #412 Week #2

 Hello Ai fans and welcome to week #2 of our
When One Door Closes challenge.

We're looking for your creations using things with doors on them.

Last week we saw a fabulous hen house card with a handmade screen door from Dori.
You can read all about her card on her post from last week.

Tasha used:
Lynn created two door tags and you can visit her BLOG POST
to see her YouTube tutorial on these.


Janet used:


You can hear all about Sharon's card on her BLOG POST.


Debbie Hedges was our Guest Designer and you can hear all about her card on her BLOG POST.


I used the Mushroom Cubbies and you can see my post here.
5728 – Mushroom Cubbies


I just love the creativity of our Design Team.
If these don't inspire you to create something and enter then I don't know
what will. You could be our next winner and have a brand new set to play
with!


Be sure to enter your creation for the chance to win a free stamp set from Art Impressions. 
We award one Top Spot and one Lucky Random Winner, and each will win a free stamp set from Art Impressions.

✻ Please make a new card or handmade crafty creation. You can make any item you wish; this is not limited to cards! (unless specified)

✻ Limit two submissions per person.
 ✻Please include your first name and last initial on your submission. You may include your entire last name, but it's not necessary.
✻We love to comment on your entries, but keep in mind if you use a private group or a platform that you need to sign up for, we probably won't be able to.
✻ The Ai Challenge is open to everyone, international submissions are welcome!
✻ Include a link back to the Ai Blog or grab our button on the top right of our sidebar!
✻ Share the Ai love if you can, by clicking and commenting on your fellow crafters.
✻ Make sure to get your link up by the deadline to enter your creations.
✻ Good luck and happy stamping! 

You are invited to the Inlinkz link party!

Click here to enter

Teeny Teapot by Dori Mendiola

 Happy Thursday AI Friends!

My card today was inspired by the current challenge "When a Door Closes" utilizing the #5935 Fairytail House set.  This is the cutest set and makes the cutest teeny cards.  Back in December 2024, I created a Teeny Shoe card utilizing this set.   Here is the link to that post.  https://artimpressionsstamps.blogspot.com/search?q=teeny+shoe

For this challenge, I used the Teapot stamp and die and placed it on a teeny tiny hexagon card.  It's approx. 2 1/4 x 2 1/4 inches.  


I created the hexagon card by die cutting two pieces from heavy cardstock.  I scored one of the hexagons about 1/4" from the top and folded towards myself.  I placed glue on the scored fold and adhered the other hexagon to it creating the card base.  I then die cut another hexagon out of pattern paper from the #5742 Easter PP and glued that to the front of the card base.  I created a stitched frame and adhered that to the pattern paper front.

I stamped the teapot and the bee from the #5935 Fairytail Houses set onto copic friendly paper with memento black ink and colored with my copic markers listed below.  I die cut the images and cut a second bee out of heavy cardstock to create a popped up effect.  I adhered the images to the card base and stamped a sentiment in the inside and the card is ready to adhere to a gift, hand deliver or send in the mail.  A fun little card to receive!

I hope you enjoyed my card today and you decide to play along in the blog challenge "When a Door Closes".  Any card/project with a door will qualify you for a chance to win a free stamp set.  Click on the tab above for details.  We love to see your creations!

Hope you have a wonderful day!  

Copics used:  E51, E53, E55
T0, T2, T4
Y00, Y11, Y13, Y15
V12, V15, G40, G43

Wednesday, September 3, 2025

Front Porch Christmas Tag Cards! - by Lynn Dionne

 Happy Wednesday Ai Fans!!!


Watch video tutorial here!!!

Today we are going to be using another wonderful Front Porch Series stamp set! This is the Ai Front Porch Christmas Set (5489) and has so many wonderful holiday images including a wreath, Christmas tree, sled, lights, gift packages, potted poinsettia plant and several other coordinating images! Please note that you will need the Ai Front Porch Set (5512) to create the basic front porch and door. I'll talk a bit more about that in the video and give you a closer look at that set!

These fun little tags were inspired by the current Ai "When One Door Closes" Challenge which is to create a card or project using items with doors (houses, barns, cubbies, fairy houses, cards, trucks... etc.) anything with a door!

Let's begin by stamping, coloring and die cutting all of the images in this set. For the coloring we will be using the Zig Clean Color Real Brush Pens in the following colors: Blender, Pale Yellow, Orange, Pach Pink, Geranium Red, Deep Red, Lt Violet, Ice Blue, Dull Blue, May Green, Green, Mustard, Beige, Brick Beige, Mid Brown, Gray Brown, Lt Gray, Gray.

We will also stamp and die cut the Front Porch from the Ai Front Porch Set (5512). We will need to trace the outline of this front porch onto some patterned paper and on another piece of white cardstock. We can glue the patterned piece onto the front porch image...but before we do that, we need to stamp a sentiment. This will be so cute when the front door is opened you will see a sweet holiday sentiment. The sentiments will come from the Ai Christmas Sentiments Set (5566). I'll show you how to easily line this up behind the door in today's video!

Now we will create the card base by scoring the top of the white piece that we traced earlier, as will be seen in the video. We can now glue the top of the white piece to the front door.

Let's add all of our images onto the front doors by popping them up using some 3D Foam Squares.

Finally, let's punch a hole at the top of the tags/cards and add some red and white baker's twine so that it can be easily tied onto a gift package!

Please join us in this new challenge...we would love to see what you create!

If you love this Front Porch series, I will link a few videos here using these products below:


Thank you so much for joining me today!  Have a fun and crafty day!!!

Ai Front Porch Christmas Set (5489)

Ai Front Porch Set (5512)

Ai Christmas Sentiments Set (5566)

Ai Christmas Magic Paper Pack (5853)

Wink of Stella Glitter Pen - Clear

Signo Gel Pen - Silver

Signo Gel Pen - Gold

Post-it Labeling and Cover-up Tape


Tuesday, September 2, 2025

Tonight We Fly! by Reneé Matarese

 Hello Ai fans!
Who is a fan of all things spooky like I am?
I start work back at school today so for me, summer is officially over and fall is here.
I was inspired by a black lacy butterfly adorned with jewels in the Michael's Halloween Dept. and came up with this card.


I used lots of sets from Art Impressions to create my card and you can find everything linked below.
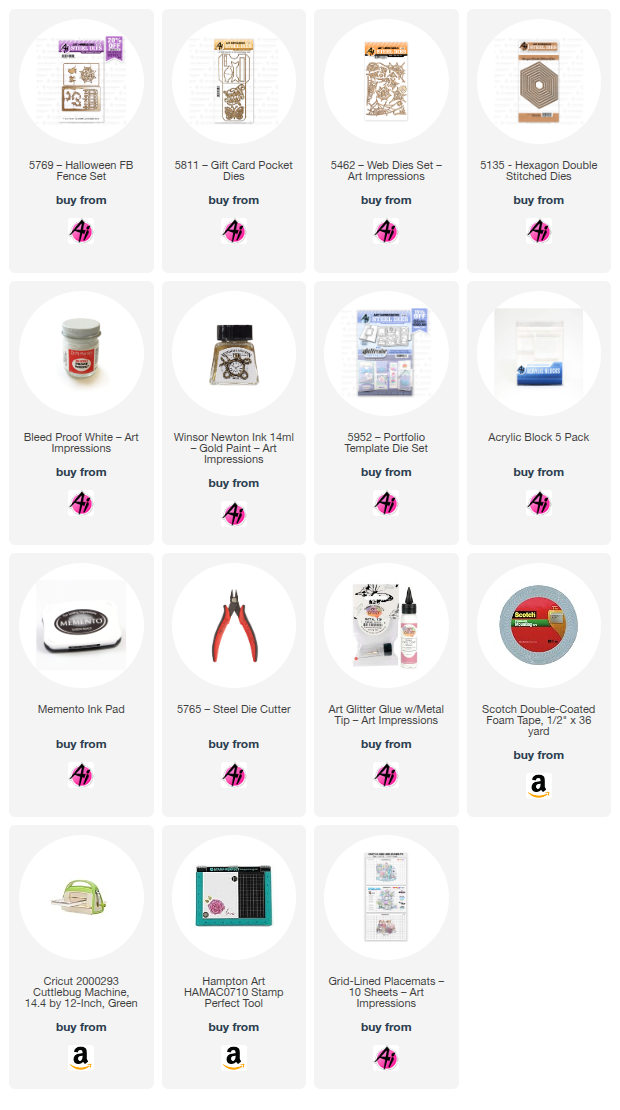
The matte for the butterfly was made using the double stitched hexagons. The butterfly is from the Gift Card Pocket Dies.


I used other things that "fly" on my card too. The raven, bats, web and spider are from the Halloween Front and Back Fence set. Although spiders don't technically fly, if you Google "flying spiders," you'll see plenty of them. Eek and GAG!

Tonight We Fly is from the Halloween Sentiments Set and it's stamped on a banner from the Portfolio Dies Set.


One last thing...paint.
I used the Winsor & Newton Gold paint to paint some cardstock that I then cut a matte for using the butterfly to trace. I wanted his wings to really pop so I added the gold under them. I also used Dr. Ph Martin's Bleed Proof White to paint the silk strand that the spider is dangling from.


Monday, September 1, 2025

August 2025 Monthly Challenge Winners


Hello Ai fans!

We just finished our August Monthly Challenge
and we have our lucky winners selected.


#5 came up first so Consuelo G. will win a free stamp set from Art Impressions.


Please contact Leah at Feedback@artimpressions.com
to claim a free stamp set of your choice!!

#9 was next so Barb E. wins a freebie from me.

Please email me at Renee@artimpressions.com
with your full name and address and I'll send you a photo
of the freebies I have available for you to choose from.

We'll be off for September while I settle back into "school life," but we'll be back in October with some wonderful inspiration from Guest Designer Simone Carr.

Congratulations to our winners and while you wait for the next monthly challenge you can keep busy by entering our Bi-Weekly challenges. See tab at the top of the blog for the current BW Challenge.

Good luck everyone!


Gardener Gail has come to visit by Sharon Caudle

 Hello AI Fans!

Our new Bi-weekly challenge "When one door closes" is going strong and if you haven't looked at all the DT and GDT creations, I really urge you to do so! They always blow me away with their talent!! We were even blessed to have Debbie Hedges join us as a Guest Designer this month!!  So please do yourself a favor and scroll through the blog to look at all the amazing works of art!

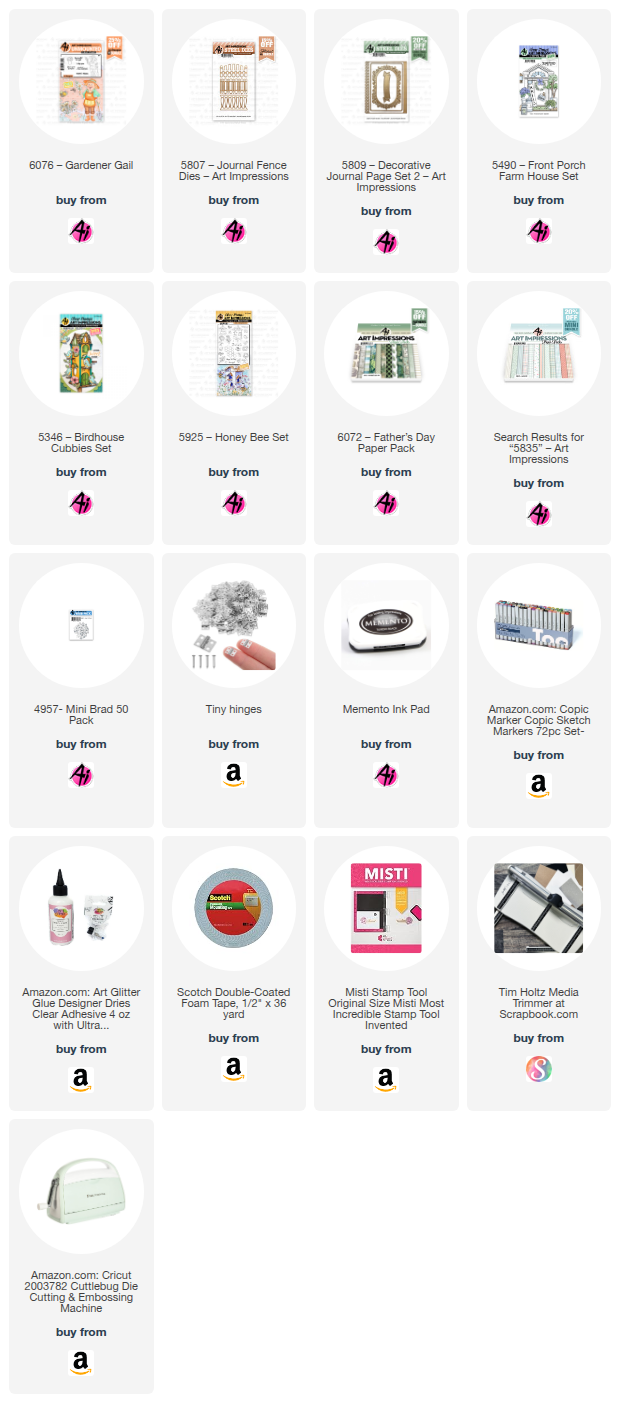
 So.... I'm going to make a big confession here. I have had this screen door die for probably almost 15 years and I have NEVER used it. When I saw the theme of this challenge I decided it was finally time. I grabbed 6076 Gardener Gail and went to work. I used quite a few sets from Art Impressions to create this, and they're all linked below.  I wanted the door to actually open on the front of the card, so I found some miniature hinges on Amazon and the tiny brads from Art Impressions are the PERFECT size for them! Don't you think? I used a larger brad for the inside and outside doorknob.  I simply spread the tines all the way out and glued them in place. The screen in the door actually came with the die and is sandwiched between several layers of the die cuts. The die was made by Cheery Lynn Designs if you want to try and find one. I doubt it is still manufactured after all these years, but I would be surprised if there isn't some kind of substitute die you could use. 


 I wanted it to look like the inside of the house of the front and to be able to see Gail through the screen door. I took just a strip of the paper from 6072 Father's Day PP to use as the floor.  I just needed a small strip, so I actually just cut it out of the back cover of the paper. That way I didn't have to cut into a full sheet for a small strip! Don't overlook using both the front and back cover pieces in the paper packs! I then added a small strip of white cardstock to look like the baseboard. 


I used the fishtail banner from 5809 Decorative Journal Page 2 to cut out the sentiment and pop it up on the top of the door.  I had to make sure to watch where I glued it so the door would still open. Here's a picture with the door open.  


And finally the inside of the card when it's fully opened. 


I used plants from 5490 Front Porch Farm House to place next to the door. For behind Gail, I cut a couple fences using 5807 Journal Fence Dies and pieced them together. The branch came from 5346 Birdhouse Cubbies Set and the bee and birdhouse from 5925 Honey Bee Set. I tied the birdhouse to the branch with a piece of twine and just let it dangle freely. I thought that was just a fun touch. So that's it for me today! Thanks so much for stopping by for a visit and until next time - stay crafty!!

Copic markers used:
E000, 00, 04, 11, 33, 35, 37, 51, 53, 55, 95, 97, and 99
W0, 2, 3, 4, and 5
G40, 43, and 46
C1, 2, 3, 4, and 5
YG00, 13, 17, and 67
Y15, 17, 18, 32, 35, and 38
R02, 12, 81, 83, and 85
B00, 91, 93, and 95


Sunday, August 31, 2025

When One Door Closes Gnome Home with GD Debbie Hedges

Hello Ai fans!

Every once in a while we just like to pick a talented artist and feature them as a Guest Designer.

This time we chose Debbie Hedges, and she's helping us out with our When One Door Closes challenge.


She created an amazing little gnome home and we're so excited to share it.

Please enjoy...

------------------------------------------------------------------------------------------------------------------------

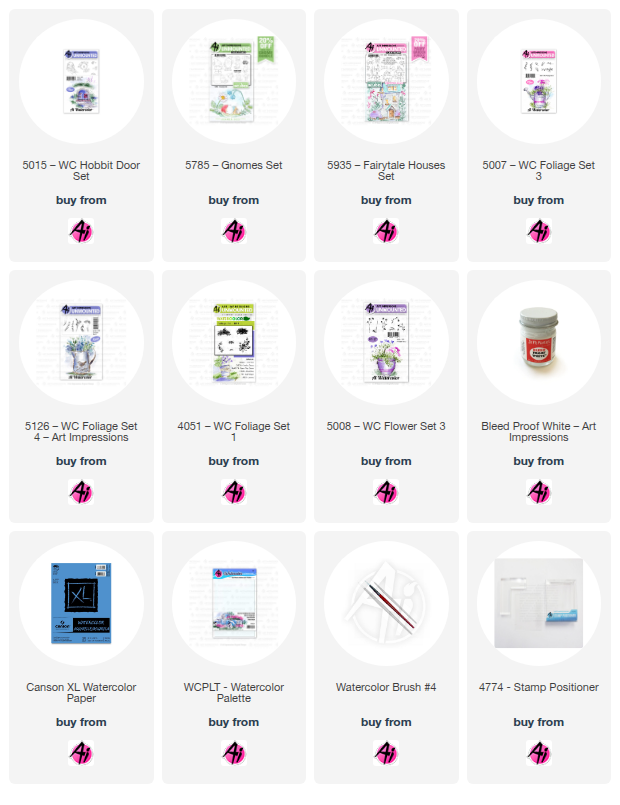
Welcome to the newest bi-weekly challenge! I am excited to share Challenge #411 When One Door Closes. The first stamp set that came to mind was #5015 WC Hobbit Door set, so I built my project around that. For this challenge, think of anything with a door . . . houses, barns, cubbies, fairy houses, cars, etc.


 I began by stamping the hobbit door in the center of my watercolor paper. I then used a ruler along the bottom of the door and lightly drew a horizon line for the base of my little “house.” I wanted the focus on the door. With my stamp positioner, I added the gnome and my three mushrooms. That gave me the base to work with for my scene. I began by painting the door in grey tones, adding shadows as needed. I then worked on the stone path, using sepia, grey and brown tones so that the stones were multi-colored and then went back and added shading to create dimension. Next I added a brown/sepia wash to create the idea of a wall for my door. I wanted it to have light and dark areas for interest. I then used the vine to climb one side of the door by stamping it once from the base of the door, then only inking portions of it to go around the arch. I used my positioner for placement. It is a great tool to preview what it will look like before you commit it to paper! I then touched each leaf with my brush to soften the color. I used a single flower bud and my stamp positioner to add the purple flowers in the vine and then touched each one with my brush to soften. My next step was to paint the mushrooms and gnome. This is not my first attempt on this project and for this one, I wanted the mushrooms to have added color – not just yellow and orange. So, they are shades of yellow at the base, to orange, to red and then some purple at the top of the largest mushroom. The base of the mushroom are shades of brown and I added some brown lines for ridges. For the gnome, I used the same red for his hat, and gave him a steel blue jacket, green pants and brown boots and belt. I added some grey tones to his white beard for shadows and used a flesh tone marker for his nose – adding pink to the bottom for shading. To finish this up, I needed to add teeny tiny grass along my horizon line along the base of the wall. I created a paper mask for the mushrooms and the gnome and just used post-it tape to protect the door area. Once the grass was stamped, I used the fine tip of my green marker to add some stalks of grass in front of the mushrooms. I also used the grass to stamp some grass along the steps on the stone path. Once that was stamped, I pulled the color out and then created a wash of green for the foreground. I then used the taller grass to create a clump of grass behind the gnome. I love to add a few leaves to the top of a project to finish it off. It gives the feeling that tree branches are hanging down. So, I used the leafy branch – it is one of my favorites – and just stamped it a few times along each top corner of my project. I then added water to each leaf to soften it. With a ruler and a pencil, I lightly added some horizontal lines to give the idea of siding and added a few vertical lines in random spots along with a couple dots for nails. All of this was very faint. Then with Dr. Ph Martins white paint, I added a small dot highlight to the door handle, a single dot in the middle of each flower bud, multiple dots on the mushrooms, and small dots on the grass along the path so it looks like tiny white flowers. There are a few random tiny white dots on my foreground as well. I then added dots to the top of the tall grass clump to create three daisies. When it was fully dry, I added orange dots for centers. I also added some white paint for dimension on the gnome’s beard. I hope you like it and will give it a try! Here are the stamps I used for this project along with the links for the stamp sets.


Thank you so much Debbie for your beautiful creation and inspiration.

You can enter your "door" craft HERE.

Bonus Watercolor Weekend with Simone Carr

 Hello Ai fans!

We're so lucky that August has 5 Sundays!

That means a bonus Watercolor Weekend which means even more inspiration for you.


Let's welcome Guest Designer Simone Carr and see what pretty things she's created.

--------------------------------------------------------------------------------------------------------------------------

Hello fellow crafters!

I’m excited to be back on the blog to share my latest cards with you. Since fall is right around the corner, I thought it would be the perfect time to create a project that could work as either a Welcome Fall card or even a Thanksgiving card.

For this design, I reached for one of my favorite sets from last year—the Woodland Critters Set. I knew right away that the sweet little hedgehog needed to take center stage!

I started by inking the wheelbarrow (from the Harvest Wheelbarrow Set) with Tombow 565 and 969. I stamped it first onto masking paper, then onto Canson watercolor paper. To make room for the hedgehog, I left off the second handle when stamping the wheelbarrow. After cutting the wheelbarrow mask, I placed it over the stamped image.

Next, I used the stamp positioner to tuck the hedgehog perfectly into place and inked him with the same 565 and 969. Then I added in the small pumpkin, creating another mask so I could easily layer over it. Using the stamp positioner again, I built up the scene with pumpkins and apples, inking them with 565 and 969 (stamped off) for a softer look.

Once the stamping was complete, I removed the masks and began adding color to bring the entire image to life.

Materials Used

Tombow Dual Brush Pens:

856, 905, 925, 946, 933, 055, 098, 026, 312, 879, 947, 027, 992, 526, 177, 969, 565

Stamp Sets:

5597 Harvest Wheelbarrow

5059 Harvest Set (Apples + Grass)

4051 Foliage Set

5487 Front Porch Halloween Set (Small Pumpkin)

5953 Woodland Critters Set

5063 Rectangle A2 Die Set

5838 Fall Patterned Paper

For my second card, I went with a more wintery theme—not necessarily Christmas, but something versatile that could work as a birthday card, a thank you card, or really just a cheerful design for the colder months. It’s also a fun way to use up those paper scraps we all have on hand!

I began by stamping the sleigh image on Canson watercolor paper using Memento Toffee Crunch ink. For coloring, I used:

Sleigh: 026, 947, N55

Mouse: a mix of 969 + 565, plus 725, 025, 296

Hedgehog: 992, 947, 555

Present: 493, 195 + white gel pen for highlights

The finished card measures 5 1/2" x 4 1/4". To build the background, I ran a piece of white cardstock through a snowflake embossing folder, then trimmed it down to 3" x 4 1/4".

Next, I dug into my scrap pile and pulled out a few pieces from the Winter Woodland patterned paper pack. I cut them into flags and arranged them over the embossed panel to decide on their placement. Once I was happy with the layout, I glued them down, then added a thin strip cut from the leftover embossed paper on top for a clean finish.

The top panel is 2 1/2" x 4 1/4", and I popped the die-cut critters up with foam tape for extra dimension. To finish the card, I cut a small tag, stamped my sentiment (masking part of the stamp so it would fit), and tied a bit of string to it. I tucked the string under the present so it looks like part of the image, which adds a fun little detail.

Materials Used

Dies & Stamps

5133 Flag Double Stitched Dies

5953 Woodland Critters Set

5566 Christmas Sentiments

5543 Journal Template Set

5963 Winter Woodland Patterned Paper

Markers & Paper

Tombow Dual Brush Pens: 026, 947, 992, N55, 555, 493, 296, 195, 725, 025, 969, 565

Canson Watercolor Paper

Bonus Card

I wanted to share a little extra inspiration to show another way of creating this second card using the same methods. For this version, I used the 5191 Feast Mode set. Instead of patterned paper, I stamped my image on Bristol Smooth cardstock and simply adhered the flags underneath.

It’s a quick variation that gives the design a fresh look—and a great reminder that you can easily adapt these techniques with the supplies you already have on hand.

I hope I’ve inspired you to give it a try!

-----------------------------------------------------------------------------------------------------------------------------

Thank you so much Simone for these darling cards.

We hope you're inspired to try something like these. While you're here, be sure to enter our Bi-Weekly Challenge. The theme this time is "When One Door Closes." Make something with a door on it, whether it's stamped or die cut.