Happy Saturday, Ai fans! We're here with another round of summery inspiration for your watercolor creations! Let's see what our WC Guest Design Team has in store for us today!
Hello Watercolor Friends,
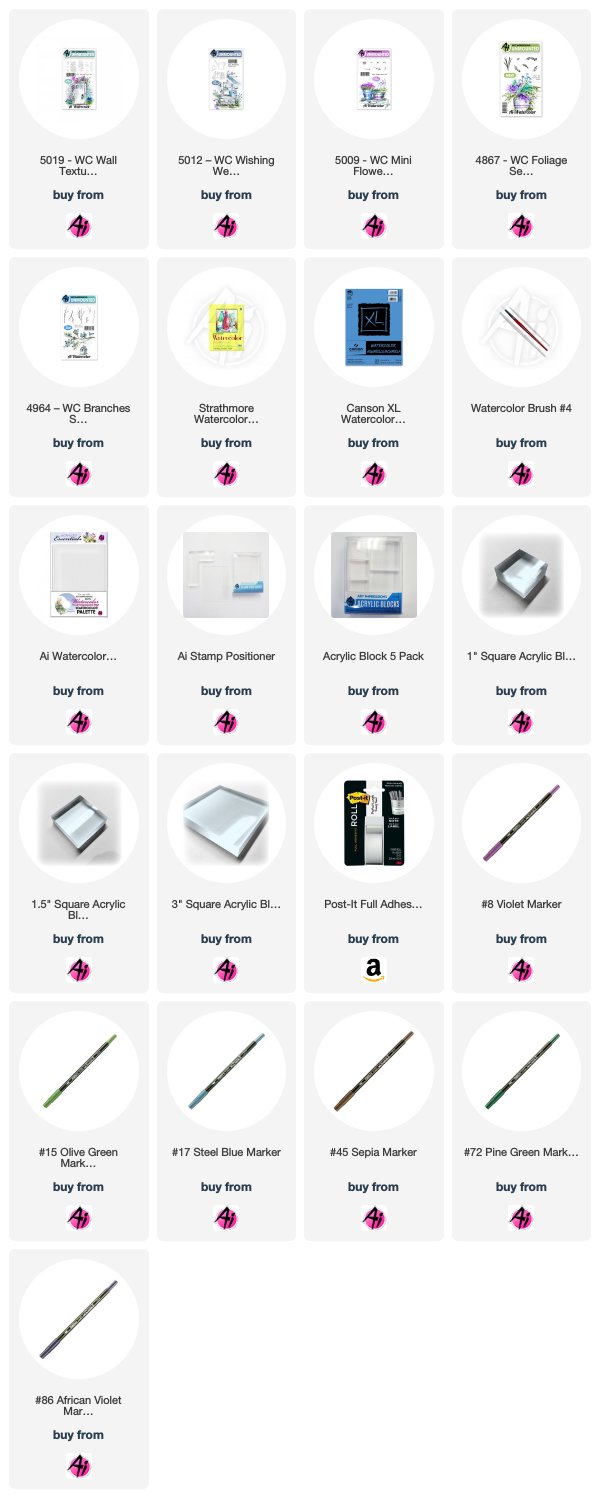
I am still dreaming of being on the ocean so I created this card using the cottage from 4606 - Cottage by the Beach for the bi-monthly Art Impressions Watercolor Weekend Roundup. I added little flower boxes under the windows and made the tiny flowers by using the fine tips of the Marvy LePlume II pens and then adding a tiny bit of water. I used the small grass stamp from the 4051 - WC Foliage Set and the tiny dot flowers from 5009 - WC Mini Flower Set for the flowers in front. I spread some liquid glue and then added real sand to make the beach.
Other Supplies: Ranger Watercolor paper.
My project for today’s Watercolor Weekend, “On the Ledge”, is a beautiful summer floral card.
Stamp the siding from the WC Wall Texture Set in Sepia using your Stamp Positioner, flip everything and stamp again, now you have long siding which becomes the ledge. Watercolor the Art Impressions way by pulling the color from the lines. Scribble a little Sepia onto your palette and brush onto the siding to create wood. Use the Sepia fine tip to darken up any lines especially the top. Stamp the four containers from Small Container Set and Wishing Well Mini Set, two in Sepia and two using a combination of Sepia and African Violet for a steel grey color. Add Sepia and African Violet onto your palette and brush onto the watering can and pail. Scribble Olive Brown and Eggplant onto your palette adding Olive Brown to the second pot and Eggplant to the fourth pot. Draw line details onto the fourth pot with the fine tip of Eggplant. Mask off the containers using a post-it note. Add foliage and flowers to the containers from Foliage Set 3, Foliage Set 2, Mini Flower Set, Flower Set 2, and Foliage Set 1 using Olive Green, Brilliant Yellow, Iris Purple, Pine Green, and African Violet. Add dot detail to the yellow flowers with Brilliant Yellow and the pink flowers using Iris Purple.


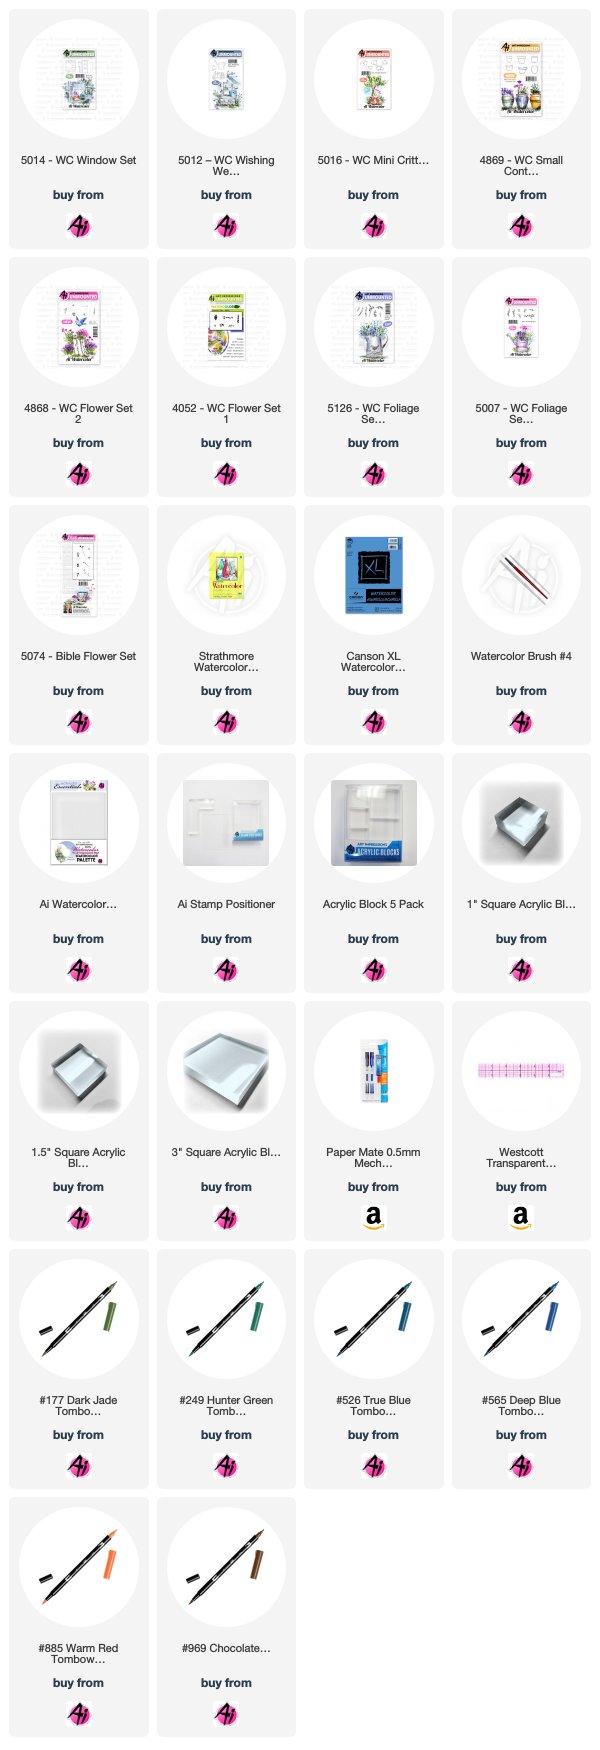
Art Impressions Products: WC Small Container Set, WC Wishing Well Mini Set, WC Wall Texture Set, Foliage Set 3, WC Foliage Set 2, WC Mini Flower Set, WC Flower Set 2, WC Foliage Set 1,Acrylic Block 5 Pack, Stamp Positioner, Watercolor Palette, Watercolor Brush No. 4, Canson XL WC Paper Pad
Other Products: Post-It Notes, Carta Bella Spring Market 6x6 Paper Pad
I wanted to create watercolor that resembled our garage (I use that term lightly lol) at our property in Vermont. It’s a small garage that is set in the woods.
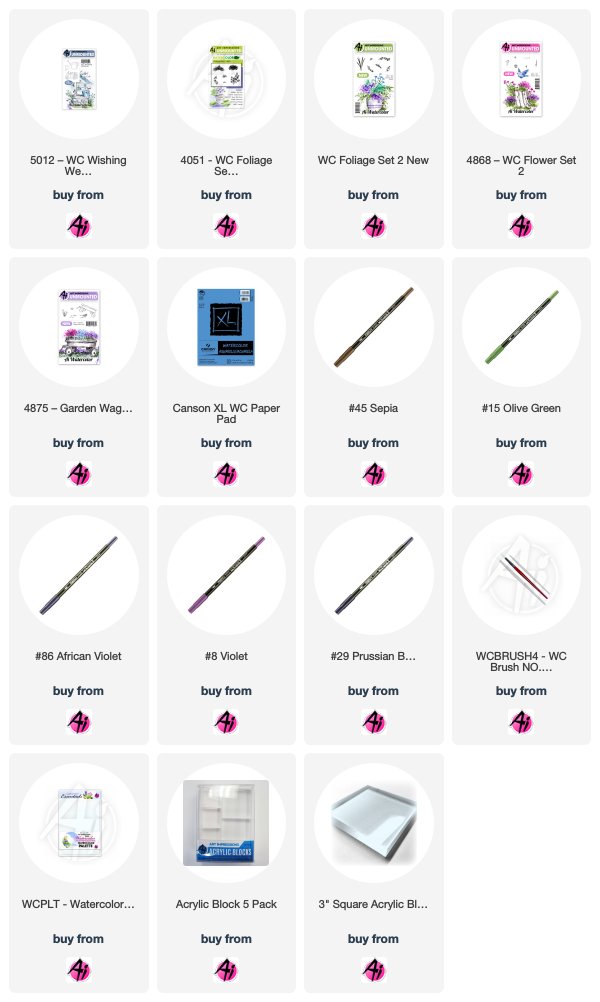
I first started with the small structure. I removed the windows and chimney. I hand drew in the doors in the front. Using my watercolor palette, I colored it with Sepia, Mocha and a small amount of Steel Blue for a rustic look. I added a small amount of English Red to the door (because it is red in real life, LOL). I masked it off and stamped the branches in the background. I added a small amount of water to extend the bottom to make it look more like a tree. I then used the leaves and vine from the original Foliage set inked in Olive Green. I softened them with water.
Next I used the cobblestones inked in Sepia and African Violet. I used my stamp positioner to get them where I wanted them. I used my brush and water to soften the lines around the cobblestones. I added small grass around the front of the structure, below the trees and around the cobblestones. I softened the lines with water. I added some more Sepia and African Violet for some additional color around the cobblestones. I used the tree to the right with the Fir tree top inked in Pine Green. I added some Steel Blue from my palette to the sky.
I cut the piece down and adhered it to a card base made from Gina K Design Asparagus cardstock.
This was such a fun and easy project. I would love to see what you come up with. Thanks for joining us for another Watercolor Weekend!!
Thanks, team! Love the variety of projects you have created for summer scenes! Thanks for hanging out with us for another Weekend Roundup, we'll see you next time! Happy Stamping!