Showing posts with label coloring. Show all posts

Thursday, November 26, 2020

Wishing You Pumpkin Spice & Everything Nice! by Crystal


Hi AI fans! 

Happy Thanksgiving! 

Any big plans? I plan on eating lots of pumpkin pie. 

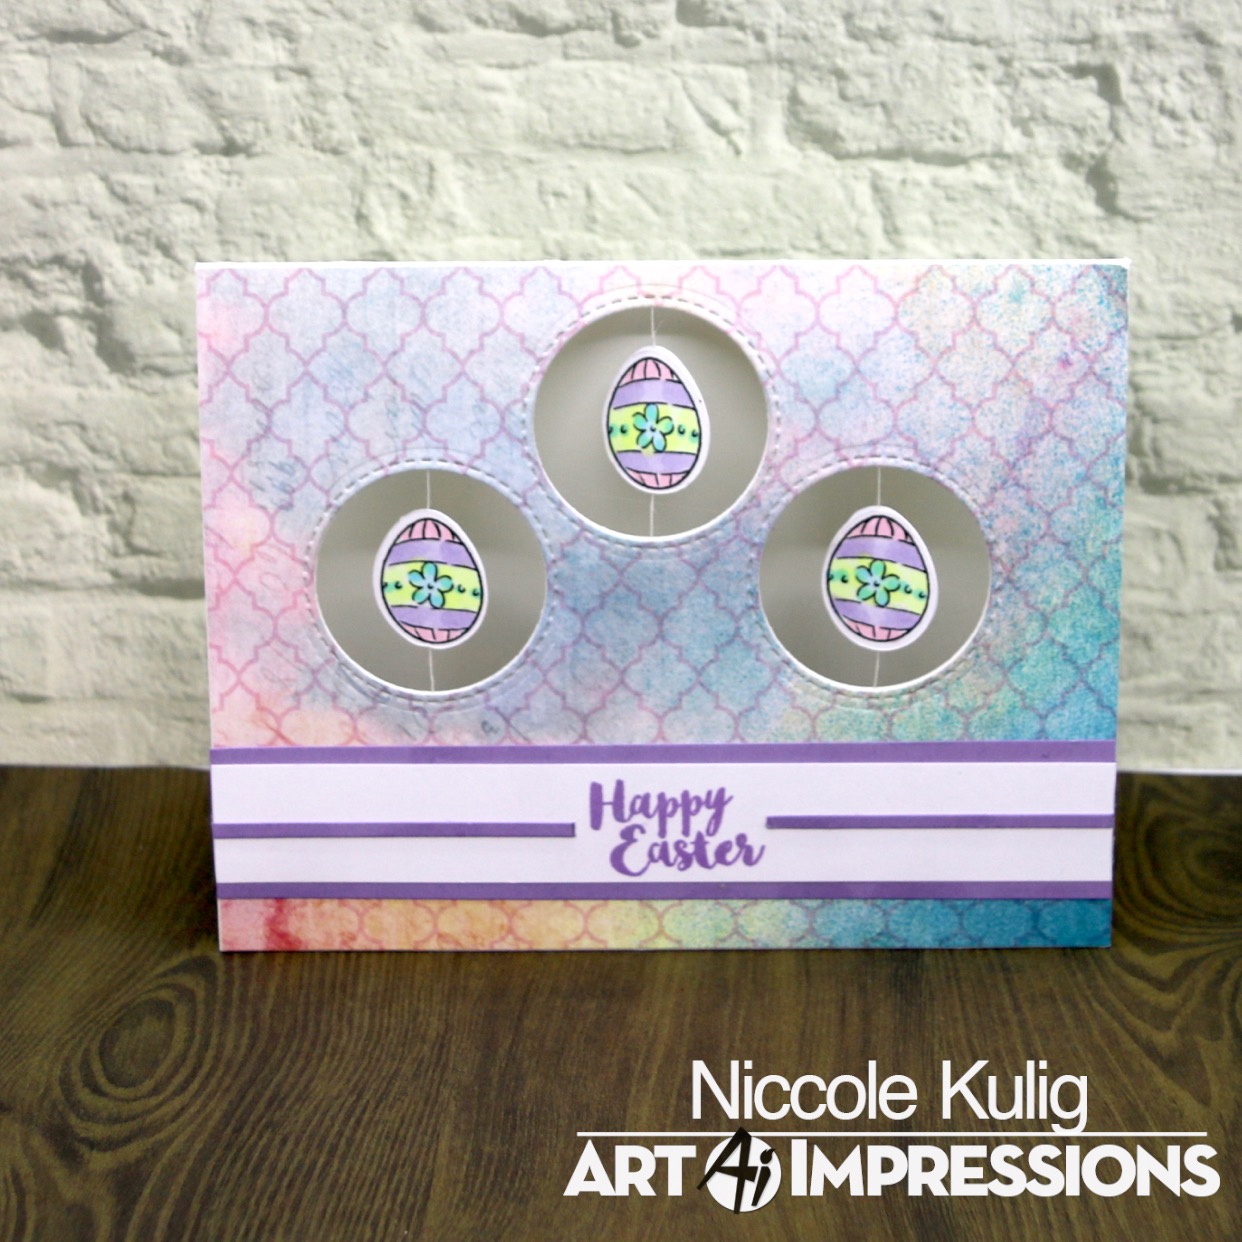
This week I made a card using this fun stamp set from last year -Feast Mode I love the name of this set. 


I stamped the image with Memento black ink onto smooth white card stock. I colored this image in with alcohol markers which is my favorite coloring medium. I have made so many cards with this image last year and this year and I think I will be using this same set again next year. 


I stamped the sentiment with brown ink "Wishing you Pumpkin Spice & everything nice!" After I stamped the sentiment I die cut it out with a double stitched oval die.  I love pumpkin spice and this sentiment! Are you a fan of pumpkin spice or are you someone who doesn't care for it? 

Happy Stamping!


Spectrum Noir Markers: 

OR1, OR2, OR3, BO1, BO2, BO4, GY2, GY3, GY5, BG2, VB1, VB2, VB3, YG1, YG2, YG3, EB6, EB7, EB5

Thursday, June 18, 2020

29 YEARS!


Hi Ai fans! This week I played with this Teachers Rule stamp set. It's the middle of the summer but I thought it would be fun to make a teacher card.  


  I stamped the image onto smooth white card stock with Memento black ink and colored it in with alcohol markers. I used a double stitched oval die to die cut the image out. I layered the image over three different pieces of pattern paper. I added  few sequins to fill in some of the empty spots.   


I love this sentiment "29 YEARS + A BUNCH MORE = 29 YEARS!" This sentiment is just too cute.

Spectrum Noir Markers: VB1, VB2, VB3, IG2, IG4, IG5, TN1, TN2, EB1, EB2, EB3, GB1, LG1, LG5, CR7, CR8, CR10

Happy stamping!


Wednesday, February 12, 2020

NEW VIDEO! Lovable Animals Coloring Tutorial

Hello Ai Fans!

Welcome back, Watercolor Wednesday fans!

Watch Bonnie's coloring tutorial for our BRAND NEW Lovable Animals Set! This set has 24 pieces and includes both stamps and dies! We hope you learn some new techniques and enjoy our latest release!


View on YouTube: 


Thursday, October 10, 2019

Hope Your Birthday Stacks up to be Wonderful by Crystal

Hi Ai fans! 


I have two cards to share today using the Turtle stackers stamp set along with the Slider die.


I made both cards the same but used different patterns of paper.


I stamped the sentiment "HOPE YOUR BIRTHDAY STACKS UP TO BE WONDERFUL" on the top of the card stock that could be pulled out. 


I die cut a circle toward the bottom of the strip of card stock so one of the turtles faces showed through.


When you pull the card stock out you can then see the whole stack of turtles.


Spectrum Noir Markers: 
DG1, DG2, DG3, GB1, GB3, GB5, EB1, EB2, EB3

Paper- Cute Girl-Crate Paper

Happy Stamping!


Wednesday, March 6, 2019

Egg-Cellent!

Hello Ai fans!

Today I am working on a couple Easter cards.  I wanted to use my Mini Bunny Spinner Set.  I picked it up a while ago but I wanted to wait until closer to Easter to use it. Well ... it is getting closer to Easter, so what better time than now.


I knew I wanted to try and add three circles, but I also knew that I am not good at lining this up so I figured I would stagger the circles in case there were boo boo's.  The circles were from the Circle Double Stitched Dies. I really like how they turned out.
As you can see I die cut from both my card base and my pattern paper so they would line up once adhered together.  What I like to do when adding my thread I glue the thread to the inside of one image and then attach the matching image to the other.  From there I use double sided tape and place on both ends of the circle to attach my thread to, as you can see above.  From there I add glue all over and around the thread so I know it will be secure once all put together. Another trick I like to do is tape my card base down where the fold is so there is no reason for any slack with the thread.

 I finish it off by adding my card front to the panel.  Not hard at all, right?? And from here I decorate my card with all of the finishing touches. As you will see below I added some purple card stock to my image.  I stamped the sentiment "Happy Easter" from the Sweet Easter Set.


I thought it looked to plain with just the white strip with the sentiment on it so I Added some more purple to it.  I cut a very thin strip of purple, centered it ant framed out the phrase.  Don't you agree it adds to the sentiment?

'I made two so I could send them to my Mom and my Mother in Law.  I can't tell if I like the one that is more pink or the one that has more blue in it.  Which one do you like better? I know they are both the "same" but sometimes the shades of color matter ... I think I am going with the more blue card! You?

Here they are side by side again.  Happy Wednesday everyone!

Until next time ... Hugs & inky fingers!

Copics used:
BG000, BG01
BV000, BV00
RV10, RV11
Y0000, Y000, Y00