Hello Ai fans!
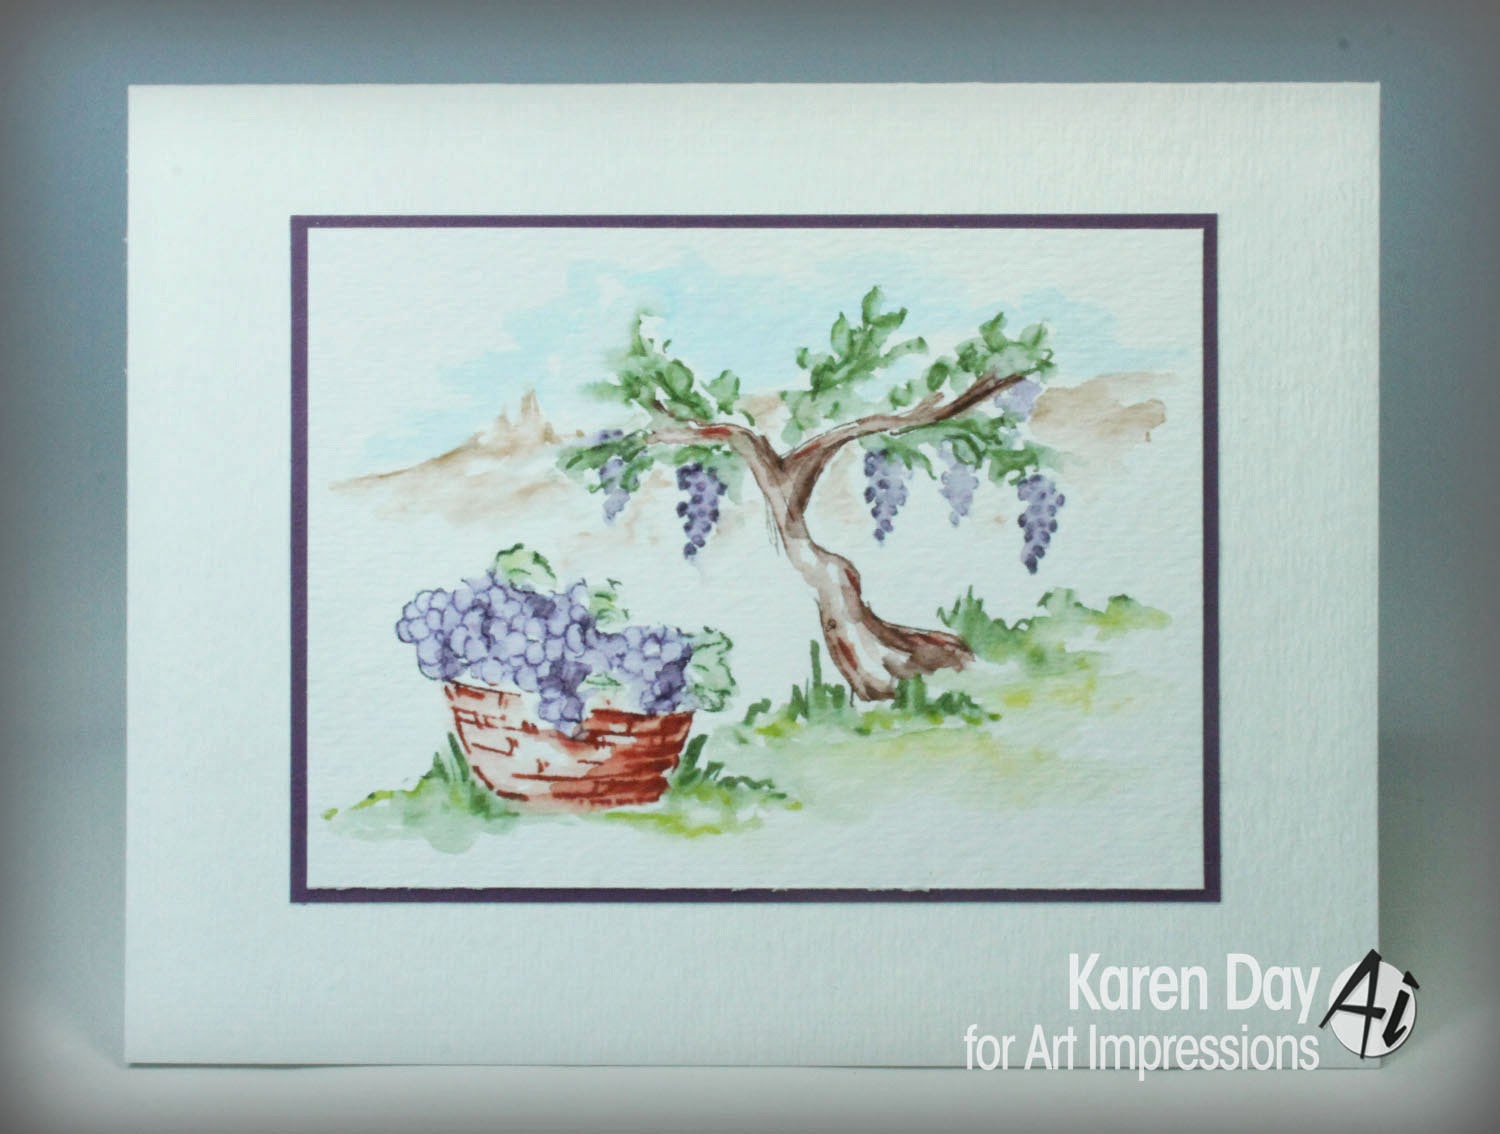
I'm very excited to be sharing my projects with you today! One of my New Year's Resolutions this year was "I will watercolour in 2014". I have had the Art Impressions Watercolor Series 9 sets for a while now, have experimented and practised a bit... and now that I finally have all the tools & supplies organized - I played with them all day on Sunday. I'm going to share my favourite project first:
This was actually my third attempt at watercolouring! Here is a closeup of my scene:
If you aren't familiar with the Ai Watercolor sets - they are scene builder sets, where you get approx 6 different stamps in each set that can be used together in different combinations and arrangements to create your own scene. These are all 'outline' stamps - so in my scene above, I'm using the outline of the grapevine, the outline of the basket of grapes and the small cluster of grapes. You colour the stamp with a water soluable marker, and after stamping it, you use a wet paintbrush to soften the lines of the image, pulling the colour from the stamp to fill it in. So on my basket of grapes, I used a green marker on the leaves, a purple one on the grapes and brown on the basket. The grass, leaves on the vine and background are all my freehand work with the markers/brush. Here was my second attempt:
And finally my first attempt... I liked the design, but the colours were a bit too vibrant for me - I haven't quite decided how to make it into a card yet:
The first card I shared was my own creation, but the next two were done with a little help from my friends at Art Impressions. When you purchase the Watercolour sets - I highly recommend getting one of the Instruction Guides (you can find the one I used, Tuscan summer, here!). This is a full colour, six page booklet with step by step instructions on how to build your scene, complete with colour info:
If you would like to be able to paint, without having to draw out your own scene - this is the perfect choice for you. I'm going to share a few things that I've learned in my experiments:
1) Have all the right supplies: 140lb Coldpress watercolour paper, Watercolour markers (I used both Marvy & Tombow), a decent quality brush.
2) Don't hesitate to use your markers directly on the paper - I added foliage, extra shading to the vines, and freehand drew in the grass and hilltops. I found that I had better control with the markers than trying to paint freehand with my brush (I'll get better with practise!)
3) Layer colours overtop of each other to create different shades (I only had a vibrant pink/red shade that did not look good on my rooftops, so I found that by layering brown over the red, I achieved a more subtle shade that worked)
4) Watch Bonnie's videos!! You'll see links to them on the sidebar of the blog.
5) Start with the examples in the instruction guide, and as your skills improve along with your confidence, you'll start creating scenes of your own.
Happy watercolouring, everyone!


7 comments:
YAY Karen!!!!!! It turned out AWESOME!!! Trying to pick a favorite, but they are all great!! Good job my friend! :)
Karen, I absolutely love what you did with this set. Great tips too, for when I get brave enough to try one of these.
Beautiful watercolor scenes, Karen!
aah...under the Tuscan sun! These are all lovely Karen. Thanks for sharing your tips too!
Karen, they are stunning! I love them both! <3
So soft & pretty. Love them.
I love these, thanks for sharing. I like the soft watery look on the background with the wisteria. Mine are always too bright and defined,
Post a Comment