Hello and welcome to Art Impressions' Watercolor Weekend!
Today we have three very unique and amazing cards from our Watercolor Design Team.
This week it's Diane's turn to share first. Let's see what she made!
*******************************************************
Hello Ai
Watercolor Fans! Who is ready for fall? I’m looking forward to
cooler temperatures, the leaves changing colors, sweater weather,
apple cider, and pumpkin spice! One of our favorite things to do in
the fall is to visit our local pumpkin patch for an afternoon of fun
and food. When our son and daughter were little, we always made sure
to get a photo of them sitting on straw bales, surrounded by pumpkins
and other fall decorations. Today’s card is inspired by those
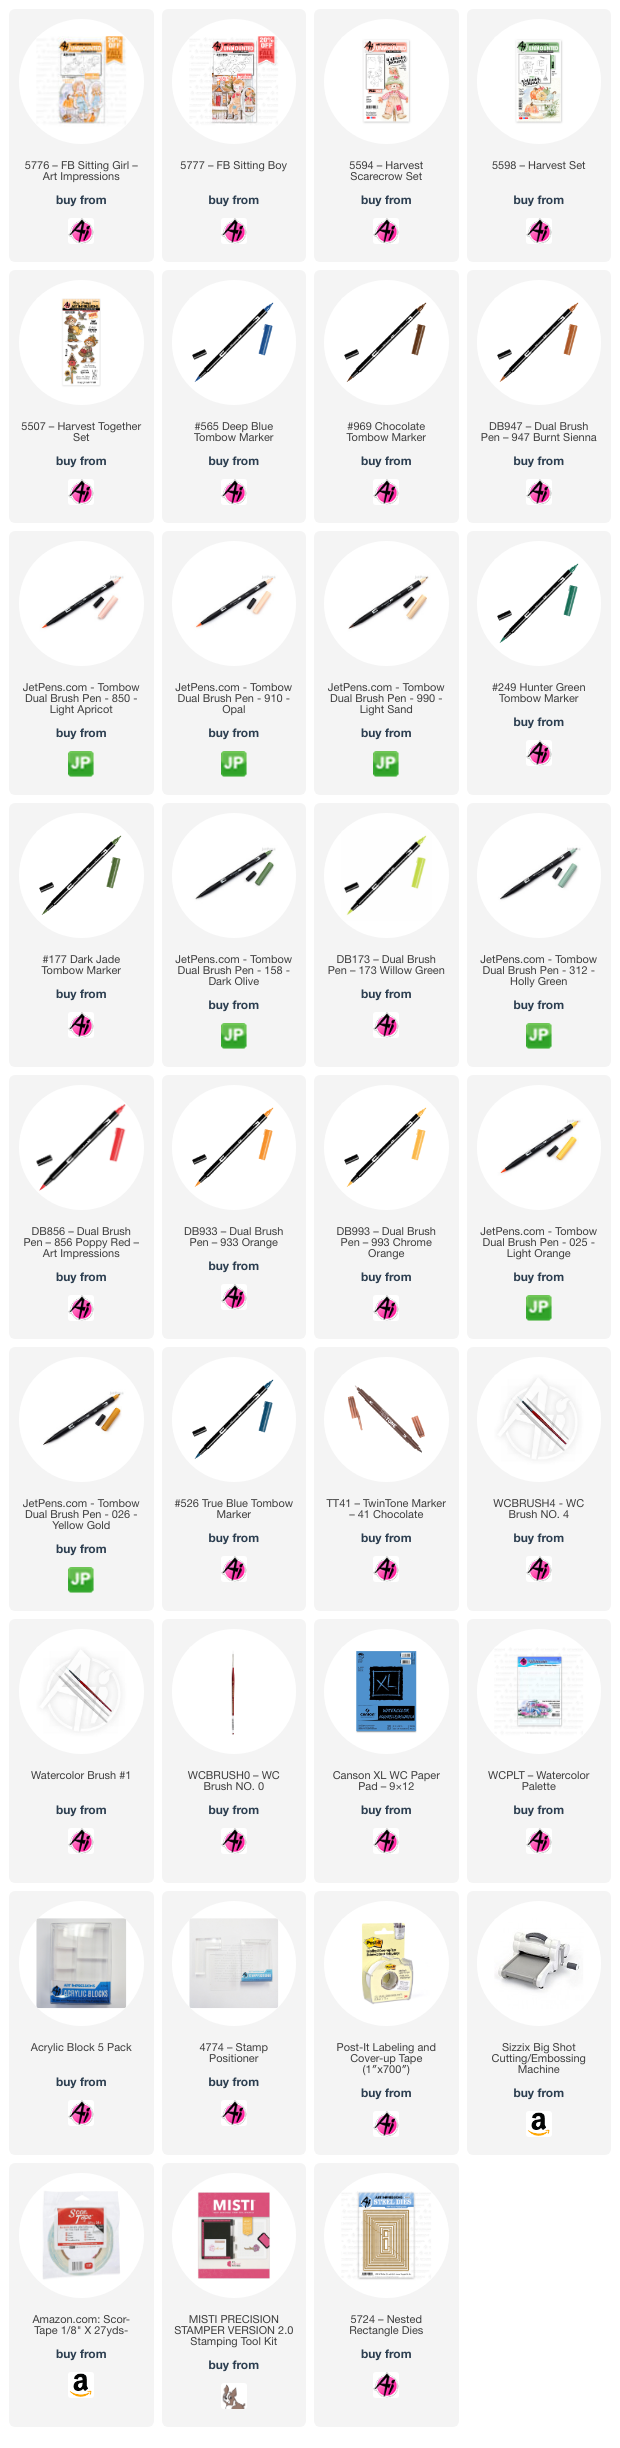
memories. I’ll be using Art Impressions 5776 – FB Sitting Girl,
5777 – FB Sitting Boy, 5594 – Harvest Scarecrow Set, 5598 –
Harvest Set, and 5507 – Harvest Together Set to create this
adorable fall scene.
.jpg)
For this card,
some masking is required – but nothing too complicated. When I have
a scene that uses multiple image stamps, I will create a “blueprint”
of sorts to follow. This way I’ll know what order to stamp each
image to create the scene. When it comes time to stamp the images
onto your Canson XL watercolor paper, you can place your blueprint
into a Misti Stamp Platform and align your stamps in the proper
positions. Or you can use a clear block and stamp positioner where
necessary.

I started off by
making masks of the girl and boy from 5776 and 5777, making sure to
cut all around them and between their feet. All images where stamped
in 969 (you could use 565/969 instead). Remember to stamp off before
adding to your watercolor paper! I used the blueprint to guide where
to stamp the girl and boy. I covered the kids with the masks and then
stamped the straw bales from 5598, aligning so as to make it appear
they are sitting on the bales. Next, I used a small piece of Post-It
tape to mask the straw bales. With the masks still in place, I
stamped the basket of pumpkins, gourds, and apples between the girl
and boy, just back a bit, so it will appear to be behind them. Next I
stamped in the sunflowers from 5594. And finally, I stamped the
scarecrow into the basket of fall produce and removed the masks. With
a damp brush, I pulled out some color from the stamped images to add
contours and shadows.
.jpg)
I used the
following colors to paint each image:
Girl – skin (850, 910), cheeks (touch of 856), hair (969),
shirt, shoes and hair ties (856), overalls (565)
Boy – skin (850, 910), cheeks (touch of 856), hair (025,
026), shirt (158), overalls (990, 969), patch (933, 993) and boots
(969)
Straw bales – straw (026), twine (969)
Sunflowers – flowers (025, 026), leaves and stems (249)
Produce Basket – basket (990, 969), red band (856, 847),
green band (249), orange pumpkins (933, 993), blue pumpkin (312),
yellow orange pumpkin (993), red apple (856, 026), green apple
(173, 177), stems (969), and gourd (850, 910)
Scarecrow – face (850, 910, 969), nose (933), straw hair and
hands (026), shoes (969), shirt (933), overalls (947), hat (158,
177), patches (856, 933, 565), pole (969) and robins (969, 856)
I used 969 for
the ground, and I added more layers of 969 to darken the shadowed
areas. I brushed in a watery sky with 526. Next I stamped the “Hay
Friend” sentiment from 5507, in the upper left area. As a final
touch, I added back any details where necessary with a brown
TwinTone. To finish the card, I die cut the painting with a rectangle
from 5724 – Nested Rectangle Dies and mounted to an A2 card base.
I hope you’ve
enjoyed this little taste of the coming season! Thank you for joining
us for another Watercolor Weekend and until next time – Happy
Painting!

Now let's see what Karen made. She has a different type of card than you're used to seeing from her and we know you're going to love it!
*******************************************************
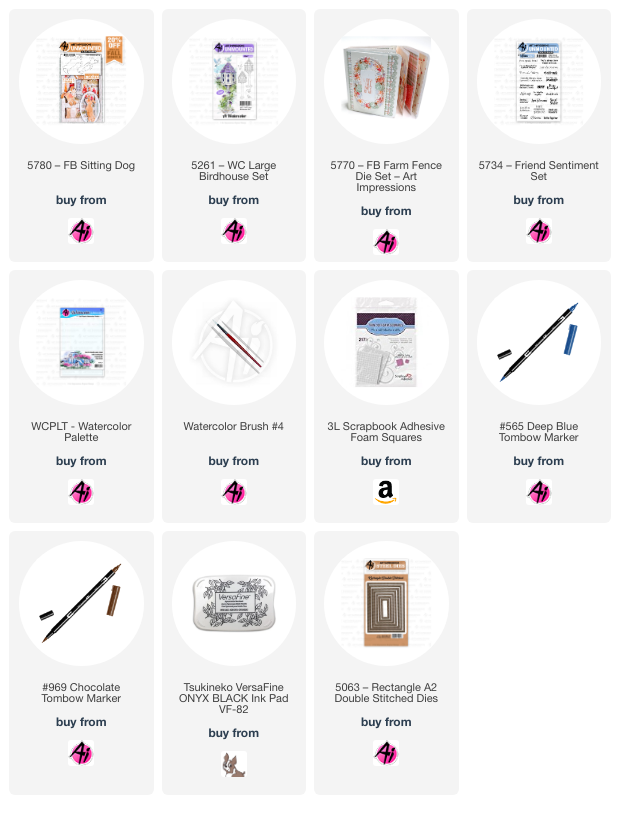
I stamped the little 5780 - FB Sitting Dog onto some Bristol Smooth Cardstock using Tombows 565 & 969, and painted him with N55, adding layers where he needed to be darker. I went over his features with my Black Twintone marker, then cut both the front and back out with the matching dies. I did the same with the bird from 5261 - WC Large Birdhouse Set, painting him with 533 and fussy cutting him out.
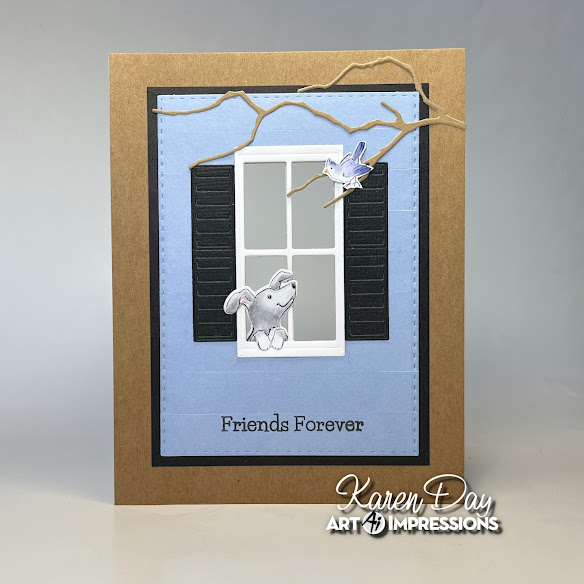
To create the window, I cut the window frame from 5770 - FB Farm Fence Die Set in white cardstock - twice, and cut the shutters out in black. It's a little hard to see in the photos, but I cut 1/2" strips of pale blue cardstock, and glued them all together to mimic the wood siding on a house. I ran this panel through my machine with the 5063 A2 Rectangle Double Stitched Die, then cut out two black & white polka dot rectangles as well. The black one was glued inside my card to be the 'inside' of the house, and the white polka dot piece was glued to the inside of the window. Once I had created my layers for the front of my card, I used the rectangle die that cuts out the window, then glued the two window frames on the inside and outside of my card.
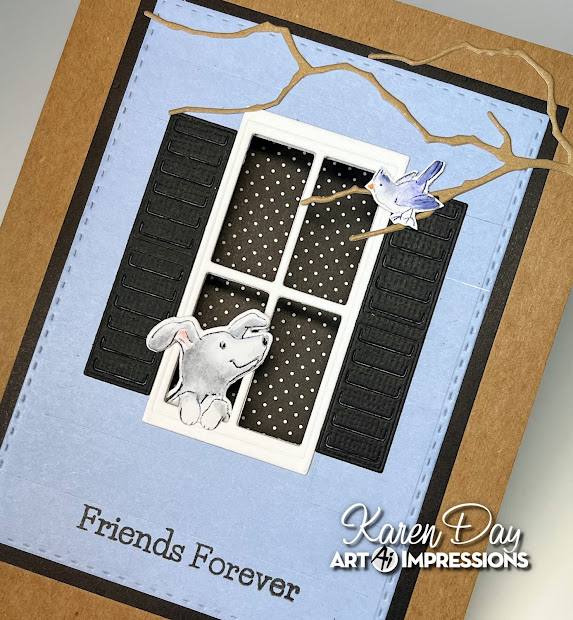
The pup was glued together and placed with his head sticking out the window to look up at the bird. The dies that cut him out also cut out under his paws, which allowed me to let them perch on the windowsill. I cut out my Memory Box Twig die in some kraft cardstock and glued it to my card so that there would be a good spot to have the bird standing on one of the branches. The sentiment from 5734 - Friend Sentiments Set was stamped in Versafine Onyx Black ink.
Even though this is an easy card - it required a lot of planning! You have to think before you glue things together, making sure you're not missing a step. It's also important with a Front & Back card to have the inside look nicely finished - so I made sure to have some patterned paper on the reverse of the front panel to not have the dog sitting there on his own.
Tricia did something a little different this week too in the form of how she is presenting her card. She created a step by step slideshow to help you recreate her card. You can pause this slideshow to follow along with her.
*******************************************************
(Hey there! This is Reneé chiming in on Tricia's card. Do you know I was so fascinated by the two children and how incredible they are that I didn't even notice the ghosts haunting them until the third or fourth time I looked at this?? lol! What a focal point. The details around them are just a huge bonus)

Thank you amazing DT!! You always have such gorgeous art to share with us.
Remember, if you create something using Art Impressions products be sure to tag us on IG or FB. @ArtImpressions
We'll see you back here on October 7th.
WOW!! Can you believe it's almost October??





.jpg)


.jpg)

.jpg)

.jpg)
.jpg)


.jpg)


