Showing posts with label watercolor. Show all posts

Sunday, March 10, 2024

Mother Goose Journal By Tricia O'Bin


Welcome Back Watercolor Tribe!


I have a special watercolor journal for you today, using so many stamps, 
but don't be intimidated!

I am challenging you to think outside the box.  

I created another journal like this that I will be showing off another time, 
but in the meantime, I am really happy with the way this one turned out!  

Won't you come along and step back in time,
to when you listened to a nursery rhyme or two?


Introducing, my watercolor Mother Goose nursery rhymes journal.

I created the journal using the following supplies:

1 piece heavy cardstock for cover
2 pieces of heavy cardstock for 6 pages
Scrap watercolor or cardstock for clasps
19 pattern paper masks were die cut 
(front, middle, back, 2 ea pages 1-3 and 8-10, middle 4)
9 finished paintings cut to 3.5 x 2.25

For the cover I used a discontinued (sorry) set that has two geese on the stamp.
First, I inked up only one and stamped her down.  I pulled a small amount out of the lines to keep her white.  You could also use some of the birds to morph into a goose.  I painted some orange on her beak and feet.  I added some 569 and 969 underneath her to ground her.

I hand painted in the hat and bow.  
For the words, I used the small alphabet stamps.


Mary had a Little Lamb 

(or sheep in this case LOL)


For Mary's schoolyard "lamb", I started out by stamping the Sheep from the Good Shephard set using 969 and 569.  I stamped it off several time to make sure if was really light (white as snow). I pulled a bit of color into the sheep's shadows and under her feet. To protect her while I worked on Mary, I created a mask.  

For Mary, I inked up one of the Angels without the wings.  I also made sure her hair was really light because I wanted to extend it down. I made sure to stamp her close to the sheep's face. I pulled some color out of the lines and penciled in her hat.  I added some purple and pink to the hat and her arms for sleeves.  For her dress, I pulled some additional color in making sure to paint strokes that are parallel to the artist drawn lines. Her hair is built up using layer of browns to create depth.  Add some dark color underneath her to ground her.

Next, I stamped the small structure from the Garden Shed set inked with 969.  I liked the open window so I could hand paint in the chalkboard, floor and desk.  After pulling the color out, I added red to the walls and green to the roof.  I added 569 and 969 sporadically around for the appearance of snow and a mountain the distance.  I added some light blue into the sky to finish it off.


Three Blind Mice


I started by using the 3 mice from the Mini Mice and Squirrel set inked up with 969.  I took my time and built up the dark shadows on these little guys.  Once I was done I grounded them using some 969 and 569 underneath them.

For the Farmers Wife, I used the running girl from the Silhouettes set inked with 569 and 969. By adding her closer to the top, she appears further away in perspective. 

Next, I stamped the barn from the Barn set. I pulled the color out of the lines and added some color to it from my palette.  I added a small amount of water using my 0 paintbrush to her.  Lastly, Using 569 from my palette, I painted in the snow and sky.  

To see the entire journal, please visit my blog.  

I hope I have inspired you today!

I can't wait to see what interesting things you morph your stamps into.  
A theme is a fun way to explore you creativity.  I hope you will tag me so I can check them out!

Until next time, have a crafty day!


SUPPLIES:

Saturday, September 18, 2021

Watercolor Weekend Roundup 9-18-2021

Hello watercolor fans! 
It's time for Watercolor Weekend Roundup!
This weekend our Watercolor Design Team is all about the fall scenes!
Tricia has a fall table full of pumpkins and apples,  Dot has another wonderful "farmhouse chic" creation...this time in a fall theme and Karen has a stunning scene using the new Vintage Car.  You can see the leaves in her trees beginning to change.


 Hi Watercolor Fans, Happy Almost Fall! It is one of my favorite seasons here in New England. I thought I would welcome all the things that make me feel fallish and put them on a card.


 I added the Blessed & Grateful sentiment at the bottom which I find is pretty perfect for those Thanksgiving cards. The Painting To start, I inked the WC Foundations Wood Table stamp with 969. I stamped it in the middle of my watercolor paper and pulled the color out of the lines. Using my palette, I added some additional color to the pots. To add some interest, I painted in a flower on one of the pots and decorated the other pots using the fine point of my 606. To mask the pots, I used small post it tape strips and using the stamp positioner, placed the pumpkins and apples into the pots. I added layers of yellow and orange to the pumpkins and green to the stems. I added red in layers to the apples. For the watering can flowers, I inked up the single stem from WC Flower Set 4 with 606 and 177. I stamped it multiple times before reinking it. I added water to the leaves and buds. For the grass, I inked the small grass with green and stamped it in several places below and beside the pots. I inked the small dots with red and stamped a few above the grasses to create some wildflowers. I masked off the pumpkins and apples and stamped the small wheat with yellow and brown behind the pots underneath the table. I inked the ferns up with green and stamped them around the outside of the scene. For a last final touch, I inked a branch with brown and stamped it around the outside. I used some blue to create a simple cloudy sky. I finished it off with my initials and date. It is so amazing to go back and look at your previous years’ work. It truly shows you how much you have grown as an artist. So that’s my Blessed & Grateful card for this weekend. I hope you all have a wonderful creative weekend and thank you for stopping by and spending some time with us. Make sure you put your pictures on Instagram and tag us so we can see what you come up with! #AIWatercolor See you next time! SUPPLIES:


Hello!
Are you ready for the bi-monthly Art Impressions Watercolor Weekend? I created another "Shabby Chic" scene as Renee from Art Impressions called it, but this one has a fall theme. It's pretty fast and would be good for a fall birthday or Thanksgiving card, don't you think?


 You could use whatever containers, foliage or flower stamps you already have but you need some pumpkin stamps from the 5426 Veggies Set or the 5059 Harvest Set and the apples and basket stamps from the 5059 Harvest Set. Stamp the watering can first from the 5123 Decorative Jar Set inked in the 969 then 565 Tombow pens and stamp it off before stamping it onto your watercolor paper. Cover it with post-it tape to stamp the pumpkin next to it inked in 969. Then you cover that pumpkin with a mask and stamp the other pumpkin. Mask that pumpkin then stamp a pot over the pumpkins as it is behind them. Ink the basket in 969 then stamp it next to the watering can. Cover it with post-it tape and stamp the apples inked in 969 into the basket. Pull the color out of the lines on everything. Color the basket with 947 and 026. Color the apples with, 158, 847 and 993, leaving a white highlight. Stamp the flowers from the 5008 Flower Set 3 inked in 026 onto the watering can. Stamp the foliage from the 5126 Foliage Set 4 on the can inked in 925. The yellow, red and brown foliage is from the 4963 Fall Set. The curly branches are from the 4964 Branches Set inked in 947. The orange pumpkin is colored in with 925 and a little 847. The green pumpkin is colored with 026. Use the brown Tombow TwinTone pen for the stems and curly cues. The pot is colored in with 969 and the flowers are from the Flower Set 4052 inked in 847 and the foliage is from 5126 inked in 249. The shiplap wall is made when you are done using a pencil, t-ruler and then a little Tombow 565 for the shadows. Hope you give this a try and tag me in it!

Ai_Dot_DT.png


 Hello Ai Watercolor fans!
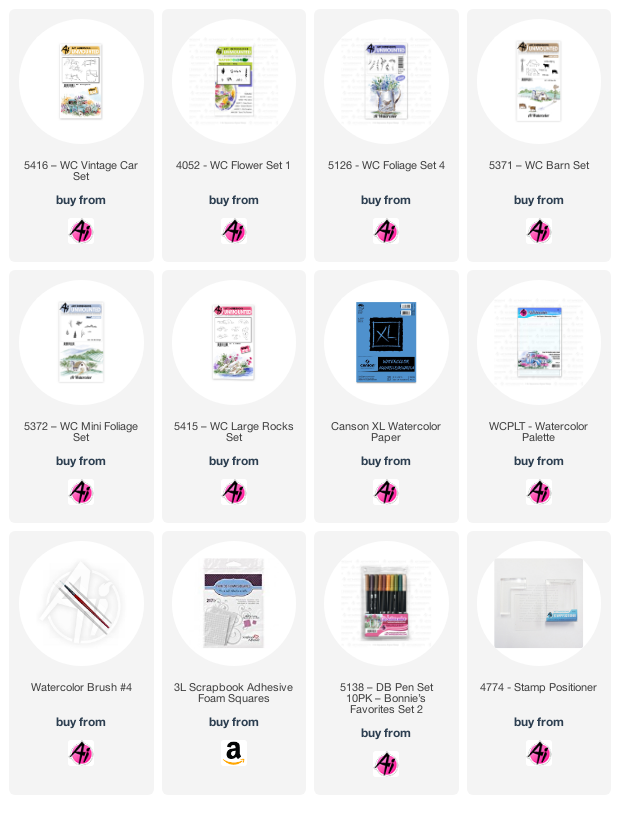
I have really been loving all the purple that I've seen recently in a lot of fall cards, and decided to incorporate it into my scene using 5416 - WC Vintage Card Set:

I coloured the car with Tombow markers #969 Chocolate/565 Deep Blue, and then did the same with the barn from 5371 - WC Barn Set, using my Stamp Positioner to get the placement right.  I also used it for my fence, as I wanted it to appear along side the car - and I only coloured a portion of it.  I sketched in the hillsides, the path to the barn and the roadway, then after masking the barn, I stamped the trees from 5372 - WC Mini Foliage around it, and used the foliage stamp in the set to add the leaves using #933 Orange, #177 Dark Jade and #126 Light Olive.  I painted a wash of #177 on the hillsides, then masked them off and stamped the pine tree from the set in various heights to create a line of trees in the distance.

I used my damp brush to pull the colour out from the lines on the car, and then picked up #493 Reflex Blue from my palette and painted several layers on it to look worn and a bit faded.  I followed the packaging from the stamp set for most of my design as it works so well!  Using the daisy bunch with #933 Orange and #856 Chinese Red, I stamped flower clusters around the car, and then did the same with the vine from 5126 - WC Foliage Set 4 using #177 Dark Jade and #636 Imperial Purple.  After dabbing everything with my brush, I added some rocks from 5415 - WC Rocks Set in the foreground, shading them with greys & blues.  Using the grasses from Foliage Set 4, I filled in around the base of the car and fence.  I added shades of #969 Chocolate and #565 Deep Blue to the fence to darken the wood.  The barn was painted with #856 Chinese Red with a little brown mixed in to dull the colour, and the grey tones were added to the roof.  Some #493 was painted in as the sky.


These designers work hard on each card they make for your inspiration!
If you like what you see be sure to let them know!  You can leave comments here or on their
social media.  All 3 of these ladies are on Instagram and you can follow them there.
Dot 

Thursday, September 9, 2021

I love You and Many Thanks Card Set by Crystal


Hi Ai fans this week I played with the Roses stamp set. I used it in two different ways on my card. 


For the first card I used Spectrum Noir Aqua markers to stamp the image. I just color on the stamp with the different colors I want to use then breath on the stamp and stamp the image onto water color card stock. I then use a water color brush to color in the image slightly with color that was stamped. I used the sentiment "I Love You" on this card. I love the soft look the image gets with this technique.  


The second card I stamped the image with Versafine black ink. Then water colored the image in. I used the sentiment "Many Thanks" on this card.  


Both cards I die cut the image out with a double stitched oval die and matted the oval onto pattern paper then matted that onto pink card stock. I love the look of both cards but its fun to stamp with different techniques to get a different feel of the card. 


Happy Stamping! 


Friday, July 2, 2021

Ai Watercolor - Bible Journaling Summer 2021 Release

Hello Ai fans!

Today we have a BUNCH of tutorials from original artist Bonnie Krebs as well as a Watercolor Weekend Roundup sneak peak!


This past Wednesday Art Impressions released 4 new Bible Journaling stamp sets and Bonnie did several projects to help you see how you can use them.


Maybe you don't Bible Journal?
You don't have to.  These stamps can also be used to create cards and other projects.


Our Watercolor Design Team has some inspiration for you.

This is just a sampling of their creations.
Check back tomorrow for even more!


Dot's card.


Aren't these cards the most beautiful!!

Check back tomorrow for even more inspiration from this amazing team!

Have a great holiday weekend and Happy Stamping!

P.S. Check in on Sunday for a little surprise from 
ReneƩ for her 10 year Ai anniversary!!


Saturday, June 5, 2021

Watercolor Weekend Roundup ~ New WC Foundation Stamps!


Hello, Ai Fans!

Welcome to another Watercolor Weekend Roundup!

We're back with some wonderful inspiration for you!  Our fabulous Watercolor Guest Design Team has created some beautiful cards using the brand new
WC Foundation Sets.

Be sure to follow these lovely ladies on social media by clicking the link in pink next to their names!


Tricia O'Bin - Blog - Instagram - YouTube - Pinterest - Facebook

Hi Watercolor Fans, welcome back to watercolor weekend here on the Art Impressions blog.  We are so thrilled to be able to join in the launch of the NEW watercolor stamps.  Today’s project spotlights one of the new foundation stamps.  I love everything about these as you have a scene already created for you and all you need to do is fill it with flowers and foliage, easy peasy.  Come along with me and I’ll tell you how I created this Potting Bench.


The potting bench and containers

To start off, I inked the entire background stamp up with 969.  I also added some 569 (you could also use 565) to the pail and watering can.  This is a big stamp so before I stamped it down, I huffed on the entire image.  (Tip: the moisture in your breath will reactivate the ink on the stamp.)  I stamped it into the middle of the watercolor paper.

As with all projects, I started out by pulling the color out of the lines towards the center of the potting bench and each of the containers, one at a time.  Using my palette, I added additional color, making sure to concentrate the darker color where the shadows would be to create a more realistic look.

I added some pink to the container on the top left and blue to the bird house.  To add a bit of interest, I painted a couple of flowers onto to the bird house.


The flowers and foliage

There are so many wonderful pots, I chose several flowers from a few different sets.  You should use what you have, anything will work.  There is really no rhyme or reason to what I chose I kinda just did one at a time.  

I started with the long vine from the WC Foliage Set 3 inked with 249 (I am using 2 different greens to get a variety). To make sure I placed the vine where I wanted it, I used my stamp positioner and also masking tape to protect the areas I didn't want to stamp.  I added water to soften the leaves.

I also used the positioner to stamp the cacti into the top pots.  Using the ink on my positioner, I added some additional color to the cacti, making sure to leave white space along the tops.  Even though the stamp doesn't have flowers, I painted in some pink flowers.

For the middle of the potting bench, I used the big puffy flower from the Watering Can set.  I inked it first with 925 and stamped it several times around the box container.  I reinked the stamp with 725 and stamped that several times on top of the orange.  I added water, making sure to keep some white space, which created a really nice color mixture.  I continued this process on the rest of the containers. 


The hat and background

For the hat, I added some 925 starting from the darkest areas and pulling the color toward the brim.  I left white space along the brim and lighter color to the front of the hat.  Once that was dry, I continued to add additional color.  For fun I added lines and painted in flowers.


I added a shadow below the potting bench and blue for a light background, this adds some additional dimension.  Finally, the finishing touches, I used a marker to darken some of the areas I thought needed a little more color.  By adding darker shadows it really makes your painting pop.

And last but not least, I signed and dated my work.

 Thank you so much for stopping by and I hope you enjoyed our projects spotlighting the new Watercolor Stamps release.  We will have more for you so don't forget to check back often.  Tag us on Instagram so we can see your projects.  Also use the hashtag #AIWatercolor so everyone can see your awesome projects.  Have a crafty day!


Dot Freel - Instagram - Blog - PinterestYouTube


I bet you are as excited as I am about the brand new Art Impression's stamps. The brand new four foundations are fabulous! They take the work out of creating a scene like this one - no planning or masking. It's a game changer. Use any flowers or animals and use any colors you like. I chose to use this stamp set for my favorite red, white and blue theme because of the three chairs. I stamped the foundation from the 5433 Foundations Chairs in with N45 which doesn't really allow you to pull the color out of the lines but I was ok with that. I just used the palette to watercolor everything in and then used 565 to add shading and shadows. I drew in the USA pennant. I used the Molotow masking pen to add the white dots and the lines on the pots in the middle. 

Karen Day - Blog - Facebook - Pinterest - Instagram

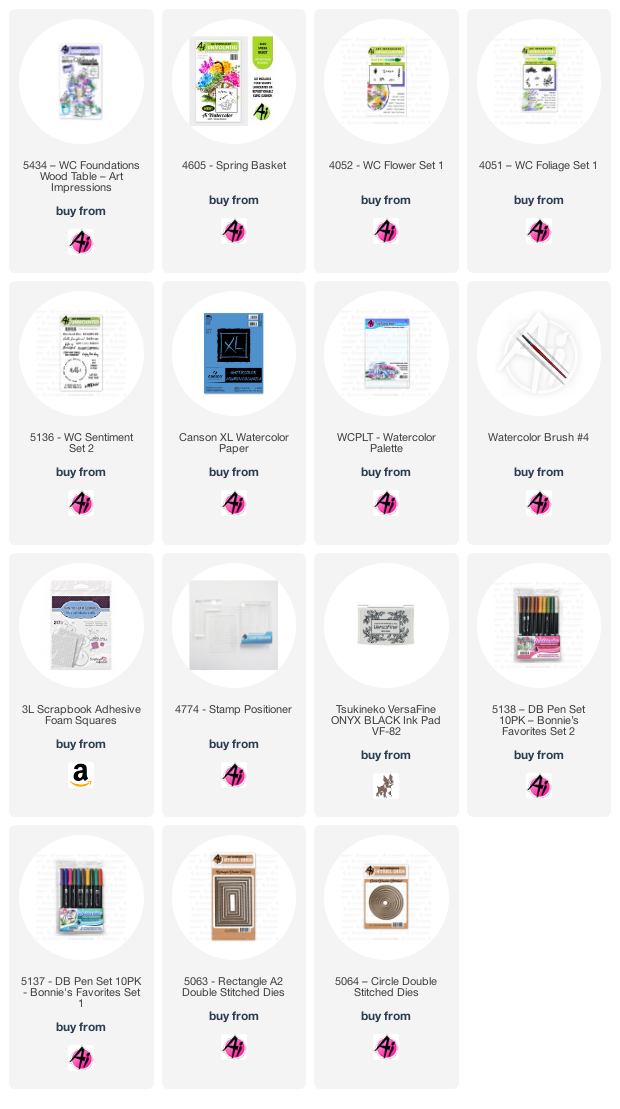
 I'm using the wonderful 5434 - WC Foundations Wood Table today!  I decided that I would make my scene a Farmer's Market - just think of all the different things you could put in those containers!

Before I started, I stamped out all of the images from WC Peeking Animals, and WC Veggies to create masks.  The first thing I stamped was the pumpkin!  Using #933 Orange/#177 Dark Jade, then covered it with a mask.  After stamping my foundations image in Tombow #969/#565, I started by stamping the squirrel in #947 Burnt Sienna, and the possum (??) in #992 Sand.  Then, I went to town masking like crazy.  I masked off the edges of each pot, so that the veggies would appear to be in them.  I'm just going to list all of the images and colours used:  Eggplants #636 Imperial Purple; Tomatoes #856 Chinese Red; Broccoli #249 Hunter Green; Artichokes #076 Green Ochre; Yellow Peppers #993 Chrome Orange.  I used the Salvia from 4052 - WC Flower Set 1 in #565 in the top bucket, and the bloom from 4605 - Spring Basket in #856 in the lower bucket.

I painted all of them in by picking up the colour from my palette, adding it in layers to achieve deeper colours.  The warm pots are painted in #947, the blue ones in #493 Reflex Blue, and the greys and wood table are all painted by mixing combinations of #969/#565.  The large grass from 4051 - WC Foliage Set 1 was stamped in #177 around the containers and the colour was pulled out with a damp brush.  I used #565 to create shadows around the sides, under rims and in all the darker corners of my veggies & pots!  #493 was painted in as the sky, and I stamped the sentiment from 5136 - WC Sentiment Set 2 on a circle of watercolour paper cut with the 5064 - Circle Double Stitched Die.  The entire scene was cut out with the largest 5063 - Rectangle A2 Double Stitched Die.

Isn't this design team WONDERFUL?!

Hope you enjoyed this weekend's inspiration.

Do you watercolor the Ai way?
If so, be sure to tag us @artimpressions and #artimpressions on Instagram so we can see! 

Happy Stamping!

Thursday, April 8, 2021

Bear-ista! Life Without You is Unbearable by Crystal


Hi AI fans! This week I made a coffee card with the Pand-tastic stamp set. Sometimes I like to make a card fast and this was one of those fast cards. I stamped the image onto water color card stock. Added some black to the panda bear and a little grey to the white parts of him for some shading. 


Once the panda bear image was dry I fussy cut it out. I added the panda to a pattern paper coffee cup that I had fussy cut out. I stamped the sentiment "BEAR-ista!" to the second layer of card stock on my card. I then stamped the sentiment "Life without you is UnBEARable" on the third layer of card stock. 


Super simple card was done in about 10 minutes but I still think it's cute. I think I might need to give it to my hubby since he is the one in our house who makes the coffee every morning and I do need my coffee every morning! 

Happy stamping!