Watercolor Weekend Roundup - Clean and Simple Projects
Hello, Ai Watercolor Fans! We're back with MORE watercolor inspiration for you this weekend! Check out these adorable projects by Dot, Tricia K and Tricia O!
Hello Watercolor Friends,
I made this fun birthday card for the Art Impressions Watercolor Weekend using the cowboy boot from the 4871 - WC Rustic Container Set. I stamped it in brown 969, then stamped it off on post-it tape, cut that out then covered the boot, inked up the stamp again and used the 4774 - stamp positioner to stamp the second boot. I pulled the color out of the lines then watercolored the boots in the brown 969 and pink 725 from the palette. I used the 40 brownish grey to watercolor in the ground for the boots and then shade from one boot to the other boot. Next I stamped the flowers from 5008 - WC Flower Set 3 in the boot and one on the ground using the 177, 636, and 725. I touched the flowers with a little water to bring out the color then stamped more flowers only, no stems. I die cut a balloon in pink glitter paper and glued it above the flowers and drew the black string using my favorite Copic pen 0.03. Then I used blue 528 on the palette to color in the sky. I used the purple 636 to make a shadow of the flower on the ground. I used an 5065 - Oval Double Stitched die to cut out my scene and a 5063 - Rectangle Double Stitched die out of the purple paper for the background. I used the 5064 - Circle Double Stitched Dies to cut out a piece of the pink glitter paper and the white paper for my sentiment. I stamped the sentiment "Love You" from the 4903 - WC Sentiments Set set in the brown 969 and used a foam square to give it some dimension. I stamped the inside with a "Happy Birthday" sentiment. Hope you get inspired to try this yourself. Use the cactus stamps and make a card for a male. I'm always looking for those kinds of cards with all of the males in my family. 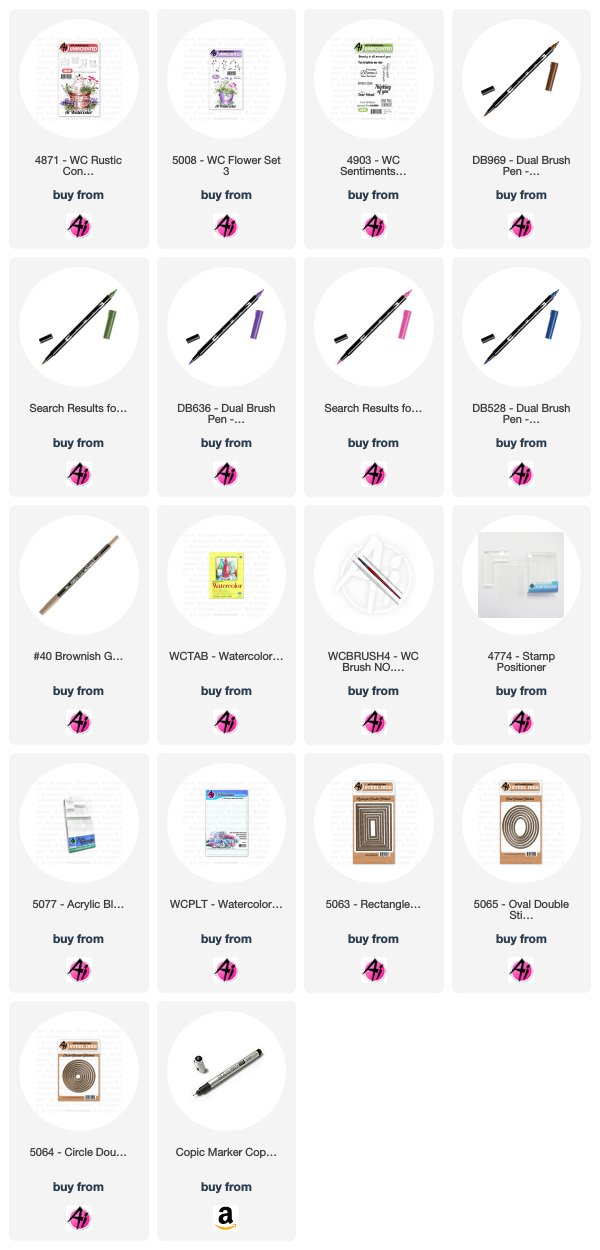
Sometimes just a simple HELLO is all you need!
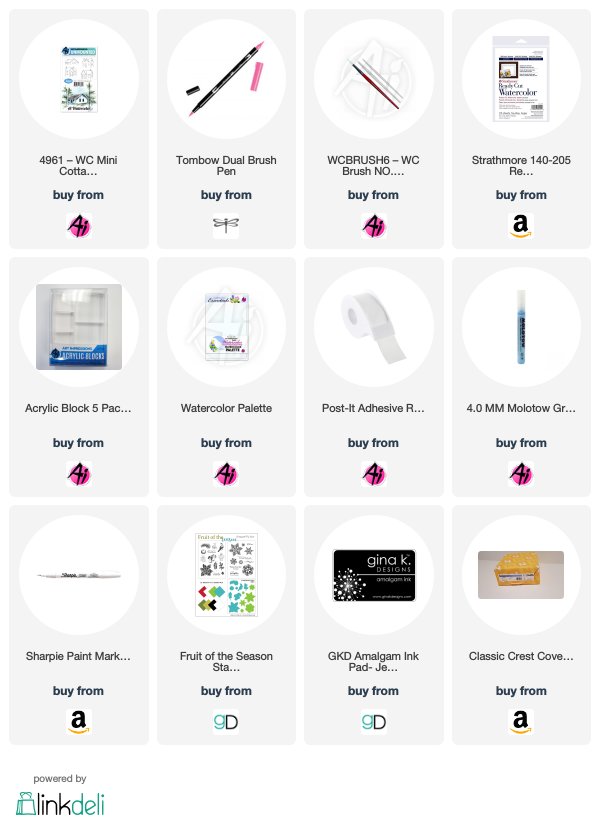
For this card you will only use three stamps and four markers – it’s quick, easy and super cute. Begin by stamping the pot from the WC Small Container Set in 969 Chocolate. Watercolor the Art Impressions way with water and a paint brush. Next mask off the top of the pot with masking paper or a post it note, then stamp the flowers from WC Flower Set 2 in 177 Dark Jade and 725 Rhodamine Red. Stamp in foliage from the WC Foliage Set in 177 Dark Jade. Darken up the pot with a bit of 879 Brown. Add dot detail around the flowers with 725 Rhodamine Red. Use a Dymo to create the HELLO sentiment.

Hi everyone, welcome to Art Impressions Watercolor Weekend. My fellow design team members have outdone themselves again. Join us for some inspiration. I chose to follow the weather outside with my Let It Snow polaroid picture card. I love creating cards that look like they are dimensional. It’s a simple card that only uses 1 stamp.
Step 1: First I took a rectangle and square die to create the polaroid picture shape. I made it shorter than the rectangle, but I was just trying to get the basic shape down. You can do this with a ruler just as easily. I traced the dies in pencil. Next, I masked around the square to watercolor the scene using Post-It tape.
Step 2: I inked the cottage from the WC Mini Cottages Set up with 569 (Jet Blue) and 969 (Chocolate). I pulled the color out of the lines. For the roof I pulled the Jet Blue up from the bottom of the roof, making sure to leave the top white. I added some additional chocolate from my palette to where it would be darkest. I also added some Jet Blue to the left side to give it a little more shading.
Step 3: Using my palette, I added some light Jet Blue beneath and behind the house. I added water only to soften the lines.
Step 4: I added Molotow masking fluid to the sky (as snow) and let it dry. To create the sky, I added 565 (Deep Blue) slowly to create a night sky. I kept adding color to the top and pulling it towards the house to create a gradual lightning. To make the top of the sky darker I also added some Jet Blue. Once it was completely dry, rub off the masking fluid to reveal the snow and smoke. I added some additional snow with my Sharpie paint pen.
Step 5: On the left and bottom of the polaroid, I added N45 (Cool Gray 10) direct to paper. With a wet brush I pulled the color down to create a shadow. I outlined the outside and the painting with a black liner pen. Using my MISTI, I stamped the “Let it Snow” sentiment from Gina K Designs with Amalgam Ink.
Step 6: To create the wood background, I took a ruler and my Cool Gray 10 and again direct to paper and drew lines. I used a wet brush to soften the lines. Then I added some to my palette and lightly added some additional color to the boards. I cut the piece down to 3.75 x 5 and mounted it on a matt piece of designer paper cut to 4 x 5.25 and mounted it to a folded notecard.
I hope you will join us again this week for some watercolor inspiration. Tag us on Instagram and use #AIWatercolor so we can see what you were inspired to create.
Tombow markers: 969, 569, 565, N45
Thanks, team! These projects are just too cute! We love how each project is so different, and uses a simple approach to show how less is more!
Happy Stamping!


3 comments:
What a fun variety of cards. I especially love Tricia O's snowy scene. The cabin and snow just pop against the dark blue sky. Beautiful.
These are all so gorgeous!!! Love them all!
All three projects are absolutely beautiful! Well done!
Post a Comment