Showing posts with label Dot Freel. Show all posts

Sunday, December 1, 2024

Christmas Wishes #12 December Monthly Guest Designer Challenge with Dot Freel

  Hello Ai fans!

Welcome to our Monthly Challenge.

This month's theme is Christmas Wishes!

We want to see all of your handmade holiday projects.
Cards, journals, ornaments, gift boxes and bags, GC Holders...
You name it!

We're thrilled to have Dot Freel as our final Monthly Guest Designer.
This is our last monthly challenge but be sure to check out our Bi-Weekly challenges for lots of fun and the chance to win free stamps!

Before we see what Dot created, let's see who won our Frame It challenge!

We selected #5 Francesca for her adorable framed snowman.


Please contact Leah at Feedback@artimpressions.com
to claim a free stamp set of your choice!!

Congratulations!

Our Lucky Random Winner of a free stamp from me is #2 Amy M.

Please contact me at Renee@artimpressions.com with your address to see what freebies I have and claim your free stamp.

Now, onto Dot's gorgeous Christmas scene.
Her painted snow is incredible!


Hello,

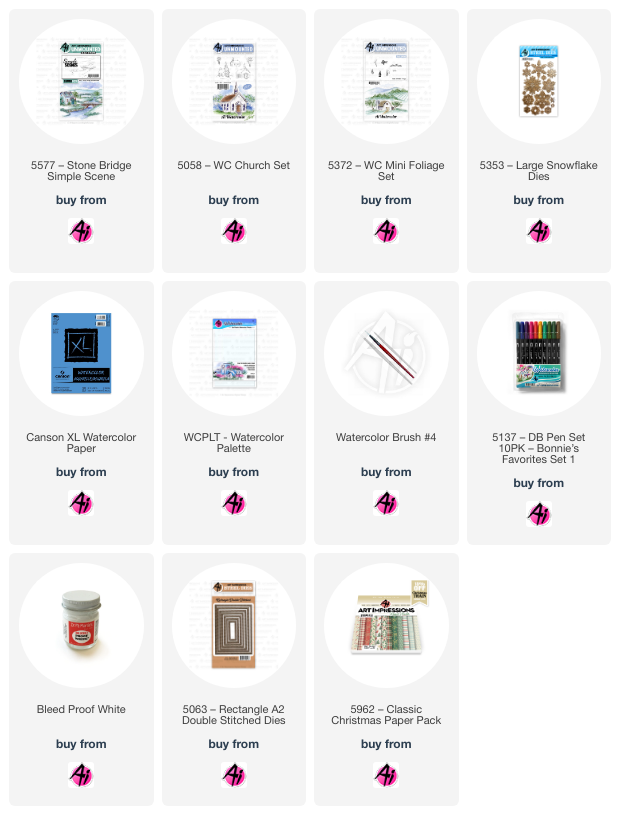
I get to be a Guest Designer for my favorite stamp company Art Impressions! I am busy making Christmas cards. Last year I didn't send out cards for the first time ever so I'm happily getting them made and ready to send out this year. I used the church from the 5058 - Church Set and the bridge scene from the 5577 - Stone Bridge Simple Scene. The trees are from the 5372 - Mini Foliage Set. The snowflakes are from the 5353 Lg Snowflake Dies and I doubled them up then used a brad for the centers. The snow is made using the Dr. Ph. Martin's bleed proof white paint. Give this one a try and add some Wink of Stella glitter to make it even prettier! The 5063 - A2 rectangle dies and 5962 - Classic Christmas paper from Art Impressions finishes it off beautifully. 


Here is the fine print...

✻ Please make a new card or handmade crafty creation.
✻You can make any item you wish; this is not limited to cards!
✻ Limit two submissions per person. 
✻You MUST use Art Impressions stamps or dies! You may use other companies products but the main focus should be on Ai items.
✻If you win, you will receive one free stamp set of your choice. 
✻We will share your creation on Art Impressions social media.
 ✻Please include your first name and last initial on your submission.
✻We love to comment on your entries, but keep in mind if you use a private group or a platform that you need to sign up for, we probably won't be able to.
✻ The Ai Challenge is open to everyone, international submissions are welcome!
✻ Include a link back to the Ai Blog or grab our button on the top right of our sidebar!
✻ Share the Ai love if you can, by clicking and commenting on your fellow crafters.
✻ Make sure to get your link up by the deadline to enter your creations.
✻ Good luck and happy crafting!


You are invited to the Inlinkz link party!

Click here to enter

Sunday, March 31, 2024

Bonus Watercolor Weekend with Guest Designer Dot Freel!

 Hello Ai fans!

Happy Easter!!

As you know, every Sunday we have a Watercolor Weekend post from one of our fabulous Watercolor Design Team members. There are 4 designers because there are usually 4 Sundays in a month.
This month is special. Not only were there 5 Sundays, today is Easter Sunday!


We are so lucky to have former DT Member Dot Freel as our special "5th Sunday" Guest Designer.

She created a gorgeous Spring scene featuring a sweet bunny and a beautiful church because...it's Easter of course!

Let's hear all about Dot's card.

-------------------------------------------------------------------------------------------------------------------------

Hello,

It's been a while since I posted on my blog. I get to be a guest designer on the Art Impressions blog this weekend and was inspired by where I live now in beautiful Bella Vista, Arkansas. Spring is so gorgeous here with all the green and the white and purple trees blooming. There are also daffodils all over town. There are bridges and churches and lots of water here. I'm so happy I moved after living in the desert of Las Vegas, NV for 36 years. 


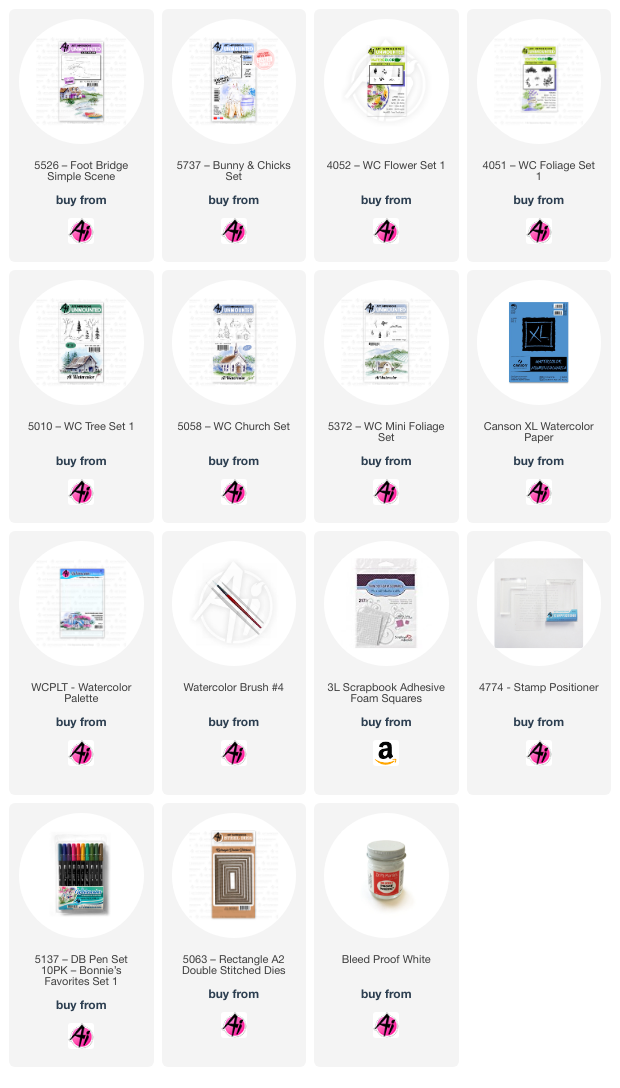
I started this by stamping the 5526 Footbridge Simple Scene. Next, I stamped the church on the hill from the 5058 WC Church set. I knew I needed color under the trees so the white would show up so I colored everything including the sky then stamped the smaller tree from the 5010 WC Tree set in the four places. I used the flowers from the 4052 Flower Set for the purple tree in Tombow 685. The yellow and pink flowers are the dots from that same flower set. The grass is from the 4051 Foliage set in front by the bunny from the 5737 Bunny and Chicks set. The foliage in the back is from the 5372 Mini Foliage Set. The white trees are made using the Dr. Ph Martin's bleed proof white. I hope you guys give this a try and tag me in it if you do, please. Happy Easter! 

Thank you so much Dot! We love your card.

Happy Easter everyone. Have a safe and wonderful day with your friends and family.


Sunday, October 23, 2022

SSS 2021 Exclusive by Dot (Stay tuned for 2022!!)

 Hello Ai fans!

Dot was busy this weekend making a card for a friend.

She used the former 2021 Simon Says Stamp/Art Impressions Hug in a Mug exclusive set.
Stay tuned for the upcoming 2022 SSS Exclusive set coming next month!


Hi!
This is the 2021 Art Impressions Stamptember Exclusive stamp set sold only at SimonSaysStamp.com  I made this card for my friend Gaylynn. I think it was Kendra Krebs who colored one like this for Christmas time. Maybe it was Bonnie Krebs - I truly don't know. Please let me know if you know in the comments and I will update my blog. So fun to use our watercoloring stamps on this set. The Art Impressions 2022 Simon Says Stamp Exclusive Christmas stamp will be out soon so make sure to get it before it's gone! There's one out there that I still wish that I had gotten a few years ago. 

Ai_Dot_DT.png

Thank you Dot for sharing your adorable card.  We KNOW your friend will LOVE it!

Here's Kendra's card that Dot was referring to.


Enjoy your weekend everyone!
Happy Crafting!


Thursday, June 24, 2021

Watercolor Simple Scenes New Releases!


Hello, Ai Fans!

Welcome to another Art Impressions new Watercolor release!

This week Bonnie premiered her 2 new Simple Scenes!
For those of you on FB you got a sneak peak with her tutorial yesterday!


Bonnie used the new 5431 – WC Simple Scene Rocky River for her painting. 
The other new scene is 5430 – WC Simple Scene Lake.

Besides Bonnie, our wonderful Watercolor Design Team has also created some amazing art work for you using the new Rocky River scene!


Hope you enjoyed this inspiration, and Happy Stamping!
Check back with us on Saturday for our Watercolor Weekend Roundup when the WC DT shares how they created their cards.


Do you follow Art Impressions on Facebook
Bonnie frequently gives away her artwork to fans!
You just may win one if you're watching.


Saturday, May 15, 2021

Watercolor Roundup 5.15.21 : Trying Something New


Hello, Ai Fans!

Welcome to another Watercolor Roundup!

This weekend our Watercolor Design Team has challenged themselves with "Trying Something New"!

Be sure to follow these lovely ladies on social media by clicking the link in pink next to their names!


Tricia O'Bin - Blog - Instagram - YouTube - Pinterest - Facebook

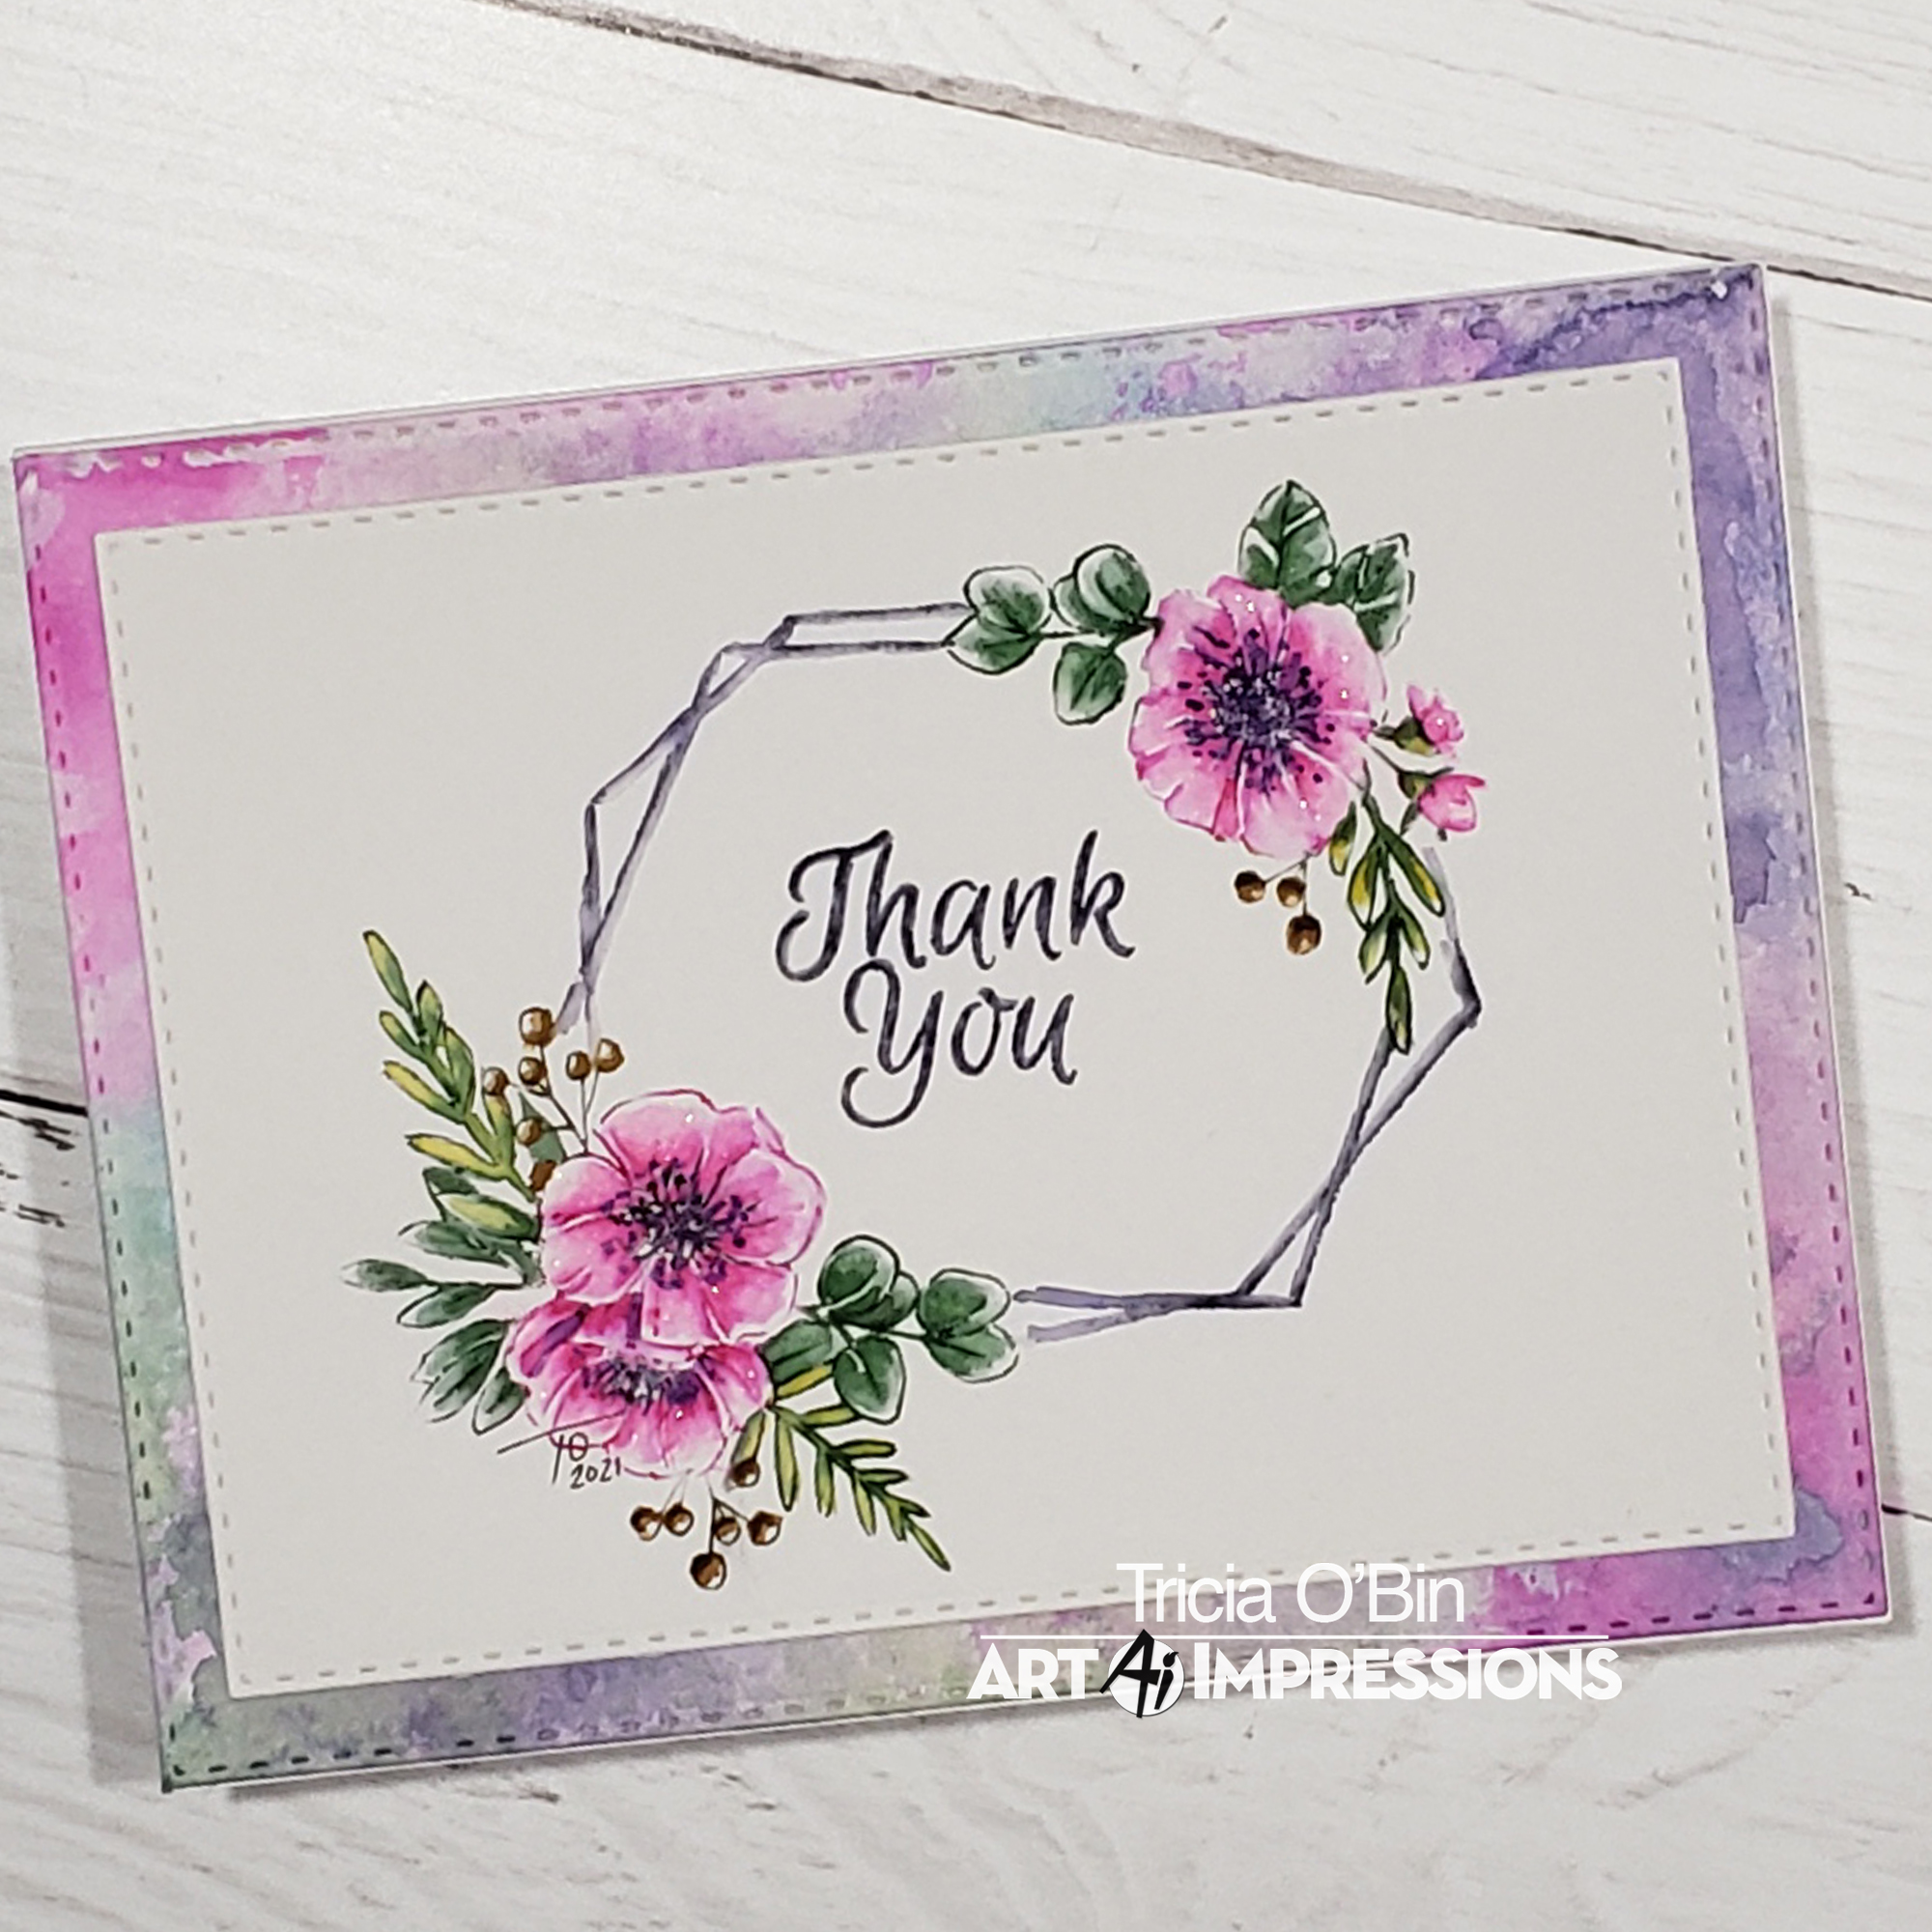
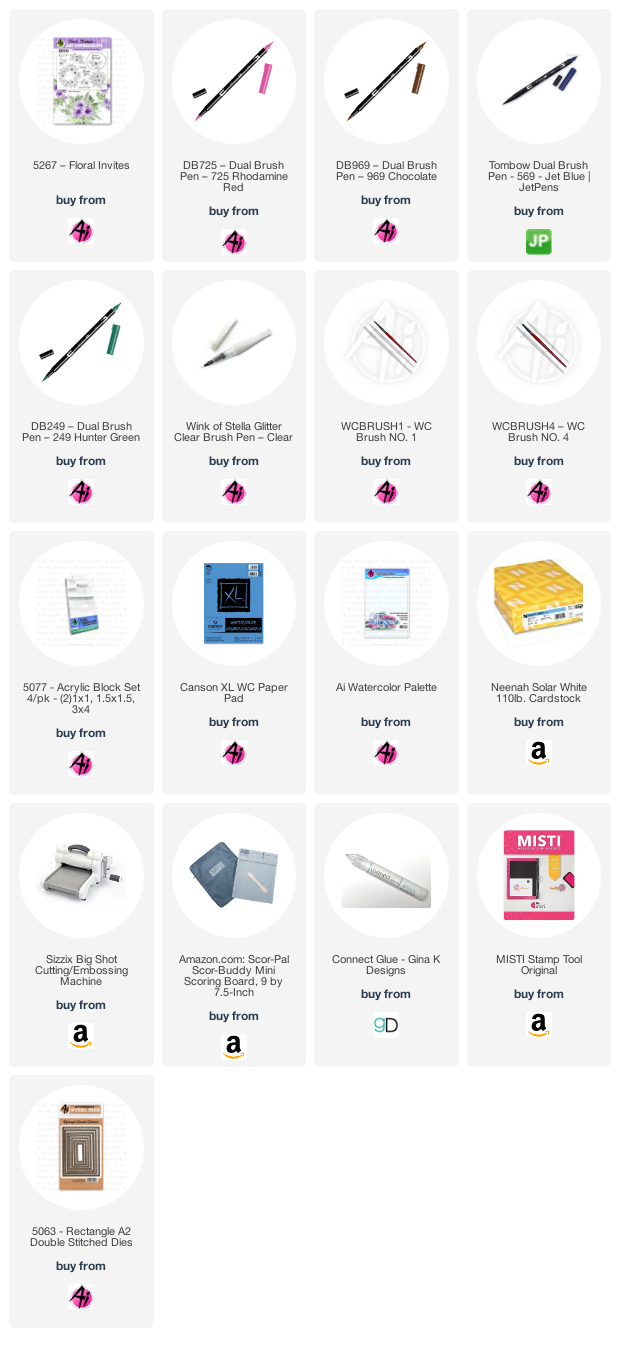
Welcome watercolor fans to this weekend’s watercolor weekend here on the Art Impressions Blog.  We are so thankful you stopped by to see all the inspiration that we have in store for you.  This weekend I chose to get out my Floral Invites set and have a bit of fun.  I created this Thank You card with the frame and two of the side sprays.  I love creating cards with this set, and you don’t have to use it for invites, you can use it for everything!


The Painting


I started off by inking the stamp up with the colors I wanted to use (so green for the leaves, pink and purple for the flowers and brown for the berries.  To begin, I pulled the color out of the lines, starting with the leaves and berries and then the flowers.  I added some yellow, brown, pink and green to my palette and added them to the painting with my brush to deepen the colors.  I added a bit of yellow to the leaves to give them some interest.


Before I added the second spray to the right-hand side, I positioned my paper and frame in my MISTI so I could estimate where the second spray should go.  I inked it up as I did with the first spray, stamped it down and did the same thing I did on the other side.


I masked off the sprays with some post-it tape, then inked my frame while it was still in my MISTI with my 569.  I stamped it down and using my #1 paintbrush softened the line ever so slightly.  Lastly, I placed my Thank You into my MISTI, inked it up with 569 and stamped it in the center of the frame.  I softened the lines with a small amount of water.  For a little bling, I added some Wink of Stella to the flowers.  To finish up, I signed and dated my work.


Visit my blog for more details on the card assembly.  That’s all folks, a quick and easy Thank you card or switch it out for any sentiment you need.  I hope you are inspired to give this project a try.  Make sure to tag us on Instagram and use the #AIWatercolor so we can see your work!  I hope you have a crafty day and we will see you in June!


Dot Freel - Instagram - Blog - PinterestYouTube

Hi All!

Welcome to the bi-monthly Art Impressions Watercolor Weekend.  Our challenge this time was to use a new tool or new technique and I chose to use both. 


I got a new Cricut machine so I made an envelope out of Bristol Smooth Paper which is wonderful for our technique of watercolor because the colors blend so well on it with very little water. I've always wanted to make a scene on the envelope but this was the first time I have ever tried it. You could always use Watercolor Ground on a white envelope if you don't have a Cricut machine or a way to make your own envelope. I think this envelope would be perfect for a Father's Day card or male birthday card, don't you?


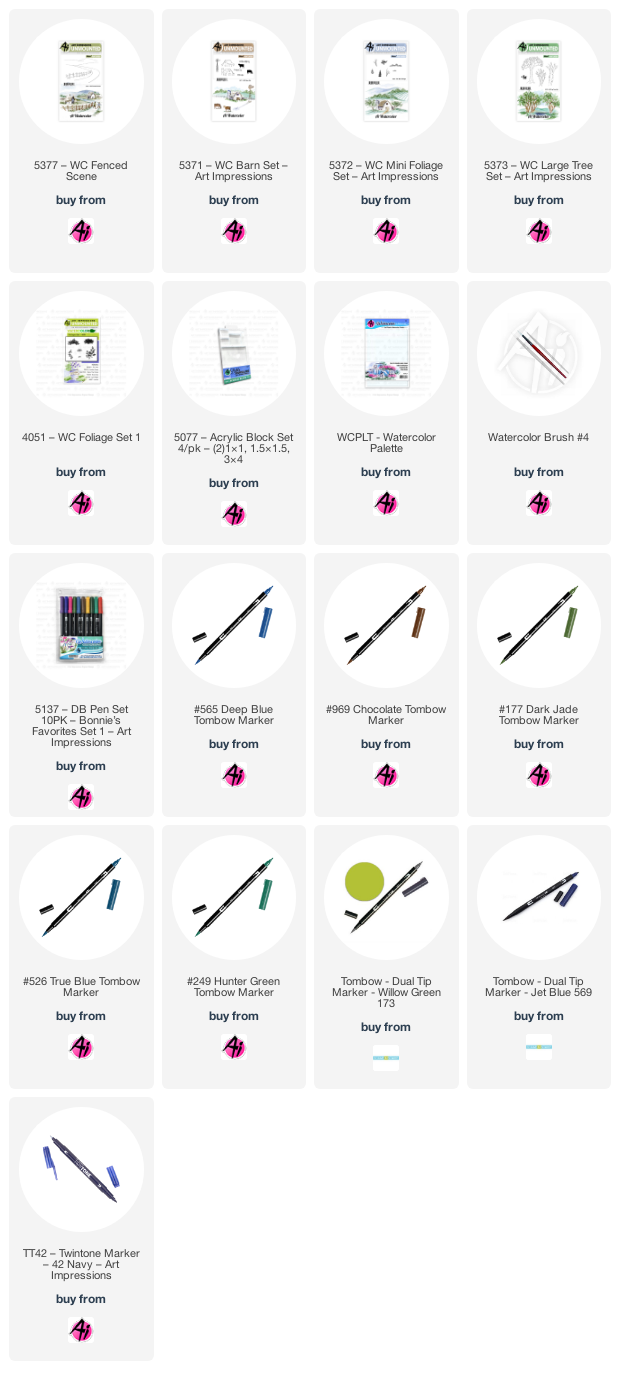
To recreate a scene like this, first stamp the fence scene from the 5377 Fenced Scene inked in the Tombow 969 and then in the 565. I didn't ink the hills, just the fence and road. Stamp the barn from the 5371 Barn Set inked the same way and stamped off on scratch paper first. Pull the color our of the lines then color in the barn with 569 which is more blue than the purple 565. Color the roof and doors with N75. Use the fine tip of the blue Tombow TwinTone pen to darken the windows. Use 249 to color the hill behind the barn. Stamp the fence from the Barn Set inked in 969. Stamp the tree trunk from 5372 Mini Foliage inked in 969 on either side of the barn then stamp the greenery from that same set on the trees. Dab at them with a wet brush. Use the grass inked in 177 around the barn and 969 for the pathway from the barn. Stamp the tree trunk from the 5373 Lg Tree Set inked in 969 in the front. Use the foliage from the 4051 Foliage Set 1 inked in 177 to add leaves to your tree. Repeat using 173 on the leaves for the two-toned look. Use 969 and 565 to color in the fence, then use 565 to add the shadows of the posts on the ground. Make shadows on the road using 565. Stamp the windmill from the barn set inked in 969 and 565. Add shadows with 565. Use 177 for the ground under the tree and use 173 on the windmill side. Use 526 for the sky.


Karen Day - Blog - Facebook - Pinterest - Instagram

Hello Ai Watercolor fans!

I've been wanting to combine stitching with my watercolour scenes for a long time, and this week's theme meant that it was time to give it a shot!  This took a little bit of planning:

I wanted the stitching to simply be an accent, not be all throughout the scene, so once I decided on a sunrise, I sketched it out on scrap paper, marking out the size of rectangular die I would use.  I picked my cottage, stamping it on the scrap to determine placement, where the stream would be, and even how the sun rays would look.  

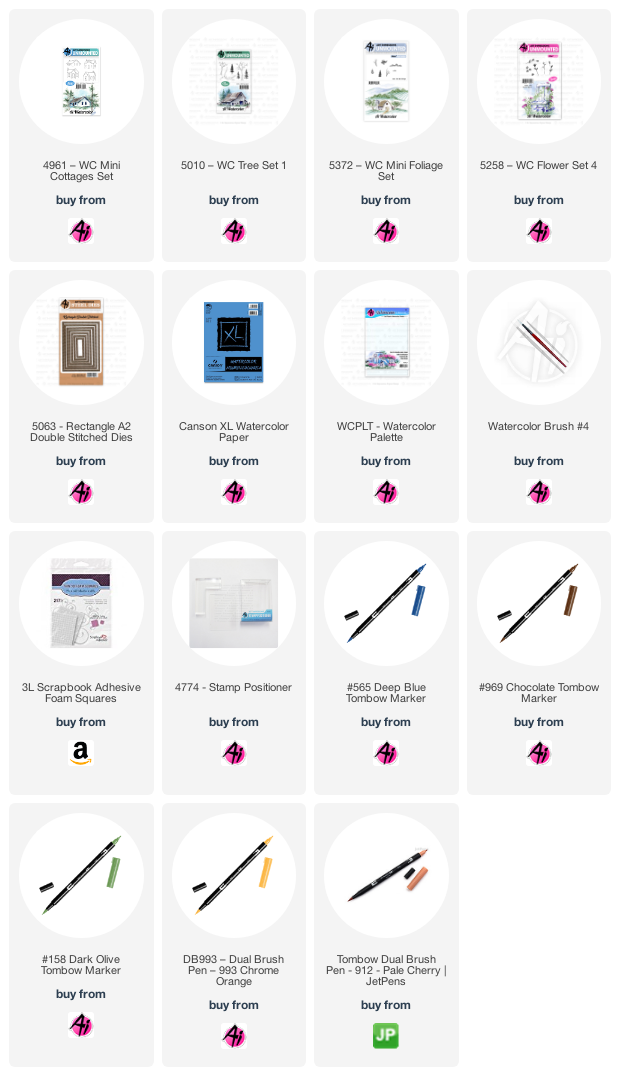
I diecut my 5063 A2 Rectangle Double Stitched Die from Canson XL Watercolor Paper, and stamped my cottage from 4961 - WC Mini Cottages Set, colouring it first in #969 Chocolate, with #565 Deep Blue overtop.  Next I sketched in my scene (you could definitely do this with one of the Ai scenes, but I used a pencil!).  I painted the sun and some of the sky with #993 Chrome Orange, adding several layers to darken the sun.  I added in #912 Pale Cherry and #451 Sky Blue to create my sunrise sky.  Since the light is coming from the back of my scene, I painted #993 along the top of the hillsides, around the edge of the house, and into the stream as a reflection.  It also meant that the front of the white cottage was in shadow, so I added shades of #565 to show that, and painted it into the stream also.  Using my stamp positioner, I stamped the tree from 5010 - WC Tree Set 1 beside the cottage, and did two smaller trees from 5372 - WC Mini Foliage to the left of the stream.
I did my foliage in layers, starting with the very light #126 Light Olive, using the foliage from 5372 - WC Mini Foliage, and the row of shrubs from the same set, below the trees - and dabbed them with a damp brush.  I stamped the foliage again in #158 Dark Olive, to add a few darker tones.  A wash of #158 was painted on all the grassy hillsides.  To balance the sun in the upper left, I stamped the spiky flowers from 5258 - WC Flower Set 4 in #993/#158, and added some foliage around the base of them.  Before darkening in the door and windows of the cottage, I went in directly with my markers to add some dots as flowers in window boxes.

For the stitching, I used a very fine hand sewing needle, as my thread was a very fine gold fillament.  I used my needle to pre-pierce all of the holes around the sun, and then did my long stitches to indicate the rays.  I went over the small flowers with stitches, and on the taller wildflowers I did some french knots - and I'm pleased to say that I only had one re-do!  My embroidery skills are a little rusty.

I mounted my scene on some matte gold cardstock, and adhered it to my base with 3D foam adhesive.


Hope you enjoyed this weekend's inspiration, and Happy Stamping!

Saturday, May 1, 2021

Watercolor Roundup 5.1.21 : Quick and Simple


Hello, Ai Fans!

Welcome to another Watercolor Roundup!

This weekend our Watercolor Design Team has some creative, inspiring creations for you!

Be sure to follow these lovely ladies on social media by clicking the link in pink next to their names!


Tricia O'Bin - Blog - Instagram - YouTube - Pinterest - Facebook


So our challenge this week was to create a quick and easy card.  This one looks difficult but it was really easy!  


Sometimes I find myself creatively challenged when it comes to colors.  Sometimes I do so many colors it overwhelms the painting.  For this quick and easy project, I used only three colors for the flowers.  In order to vary each flower arrangement, I used each color on different flowers.  This worked out well with my three square layout.  It created interest while maintaining an overall together look.


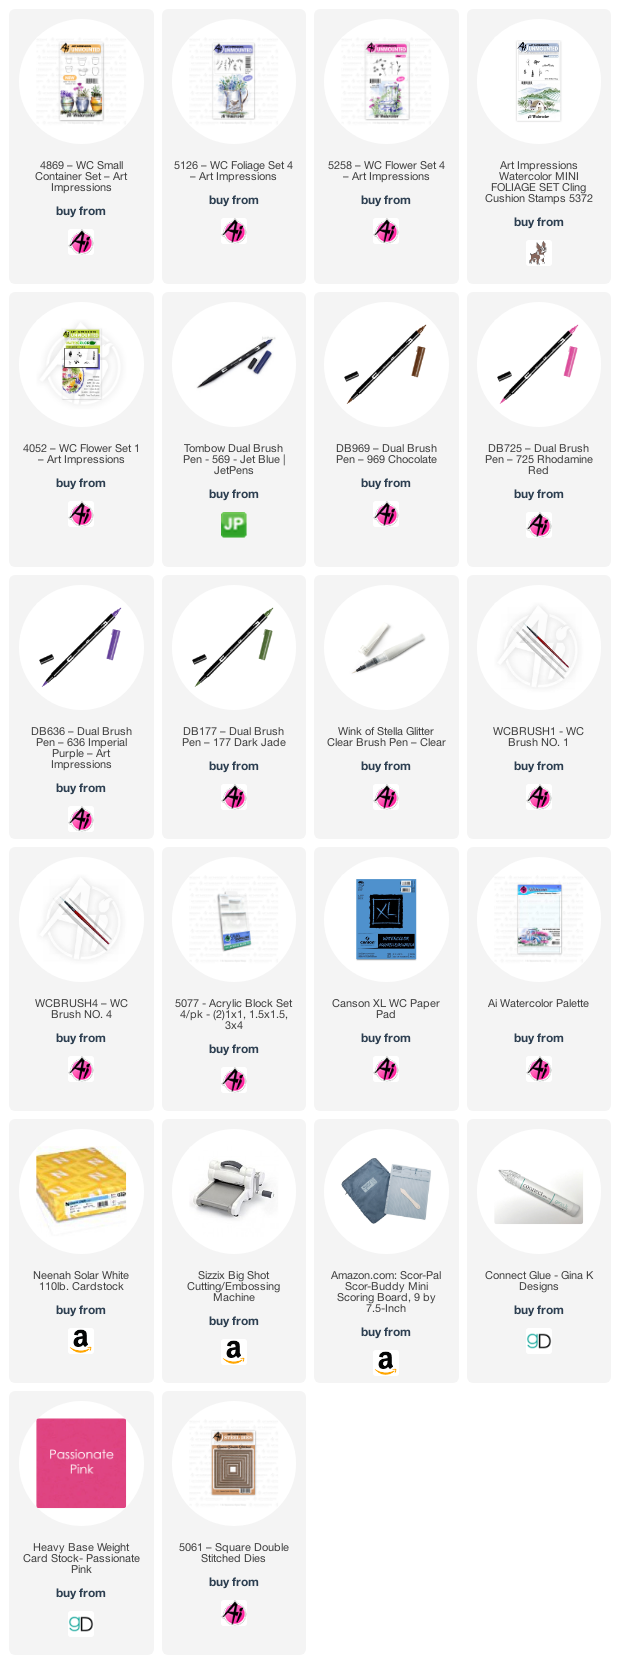
So, how do you re-create this layout, well I am here to tell you.  I am only going to walk through one of the pots as the technique is the same for all the arrangements changing the flower colors each time.  I inked the buckets with 969 and 569 to get a gray color.  For a softer look, I stamped it off.  I pulled the color out of the lines and added some additional color from my palette.   I added a light brown shadow below the bucket.  I repeated this for all of the buckets. Next, I moved onto the foliage. 


When I approach a container, I like to first stamp in the foliage around the top of the container, then move onto the flowers and finally come back in with some additional foliage.  I tend to be crazy with my foliage and lose places for my flowers to go so I find this works for me.  So that being said, I inked my small vine (just the top of the stamp) and stamped it several times around the top of the container.  I added water to soften them. 


I then grabbed one of my flower colors (each flower set is going to be stamped with each color) and inked up the daisy bunch and added it to the left, right and off the left edge making sure to ink and then stamp in tight circles to create depth. I inked the top of the salvia stem with the next color and stamp it a few times on the left side leaving plenty of white space in the middle for some additional foliage. Soften your flowers with water.  Stamp the foliage in between all of your blooms and dab.  Finally, ink the rose buds with your next color and ink the stem with 177.  Stamp them several times on the right side of the arrangement.  I added water to the blooms only.


And as always the final touch is your signature and the date.  I am so excited that you stopped by.  I can’t wait to see what you create.  For more inspiration check out Karen and Dot’s projects.  See you next Watercolor Weekend!


Have a crafty day!


Dot Freel - Instagram - Blog - PinterestYouTube

Hello!

The theme for the Art Impression's Watercolor Weekend is quick and easy and this card certainly was that! 


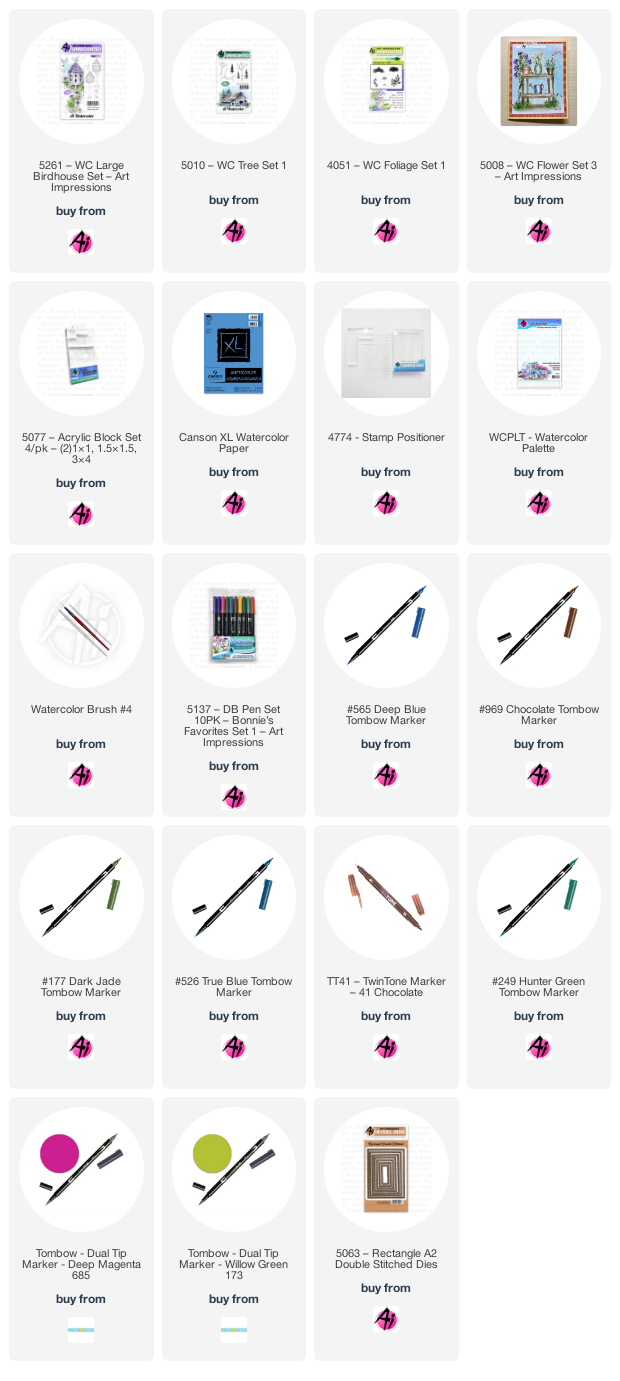
If you would like to make it, first stamp the birdhouse (not the post) from the 5261 Large Birdhouse Set inked in Tombow 969 and 565 and stamped off on scrap paper into the middle of your watercolor paper - I used Canson.  Stamp it again on a piece of watercolor paper and cut it out so you can color it up and use foam tape to add dimension to your card.  

Stamp the tree from the 5010 Tree Set 1 inked in 969 above the birdhouse.  Use the vine from the 4051 Foliage Set 1 first inked in 177 and then stamp it inked in 173. I just love those two colors together.  Dab at them with a wet brush, then use some 969 off the palette to color in the branch. 

Use the largest foliage set from 4051 inked in 177 to add the flower bush below the birdhouse. Stamp the flowers from 5008 Flower Set 3 inked in 249 for the stems and 685 for the flowers onto the bush. 

Ink the bird from the 5261 Large Birdhouse Set inked in 565 and then color it in with 526. Darken the beak and eye with a fine point black pen. Drag the color out of the lines of the birdhouse just around the outside for a sky look.  Color the roof and bottom of the other birdhouse in 969 and then use the 565 to darken the windows. Use some 565 on the palette to add shade under the posts. Use a ruler to draw a line above the birdhouse to the branch. Use the 5063 Rectangle Die Set to cut it out and a background piece.


Karen Day - Blog - Facebook - Pinterest - Instagram

Hello Ai Watercolor fans!

For me, "Quick & Easy" means a simple scene.  I often reach for more than a dozen stamps to put my scenes together, but this one took just 4:

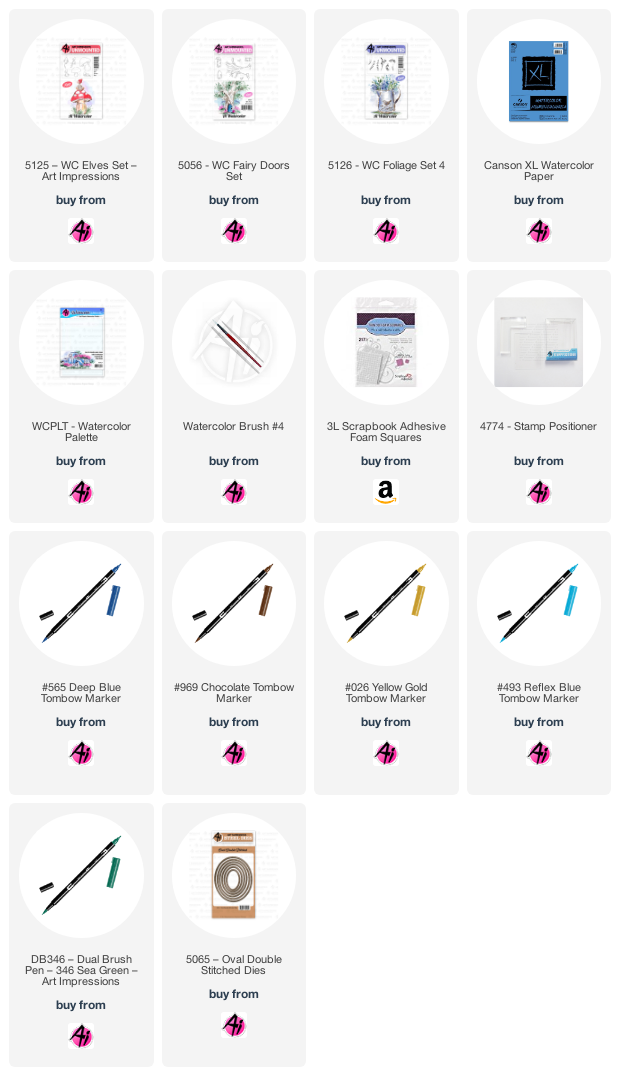
I stamped the larger toadstool from the 5125 - WC Elves Set onto my Canson XL Watercolor Paper, colouring it first in my Tombow Dual Brush Marker #565 Deep Blue, and then #969 Chocolate.  Using my stamp positioner, I added the rounded door from 5056 - WC Fairy Doors Set in the same colours. With my damp #1 paintbrush, I pulled the colour out of the lines, in towards the middle of the image.  Using a pencil, I drew in the spots, then painted them with a mixture of #076 Green Ochre and a bit of #126 Light Olive on the lower edges.  I used #346 Sea Green, carefully painting the top of the toadstool, starting with a diluted wash, and layering colour several times to achieve the darker teal shades at the edges and bottom.  For the undersides and stem, I mixed varying shades of #565 & #969 together on my palette to add streaks of greys and browns, and darkening the lines of the image, painting in the door frame the darkest.  #026 Yellow Gold was painted on the door.  The door stamp only has 3 stones, so I painted in the suggestion of several more, having them trail away at the bottom of my scene, and added a bit of shading to each of them.  With the two tiny grasses from 5126 - WC Foliage Set 4, I stamped them both several times on either side of the stem in #076, and painted in a bit of the same colour as a grassy base.  #493 Reflex Blue was painted in as the sky.

I used 5065 - Oval Double Stitched Dies to cut out my image, matted it with grey, and adhered it to my patterned base with 3D adhesive dots.

Hope you enjoyed this weekend's inspiration, and Happy Stamping!

Saturday, April 17, 2021

Watercolor Roundup 4.17.21 : Creative Containers


Hello, Ai Fans!

Welcome to another Watercolor Roundup!

This weekend our Watercolor Design Team has some creative, inspiring creations for you!

Be sure to follow these lovely ladies on social media by clicking the link in pink next to their names!

Tricia O'Bin - Blog - Instagram - YouTube - Pinterest - Facebook

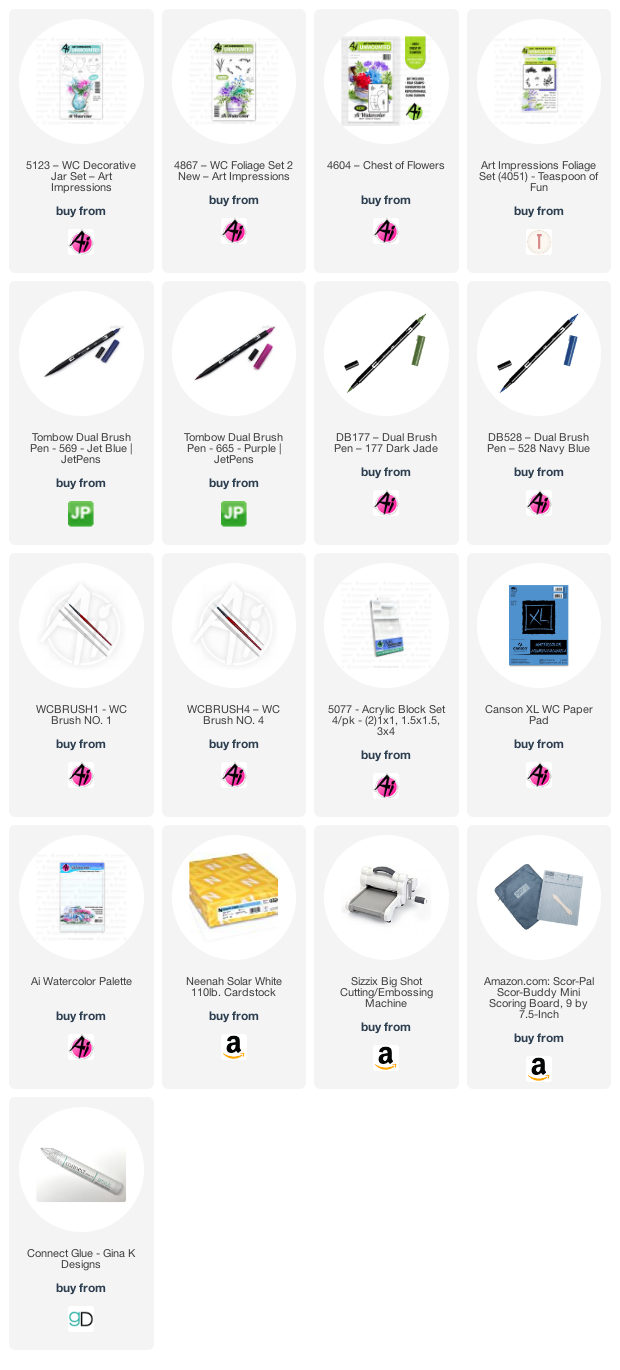
Hey watercolor fans, are you ready for a fabulous weekend of inspiration? Well, you are in the right place! I decided to do a vase of flowers with a cool pattern that reminded me of blue china.  Let me tell you how I created my Spring Vase of Flowers.


First I started out by stamping my vase inked with 569.  Before I add the vines, I pulled the color out of the lines and added darker shadows using my palette.  Next, I fussy cut a mask and used the negative space so I could stamp the small vine on the vase without worrying about stamping into my background (make sure you put the mask in the middle of the handle).  I inked the small vine with the 569 and stamped it around my vase.  I practiced this on several (and when I say several I mean like 10 times) to see what type of pattern I wanted.  I tried to make sure the lighter leaves were in the center of the pot to maintain the highlight.  I added a small amount of water to them.  To create a little depth, I pulled some color to the outside.


I added some 528 to the bottom of the vase to ground it.  I wanted it to look like a shaggy type of placemat.  To protect the vase while I added my foliage and flowers, I took the mask that I cut and laid it over the vase.  I inked my flowers with 665 and stamped them in a fanlike shape to make them look full.  Once I added the water to them, I came back in and stamped in some additional color to give them a little more depth.


For the foliage, I inked up the vine with 177 and added them around the flowers and over the sides of the vase.  I added water to the vines.  Finally, I took a little of the 528 from my palette and created a very light sky.  Lastly, I signed and dated my painting (I didn’t forget this time, phew…).


I created a watercolor background using the same markers to create a really cool effect, head on over to my blog and I’ll tell you how I did it.  I love this technique because I don’t have to try to find a background that won’t take away from my painting but will bring it all together.


I cut out the painting with my stitched rectangle die and back it and my watercolor background with black cardstock.  I added it all to a Neenah white cardstock base.


That’s it, this came together really quick and easy and I think the pattern on the vase creates such a cool look.  I hope you will give this a try and I can’t wait to see your Creative Containers!  Check out the other inspirational projects that my team mates have created.  Tag us on Instagram so we can see your beautiful creations.


Have a crafty day!  See you next time!


Dot Freel - Instagram - Blog - PinterestYouTube

Hello All!

The theme for this Art Impression's Watercolor Weekend is to use containers. My three sons and three grandsons are all climbers so I had the idea of a little boy climbing up containers to see a nest. 

I took Bonnie Krebs', Ai's wonderful Owner/Creator's advice to stamp my containers on scratch paper, cut them out and use them to decide what scene I would like to make. This is what I came up with and let me tell you, it's probably the fastest I've ever come up with a scene! Give it a try. 

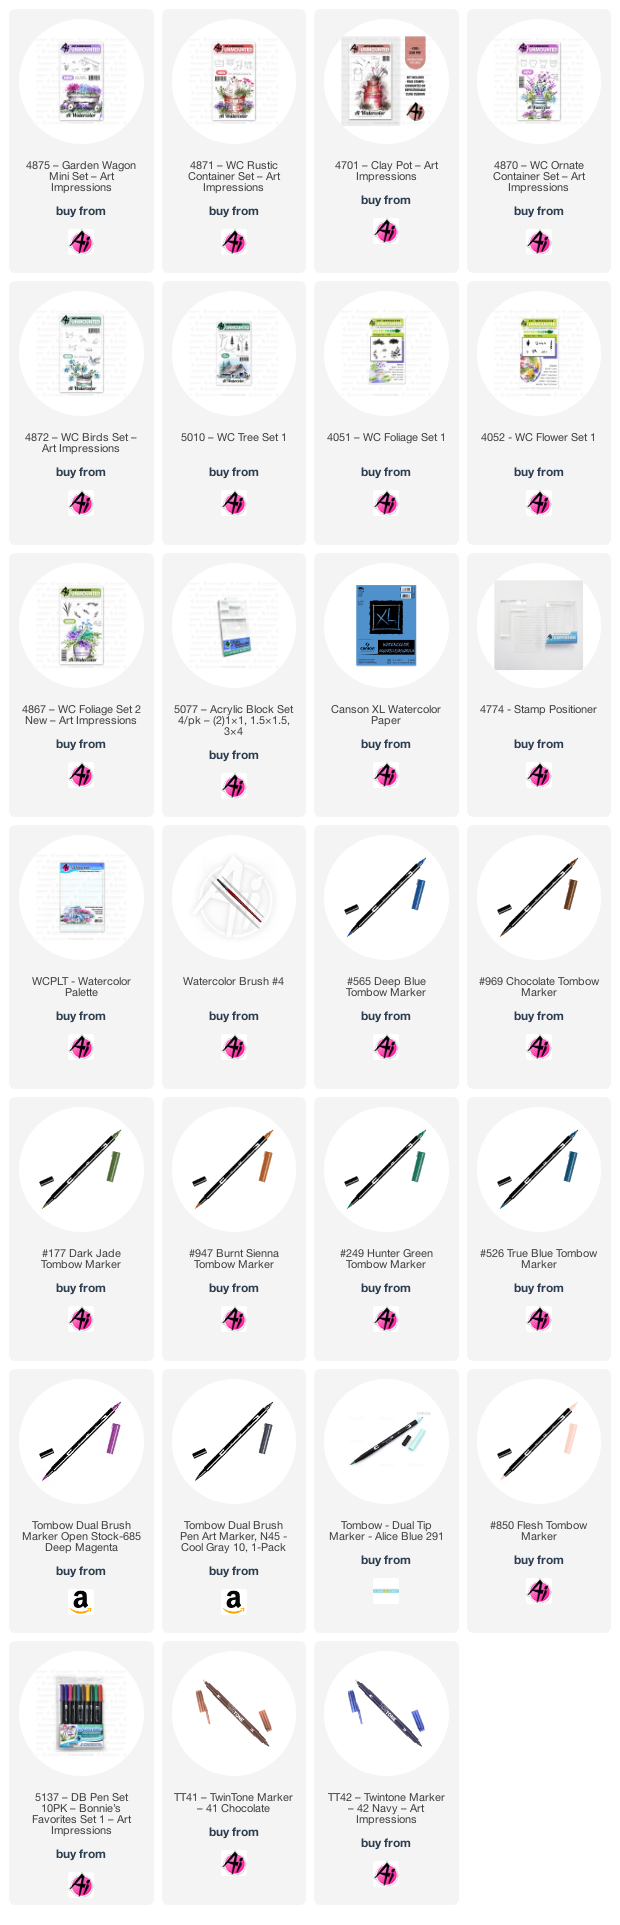
If you would like to make this, first stamp the 4875 Garden Wagon inked in the Tombow brown 969 then the blue 565, stamped off first on scratch paper, onto your slimline base piece of watercolor paper. I used Canson. 

Put some masking tape over the top of the wagon, ink the box from the 4871 Rustic Containers in the 969 then 565 and using your stamp positioner, stamp it in the wagon. Continue in the same way for the 4701 Clay Pot and the 4870 Ornate Container. 

Ink up the little boy in 969 and using the stamp positioner, place him in the pot. Ink up the nest from the 4872 Birds Set in the 969 and the 565 then using the stamp positioner, stamp it at eye level for your little boy. Using the branch from the 5010 Tree Set 1 inked in 969 and using the stamp positioner, stamp it around the nest. Pull the color out of the lines of the branch and then stamp in the leaves using the 4051 Foliage inked in 177. Color the eggs in 291. Use the Tombow TwinTone in brown and blue to add some darker lines around the eggs and in the nest. Next pull the color out of the lines of all of the containers and the little boy. Color the little boys hair in with 947. His face and arm and foot is colored with 850. His overalls are colored in 291. I added his eyelash with the brown Tombow TwinTone pen. His cuff, pockets and label is colored in 565 

The pot under him is colored in 685 and the lines and shading is in 565. The flowers are from the 4052 Flower Set 1 inked in 565. The leaves are 177. The clay pot is colored in N45. The box is colored in 969 with the sides and opening darkened with 565. The wagon was colored in 177 and then 249 on just the outer sides. The tires are colored in N45. Use 565 for the shade on the wagon and under it. Stamp the tall greenery from the 4867 Foliage Set 2 inked in 177 for the tall purple flowers. The flowers are from the 4052 Flower Set 1 inked in the 685. Use the grass from the wagon set inked in 177 on the stems and 565 on the tops on either side of the wagon. Use some green on the palette for the ground cover. The sky is watercolored in with 526. 

I hope some of you give this a try and tag me in it! 


Karen Day - Blog - Facebook - Pinterest - Instagram

 Hello Ai Watercolor fans!

Spring is just starting in my neck of the woods, so I was inspired to paint something springy this week!

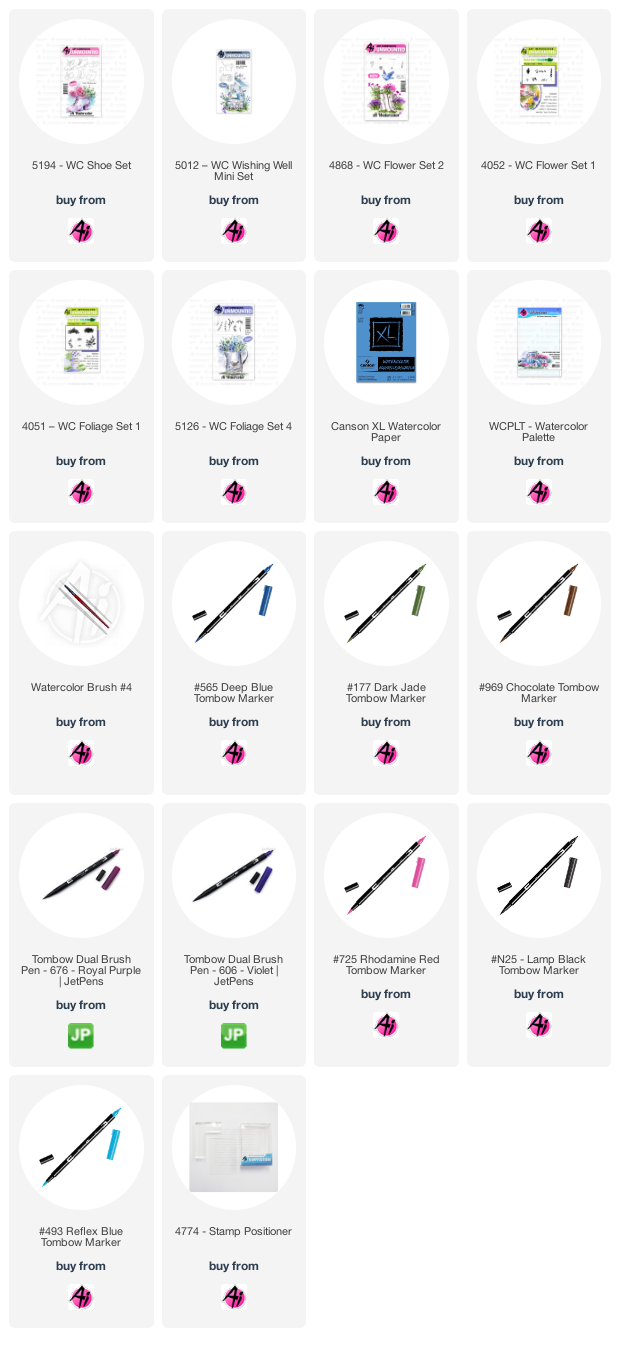
I stamped the wellies from 5194 - WC Shoe Set, masked them, and then stamped the larger watering can from 5012 - WC Wishing Well Mini Set, colouring both in Tombow #969 Chocolate, with #565 Deep Blue overtop.  I left my mask in place, and coloured up the bouquet of tiny flowers from 4868 - WC Flower Set 2 in #177 Dark Jade/606 Violet, then used the Daisy Bunch from Flower Set - 4052 in #676 Royal Purple to fill in the other side of the rainboots.  

Changing colours to #565, I stamped the Daisy Bunch several times in the watering can, then with #177, I used one of the ivy stamps from 5126 - WC Foliage Set 4 to add some greenery around it.  Using the Leaves and Salvia images from Flower Set - 4052 in #725 Rhodamine Red and #606 I stamped them both around the top of the watering can bouquet to finish it off.  Everything was touched with a damp brush just enough to enliven the colours.

I picked up #476 Cyan from my palette and painted several layers onto the boots, concentrating the colour in the darker areas, and leaving the shiny highlite as white.  I used #N25 Lamp Black watered down to add a grey shade to the watering can, then used touches of the colours from my bouquet and boots as some colourful reflections on it.  I added #565 in shadowy areas for a bit of depth.  With the larger grass from Foliage Set - 4051, I added grass to either side of my scene using #177, and painted #493 Relfex Blue onto the sky.  To finish it off, I spattered the black paint lightly over everything.  I cut my piece to a 4 1/2" square, then used the 5061- Square Double Stitched Dies to cut out a blue frame - 4 times, and layered them on top of each other to make it more substantial.


Hope you enjoyed this weekend's inspiration, and Happy Stamping!