Hello Art Impressions Watercolor fans and welcome to another Watercolor Weekend round-up with the Art Impressions watercolor team!
I am so excited to share my fall watercolor project, Autumn Flowers, with you this weekend. I hope you find some inspiration to create your own fall projects.
The Painting
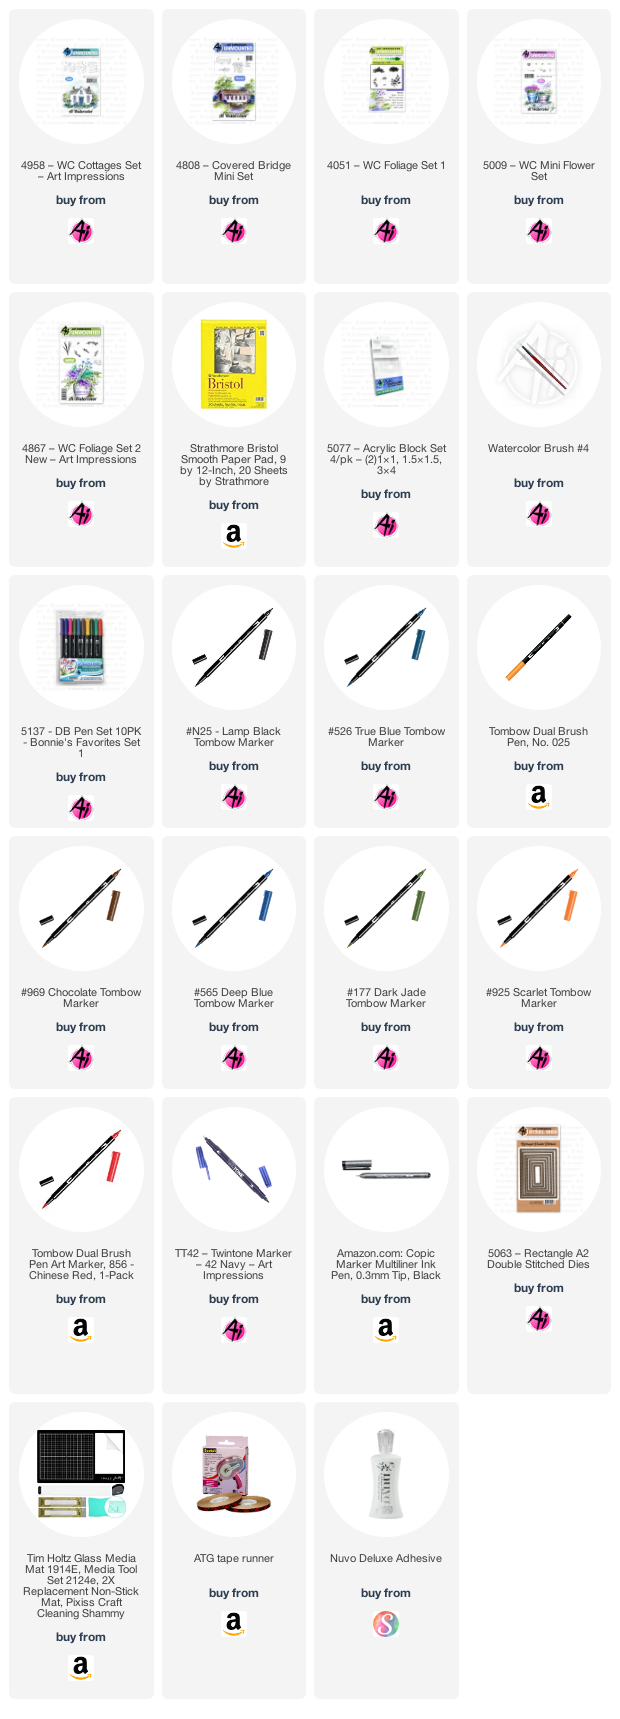
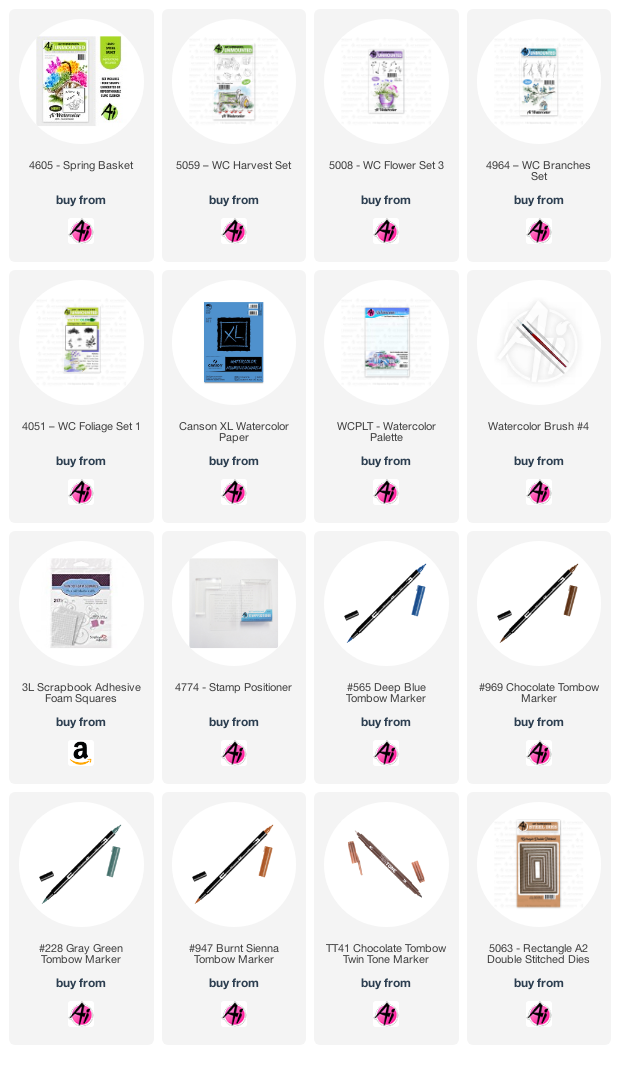
I started out my stamping my large cottage inked with blue and brown to the right side of my watercolor paper. I pulled the color out of the lines, keeping the shadowed areas really dark and blending out towards the center of the cottage. Next I added some brown from my palette to the roof, door and the chimney. I added some dark blue and light blue to the windows, keeping the top left really dark.
I used a mask to cover up the flower boxes to keep them protected while I added the flower bunches, inked with green and maroon. I removed the masks and pulled the color out of the lines. Next, I took one of the large branches inked with brown and stamped it to the left of the cottage. Using the daisy bunch I inked up orange, I stamped it around the tree top. I added water and softened the lines.
From the original foliage set, I added grasses to the left and right of the cottage and under the tree. I pulled the color up and out of the lines. Next, I masked the right side of the cottage and added some yellow to the daisy bunch and stamped it several times. I added water to soften the lines.
Using my positioner, I inked the stepping stones with brown and stamped it in front of the cottage, I pulled the color out of the lines and added some additional brown from my palette. I inked the wrought iron bench with brown and stamped it to the left using my positioner. I used my positioner to stamp the weathervane inked in brown to the top of the roof. Lastly, I added some blue to the sky. Don’t forget to sign and date your work.
The Card
I cut a mat from Gina K Designs Tangerine Twist card stock (4 x 5.25) and adhered it to a Neenah Solar white card base (5.5x8.5) with Gina K Designs connect glue. I cut my painting out using a rectangle stitched die and adhered it to the mat.
That is my card for today. I hope you will take some time to create something this weekend along with us. Tag us on Instagram using #AIWatercolor so we can see your work! Keep scrolling to see the awesome projects my team members have created. See you next time!

Dot Freel - Instagram - Blog - Pinterest- YouTube
Hi,
This one is for all of us combination card makers/quilters. Have you seen those calendars or cards with a quilt in front like it's hanging on the line? I just love those, don't you? It finally occurred to me to make one.
I used the house but it would be cute with one of the shops, too. I have had this quilt die set for many years and at the time that I bought it, I didn't know to keep the packaging. I've looked on the sites where I usually order and I can't find it. I have no idea who makes it. If anyone knows, please let me know! There are other quilt dies out there that would work, too.
I made a tutorial on how to make this card on YouTube so check it out here: https://youtu.be/-6w4zrRIO6E

Thank you, ladies, for your beautiful additions to our blog!


3 comments:
You are all so talented. Love this autumn watercolor inspiration!
Such a beautiful card Karen!
Great article..I am looking so forward to your blogcomment and
I love your page on your post.. That is so pretty
wordpress Casino
ufa88kh.blogspot Casino
youtube Casino
របៀបស្លត់អនឡាញ SLOT ONLINE
Post a Comment