Hey watercolor fans, are you ready for a fantastic weekend? I certainly am.
Not only are we having a fabulous warehouse sale, but it’s watercolor weekend. Double YAY!!!
I created this sweet Winter Village with the new watercolor stamps. I can’t wait for you to give them a try. Let’s get to it!
Painting Details
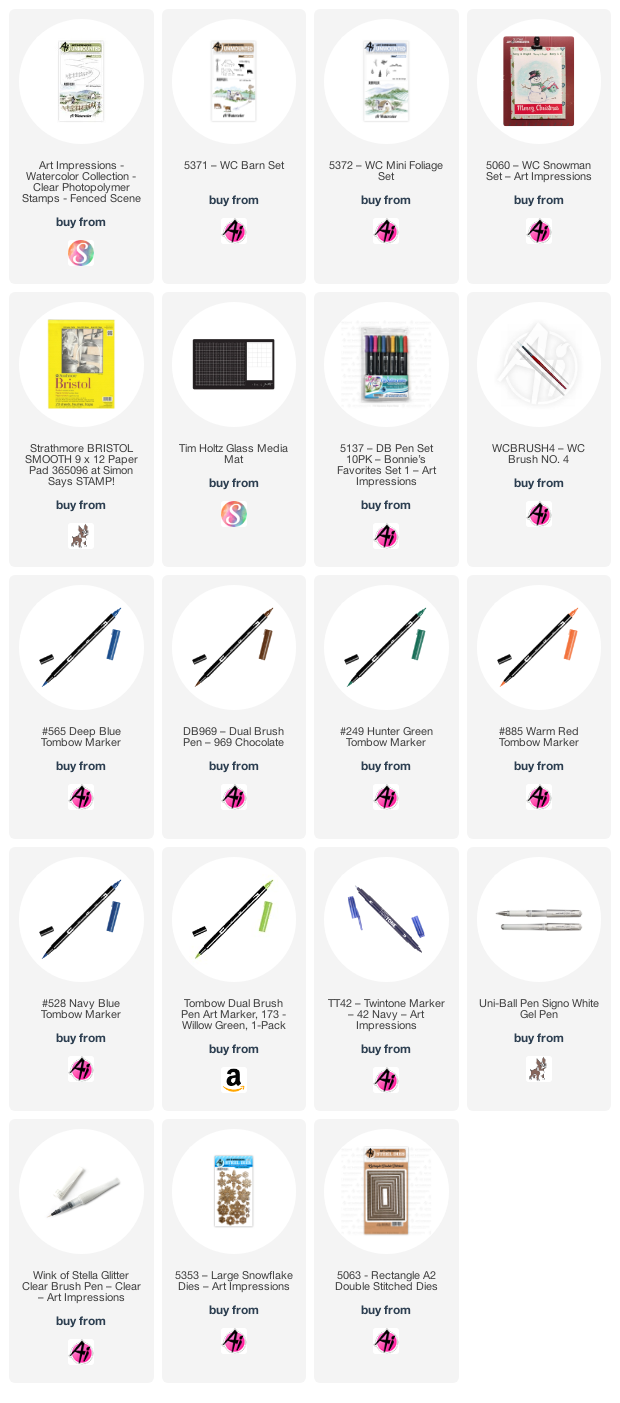
First, I started out by creating masks for all of my houses for two reasons; one is for planning purposes and two is for masking when I start to add the houses and trees. I inked up the WC Basic Scene with 569 and N65. I stamped it in the middle of the watercolor paper. Next, I placed all my masks where I wanted them. I inked each of them with my 569 and stamped them off. I started by stamping all of the houses that are in the front of other houses (only left houses). I masked the white house and stamped the next house next to it. I continued to stamp my houses along the road.
I inked up the small row of trees from the WC Mini Foliage set with the 569 and stamped it along the hill in the background. I covered the barn in the front with a mask, and stamped the small pine trees from the WC Mini Foliage set to each side of the barn. I also used the small foliage inked with 569 above the barn. I continued to add the pine trees to each of the houses.
Next, I started pulling the color out of the lines for all the houses and foliage. I added N25 to the road. I added color from my palette to each of the houses and some additional 569 to the underside of the roofs to simulate snow. I added some light blue to the sky.
Finally, I brushed some Wink of Stella over all the snow for some sparkle and signed my work!!! That is all! So quick and easy. I think these little houses are going to be so much fun. I can’t wait to create more projects with all of the new stamps! My winter village really makes me happy and I think I might try to do a Christmas Village next, so stay tuned!
Card Details
I cut my piece down to 4 ½ x 3 ¼ and glued it to mat (4 ¾ x 3 ½) made from Gina K Designs Wild Dandelion cardstock with some Connect Glue. I added this to a mat (5 ¼ x 4) made from Gina K Designs Christmas Pine cardstock and added it to a Neenah Solar White card base.
I am so happy you stopped by and hopefully you got some great deals at the warehouse sale. We would love to see what you create, make sure to tag us on Instagram and use #AIWatercolor. I hope you are all doing well and we will see you next time!
Have a crafty day!
Hello Ai fans!
I've painted a Parisian window today, using the newly released
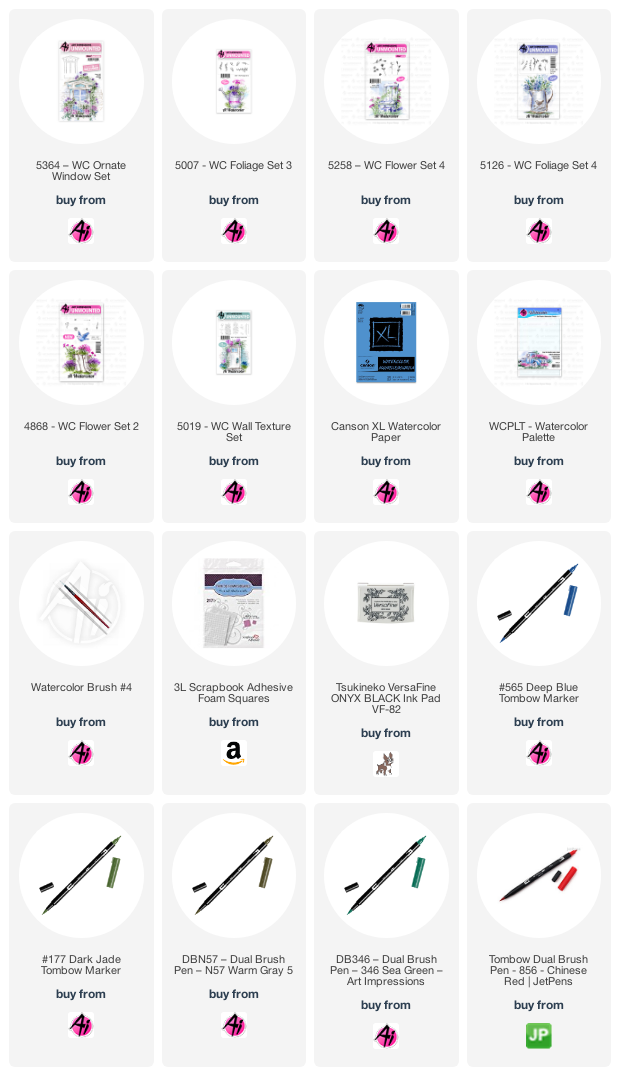
I inked up the large window image in my Tombow Dual Brush Marker #N57 Warm Grey 5, and stamped it onto my Canson XL Watercolour Paper. Next I created my flower box from the bottom up, starting with the long ivy image from 5007 - WC Foliage Set 3, inked up in #346 Sea Green, stamped three times in varying lengths. I used the two angled vines in 5126 - WC Foliage Set 4 coloured in #177 Dark Jade to create a spray of foliage, leaving room for my roses. With #856 Chinese Red, I coloured up the trio of roses from 5258 - WC Flower Set 4, sometimes only colouring one or two, and tucked them amongst the top of my greenery. Then to add some height and a pop of yellow, I used the tall floral stem in 4868 - WC Flower Set 2 coloured in #991 Light Ochre, again in various heights. To fill in any white areas, I used the tip of the vine images in #126 Light Olive to brighten things up, and add a nice contrast to the darker greens I used. I dabbed at my floral display sparingly with a damp brush, to liven up the colours a little, but I mostly wanted to retain the shape of my stamped images, so I left them largely alone.
After masking my window frame, I used the brick image from 5019 - WC Wall Texture Set, coloured in #N57, only loosely colouring the image so that the edges of the brick faded away, and had an irregular shape. I picked up the colour from my palette, and painted in between the bricks to suggest a darker grout to my brick wall. I softened all of the lines of the window frame, and painted in the decorative top with my #346 to echo the blue/green colour of the vines. I painted more grey into the frame where the shadows are, adding some #565 Deep Blue around the edges of the window, and painted it onto the panes of glass, being careful to leave some white areas for highlights. I went back in with the fine point of my N57 marker to redraw any lines that were fading.
To assemble my card, I cut my scene with the 5063 - Rectangle A2 Stitched Dies, matted it with black, and adhered it to my patterned card base with 3D foam adhesive. The sentiment is from the Scrapbook.com Exclusive Daisy Set, stamped in Versafine Onyx Black. And as a final touch, I added some white Nuvo Drops.


7 comments:
Love these!
All 3 of you are all so talented! Love these!!
Great cards!
Great Cards....love them!!!
I simply love the Art Impressions stamps. I'm running out of storage space for everything I have purchased!
Patsy
I love the window cards but i can never get them to be pretty! You do a fabulous job!
Five weeks ago my boyfriend broke up with me. It all started when i went to summer camp i was trying to contact him but it was not going through. So when I came back from camp I saw him with a young lady kissing in his bed room, I was frustrated and it gave me a sleepless night. I thought he will come back to apologies but he didn't come for almost three week i was really hurt but i thank Dr.Azuka for all he did i met Dr.Azuka during my search at the internet i decided to contact him on his email dr.azukasolutionhome@gmail.com he brought my boyfriend back to me just within 48 hours i am really happy. What’s app contact : +44 7520 636249
Post a Comment