
Hello Ai watercolor fans!
Welcome to our first Watercolor Weekend of 2022!

We're starting things off with Dot.
Hello and Happy New Year, I love January because it's a fresh start to a brand new year and we have all the holidays and memories to look forward to. My first card of 2022 is a wintery card.
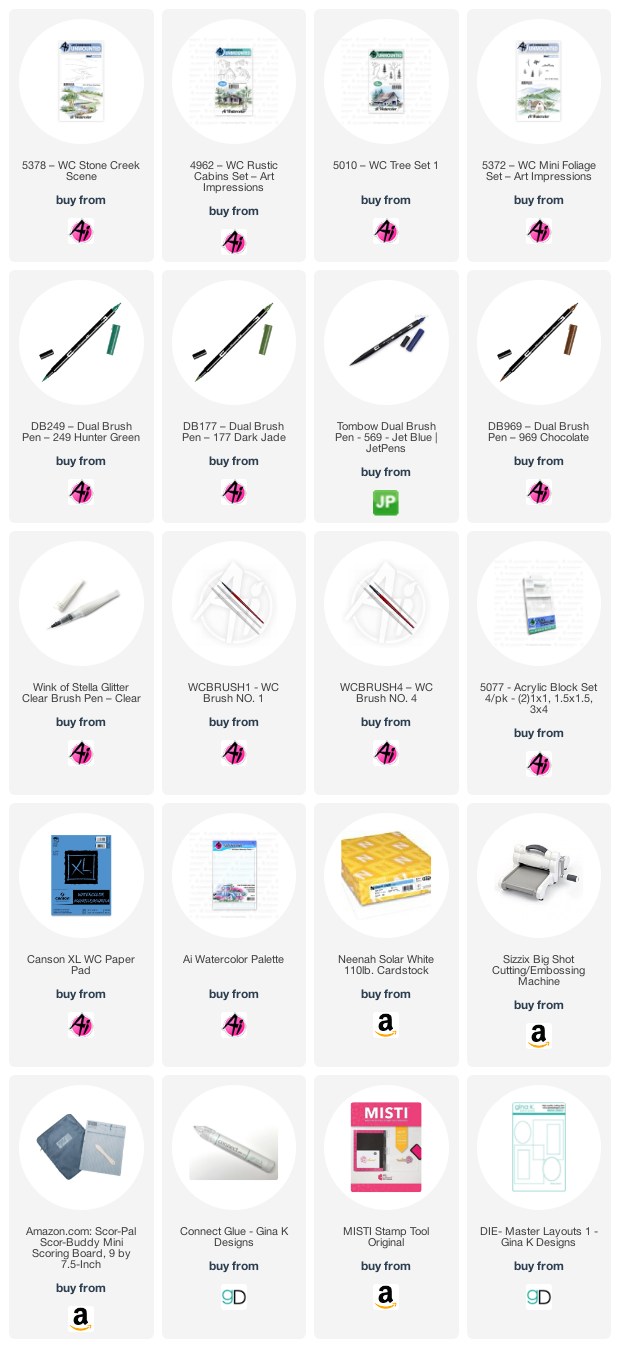
The dog has dimension, because I messed up the one underneath. Instead of throwing it away, I stamped another dog, colored him, cut him out and used foam tape to stick him over the messed up one. So don't throw away your card after you put some work into it. To make this card, ink the truck from the 5011 Truck Mini Set in the new Tombow 555 which is the best blue for winter scenes, in my opinion. Stamp it onto watercolor paper after you have stamped it off once first. Make a mask and cover the truck so you can stamp the trees from the 5010 Tree Set 1 inked in first 177 and then in 555. Stamp the dog from the 4959 Dogs Set inked in 969. Ink the half tree from the 5010 Tree set inked in 969. Use a pencil to make your hills then use 555 to paint in the snow. Pull the color out of the lines of the trees, truck, dog and half tree. Use a positioner to stamp the bird from the 4966 Bird Bath Set onto the tree. Color the bird in with 969 and 847. Color the truck in first with 555 then add 969 and 947 for the rusty look. The tires and windows are colored in with N35. The dog is colored in with N35 and his color is 847. Add some sky with the 555. Use a fine tip black pen to darken the bird and dog eyes and nose. I used Nuvo white Crystal Drops to add the snow drops. I taped the two largest dies from the 5063 Rectangle Die Set to make the frame.


Hello Ai Watercolor fans!
Even though it's January, I decided to kick off the new year with a big vase filled with tulips.

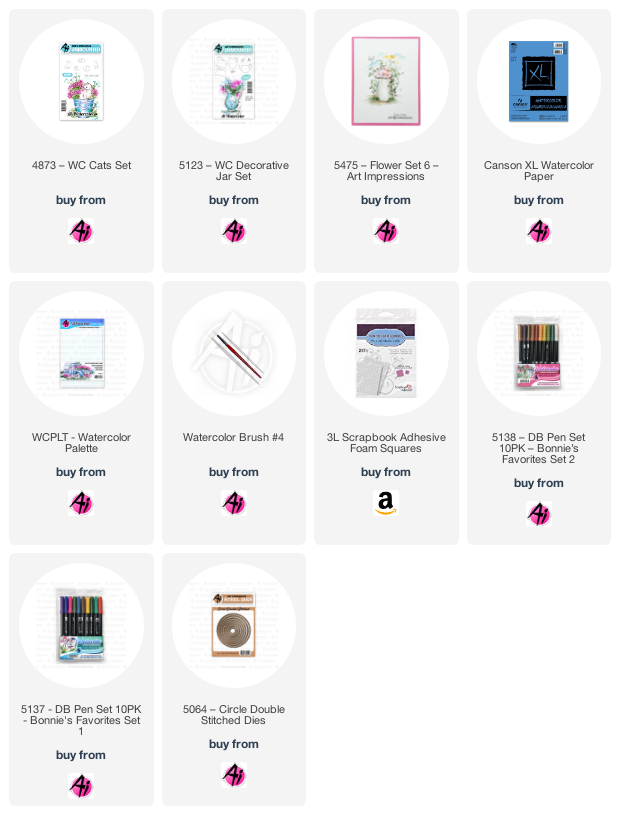
I coloured the kitten from 4873 - WC Cats Set in Tombow #969/565, stamped it on my Canson XL Watercolor paper, and covered it with a mask. Using the same markers, I coloured up one of the vases from 5123 - WC Decorative Jar, and stamped it to appear just behind the cat. The new 5475 - Flower Set 6 has two wonderful tulip stamps, so I used them both, coloured up in #N65 and stamped them repeatedly to fill up my vase. Starting with a light wash layer, I painted my tulips in #755 and #946, then added layers to make some of the petals darker than others. The stems and leaves were painted in #126 and #177, and I painted in a few extra leaves to fill in the background a little. After pulling the colour out of the lines/edges, I painted #373 onto the vase, with a little #565 for shadowing. I painted stripes of #N65 onto the kitten, darkened them with #565 and added a few tones of #946 to bring out the gold of the tulips. I finished up by adding the suggestion of a shadow and a background with a wash of what was on my palette.

I wanted a gingham background to match my vase, so I used a stencil set and some Distress Oxide ink to create my own. My image was cut out with the 5064 Circle Double Stitched Dies.

HAPPY NEW YEAR! Welcome to the first watercolor weekend of 2022. I am so thrilled you came by for a visit. I created a Winter Cabin for my first project of the year. It shows a little into our current view at our home in Northern VT. So sit back with something warm and I'll tell you how I made it.


No comments:
Post a Comment