Hello and Welcome to Watercolor Weekend! My card started out with inspiration from some of the other Design Team members who have a love for wax seals. The first thing that came to mind was my envelope edge dies and creating a paper “seal” to go with it. I was already playing with the new 5953 Woodland Critters Set and I thought the little mouse would be perfect, but what to do with the rest of the card?? I wanted a tree scene to go in the background and remembered Kendra’s Country Hello tutorial she did back in April of 2022. So I modeled the background scene after her tutorial and changed it to a winter scene.
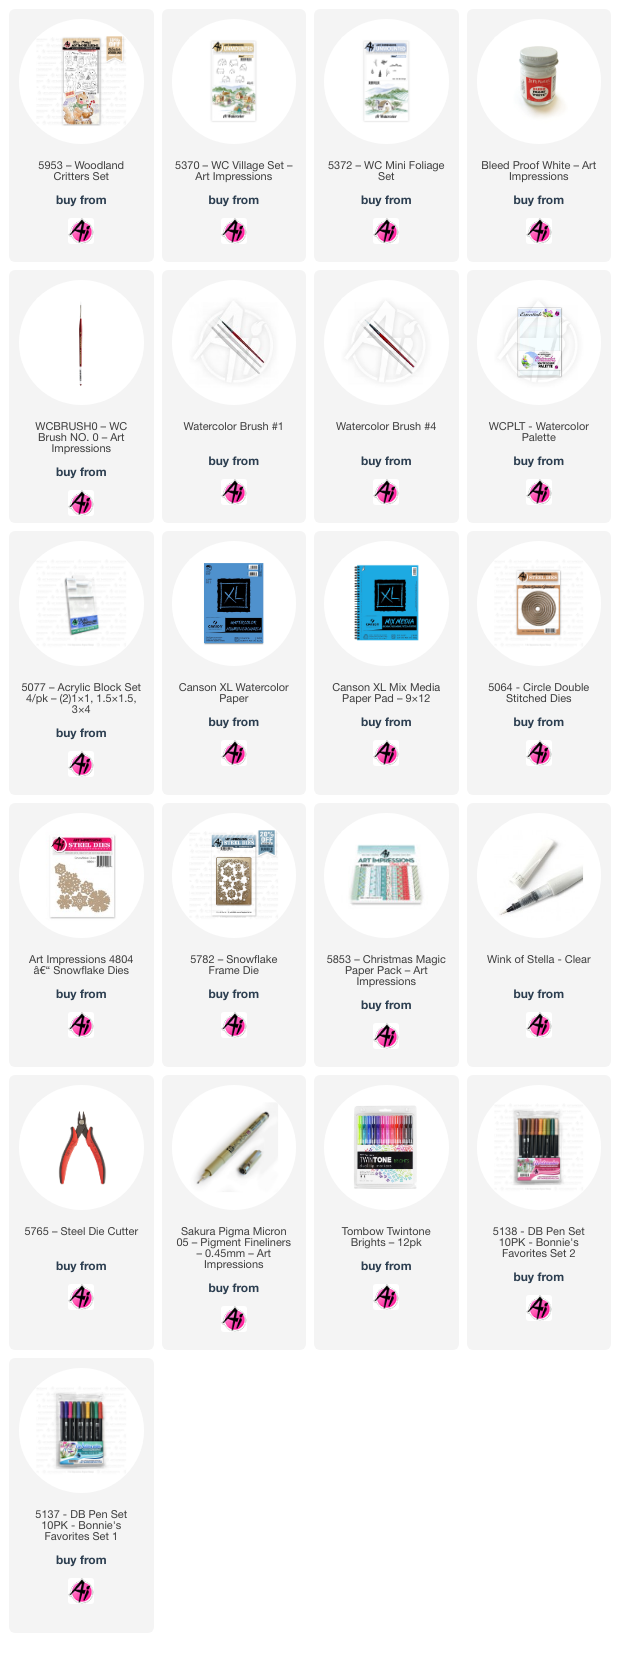
I designed the card first by choosing paper from the 5853 Christmas Magic PP and used my edge die for the top of the “envelope”. I then used two die sets for the snowflakes I planned on using, 4804 Snowflake Dies and 5782 Snowflake Frame Set. I cut these out of Canson Mixed Media paper and used a bit of 565 on the edges and Wink of Stella, stacking the snowflakes together to create 6 dimensional snowflakes to use. I then used the 5064 Circle Double Stitched Dies (starting from the smallest, I chose the 3rd die) to create the base of my “seal”. I used the piece I already cut out for the top and marked its location on a piece of watercolor paper and also used the circle as a guide to judge where the seal would go.
Using the guides I chose the Merry Christmas sentiment from the Woodland Critters set and inked it in 856. I penciled in a guideline for my scene and stamped in the house from the 5370 WC Village Set inking it in 555 and 969, stamping off twice and pulling some of the color out and adding 969 on the roof and door and adding some 565 for the shadows and #4 Chrome Yellow Twintone for the windows. I then masked the house and used the trees inked in 969 from 5372 WC Mini Foliage Set. Stamping one behind the house and two on the other side. Using the same set, I inked the pine tree in 249 and stamped them in clusters throughout and then added the line foliage stamp, also stamped in 249 in front of all the trees. I removed the mask off the house and added water to the pine trees and foliage, pulling some of the color out and adding 565 to create shadows from the trees. 565 was used for the sky and Bleed Proof White was used on the roof, trees and ground to finish off the scene. I also added a touch of 565 under the sentiment to create a shadow there as well.
For the mouse I stamped it in Archival Vintage Photo,
stamped off once and used 992 for a base color adding in 969 for the main part
of the body and 772 for the ears, cheeks and nose. For the hat and scarf I used 856, I first
added 565 on the scarf for the shadows to avoid spreading the red. The lantern
was colored with N15 for the metal and the glow was created with 055 and adding
a bit of 026. Bleed Proof White was used on the hat. To create a fur like
texture I like using a very stiff scrubber brush that I have in my stash. Using the scrubber brush I work it through
the paint as it is drying to get a texture like appearance, I then add in 565 a
little on the darker side to create the look of a shadow and then went back
over with some more BPW which gives depth in the fur. making it stand out. I then die cut the little mouse and assembled
my seal by adding 4 of the snowflakes to the die cut circle and placed a small
piece of foam tape in the middle to help support the mouse. Centering the mouse
on top and after erasing the pencil lines I then assembled all my pieces
together adding the 2 extra snowflakes on the top section. I hope you enjoyed my card today, and I would
like to wish you all a joyous holiday season! Until next time.
Create….Share….Inspire!


No comments:
Post a Comment