Showing posts with label 5953 - Woodland Critters Set. Show all posts

Thursday, October 2, 2025

Winter Wonderland by Dori Mendiola

 Happy Thursday AI Friends!

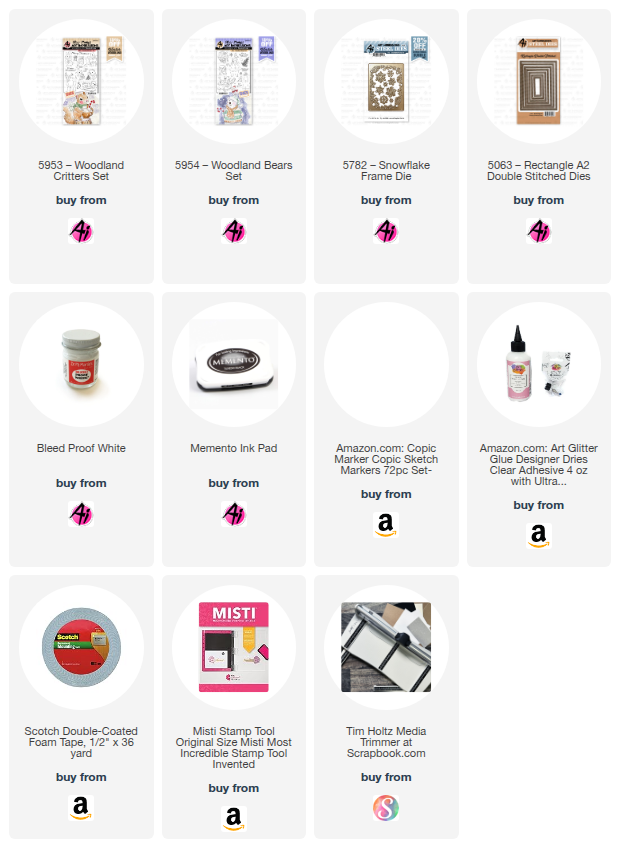
I was having too much fun making cards for the current Blog challenge "In The Navy" so I'm sharing two of the them with you today.   I used the #5953 Woodland Critters and #5954 Woodland Bears.  These would make such a cute gift set for that special someone that has everything.  What's better than giving/receiving handmade gifts?


I started out by stamping the images onto copic friendly paper with Memento black ink and colored with my copic markers listed below.  Each of the images in both sets come with corresponding dies.  As usual, I die cut an extra set from heavy cardstock.   I love the dimension and stability.

Card #1:  I created a fun pull tab interactive card where the critters slide down the hill when pulling the tab.  This is a square 4 3/4 inch card.  To make the stitch border, I partial cut two sides using the largest #5063 Rectangle A2 Double Stitch die and then cut the other sides to make this large square.   I spattered Dr. PH Martin's Bleed Proof White paint onto the navy blue cardstock base to create a snowy background and also glued some of the snow die cuts that were left over from card #2.  The stitch snowy hills were using dies from my stash. 
Card #2:  I created a popped up frame card.  Using the #5782 Snowflake Frame die, I die cut two frames with heavy cardstock and glued them together.  Saved some of the snowflake pieces from the frame die cuts and used on card #1.  This card measures 3 1/4 x 4 1/4 inches.  I spattered Dr. PH Martin's Bleed Proof White paint onto the navy blue cardstock base to create a snowy background.  Again, I used a curvy stitched die from my stash to create the snowy hillside.  I popped the frame and the images up using foam tape onto the hillside.  Added a bow and the card is finished. 
Hope you enjoyed my cards today and you decide to join us in the Blog challenge.  See above tab for details and a chance to win a free stamp set.  We love to see your creations!

Have a great day and keep creating!

Copics used:  E30, E33, D35, E37, E40, E41, E43, E44
E51, E53, E55, E57, E59
N1, N2, N3, N4
Y13, Y17, Y19, 23, Y26, 
R20, R22, R24, R27
BG90, BG93, BG96, BG99
BV20, BV23

Sunday, August 31, 2025

Bonus Watercolor Weekend with Simone Carr

 Hello Ai fans!

We're so lucky that August has 5 Sundays!

That means a bonus Watercolor Weekend which means even more inspiration for you.


Let's welcome Guest Designer Simone Carr and see what pretty things she's created.

--------------------------------------------------------------------------------------------------------------------------

Hello fellow crafters!

I’m excited to be back on the blog to share my latest cards with you. Since fall is right around the corner, I thought it would be the perfect time to create a project that could work as either a Welcome Fall card or even a Thanksgiving card.

For this design, I reached for one of my favorite sets from last year—the Woodland Critters Set. I knew right away that the sweet little hedgehog needed to take center stage!

I started by inking the wheelbarrow (from the Harvest Wheelbarrow Set) with Tombow 565 and 969. I stamped it first onto masking paper, then onto Canson watercolor paper. To make room for the hedgehog, I left off the second handle when stamping the wheelbarrow. After cutting the wheelbarrow mask, I placed it over the stamped image.

Next, I used the stamp positioner to tuck the hedgehog perfectly into place and inked him with the same 565 and 969. Then I added in the small pumpkin, creating another mask so I could easily layer over it. Using the stamp positioner again, I built up the scene with pumpkins and apples, inking them with 565 and 969 (stamped off) for a softer look.

Once the stamping was complete, I removed the masks and began adding color to bring the entire image to life.

Materials Used

Tombow Dual Brush Pens:

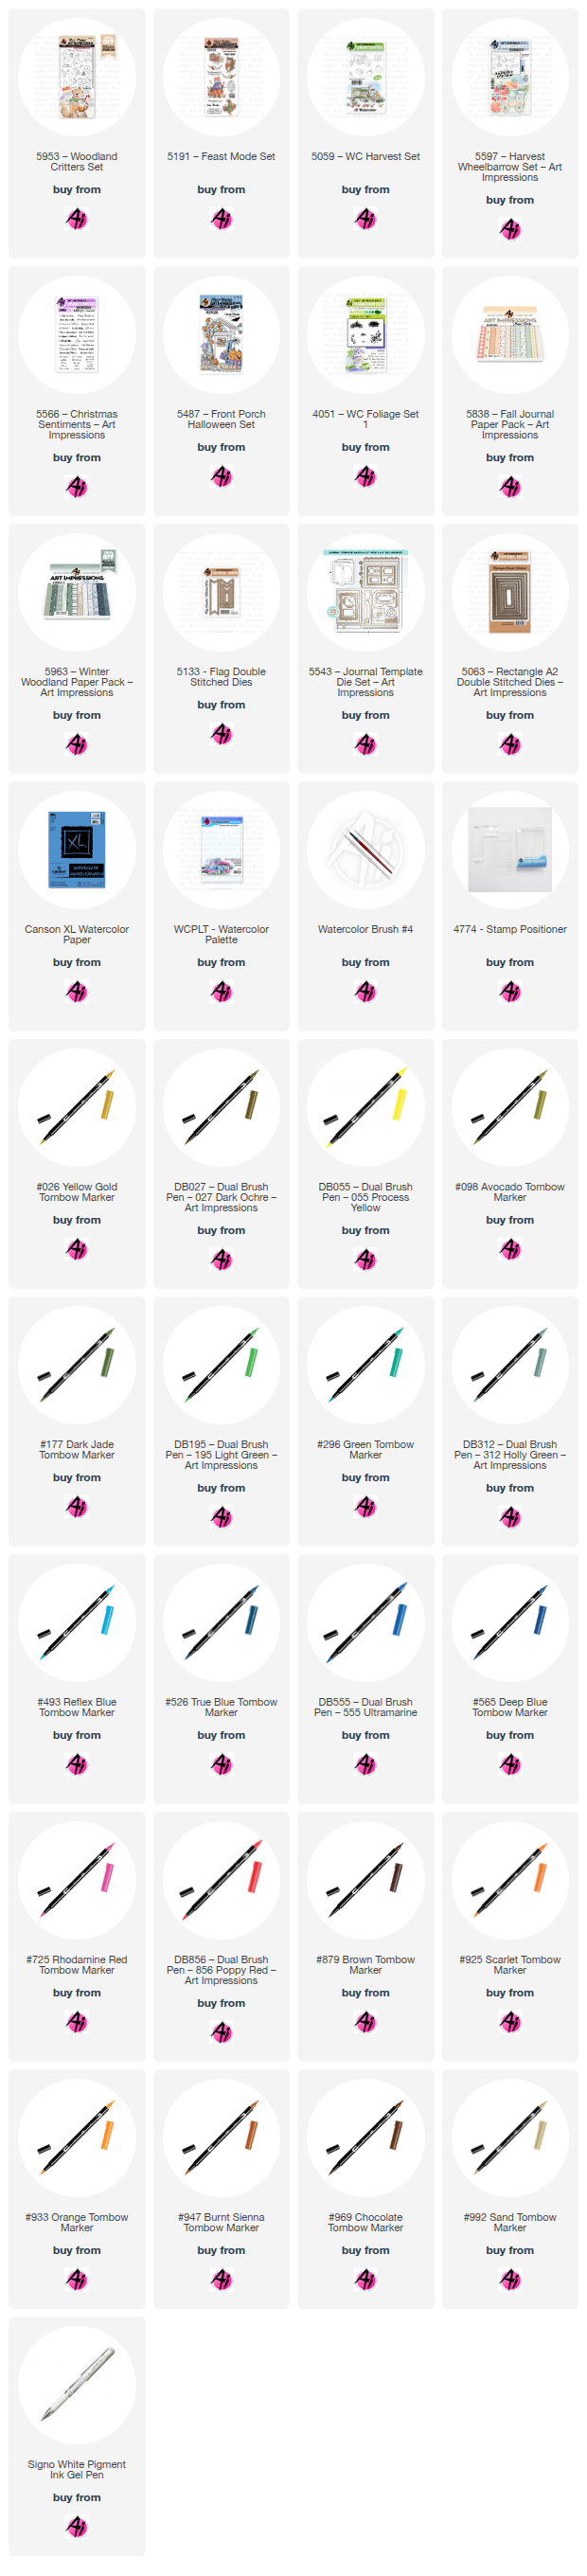
856, 905, 925, 946, 933, 055, 098, 026, 312, 879, 947, 027, 992, 526, 177, 969, 565

Stamp Sets:

5597 Harvest Wheelbarrow

5059 Harvest Set (Apples + Grass)

4051 Foliage Set

5487 Front Porch Halloween Set (Small Pumpkin)

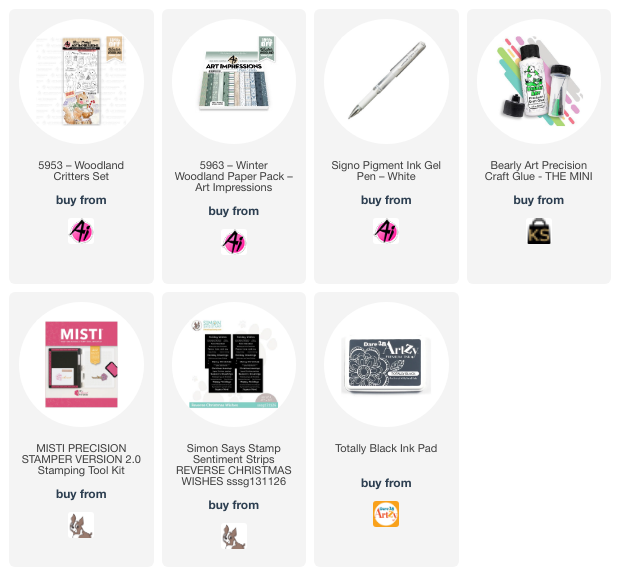
5953 Woodland Critters Set

5063 Rectangle A2 Die Set

5838 Fall Patterned Paper

For my second card, I went with a more wintery theme—not necessarily Christmas, but something versatile that could work as a birthday card, a thank you card, or really just a cheerful design for the colder months. It’s also a fun way to use up those paper scraps we all have on hand!

I began by stamping the sleigh image on Canson watercolor paper using Memento Toffee Crunch ink. For coloring, I used:

Sleigh: 026, 947, N55

Mouse: a mix of 969 + 565, plus 725, 025, 296

Hedgehog: 992, 947, 555

Present: 493, 195 + white gel pen for highlights

The finished card measures 5 1/2" x 4 1/4". To build the background, I ran a piece of white cardstock through a snowflake embossing folder, then trimmed it down to 3" x 4 1/4".

Next, I dug into my scrap pile and pulled out a few pieces from the Winter Woodland patterned paper pack. I cut them into flags and arranged them over the embossed panel to decide on their placement. Once I was happy with the layout, I glued them down, then added a thin strip cut from the leftover embossed paper on top for a clean finish.

The top panel is 2 1/2" x 4 1/4", and I popped the die-cut critters up with foam tape for extra dimension. To finish the card, I cut a small tag, stamped my sentiment (masking part of the stamp so it would fit), and tied a bit of string to it. I tucked the string under the present so it looks like part of the image, which adds a fun little detail.

Materials Used

Dies & Stamps

5133 Flag Double Stitched Dies

5953 Woodland Critters Set

5566 Christmas Sentiments

5543 Journal Template Set

5963 Winter Woodland Patterned Paper

Markers & Paper

Tombow Dual Brush Pens: 026, 947, 992, N55, 555, 493, 296, 195, 725, 025, 969, 565

Canson Watercolor Paper

Bonus Card

I wanted to share a little extra inspiration to show another way of creating this second card using the same methods. For this version, I used the 5191 Feast Mode set. Instead of patterned paper, I stamped my image on Bristol Smooth cardstock and simply adhered the flags underneath.

It’s a quick variation that gives the design a fresh look—and a great reminder that you can easily adapt these techniques with the supplies you already have on hand.

I hope I’ve inspired you to give it a try!

-----------------------------------------------------------------------------------------------------------------------------

Thank you so much Simone for these darling cards.

We hope you're inspired to try something like these. While you're here, be sure to enter our Bi-Weekly Challenge. The theme this time is "When One Door Closes." Make something with a door on it, whether it's stamped or die cut.


Saturday, January 25, 2025

Thankful for You by Janet


It's Saturday already! At least that's how I feel this week. It went by really fast for me. One of the best things that happened was that I got my Ai order which included the previously backordered set 5963 - Woodland Critters Set. I'd been waiting for this one so I couldn't wait to use it for my post today.

This set has several holiday stamps but there are a few everyday images. This one of the squirrel is adorable and though it has a candy cane, I made it blue and white instead of holiday red and white. On the top of the mug is foam from his drink. I used my black Sakura Pigment Micron pen to draw in a heart so it looks like a red hot candy or a small heart cookie is garnishing his drink. With that small adjustment, I think he looks even less like a holiday squirrel. I colored him up with Copic markers and cut him out with the included dies. He's so adorable!

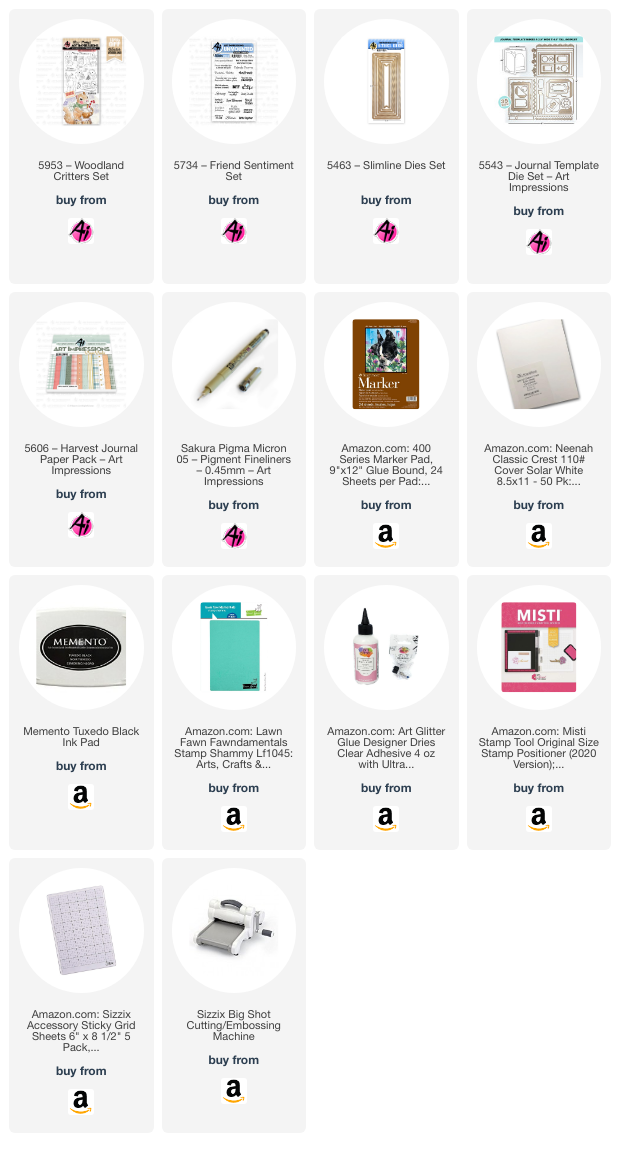
I had a strip of gold background left over from the card I made for the current challenge, Monochromatic. It worked perfectly here. I used 5463 - Slimline Dies Set to cut a strip of gold to go under it. Using this die gave me the stitched look I wanted. Behind that I cut a wider strip of red cardstock and used the scallop border die from 5543 - Journal Template Die Set on each side. Behind that I added an even larger strip of patterned paper from 5606 - Harvest Journal PP. I also stamped the sentiment from 5734 - Friend Sentiment Set and cut it out with another die from the Journal Template Die Set. With my background for the squirrel ready, I used liquid glue to adhere him toward the bottom of the piece.

To finish it, I adhered a gold 5 1/4" x 4" mat to a white A2 card. Then I centered the layered piece on it being careful to match the top and bottom edges. I popped up the sentiment on foam pads and tucked two heart gems under it. Finally I added a red polka dot bow at the top. 

This card has lots of layers and dimension but is still flat enough to mail. The golden color with a pop of red, green and blue makes me happy! I hope you agree that he doesn't at all look like a holiday squirrel. He's just in his winter scarf keeping warm with his cocoa. 

Thanks so much for joining me here at the blog today. As always, please visit the Ai store for the products I used and all the things you need for your card, journal, and tag making projects. Happy creating!

Janet YouTube - Blog - Facebook - Instagram - Pinterest 


Monday, January 13, 2025

Making memories by Sharon Caudle

 Hello AI Fans,

As I grew older, I started to realize that I wasn't just out with family and friends having fun, but that we were making memories. Yes, for myself, but mostly for my kids and grandkids. During really special moments, I would think to myself, my heart just took a picture. These are the things that people will look back on and smile. Is there anything more special? I don't think so. And it's the smallest little things that seem to leave the biggest marks on our hearts. My card today represents that.  I've always said that Bonnie has an amazing gift for capturing such joy in her images! Look at those precious faces enjoying their ride in the snow! They are from #5953 Woodland Critters Set. I added a wonderful sentiment from #5797 Little Things Sentiment Set. The images are stamped with Memento Ink Tuxedo Black ink and then colored with Copic markers which are listed below. 


So that's it for me today. Thank you so much for stopping by for a visit, and until next time - stay crafty!!


Copic markers used:
R02, 22, 24, 27, and 29
Y23, 26, 28, 35, and 38
BG53 and 57
BV02 and 04
B00, 32, and 34
G82 and 85
E30, 31, 33, 35, 37, 50, 51, 53, and 55


Friday, January 10, 2025

Thinking of You Card by Tasha

 Happy Friday Ai Friends!

Tasha here sharing my first project of 2025! Today's card was inspired by the current "Craft Time is Golden" Challenge and features the 5953-Woodland Critters Set.

Now that Winter is in full swing and we are getting more snow here in Wisconsin, I thought it would be fun to create a little winter wonderland scene. I love owls and this stamp is perfect for Fall and Winter projects, his little scarf is just too cute!


I colored the owl with Copic Markers and used the included dies to cut the image out. To go with the "Golden" theme, I created a sparky gold glitter frame which looks awesome with the blue snowflake background. Art Impressions has great pattern paper!

Lastly, I added layers of blue, white, and brown card stock, pine cone pattern paper, and a scalloped frame using the same snowflake paper behind the owl. I also attached a "Thinking of You" sentiment to complete the design.

I hope you enjoyed today's project are will participate in the "Craft Time is Golden" Challenge!


Thursday, December 19, 2024

Winners of Teeny Tiny Challenge #393

 The Art Impressions 2024 Bi-weekly challenges have officially come to a close. We hope that you enjoyed them and that even more of you will play along in 2025 when we return.

Here are our final winners for 2024 and our Teeny Tiny challenge.

For our Top Spot we chose #10 Betty C. for her darling, teeny tiny door.


Please contact Leah at Feedback@artimpressions.com
to claim a free stamp set of your choice!! ***Leah is out of the office until further notice***
but someone is covering for her. Please be patient if there is a slight delay.
Also, be sure to grab our badge to display on your blog, Facebook or Instagram!

Our Lucky Random Winner was #15 Barb E.


Please contact Leah at Feedback@artimpressions.com
to claim a free stamp set of your choice!! ***Leah is out of the office until further notice***
but someone is covering for her. Please be patient if there is a slight delay.
Also, be sure to grab our badge to display on your blog, Facebook or Instagram!

The blog will close for the holidays as soon as our Top 10 and Top 5 are complete.
We love seeing the year end recaps from our Design Team members.

We will see you back here in 2025 for all new challenges and lots of chances to win free stamp sets.


Sunday, December 1, 2024

A Country Christmas by Gennette Houghton


Hello and Welcome to Watercolor Weekend! My card started out with inspiration from some of the other Design Team members who have a love for wax seals. The first thing that came to mind was my envelope edge dies and creating a paper “seal” to go with it.  I was already playing with the new 5953 Woodland Critters Set and I thought the little mouse would be perfect, but what to do with the rest of the card?? I wanted a tree scene to go in the background and remembered Kendra’s Country Hello tutorial she did back in April of 2022. So I modeled the background scene after her tutorial and changed it to a winter scene.

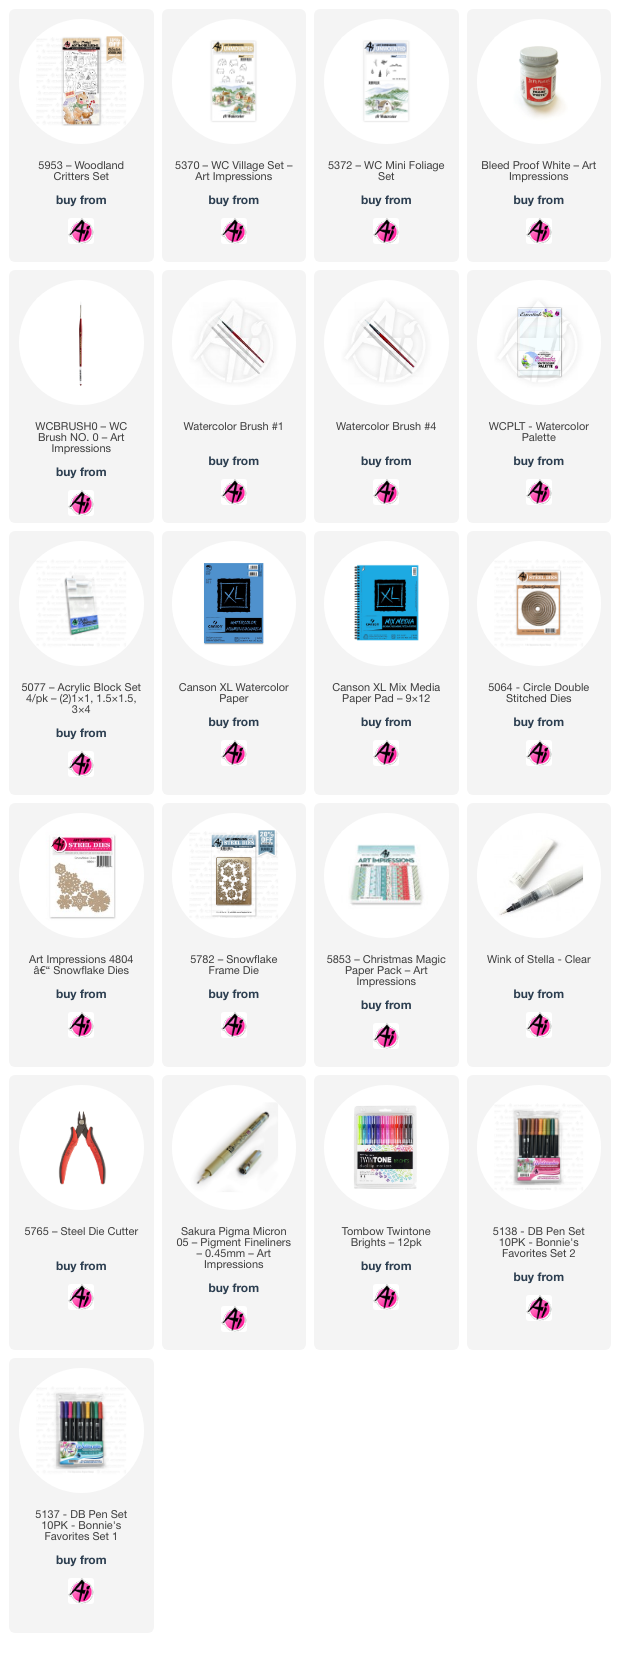
I designed the card first by choosing paper from the 5853 Christmas Magic PP and used my edge die for the top of the “envelope”. I then used two die sets for the snowflakes I planned on using, 4804 Snowflake Dies and 5782 Snowflake Frame Set.  I cut these out of Canson Mixed Media paper and used a bit of 565 on the edges and Wink of Stella, stacking the snowflakes together to create 6 dimensional snowflakes to use.  I then used the 5064 Circle Double Stitched Dies (starting from the smallest, I chose the 3rd die) to create the base of my “seal”.  I used the piece I already cut out for the top and marked its location on a piece of watercolor paper and also used the circle as a guide to judge where the seal would go.

Using the guides I chose the Merry Christmas sentiment from the Woodland Critters set and inked it in 856. I penciled in a guideline for my scene and stamped in the house from the 5370 WC Village Set inking it in 555 and 969, stamping off twice and pulling some of the color out and adding 969 on the roof and door and adding some 565 for the shadows and #4 Chrome Yellow Twintone for the windows.  I then masked the house and used the trees inked in 969 from 5372 WC Mini Foliage Set. Stamping one behind the house and two on the other side. Using the same set, I inked the pine tree in 249 and stamped them in clusters throughout and then added the line foliage stamp, also stamped in 249 in front of all the trees. I removed the mask off the house and added water to the pine trees and foliage, pulling some of the color out and adding 565 to create shadows from the trees. 565 was used for the sky and Bleed Proof White was used on the roof, trees and ground to finish off the scene.  I also added a touch of 565 under the sentiment to create a shadow there as well. 


For the mouse I stamped it in Archival Vintage Photo, stamped off once and used 992 for a base color adding in 969 for the main part of the body and 772 for the ears, cheeks and nose.  For the hat and scarf I used 856, I first added 565 on the scarf for the shadows to avoid spreading the red. The lantern was colored with N15 for the metal and the glow was created with 055 and adding a bit of 026. Bleed Proof White was used on the hat. To create a fur like texture I like using a very stiff scrubber brush that I have in my stash.  Using the scrubber brush I work it through the paint as it is drying to get a texture like appearance, I then add in 565 a little on the darker side to create the look of a shadow and then went back over with some more BPW which gives depth in the fur. making it stand out.  I then die cut the little mouse and assembled my seal by adding 4 of the snowflakes to the die cut circle and placed a small piece of foam tape in the middle to help support the mouse. Centering the mouse on top and after erasing the pencil lines I then assembled all my pieces together adding the 2 extra snowflakes on the top section.  I hope you enjoyed my card today, and I would like to wish you all a joyous holiday season! Until next time. Create….Share….Inspire!


Friday, November 22, 2024

Joy of the Season Card by Tasha!

 Happy Friday Art Impressions Friends!

Tasha here sharing a new holiday card inspired by the current Masculine Masterpieces Challenge. I can honestly say that I struggle with creating masculine cards so this challenge was a great for me. After looking at all my stamp sets I kept going back to the new 5953 - Woodland Critters Set and was drawn to the holiday deer. I really like the one ornament hanging from his antler!

For the background, I created a little forrest wine scene. I tried to keep the colors darker to go with the masculine theme and also selected darker shades for the deer's outfit. I usually go with bright colors but love how this sky looks with the falling snow! 

After I was done with the center card, I added layers of red and green card stock, and attached a piece of Art Impressions plaid pattern paper. I wanted to stick with traditional holiday colors and this plaid paper goes great with the outdoor scene. 

Lastly, I used a white gel pen to add snow to the trees and decorate the deer's clothes. I also attached a simple holiday greeting to complete the design. I hope you enjoyed today's project and will join in the current Masculine Masterpieces Challenge!


Sunday, November 17, 2024

Gather Together and Merry Penguins cards by Diane Mason

Hello, and welcome back for Watercolor Weekend!


Hello, AI Watercolor Friends! It's that wonderful time of year - Thanksgiving is on its way, and Christmas is just around the corner. Today, I'm excited to share two festive cards with you. The first is a quick and easy Thanksgiving card, perfect for the season. The second is a playful, interactive Christmas shaker card featuring the adorable penguins from the newly released 5929 – Christmas Train Set.

Gather Together card:

For this quick and easy card, I selected the chair stamp from 5593 – Harvest Scenes Set. I love the beautiful colors of autumn and thought this scene would look so pretty paired with the patterned papers from the new fall paper pack (5973- FALL S2 PP).

I inked the image with the usual combination of 565/969 and stamped it off once before stamping it onto my Canson XL watercolor paper. With a damp brush, I pulled some color from the image to add shadows and dimension. I added a little 565 to the white chair for added shadows. For the birds, I painted 947 for the wings and 933 for the tummies. I wanted to give the watering can an old and weathered look. I used N52 to shade the watering can and a touch of 565 to deepen the shadows. For the rust, I dotted on some 947 here and there and blended some of the dots with a damp brush. I painted the red stripes with 856. I made sure the stripes curved upward for proper perspective since you could see the bottom of the watering can. I left the milk can white and added a little more 565 for contours. The handle was painted with 947.

The green pumpkin was painted with 228. I really like this green, it’s similar to 177 but has a grayer undertone. I added 993 for the yellow highlights. For the orange pumpkin, I used 933 for the base and 933/947 to shade the pumpkin. Both stems were painted with 969. I painted the wooden basket with 947 and 969.

Before adding the flowers and foliage, I brushed in a sky with a watery mix of 565. I added vines to the milk can using the vine stamp from 5126 – WC Foliage Set 4 inked in 177 and dabbed with a damp brush. Next, I added flowers to the wooden basket. I used the daisy bunch stamp from 4052 – Flower Set and stamped in 933 and 856. Using the same vine stamp, I added some foliage below the flowers and dabbed the vines and flowers with a damp brush. I got a little carried away with the flowers, so to tone them down a bit, I dotted in some tiny white flowers with Dr. Ph. Martin’s Bleed Proof White.

I added a shadow under the chair and near the basket and milk can with 565. I used a brown TwinTone marker to add fine details to the scene. The painting was die-cut with a stitched rectangle die and matted with patterned paper from 5973 – FALL S2 PP. The “Gather Together” sentiment is from 5600 – Harvest Sentiments Set and was heat embossed in gold.

You all know I like to decorate the interior of my cards. The sentiments are from 5600 and the fall leaves are from 5598 - Harvest Set. The leaves were painted with 947, 228, 177, 856, 933, and 993.

Merry Penguins Shaker Card:

I think the little penguins from the 5929 – Christmas Train Set are so adorable. They look so excited and happy, and ready to shake up some fun!

I stamped the four penguin images, and an extra sitting penguin for the interior of my card, with Versafine Onyx Black ink onto my watercolor paper. Versafine ink is permanent once dry, stamps clean sharp images, and works perfectly for watercolor. It is also easy to remove from your stamps. I shaded all the white areas with N52 and a little 565. For the hats and scarves, I used 526 and decorated the scarves with a white gel pen. The bodies were painted with N25 and the beaks in 933. Rosy cheeks were added with a watery mix of 856. I then die-cut all the penguins and set them aside.


For this slim-line card, I cut a 7 x 8 ½ inch piece of white cardstock and folded it in half for the card base. I cut a 3 ½ x 8 ½ inch piece of shimmery white cardstock and adhered it to the card front. Next, I added a 2 ¼ x 8 ½ inch piece of blue cardstock to the center of the card. For the MERRY shaker windows, I created a template using a piece of white cardstock and the letter dies from 5072 – Block Letters Die Set. Since there is only one “R” die, I used an “N” die as a placeholder for spacing. I used a strip of removable tape to hold my dies in position, removed the “N”, and die-cut a template from the white cardstock. I added the second “R” to the template and ran it through the die-cutting machine again. Next, I cut a 2 x 8 ½ inch piece of blue plaid patterned paper from 5964 - Winter Woodland Cover Paper Pack. I positioned the template over the plaid strip, aligned the letter dies in place, and die-cut the windows for the shaker. Using a pencil, I lightly traced the letter openings onto the blue cardstock to mark where the shaker wells would go. Then, I used foam tape to build the wells and filled them with a wintry mix of beads and sequins. I added clear acetate to the back of the letter strip and carefully adhered the strip over the shaker bits. I used a die-cut 'R' as a guide to position and adhere the inner pieces of the letter, securing them in place.


Next, I glued the penguins onto the card and added a touch of sparkle by scattering die-cut silver glitter snowflakes from the 5782 - Snowflake Frame Die.

For the inside of the card, I adhered a ½ inch strip of plaid paper along the bottom edge and placed a sitting penguin on top for a fun finishing touch. The “Merry Christmas” sentiment is from 5953 – Woodland Critters Set. Let the merry-making begin and shake, shake, shake!

Thank you for stopping by for Watercolor Weekend. I hope today’s cards have inspired you to create some cards to share with your friends and family this holiday season. Until next time, wishing you and your loved ones a very Happy Thanksgiving and, as always, Happy Painting!