

Welcome to Watercolor Weekend, and thank you for joining me today! I absolutely love Kim’s fox set that she designed, it is such a beautiful set.

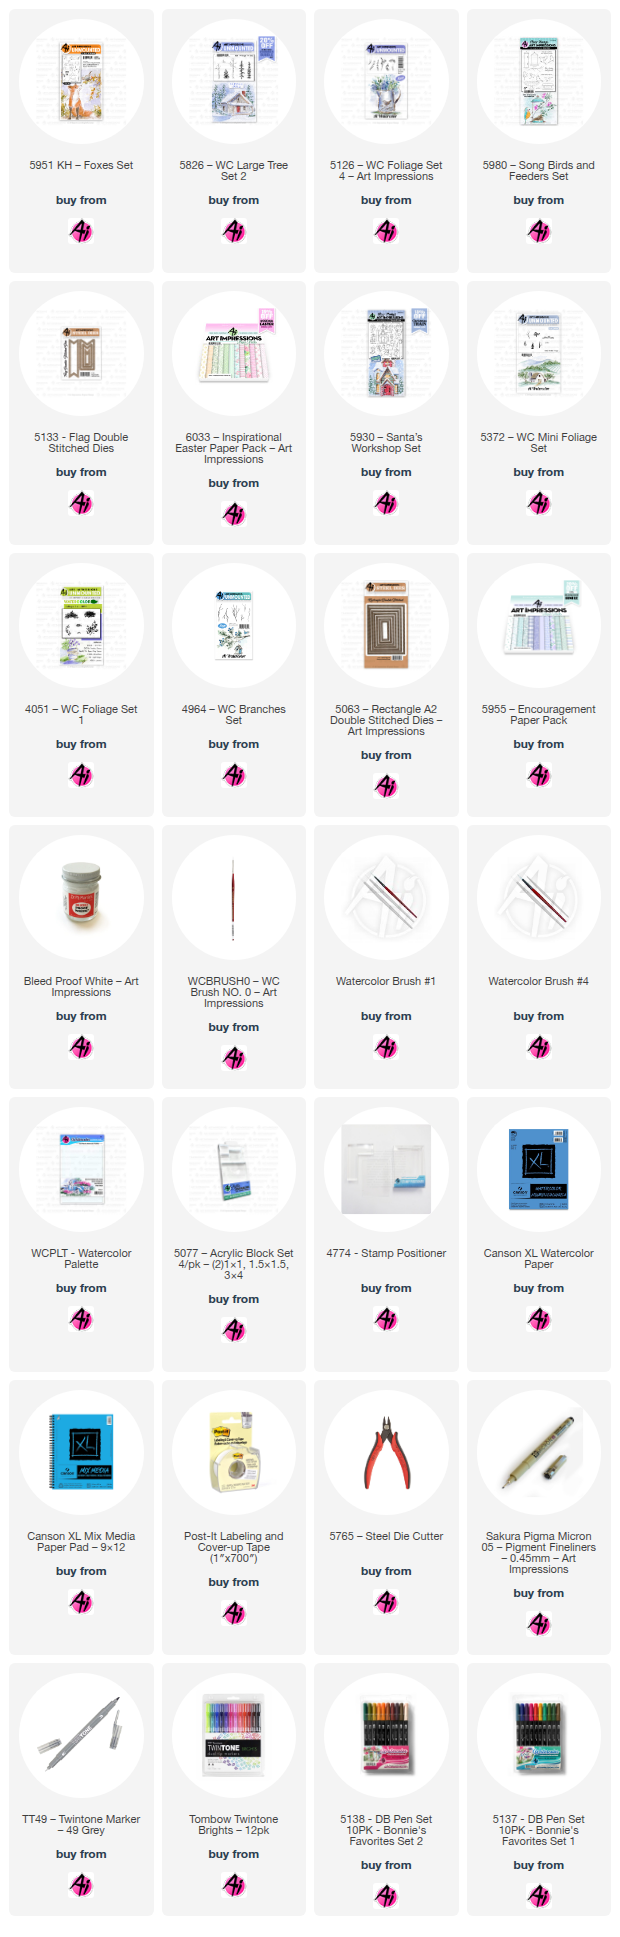
I started out by tracing the inside of a 3 inch circle die on watercolor paper, and then used the inside of the wreath die that is from my stash to trace in some guidelines. I then took the largest fox that is lying down from KH5951 Foxes set in N49 and stamped off once before stamping on my project. I used a black micron on the eyes and nose before I started coloring in the fox. Using Tombows, I like to start with 025, to me if gives an underglow to the image. I then added in 993 going over most of it but leaving a touch of the 025 showing in the areas that are the most highlighted. I then go in layers with 946, 947 and 969. As each color gets darker the closer I stay to the more shaded areas of the image, with the 969 being the darkest areas. I then shaded the white tip of the tale with 565 and added some Dr. Ph. Martin’s Bleed Proof White to highlight areas to give contrast. I put a wash of color on the ground in 177, using 249 to shade under the fox. 526 was used for the sky at this point.

5826 WC Large Tree Set 2, which has my favorite grass to use in scenes like this, was inked in 177 with just a touch of 969 in 2 spots at the base of the grass. Then using 5126 WC Foliage Set 4, I used 126 and then used 177 in a line right up through the middle of each section on the leafy branch. I find that adding the 2 colors right on the stamp gives a beautiful, more organic look to the colors. I then added a touch of water to both the grass and the leaves to soften and blend the colors.

For the leaves added into the wreath, I die cut them out of mixed media paper and colored them with 126 and shaded with the 177. I erased all of the pencil lines and added in BPW for the tiny flowers in the grass. Now that everything is dry, I assembled the wreath first, then matted my card base with a beautiful 2 toned paper from 6033 Inspirational Easter Paper Pack. I couldn’t decide on some color cardstock for my sentiment so I created my own with mixed media paper and 126. I then stamped the sentiment from 5980 KH Song Birds and Feeders Set in black ink, then die cut it with a banner from 5133 Flag Double Stitched Dies. I then finished assembling my card to create a cute fox hollow card perfect for a friend.
.jpg)
For my second card I used 5930 Santa’s Workshop Set. I love it when a stamp can be used in different ways. I love this building and I could see it in a country setting. I inked it in N49 and stamped off once, I also created a mask out of 2” post-it tape. Before adding color, I used a pencil and ruler to map out my grid lines for the windows, and lines on the door. For the walls I used 177, concentrating darker color in the areas that are shaded. I left the inside wells of the windows unpainted until after the windows were finished so I wasn’t drawing the green color into the panes. For the windows I used 772, going right over the top of the pencil lines, and also using those lines to add a bit of more color to help single out some of the panes of glass, shading the panes with 565. I then used 947 on the roof, door and trim. With 969, I darkened some of the deeper shaded areas, especially on the roof. For the chimney, I started with a mix of 565 and 969, making sure I left highlights on the stone. 565 was used to create a shadow where the chimney is closest to the house, and then added some 249 to add a bit of color. 969 was used to darken the areas where the stones meet. For the porch, 565 and 969 mixed, was also used with 565 for a shadow right in front of the door. I then went over the pencil lines on the windows and door with 947, adding 969 to the door knob. I then went over the window and door wells with a dark layer of 177, to give them the appearance of being inset. 565 was used to shade under all of the overhangs.

I put my mask in place, and with 5826 WC Large Tree Set 2, I put in the trees around the house. For the tree on the right I used a stamp positioner to create a taller tree. I stamped in the top part first with 177 and 969, then used the positioner and just inking the bottom half of the stamp lined it up with the top image. For the sky I used 526, and added a wash of 249 for the ground, I also added a bit of 177 around the base of the trees. Right in front of the porch I added a touch of 969 for a hint of a path. For the grass by the trees I used 4051 Foliage Set 1 in 249, the grass by the porch is from 5372 WC Mini Foliage Set. Using the Mini set and the bush line I added in flower bushes in 725, inking only a small section of the stamp. I then softened all of these with a bit of water. The bottom, to me, looked a bit empty, so I used the 2nd largest die from 5063 Rectangle A2 Double Stitched dies and traced inside the two bottom corners for a guide and taped off with post-it tape. The grass from 5826 WC Tree Set 2, is my favorite to use, I inked it in 177, and in two small spots, just at the base with a touch of 969. Re-inking the stamp as needed as I went across the bottom. I added, with 249 and the small vine from 5126 WC Foliage Set 4, some leaves in several spots, I also used a branch in 969 from 4964 WC Branches Set for added interest. Dr. Ph. Martin’s Bleed Proof white was used for the flowers, and a spot of 025 for the centers on the bottom flowers. After removing the tape, I erased all of the pencil lines. My card was matted with paper from 5955 Encouragement Paper Pack. With the die I used as a guide, I cut out my image and matted it with matching cardstock. Thank you for joining me today, and I hope you enjoyed my cards. Until next time, Create….Share….Inspire!

4 comments:
This is so amazing!
Thank you so much!
Beautiful and such great detail!
Thank you so much Kathy!
Post a Comment