Showing posts with label 5980 - KH Song Birds and Feeders Set. Show all posts

Tuesday, August 4, 2026

Focus on Faith with Sara Furr: Bird and Tulip Wall Hanging


Blessings, dear friends, and welcome to my first edition of "Focus on Faith" for the month of August.  Today, I have a fun project for you that is not so much card as it is a quaint little wall hanging.


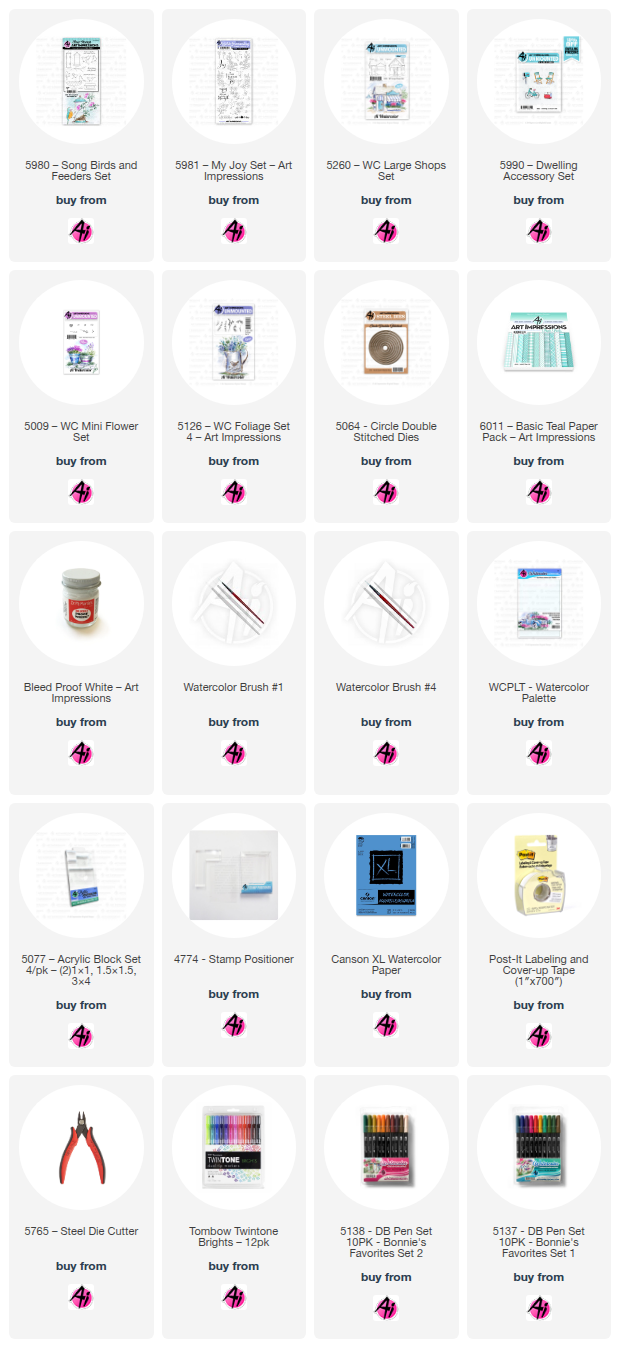
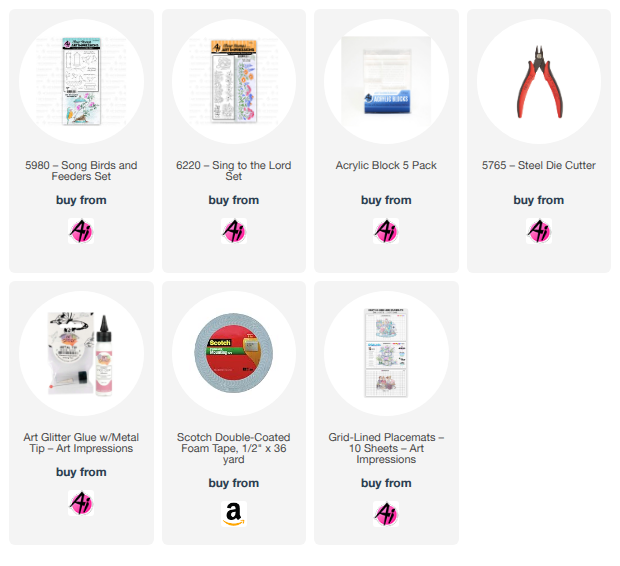
I started by die cutting an oval panel of Canson XL Bristol Smooth cardstock, on which I stamped the tulip image from the "Sing to the Lord" set, in Versafine Black Ink using my stamp positioner. I then inked up just the bird from the "Songbirds and Feeders"set. It is the bird perched on the side of the bird bath.  I stamped it so that it was just at the top of the back tulip. I then proceeded to color my images using Polychromos colored pencils. 


 When  was done,  I ink blended some yellow ink up in the right hand corner for a bit of sunlight ,and then I placed the oval back into my stamping tool, and stamped the sentiment from the "Sing to the Lord" set, with Versafine black ink. 


I die cut the black frame and applied it to the top of my oval and then I applied foam tape to the back of it. I die cut a larger oval of white cardstock and embossed it with a tulip embossing folder, and I applied ink to the raised embossing with mini ink blending brushes. 


 I then adhered that panel down to my scalloped green oval base with foam tape, and added the black hanger with adhesive. 

 That finishes my project for today. I hope that you got inspired to look at your stamp sets in a new way, and that you will try coloring your images using colored pencils. I love the amount of texture and shading that I can achieve using colored pencils.

 I wish you all a very blessed and crafty week!
 Your friend in Faith, 
Sara Furr- The Crafty Farm Chick


Other supplies used:
Canson XL Bristol Smooth cardstock 
Paper cutter
Die cutting machine
Oval dies and hangers 
Embossing folder
Foam tape
Versafine black ink 
Polychromos colored pencils 
Yellow ink
Green ink
Coral ink
Blue ink
Red ink
Mini blending brushes

Sunday, September 14, 2025

Fox Hollow and Country Cottage by Gennette Houghton


Welcome to Watercolor Weekend, and thank you for joining me today! I absolutely love Kim’s fox set that she designed, it is such a beautiful set.  

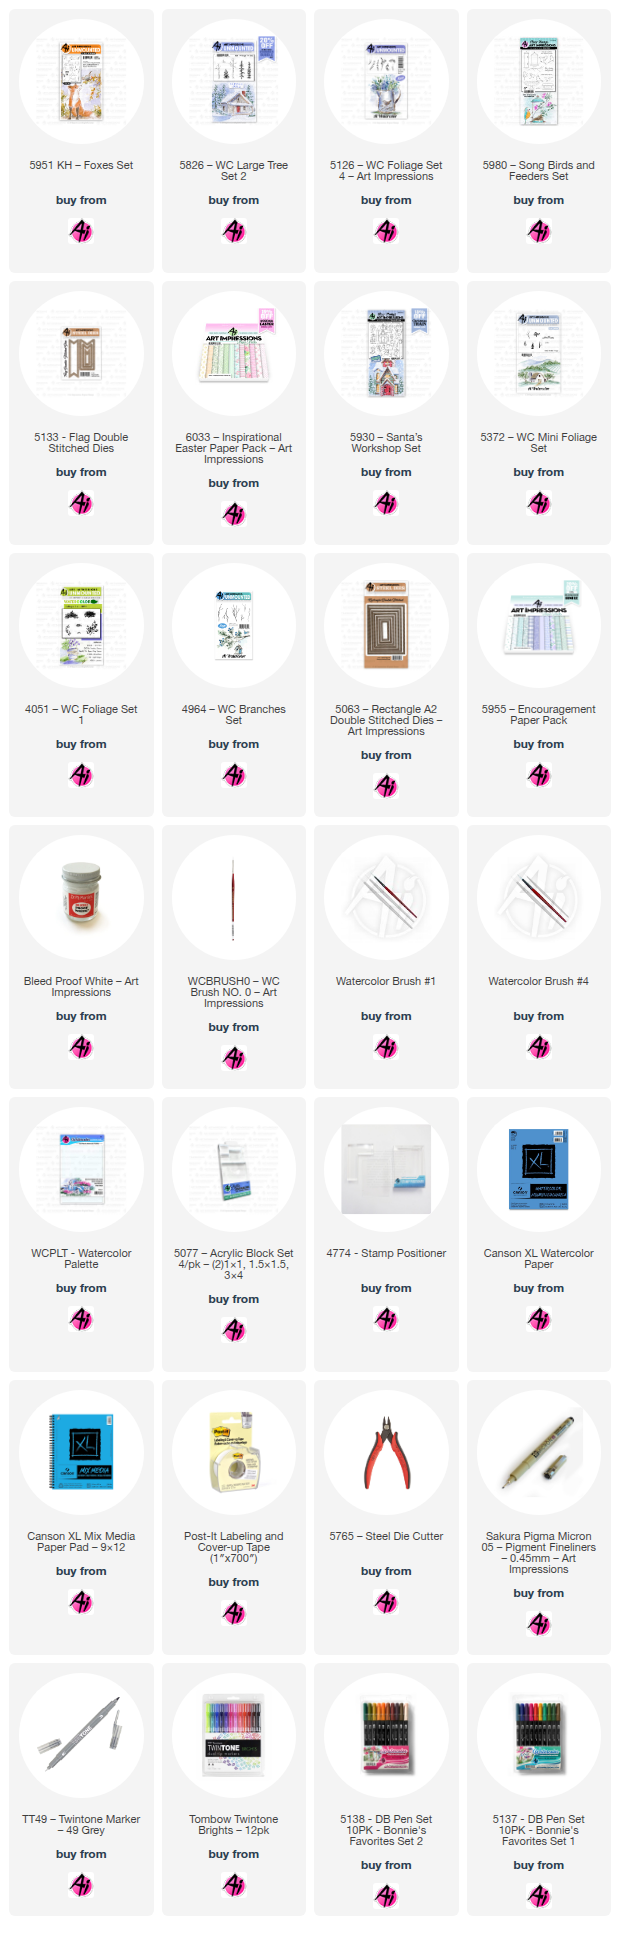
I started out by tracing the inside of a 3 inch circle die on watercolor paper, and then used the inside of the wreath die that is from my stash to trace in some guidelines.  I then took the largest fox that is lying down from KH5951 Foxes set in N49 and stamped off once before stamping on my project.  I used a black micron on the eyes and nose before I started coloring in the fox.  Using Tombows, I like to start with 025, to me if gives an underglow to the image.  I then added in 993 going over most of it but leaving a touch of the 025 showing in the areas that are the most highlighted.  I then go in layers with 946, 947 and 969.  As each color gets darker the closer I stay to the more shaded areas of the image, with the 969 being the darkest areas. I then shaded the white tip of the tale with 565 and added some Dr. Ph. Martin’s Bleed Proof White to highlight areas to give contrast.  I put a wash of color on the ground in 177, using 249 to shade under the fox.  526 was used for the sky at this point.  

5826 WC Large Tree Set 2, which has my favorite grass to use in scenes like this, was inked in 177 with just a touch of 969 in 2 spots at the base of the grass. Then using 5126 WC Foliage Set 4, I used 126 and then used 177 in a line right up through the middle of each section on the leafy branch.  I find that adding the 2 colors right on the stamp gives a beautiful, more organic look to the colors.  I then added a touch of water to both the grass and the leaves to soften and blend the colors.  

For the leaves added into the wreath, I die cut them out of mixed media paper and colored them with 126 and shaded with the 177.  I erased all of the pencil lines and added in BPW for the tiny flowers in the grass. Now that everything is dry, I assembled the wreath first, then matted my card base with a beautiful 2 toned paper from 6033 Inspirational Easter Paper Pack. I couldn’t decide on some color cardstock for my sentiment so I created my own with mixed media paper and 126.  I then stamped the sentiment from 5980 KH Song Birds and Feeders Set in black ink, then die cut it with a banner from 5133 Flag Double Stitched Dies.  I then finished assembling my card to create a cute fox hollow card perfect for a friend.  

For my second card I used 5930 Santa’s Workshop Set. I love it when a stamp can be used in different ways. I love this building and I could see it in a country setting.  I inked it in N49 and stamped off once, I also created a mask out of 2” post-it tape. Before adding color, I used a pencil and ruler to map out my grid lines for the windows, and lines on the door. For the walls I used 177, concentrating darker color in the areas that are shaded. I left the inside wells of the windows unpainted until after the windows were finished so I wasn’t drawing the green color into the panes.  For the windows I used 772, going right over the top of the pencil lines, and also using those lines to add a bit of more color to help single out some of the panes of glass, shading the panes with 565.  I then used 947 on the roof, door and trim. With 969, I darkened some of the deeper shaded areas, especially on the roof.  For the chimney, I started with a mix of 565 and 969, making sure I left highlights on the stone. 565 was used to create a shadow where the chimney is closest to the house, and then added some 249 to add a bit of color.  969 was used to darken the areas where the stones meet.  For the porch, 565 and 969 mixed, was also used with 565 for a shadow right in front of the door. I then went over the pencil lines on the windows and door with 947, adding 969 to the door knob. I then went over the window and door wells with a dark layer of 177, to give them the appearance of being inset. 565 was used to shade under all of the overhangs.  

I put my mask in place, and with 5826 WC Large Tree Set 2, I put in the trees around the house.  For the tree on the right I used a stamp positioner to create a taller tree. I stamped in the top part first with 177 and 969, then used the positioner and just inking the bottom half of the stamp lined it up with the top image.  For the sky I used 526, and added a wash of 249 for the ground, I also added a bit of 177 around the base of the trees.  Right in front of the porch I added a touch of 969 for a hint of a path.  For the grass by the trees I used 4051 Foliage Set 1 in 249, the grass by the porch is from 5372 WC Mini Foliage Set.  Using the Mini set and the bush line I added in flower bushes in 725, inking only a small section of the stamp. I then softened all of these with a bit of water.  The bottom, to me, looked a bit empty, so I used the 2nd largest die from 5063 Rectangle A2 Double Stitched dies and traced inside the two bottom corners for a guide and taped off with post-it tape. The grass from 5826 WC Tree Set 2, is my favorite to use, I inked it in 177, and in two small spots, just at the base with a touch of 969. Re-inking the stamp as needed as I went across the bottom.  I added, with 249 and the small vine from 5126 WC Foliage Set 4, some leaves in several spots, I also used a branch in 969 from 4964 WC Branches Set for added interest.  Dr. Ph. Martin’s Bleed Proof white was used for the flowers, and a spot of 025 for the centers on the bottom flowers.  After removing the tape, I erased all of the pencil lines. My card was matted with paper from 5955 Encouragement Paper Pack.  With the die I used as a guide, I cut out my image and matted it with matching cardstock.  Thank you for joining me today, and I hope you enjoyed my cards.  Until next time, Create….Share….Inspire!


Sunday, July 13, 2025

Glass Flowers and Birds and Bicycle Shop by Gennette Houghton


Hello, and Welcome to Watercolor Weekend!! I love playing with random ideas, it’s even better when they turn out the way you want them too! Ever since I started with the watercolor line, I have found myself seeing inspiration everywhere. The versatility of these stamps leave endless possibilities. The idea for my first card actually came from an embossing folder, I just added birds into the mix.  

I started out using the acrylic piece from the stamp positioner set, and traced around it to give me a guide on watercolor paper.  I then masked the sides off with post-it tape.  Stamping in 3 of the birds from Kim’s set 5980 KH Song Birds and Feeders in N49 and stamping off once.  I then created masks for each of the birds. Taking two of the flowers from 5981 My Joy Set, using both the left and right, and stamped them in N49 after stamping off once. Turning my paper in different directions as I was stamping them in. 

I wasn’t fully decided yet on where I was going with this, so I started with 569 for the background. I knew I wanted the design to be lighter, so I focused more color around the images to help them pop. Sometimes making decisions about what color to use can be hard. I used my stamp off piece to figure out the colors I wanted to go with, trying several different variations before I settled on a combo that almost made the images look like glass. Before painting the images, I used a pencil on the eyes and legs of the birds. Starting out with N52, which is a beautiful blueish grey, giving some depth to the center areas of the flowers, and using it to define the leaves and birds. I also used this color for any areas that would be shadowed. I then went back over it again with the N52, but focused the color around the centers of the flowers and darkening up any shadowed areas. I then used 526 to add a touch of color over the images, trying to keep it a bit subtle. I then matted my card with an embossed design, cut down my image leaving a bit of a white border and matted the image with a dark blue paper. Popping the image up with foam tape and offset the image on the card base. 

For my 2nd card, I created a bike shop using 5260 WC Large Shop Set. On watercolor paper, I first stamped the bicycle from 5990 Dwelling Accessory Set and created a mask, the size of this bicycle was absolutely perfect!! I used the stamp positioner to help me place the shop exactly where I wanted it. I wanted to try out the new ink pad that is now available, Archival Ink in Shadow Grey, so that is what I used for both images.  I did, however, use a mix of 565/969 to add a bit of dimension to the building, just like you would if you were pulling the color out.

I then took a pencil and ruler to sketch in some details that I wanted on the roof, windows, and the sign.  Creating the roof tiles, I offset them and rounded the bottoms, using the pencil lines as a guide.  Using the largest circle from the Double Stitched dies, I also traced a guideline around my image.

373 is what I used on the roof, door, and trim, I also used that color on the canopies, after I had sketched in some lines on them later.  For the walls on the building I started with 090, I was going for a soft cream color, but next to the teal it almost had a green tint to it, so I lightly went over it with 990 to tone it down.  I played a little bit with the window panes, I wanted a look of an idea that there was a bunch of stuff in the shop. So in different sized blocks I used 565, 912, 055, 133, and 676.  I used 565 to shadow the door, canopies, roof peak, and also the window boxes.  I used 947 on the chimney, sign, and door knob, with a touch of 969 for the shadows. A little bit of 947 was also used on the tiles to create spaces with a little more dimension.  I also used 565 behind the sign for a shadow and at the base of it. For the bike I used 969 on the seat and handles, darkening the underside of both with the same color.  The frame of the bike was painted with 912, adding more in the shadowed areas. The pedal I used N15, and the tires a mix of 565/969.  I then masked off the bike again and each of the window boxes. The flower bunch from 5009, inked with 177 and 676, for the flower boxes.  As you can see, none of the green made it into the scene, but my masks are a lovely green! LOL! I then used the small vines from 5126 WC Foliage Set 4, inking just the tip in 177.  Stamping in multiples to create a bush under the boxes on each side, and creating a vine going up on the left side.  It was at this point I wished I had thought to add a light from 5263 WC Lamp Post Set, but I already had too much color in to do so.  Just throwing that idea out in case you wish to try.   Softening both the flowers and vines with a touch of water.  After they were dry I added in little dots of Dr. Ph. Martin’s Bleed Proof White.  I still felt the building needed something, so I decided to add bricks with 947, to give it some texture.  Some more of 565 was used to add a bit more shadows in the door well and behind the bike tires.  I used 526 for the sky, and a mix of 565/969 for the ground.  I then used 5064 Circle Double Stitch Dies, using the largest to cut out my image, and matted it onto a dark teal die cut from my stash.  I then matted my card base with paper from 6011 Basic Teal Paper Pack.  I really love how this came out.  Thank you for joining me today, and I hope you enjoyed my cards! Until next time!  Create….Share….Inspire!!


Saturday, February 1, 2025

Life is Better with Friends by Janet


Hello and happy weekend! Have you seen the beautiful new stamp set that Kim Hein designed yet? It's called 5980 - KH Song Birds and Feeders Set. This is for the bird lovers out there. In this card, I've used just one of the many images dedicated to our feathered friends.

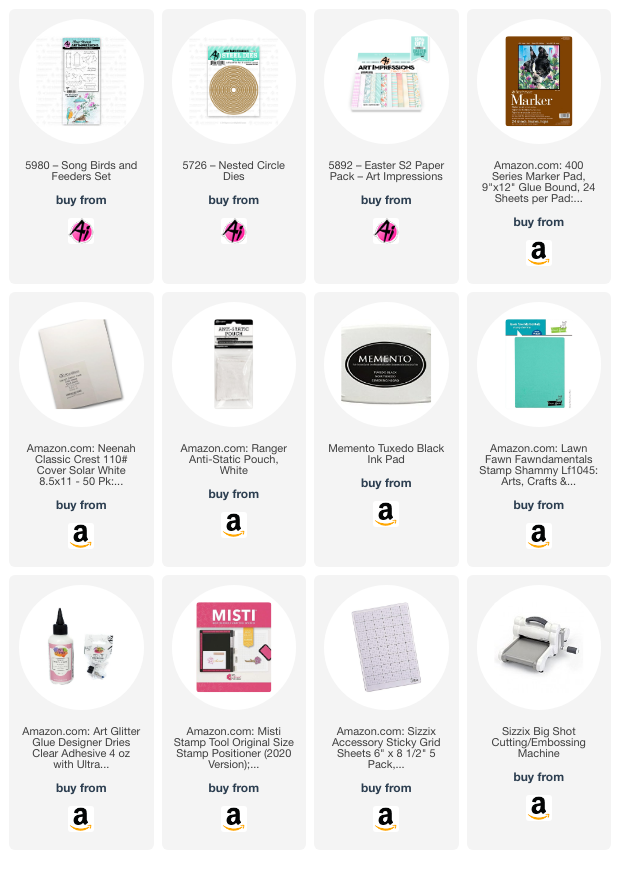
To make my card I first cut out a circle on alcohol ink friendly cardstock using 5726 - Nested Circle Dies. Then I stamped the image and added one additional bird on the left side. I knew this was going to be about friends so I had to have two birds! I colored the bird bath with cool gray markers and made one bird with a blue breast and the other with a red breast. These guys are friends even though they're very different from each other. Do you have any friendships that are the same? I bet you do. 

After I finished coloring the stamped images, I used a blender stick from Ranger and applied some blue ink here and there to make a sky. I grounded the birdbath with a warm gray marker. Though simple to color, the effect is nice.

There's a lot going on in the card background but it doesn't overpower the birds. I enjoy combining patterns and you're good to go when you use Ai Paper packs because each pack coordinates perfectly together. I used a a piece of patterned paper from 5892 - Easter S2 Paper Pack and cut it with a lattice background die. I cut a middle rectangle piece out of the same paper pack for the center and behind it all, I used another design from the same pack. 

Thanks so much for joining me here at the blog today. As always, please visit the Ai store for the products I used and all the things you need for your card, journal, and tag making projects. Happy creating!

Janet - YouTube - Blog - Facebook - Instagram - Pinterest