
Blessings my dear friends, and welcome to my first "Focus on Faith" for the month of June.
.jpg)
Not too far from me are 2 covered bridges situated in some beautiful scenery in "God's Country". The beauty of them always brings me peace and the nostalgia of times long ago, so I wanted to recreate one of those local spots.

I used this wonderful stamp set called "He Leads Me", along with a couple foliage stamp sets to create my watercolor scene. I really had fun practicing my watercolor. I have created a mini picture tutorial for you to follow my steps......

I started with an A2 panel of watercolor cardstock and taped it to my board with post-it tape about 1/4" all the way around. I then stamped in my covered bridge with a layer of blue and brown marker. Then the fence and trees with just brown. I just stamped the tree from the set 3x up the left side to create a "Big" tree.

I then pulled color from the lines to create depth and shadow. To soften the tree limbs so they weren't so heavy i added some water to soften and then blotted up the ink before stamping in the green foliage.

I then stamped in the small grass from the Foliage set around the fence posts and trailing the fence leading to the bridge. I stamped the little bushes from the WC Mini Foliage in a bit darker green up along the bank in front of the bridge, and I stamped the bushy tree limb from the same set in a brighter green for the trees' leaves, stamping several generations for each of the stamps, and then blended them out with a damp brush. I added in more shades of green to extend my grassy areas. I also added in some darker shadows on the roadway for the fence posts with more brown. I then added some pretty blue for the creek water under the bridge and then watered it down a bit more to blend in my sky. I let that all dry and then went back in to add some pretty flowers with a purplish blue color using the "lavender" stamp from the Mini Flower set, again stamping several generations onto the edges of the roadway.

I also added the tiny leaf branch from that set to add some foliage around my fence posts out front and I used it to create some big bushes on either side of the bridge.

I blended those out just a bit with a damp brush and let it dry before stamping in the tiny purple dots, also from the same set.

I then stamped the flower bunches repeatedly over in the right hand corner to give some interest in that corner, and draw your eye around the whole scene. I added some more blue into my sky for more depth, and lastly I stamped my sentiment with Black Archival ink.
And finally, the reveal! I carefully removed the post-it tape from the edges and admired the beauty of the scene!😊
I honestly wasn't fond of the brown on the "Big tree" on the left side, so after distressing the edges of my cardstock with scissors I added it to a soft purple mat and added a pretty bow to strategically "hide" my tree trunk! Hehe😁 It worked perfectly and it added a lovely touch of softness. Besides, it wouldn't be a "Sara" card without a pretty bow on it, right?! Haha

Behind the purple layer is an embossed layer of black that has little flowers on it, but its hard to see the detail in the photo. But trust me, you can see it in real life really well!

So, with all the layers, my card wound up measuring 5 1/2x6 3/4".
I hope you like my creation and are inspired to create some "God's Country" of your own!
I absolutely love living in the country where there is so much beauty and scope for the imagination! I always feel so much closer to God here!
I hope you have a great week my friends and I will see you again soon!
Blessings to you all,
Sara Furr- The Crafty Farm Chick

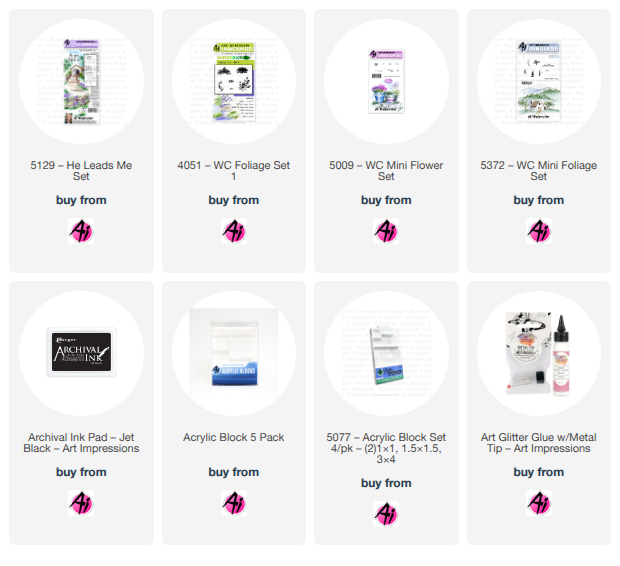
Art Impressions products used:
5129- He Leads Me set
5372- WC Mini Foliage
5009- WC Mini Flower set
4051- Foliage set
Other products:
Watercolor cardstock
Watercolor brush
Archival Black ink pad
Dye ink markers
Chiffon ribbon
Embossing folder
Die cutting machine
Scissors for distressing
Paper cutter
Misti stamping tool
Stamping blocks
Adhesive
Foam adhesive
1 comment:
This is beautiful Sara!
Post a Comment