Showing posts with label 5009-WC Mini Flower Set. Show all posts

Wednesday, July 8, 2026

Adirondack Chairs by the Falls by Guest Designer Dawn Wagner

 Celebration Hi!

I return for another round of painting fun!


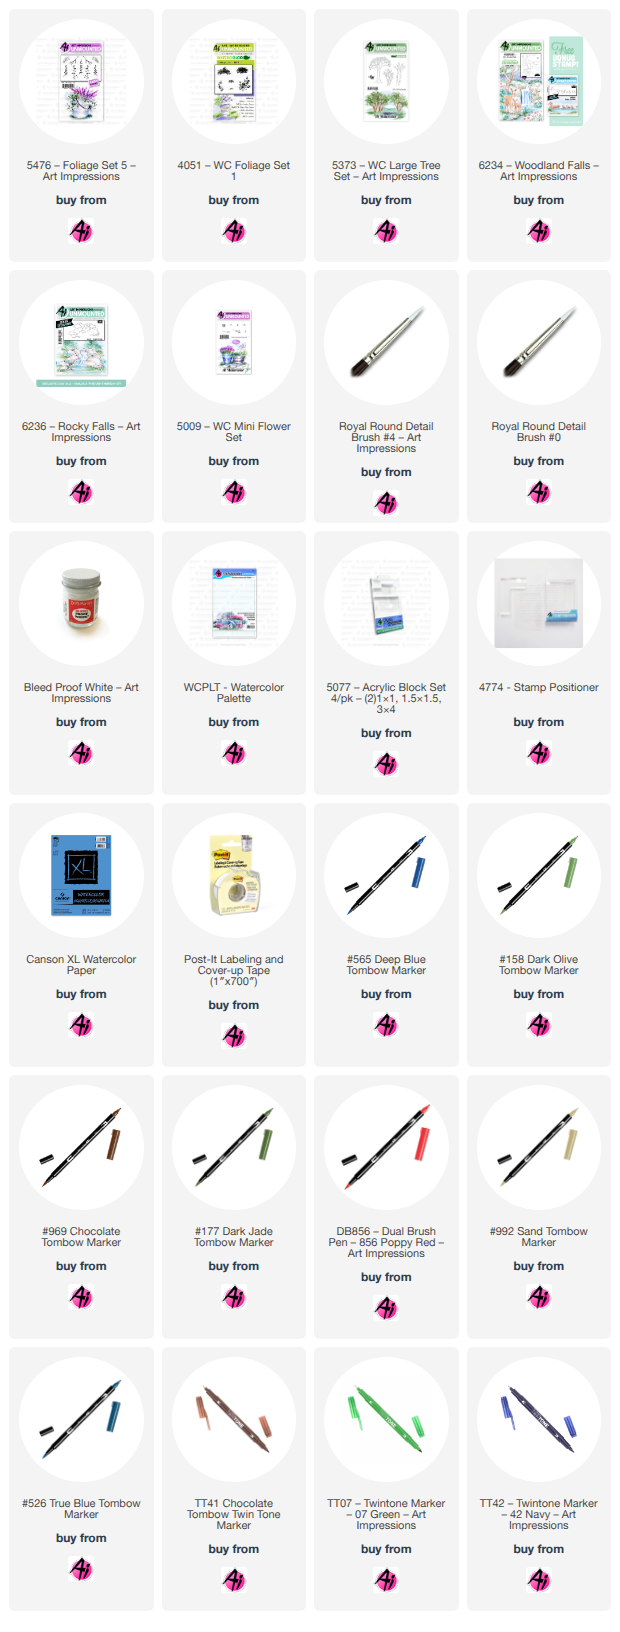
America has its 250th Anniversary this 4th of July. I decided to create a celebration scene with the June Throwback. I used the following sets: 6234-Woodland Falls Throwback, 6236-Rocky Falls, 6225- Adirondack Chairs, 5009-Mini Flowers, 5373-Lg Tree Set(leaves only), 4051-Foliage and 5476- Foliage 5. I used Canson watercolor paper, #4 and #0 brushes, Tombow colors 969, 565, 177, 158, 133, 856, 990, 992, 526 and N35. TwinTone colors chocolate, Prussian blue, emerald green, blue and navy. I also used KingArt 132-Blue, and Dr. Ph Martin’s Bleed Proof White. I inked the woodland falls stamp with 969 and 565 in the areas I was going to use for my scene. I did not use the entire scene because I wanted to add the lower falls to make the waterfall cascade longer. I used a stamp positioner to add the lower falls to the scene. I penciled in rocks on the left by the tree to complete the picture. Using the #4 brush with only water, I started pulling color from where I thought the darkest shadows of the rocks would be. I used N35 fine tip to deepen the darkest shadows and then used multiple color and many layers to the rocks to give them a more realistic look. I pulled color from the lines of the tree and went back in with the chocolate TwinTone to darken certain areas. I used the leaves from the tree set to make the background leaves and the leaves from 6234 for the darker foreground areas. I added the Adirondack chairs to the bottom of the waterfall using 969 and 565. I did stamp off once to lighten them up a bit. I added the American Flag to them for a patriotic look. I added some grasses and mini flowers under the tree and around some of the rocks. I used multiple blue colors in the waterfall to create some depth and flow appearance. I used Ph Martin’s to add some “churning” of the water at the bottom of each cascade, and some running down the waterfall. I was thinking the scene looked incomplete with the chasers just sort of floating in space there, so I added a shoreline and some sand to ground them into the scene. Sometimes I have a hard time trying to figure out just how to include and ground things into the project. That’s when I thought I needed to add some foliage and flowers by the chairs to complete the look. Okay, to be honest, I really wanted fireworks above the waterfall, that was my intent, but I was not confident enough to add them without messing up the rest of the scene. I will practice those at a later time. Thank you for following along and hope you had a great 4th of July!

Tuesday, June 2, 2026

Focus on Faith: Covered Bridge by Sara Furr

 Blessings my dear friends, and welcome to my first "Focus on Faith" for the month of June.

Not too far from me are 2 covered bridges situated in some beautiful scenery in "God's Country". The beauty of them always brings me peace and the nostalgia of times long ago, so I wanted to recreate one of those local spots. 


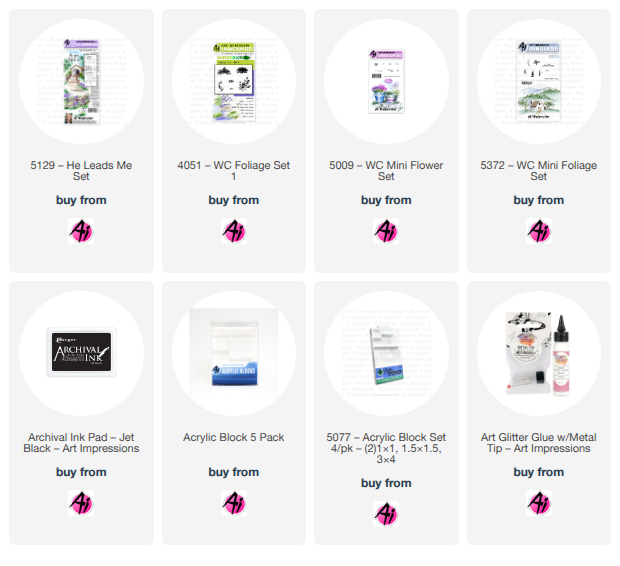
I used this wonderful stamp set called "He Leads Me", along with a couple foliage stamp sets to create my watercolor scene. I really had fun practicing my watercolor. I have created a mini picture tutorial for you to follow my steps......


I started with an A2 panel of watercolor cardstock and taped it to my board with post-it tape about 1/4" all the way around. I then stamped in my covered bridge with a layer of blue and brown marker. Then the fence and trees with just brown. I just stamped the tree from the set 3x up the left side to create a "Big" tree.


I then pulled color from the lines to create depth and shadow. To soften the tree limbs so they weren't so heavy i added some water to soften and then blotted up the ink before stamping in the green foliage.


I then stamped in the small grass from the Foliage set around the fence posts and trailing the fence leading to the bridge. I stamped the little bushes from the WC Mini Foliage in a bit darker green up along the bank in front of the bridge, and I stamped the bushy tree limb from the same set in a brighter green for the trees' leaves, stamping several generations for each of the stamps, and then blended them out with a damp brush. I added in more shades of green to extend my grassy areas. I also added in some darker shadows on the roadway for the fence posts with more brown. I then added some pretty blue for the creek water under the bridge and then watered it down a bit more to blend in my sky. I let that all dry and then went back in to add some pretty flowers with a purplish blue color using the "lavender" stamp from the Mini Flower set, again stamping several generations onto the edges of the roadway. 


I also added the tiny leaf branch from that set to add some foliage around my fence posts out front and I used it to create some big bushes on either side of the bridge.

I blended those out just a bit with a damp brush and let it dry before stamping in the tiny purple dots, also from the same set.


I then stamped the flower bunches repeatedly over in the right hand corner to give some interest in that corner, and draw your eye around the whole scene. I added  some more blue into my sky for more depth, and lastly I stamped my sentiment with Black Archival ink.

And finally, the reveal! I carefully removed the post-it tape from the edges and admired the beauty of the scene!😊

I honestly wasn't fond of the brown on the "Big tree" on the left side, so after distressing the edges of my cardstock with scissors I added it to a soft purple mat and added a pretty bow to strategically "hide" my tree trunk! Hehe😁 It worked perfectly and it added a lovely touch of softness. Besides, it wouldn't be a "Sara" card without a pretty bow on it, right?! Haha


Behind the purple layer is an embossed layer of black that has little flowers on it, but its hard to see the detail in the photo. But trust me, you can see it in real life really well!


So, with all the layers, my card wound up measuring 5 1/2x6 3/4".

I hope you like my creation and are inspired to create some "God's Country" of your own!
I absolutely love living in the country where there is so much beauty and scope for the imagination! I always feel so much closer to God here!

I hope you have a great week my friends and I will see you again soon!

Blessings to you all, 
Sara Furr- The Crafty Farm Chick


Art Impressions products used:
5129- He Leads Me set
5372- WC Mini Foliage 
5009- WC Mini Flower set
4051- Foliage set

Other products:
Watercolor cardstock
Watercolor brush
Archival Black ink pad
Dye ink markers
Chiffon ribbon
Embossing folder
Die cutting machine
Scissors for distressing 
Paper cutter
Misti stamping tool
Stamping blocks
Adhesive
Foam adhesive 

Saturday, April 11, 2026

Petals & Blooms with Pencils and Watercolor by Janet

There's something so therapeutic about sitting down with a fresh stamp and a palette of colors. Today’s project features a charming garden scene using stamps from Art Impressions, brought to life with a mix of watercolors and colored pencils for a rich, textured look.

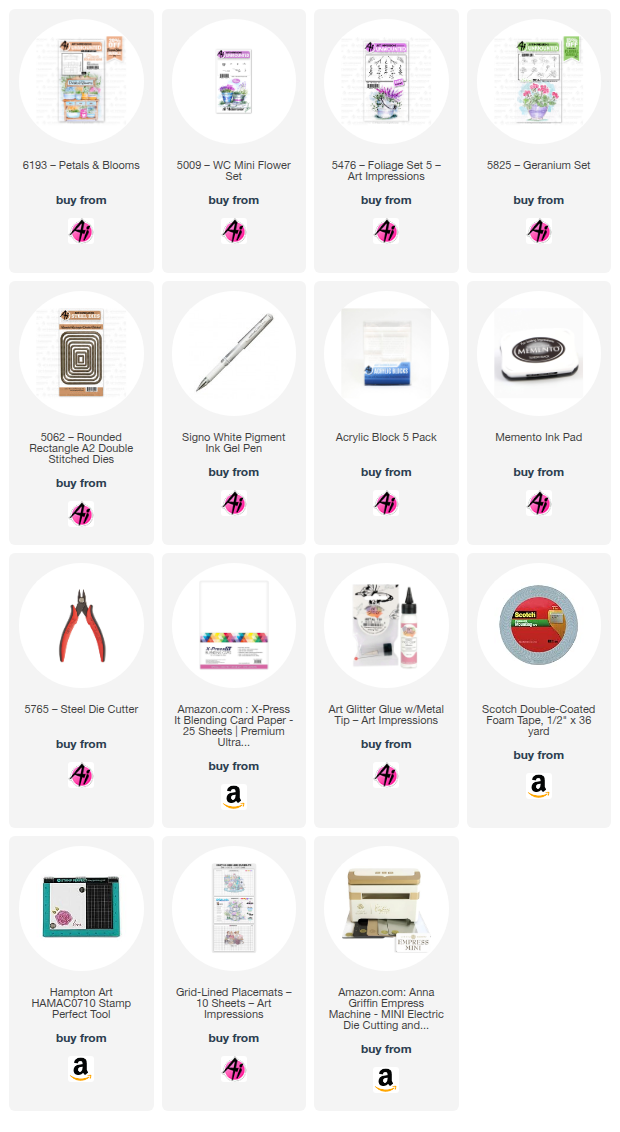
I started by stamping the image from 6193-Petals and Blooms. It's a lovely cabinet that I stamped onto watercolor paper. I started by coloring the cabinet itself with colored pencils. I love the depth and deep color achieved with them. The oranges and blues work nicely together and they are a great backdrop to the flowers and fauna I added into the pots. I stamped those in with Tombo Duel Brush Pens and softened and blended the Art Impression way! I used three flower sets: 5009-WC Mini Flower Set, 5476-Foliage Set 5, and 5825-Geranium Set. 

After coloring the image, I added a watercolor blue and lavender halo around the entire cabinet. Adding a background wash is a personal decision by each crafter. To me it elevates the image and makes it look finished.

To finish the look, I added white gel pen to add highlights on the pots and to draw in the drawer pulls. It's a small detail but can make a big difference in the final result.

To frame the floral scene, I used a multi-layered approach. I used 5062-Rounded Rectangle A2 Double Stitched Dies to cut a soft rectangle shape with a charming stitched border all around. Behind that, I cut a piece of pink vellum with lavender metallic polka dots. The dots add just the right of shine to the card. The two stacked pieces were then centered on a preprinted A2 card base with a fun, geometric hexagon pattern. All the patterns and colors add a modern touch to a classic floral theme.

What are your favorite colors to use for spring cards? I’m currently leaning heavily into these purples and pinks! Happy spring!

Thanks for joining me on the blog today. As always, find your favorite stamps, dies, papers, and accessories at the Ai Store!

Happy Crafting!

Janet YouTube - Blog - Facebook - Instagram - Pinterest  

Saturday, April 19, 2025

Happy B-Day by Janet Axtman


 Hi everyone! I've had a great time this week with the current challenge called ABC, 123. The theme is to use letters or numbers on your card. I had been thinking about making a background using a stamp set and the idea was a perfect backdrop for my big B-Day message.

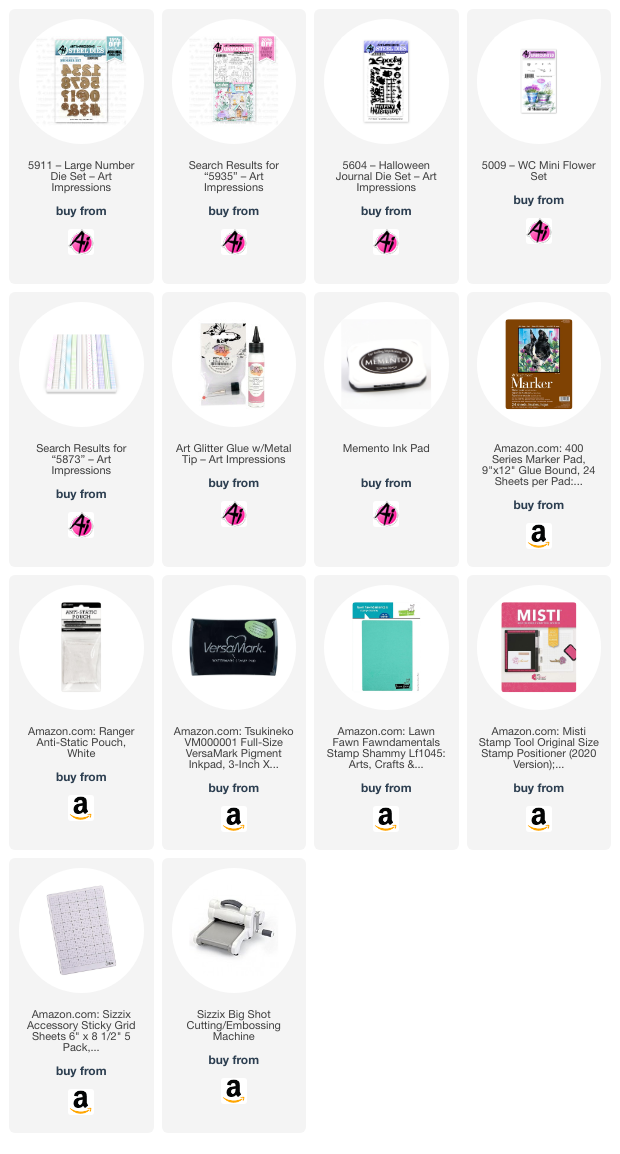
This slimline card started with a background stamped with the 5935 - Fairytale Houses Set. I stamped several butterfly, fence, bee and daisy images on a white background and colored them. I added clusters of dots from a stamp in the 5009 - WC Mini Flower Set. I used a white highlight pen to add some accents to the wings, and leaves. I used the new 5910 -Large Letter Die Set to cut two sets of letters out. One is cut in black and the other out of a striped paper from 5873 - Mini Birthday PP. I wanted to add the word Happy so I used a phrase from 5604 - Halloween Journal Die Set. The die actually says Happy Halloween but I trimmed the word Happy and backed it with gold glitter cardstock. It works beautifully like this for all kinds of non-Halloween sentiments.

To finish the card, I layered a black mat under the stamped panel and attached it to a red mini-slimline card base. Then I glued each black and patterned paper letter together so that a shadow effect results. I applied the letters with foam tape to help them stand out even more. For the final embellishment, I added three glitter enamel dots. The result is a fresh, spring birthday card. 

Thanks for joining me here today. I hope you enjoyed seeing how I created the background using a stamp set and using big letters for the focal point of this card. I hope you'll make a visit to the Ai Store this weekend for all your card making needs.


Janet YouTube - Blog - Facebook - Instagram - Pinterest