

Hello Creative Friends!
Welcome back to the blog! Today I’m sharing a card project that is all about the beauty of contrast. I combined a structured geometric background with a simple, delicate floral piece layered on top. Let’s dive in and see how you can recreate this modern look.
I started by cutting 13 hexagon pieces using my die-cutting machine. You can use any shape you like for this technique. I chose the hexagon because it’s a die I don’t use very often.
I embossed a piece of Strathmore Bristol Smooth Paper cut to 4 1/8" × 5 3/8". When choosing an embossing pattern, I recommend using one that is small and repeats itself.
I placed my cardstock on a grip mat so it wouldn’t move while I laid out the hexagons. This helped me keep the spacing consistent, especially for the first row. I used a ruler to help with the remaining pieces, but once I had a few in place, it became pretty easy to continue the pattern.
Once all the hexagons were adhered, I trimmed off the overhanging pieces. I used some of those trimmed pieces to fill in the remaining gaps. I then added foam tape to the back of the panel and adhered it to my card base.
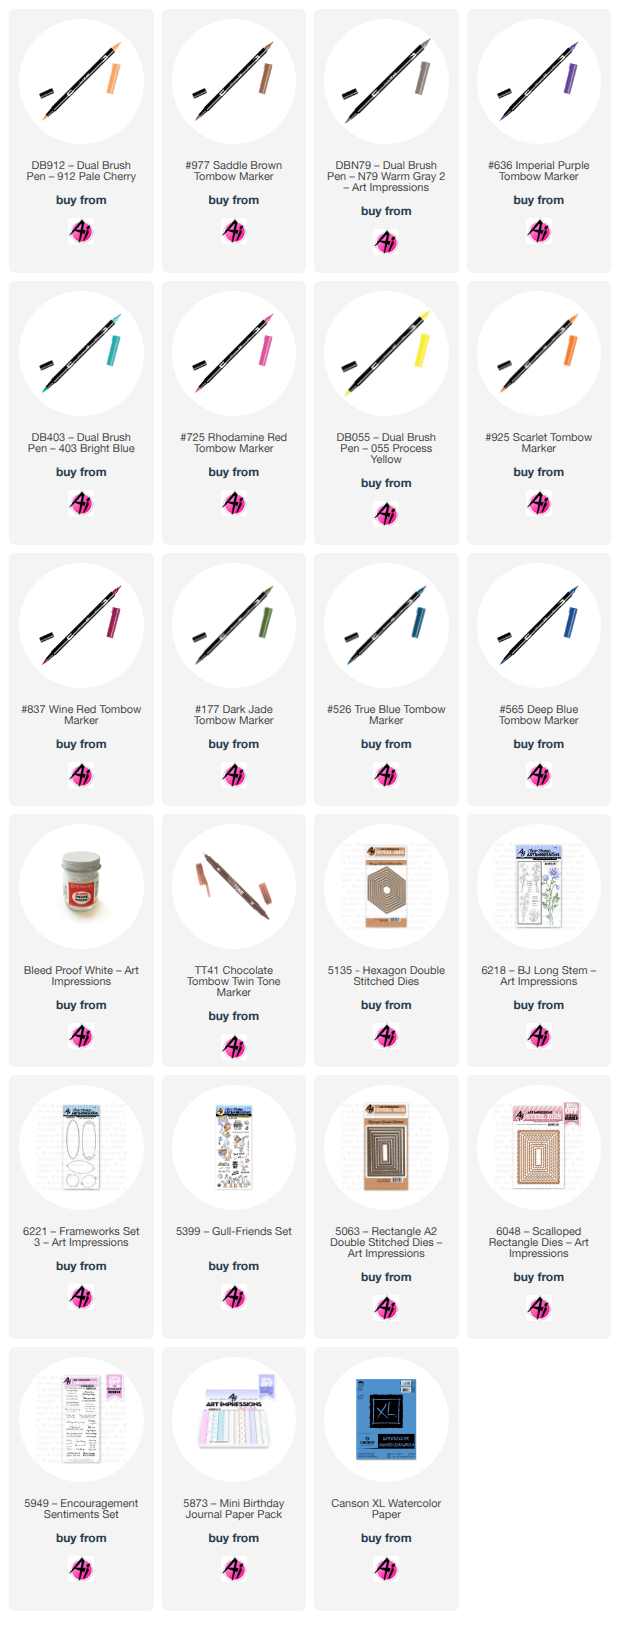
For the floral piece, I stamped the image onto Strathmore Bristol Smooth Paper using Tombow 837 and 177. I colored the image using a #0 brush.
Once I finished coloring, I placed the piece into my stamping platform and stamped the frame using Versafine Clair Golden Meadow. I then fussy-cut around the frame and flower, added foam tape to the back, and adhered it to the card.
I finished the card by adding the sentiment and a few gems for a little extra sparkle.


Materials Used
Stamps & Dies
5135 Hexagon Double Stitched Die (second smallest)
6218 BJ Long Stem
6221 Frameworks Set 3
5949 Encouragement Sentiment Set
Paper
Strathmore Bristol Smooth Paper
Inks & Mediums
Versafine Clair – Golden Meadow
Versafine Clair – Nocturne
Foam Tape
Tombow Markers
837
985
177
526
For my bonus card, I used the Gull – Friends Set. On Canson Watercolor Paper, I stamped the image using Distress Ink Pumice Stone, stamping off once. I then colored the image using the Tombow colors listed below.
Once everything was dry, I assembled the card. I decided to color
the third pelican and place him on the inside of the card. He was
stamped and colored the same way as the images on the front. Since
this set comes with coordinating dies, it was easy to die-cut him out
and add him to the inside of the card.


Materials Used
Stamps & Dies
5399 Gull – Friends Set
5063 Double Stitched Rectangle Die (3rd Largest)
6048 Scalloped Rectangle Die (2nd Largest)
Paper
5873 Mini Birthday PP
Canson Watercolor Paper
Inks & Mediums
Distress Ink Pumice Stone
Dr. Ph. Martin’s Bleed Proof White
Pitt Artist Pen Black
TwinTone Brown
Tombow Markers
985, 925, 055 – Beak, Feet
725, 636, 403 – Balloons, Presents, Hats
977, 912 – Sand
977 – Cake
N79, 565 – Shadow
526 – Sky

2 comments:
Simone, two adorable and fun cards!
These are fantastic Simone!
Post a Comment