

Hello AI Friends!
Today I am sharing a fun and easy mixed-media card technique, watercolor faux ripped paper! Using just some printer paper, watercolor cardstock, and Tombow markers, you can create the illusion of torn paper.
I started by taking a piece of printer paper and ripping it unevenly across to get a natural torn edge. I laid the ripped printer paper onto my watercolor cardstock. Before taping it down, I checked to make sure my stamp would fit comfortably inside the open space. Once I was happy with the placement, I taped the paper securely in place.
Using a damp brush with N65, I lightly brushed right along the torn edge of the printer paper. To give the faux tear extra definition and contrast, I took 569 and N25 on my brush and traced right along the outline I had created.
I then stamped my image into place and colored it using the Tombow markers listed below. I brushed in the sky, and once it was dry, I used my stamp positioner to stamp in the trees.
I added Bleed Proof White to the trees, and once that was dry, I came back in with Tombow 565 to add all the shadows. I covered the painted portion of the card and splattered some gold paint for a little extra sparkle.
I finished by stamping my sentiment using Versafine Clair Nocturne and assembling the card onto an A2 card base.
I hope this inspires you to give the watercolor faux ripped-paper technique a try!

Materials Used
Stamps & Dies
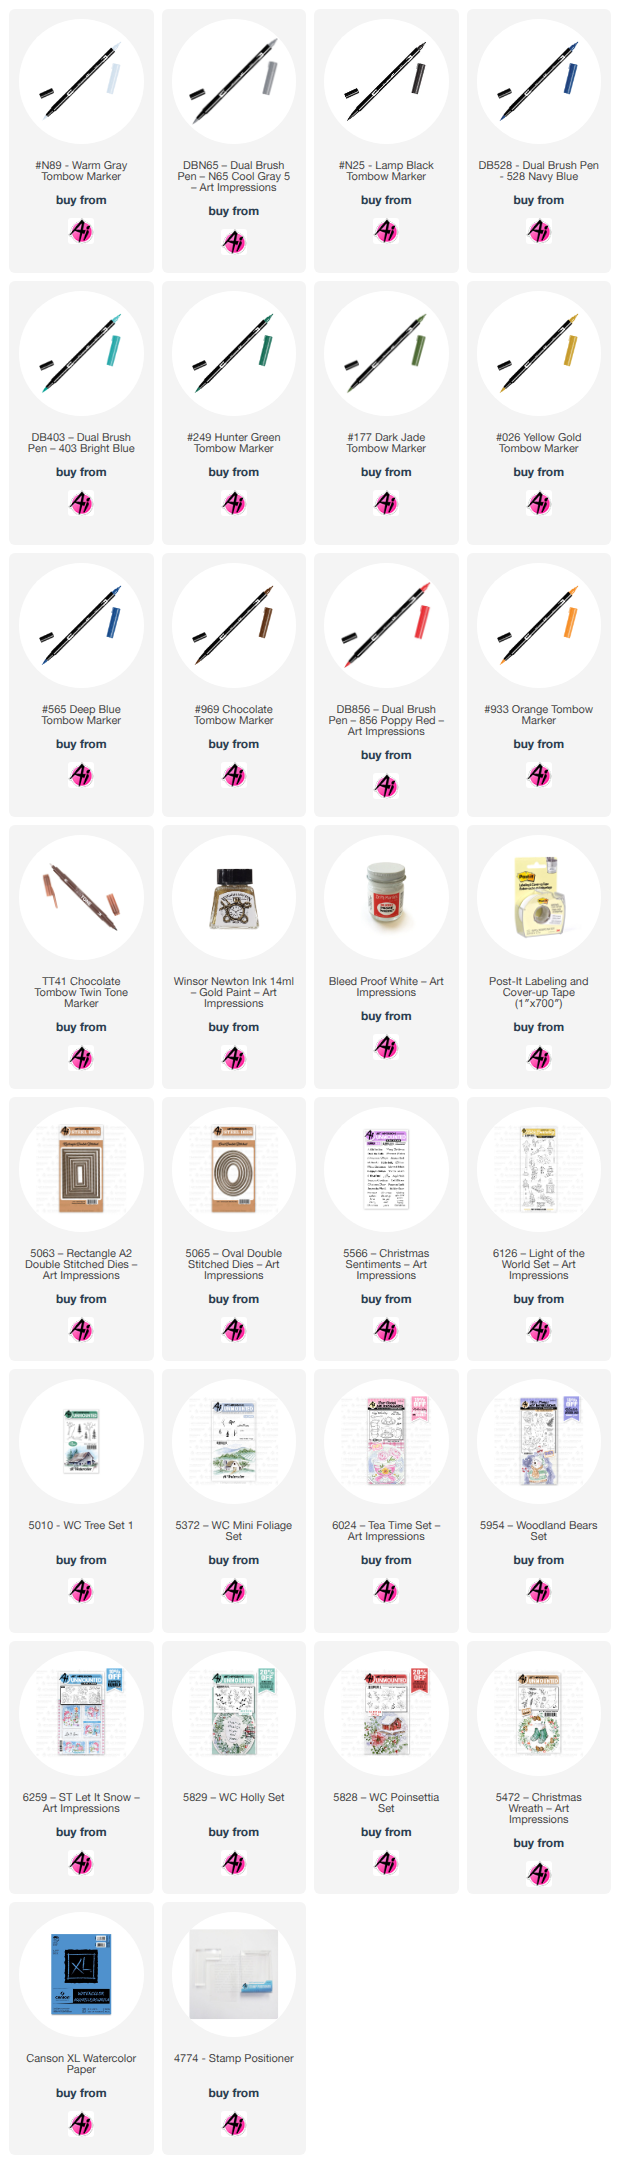
5566 Christmas Sentiments Set
5063 Double Stitched Rectangle Die
6126 Light of the World
5010 Tree Set 1
5372 Mini Foliage
Paper
Printer Paper
Canson Watercolor Paper
Inks & Mediums
Distress Ink Lost Shadow
Versafine Clair Nocturne
TwinTone Brown
Dr. Ph. Martin’s Bleed Proof White
Winsor & Newton Gold
Foam Tape
Tombow Markers
Trees – 177, 249
Church – N89, 969, 025
Houses – 990, 553, 528, 025
Sky – 062, 761, 628, 451
Shadows – 565
Ripped Paper Look – N65, 569, N25
For my second card, I wanted to create another fun Christmas design featuring a snowman and a stack of cozy cups!
I started by using my stamping platform to help position the snowman and the stack of cups. I placed the stack of cups onto my watercolor paper, then positioned the snowman on the cup where I wanted him to sit. I closed the lid of my stamping platform so it would pick up the snowman stamp.
I removed the cup stamp, inked the snowman with Distress Ink Lost Shadow, and stamped him onto the watercolor paper. I also stamped him onto masking paper so I could cover the image when stamping the cups.
With the snowman stamped in place, I began coloring him using my Tombow markers. Once the coloring was complete and dry, I used my stamp positioner to stamp in the details on the cups and the greenery next to the snowman.
The Tombow colors I used for each element are listed below.
I hope this little snowman inspires you to bring out your favorite stamps and create something fun for the holidays. Thanks for stopping by, and happy crafting!

Materials Used
Stamps & Dies
6024 Tea Time Set
5954 Woodland Bears Set, Small Snowflake
6259 Let It Snowflake
5566 Christmas Sentiments Set
5065 Double Stitched Oval Dies (3rd and 4th Largest)
5829 WC Holly Set
5828 WC Poinsettia Set
5472 Christmas Wreath Set
Paper
- Canson Watercolor Paper
Inks & Mediums
Distress Ink Lost Shadow
Masking Tape
Tombow Markers
Snowman – 933, 026, 192, 856, 565, 969
Cups – 403, 026, 192
Greenery – 117, 249

No comments:
Post a Comment