Hello Ai fans!
Every once in a while we just like to pick a talented artist and feature them as a Guest Designer.
This time we chose Debbie Hedges, and she's helping us out with our When One Door Closes challenge.

She created an amazing little gnome home and we're so excited to share it.
Please enjoy...
------------------------------------------------------------------------------------------------------------------------
Welcome to the newest bi-weekly challenge! I am excited to share Challenge #411 When One Door
Closes. The first stamp set that came to mind was #5015 WC Hobbit Door set, so I built my project
around that. For this challenge, think of anything with a door . . . houses, barns, cubbies, fairy houses,
cars, etc. 
I began by stamping the hobbit door in the center of my watercolor paper. I then used a ruler along the
bottom of the door and lightly drew a horizon line for the base of my little “house.” I wanted the focus
on the door. With my stamp positioner, I added the gnome and my three mushrooms. That gave me
the base to work with for my scene.
I began by painting the door in grey tones, adding shadows as needed. I then worked on the stone path,
using sepia, grey and brown tones so that the stones were multi-colored and then went back and added
shading to create dimension.
Next I added a brown/sepia wash to create the idea of a wall for my door. I wanted it to have light and
dark areas for interest. I then used the vine to climb one side of the door by stamping it once from the
base of the door, then only inking portions of it to go around the arch. I used my positioner for
placement. It is a great tool to preview what it will look like before you commit it to paper! I then
touched each leaf with my brush to soften the color. I used a single flower bud and my stamp positioner
to add the purple flowers in the vine and then touched each one with my brush to soften.
My next step was to paint the mushrooms and gnome. This is not my first attempt on this project and
for this one, I wanted the mushrooms to have added color – not just yellow and orange. So, they are
shades of yellow at the base, to orange, to red and then some purple at the top of the largest
mushroom. The base of the mushroom are shades of brown and I added some brown lines for ridges.
For the gnome, I used the same red for his hat, and gave him a steel blue jacket, green pants and brown
boots and belt. I added some grey tones to his white beard for shadows and used a flesh tone marker
for his nose – adding pink to the bottom for shading.
To finish this up, I needed to add teeny tiny grass along my horizon line along the base of the wall. I
created a paper mask for the mushrooms and the gnome and just used post-it tape to protect the door
area. Once the grass was stamped, I used the fine tip of my green marker to add some stalks of grass in
front of the mushrooms. I also used the grass to stamp some grass along the steps on the stone path.
Once that was stamped, I pulled the color out and then created a wash of green for the foreground. I
then used the taller grass to create a clump of grass behind the gnome.
I love to add a few leaves to the top of a project to finish it off. It gives the feeling that tree branches are
hanging down. So, I used the leafy branch – it is one of my favorites – and just stamped it a few times
along each top corner of my project. I then added water to each leaf to soften it.
With a ruler and a pencil, I lightly added some horizontal lines to give the idea of siding and added a few
vertical lines in random spots along with a couple dots for nails. All of this was very faint. Then with Dr.
Ph Martins white paint, I added a small dot highlight to the door handle, a single dot in the middle of
each flower bud, multiple dots on the mushrooms, and small dots on the grass along the path so it looks
like tiny white flowers. There are a few random tiny white dots on my foreground as well. I then added
dots to the top of the tall grass clump to create three daisies. When it was fully dry, I added orange dots
for centers. I also added some white paint for dimension on the gnome’s beard.
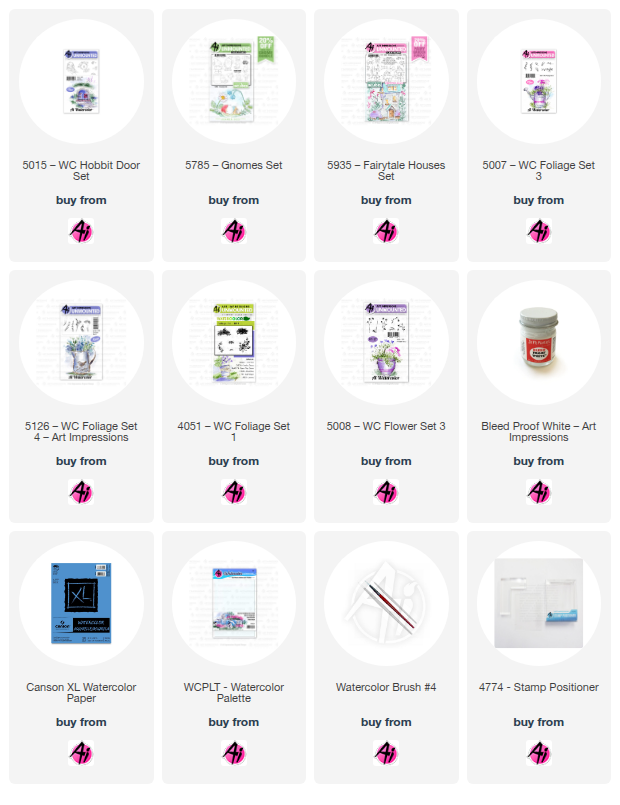
I hope you like it and will give it a try! Here are the stamps I used for this project along with the
links for the stamp sets.


3 comments:
Such a sweet project, Debbie! Love your painting style.
I absolutely LOVE this Debbie! I agree with Karen...love your style!
Debbie this is amazing and just the cutest ever!
Post a Comment