Showing posts with label 4804 Snowflakes Dies. Show all posts

Tuesday, June 24, 2025

Snowflake JOY card for LEON Day by Reneé Matarese

 Hello Ai fans!

We're celebrating LEON Day at Art Impressions.

That's NOEL spelled backwards since it's halfway to Christmas!

Can you believe it? Tomorrow, June 25th we'll be halfway there.
Have you started making cards? Do you have gifts bought already?

Today I have an elegant Christmas card to share with you.


I think this is one of my favorite cards I've ever made. I love the simple but elegant color palette and the little bits of sparkle and bling. While some people like spiritual Christmas cards or snowmen, Santas or penguins, I LOVE SNOWFLAKES!


I layered up cream, kraft, white, gold and red snowflakes to create lots of dimension on my card.


My husband normally doesn't say much about my cards. It's just not his "thing" but when he saw this one he actually said something like "You MADE that? Wow?"


Though I VERY much love all of the Art Impressions stamps sets, I also love when I can make a dies only card.


I was inspired by this card that I found online.


Tuesday, February 11, 2025

Keep your head up by Reneé Matarese

 Hello Ai fans!

Welcome to my second Highlights Challenge card post.

This time I have a sweet fox card.


She fit nicely in this frame with the exception of her tail so I used some scissors to trim up either side of her tail so that I could slide the frame under it. This way, the frame cuts around her but doesn't cut her tail off.


Once she was die cut, I created a mask for her. I splattered gold paint around her to give it some shimmer.


I also tried my hand at making a wax seal to go on my card. It started out being three colors to match lil miss fox. Unfortunately, it took me about 7 tries to get one I was happy with, therefore it wound up being one solid color. I really liked this color with the fox so this one was a winner.


This was one I wasn't initially happy with but the organic look is growing on me.


While I had my supplies out, I decided to try another snowflake that I have. I liked this one on the first try and it's stashed away for another day.


I watched a video that said keeping your wax supplies iced during the process helps the wax release easier. It seemed to really work for me so I'll continue to do this in the future.


I added some sentiments and more foxes to the inside of my card. I liked the "keep your head up" verse because of the image on the front.


I thought it would be sweet to place a tiny snowflake on her nose. My snowflakes all have some Diamond Stickles on them to give them some snowy sparkle.


My card was made for the current Highlights challenge. You can enter your crafty project using a white gel pen or white paint for the chance to win a free stamp set from Art Impressions.


Thursday, November 14, 2024

Snow What Fun Globe by Dori Mendiola

 Happy Thursday AI Friends!

I have a fun card for you today that fits the "Under the Dome" challenge.  Who doesn't love snow globes?   I used the #5815 Mini Christmas Twister snowman along with the #5457 Christmas Truck cubbie and the #5197 WC Winter kids sets.  


I used a plastic dome cover from the packaging of a battery powered light.  You can use any size covering from most household items.  Find one around your home that fits your scene or go to your nearest dollar tree and look for an item that the covering would work.  😀  My measures 2 3/4" so it is perfect for my scene and made for a nice snow globe.  

I stamped the images onto copic friendly paper and colored with my copic markers listed below.  I die cut the images with the coordinating dies except for the little girl in front, which I fussy cut, but it was simple enough.  I inked the hillsides and the background with Broken China Distress Oxide ink.  I layered the scene together on a circle die cut larger than the base of the globe.  Once the scene was created, I painted with some stickles and let dry.  Before I added the snow (glitter) to the globe, I dusted the inside of the globe with my anti-stick powder pouch.  I then filled the globe with glitter and placed liquid glue around the edge and placed the scene piece onto the globe.  I die cut a circle frame using pattern paper from #5853 Christmas Magic PP and two sizes of the #5726 Nested Circle dies, making sure that the inner circle fit around the base of the globe.  I created two more hillsides to place on the bottom of the card, stamped the sentiment from the #5461 Christmas Slimline set and inked the edges with the broken china distress oxide ink.  I adhered the little girl to the bottom right and a few snowflakes around.  

This is such a fun card to play with.  

Thanks for joining me today and I hope you decide to enter the challenge to have a chance to win a free stamp set.  Make sure to check out the tab above for details.

Enjoy your day creating!!!

Copics used:  C1, C3, C5, C7
E43, E44, E47
B0000, B12, B14, B16
YG63, YG67
R20, R22, R24, R27

Thursday, November 7, 2024

Dancing Santa Tag by Dori Mendiola

 Happy Thursday AI Friends!

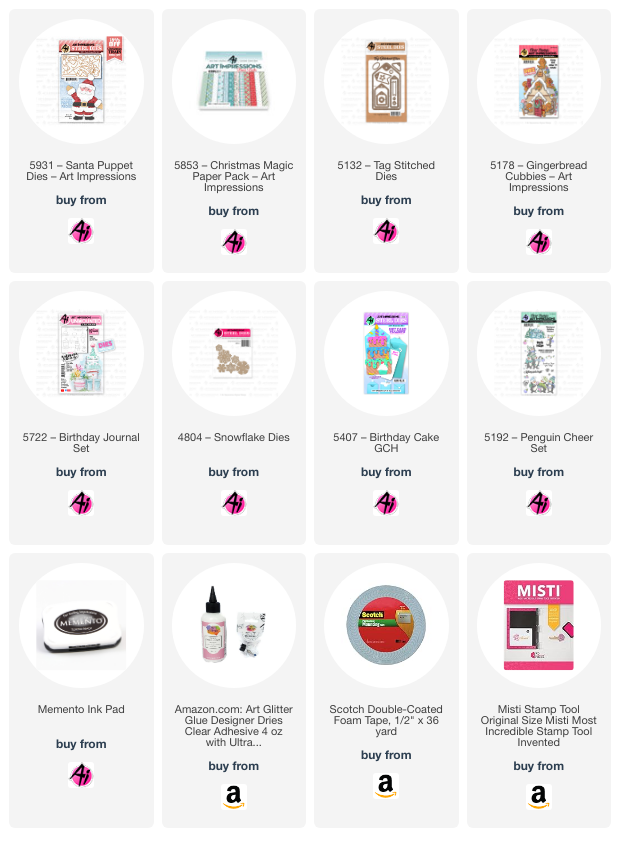
Have you seen the new Art Impressions Christmas release?  Wow, what a bundle!  Two cute stamp sets, a die set and two beautiful paper packs.  I decided to play with the #5931 Santa Puppet die set and boy, did I have fun making several versions of this Santa.  I have several more that aren't christmas so I'll save those for another post.  Stay tuned.

For my first Santa, I made him a dancing tag.  His body and legs move.  Check out the video below.


I partial die cut the pants (cut up to top of pant and then hand cut to make pant waist higher - see Pic 1).  I die cut all of the other pieces as well as an extra jacket and hands and decorated accordingly (see Pic 1 below).  The oval white piece on the right is a rough cut of the back of the head as you will need a base piece.  I then punched a hole in the three pieces as seen in Pic 1.  To put them together so that Santa dances, hold the leg piece where you want it to fall under the finished jacket.  Turn this over and adhere a foam dot into the hole (Pic 2).  Layer the extra jacket behind the back of the other jacket and adhere with the foam dot (see Pic 3).  Next hold the face over the front of the jacket, turn over and place another foam dot into the hole on the back of the jacket (see Pic 4).  Adhere the head base piece onto the foam dot in the jacket.   Your dancing Santa is ready for decorating with a pompom on the hat and a string to hang from the tree or present.

       Pic 1                                                                                      Pic 2

    Pic 3                                                                                           Pic 4

     Pic 5

My other variations using the 5931 Santa Puppet die set:

Cut my Santa in half and made two tags, one of which using the 5132 Tag Stitched Die.  I popped up the chimney and placed the body of Santa upside down into the chimney.   The second tag, I scored the arms before putting the cuffs on and folded them in half, then put the cuffs on the outer side so he was wrapping his arms around the star.  I also added google eyes to him for fun.  I cut several snowflakes from the 4804 Snowflake dies and the icicles on the chimney are from the 5407 Birthday Cake gift card die.  The sentiment is from 5350 Animal Nativity set and the candy canes are from 5457 Christmas Truck cubbies and the 5187 Gingerbread cubbies.


For the following tag I decided to make him a gnome santa.  I shortened his arms and legs and placed the hat lower on his face.  For his beard, I cut two but I cut one differently, by cutting half and then moved the die to stretch his beard and make it wider.  Another thought, you could use the 5223 Bookmark die and cut the top tab off to make a smooth beard.  He actually fits perfectly, but I wanted a fuller beard.  The die used for the santa sack is included in the 5931 Santa Puppet die set.  I believe it is actually to be used as the santa face base, however, I saw someone suggest a possible santa sack so I borrowed her great idea.  I wish I could remember who it was, so I could give her a shout out.   The candy canes are from the 5178 Gingerbread Cubbies and the banner is from 5722 Birthday Journal die set.  The sentiment is from 5192 Penguin Cheer set.


Friday, October 18, 2024

Holiday Hedgehog Card by Tasha!

 Happy Friday Art Impressions Friends!

Tasha here sharing a new holiday card inspired by the current Tres Chic Challenge. I was inspired by the brown tones and buffalo check prints in the challenge photo and thought this color combination would be perfect for a holiday card.

The sweet little hedgehog image is from the new 5953-Woodland Critters Set. I love animal stamps and this one is adorable with his little scarf and tree. I colored him with markers and used the included die set to cut the stamped image out. For the scarf, I used a white gel pen to add a knit-like detail; love the teal and white colors!

To create the background, I attached several glittery snowflakes and used the same glitter paper for the ground. The sparkle is so pretty and these falling snowflakes are a great size for cards. I also thought mixing up the sizes and having some outside of the frame gave the card more interest.

Lastly, I embossed "Merry Christmas" on to black paper and attached layers of brown, red, and black card stock. I also added a piece of buffalo check pattern paper to bring in the colors/patterns from the challenge inspiration photo. I love how this turned out!

Thank you for checking out today's card and I hope you will join in the challenge!
Have a wonderful day!