Showing posts with label WC Winter Kids Set. Show all posts

Thursday, November 14, 2024

Snow What Fun Globe by Dori Mendiola

 Happy Thursday AI Friends!

I have a fun card for you today that fits the "Under the Dome" challenge.  Who doesn't love snow globes?   I used the #5815 Mini Christmas Twister snowman along with the #5457 Christmas Truck cubbie and the #5197 WC Winter kids sets.  


I used a plastic dome cover from the packaging of a battery powered light.  You can use any size covering from most household items.  Find one around your home that fits your scene or go to your nearest dollar tree and look for an item that the covering would work.  😀  My measures 2 3/4" so it is perfect for my scene and made for a nice snow globe.  

I stamped the images onto copic friendly paper and colored with my copic markers listed below.  I die cut the images with the coordinating dies except for the little girl in front, which I fussy cut, but it was simple enough.  I inked the hillsides and the background with Broken China Distress Oxide ink.  I layered the scene together on a circle die cut larger than the base of the globe.  Once the scene was created, I painted with some stickles and let dry.  Before I added the snow (glitter) to the globe, I dusted the inside of the globe with my anti-stick powder pouch.  I then filled the globe with glitter and placed liquid glue around the edge and placed the scene piece onto the globe.  I die cut a circle frame using pattern paper from #5853 Christmas Magic PP and two sizes of the #5726 Nested Circle dies, making sure that the inner circle fit around the base of the globe.  I created two more hillsides to place on the bottom of the card, stamped the sentiment from the #5461 Christmas Slimline set and inked the edges with the broken china distress oxide ink.  I adhered the little girl to the bottom right and a few snowflakes around.  

This is such a fun card to play with.  

Thanks for joining me today and I hope you decide to enter the challenge to have a chance to win a free stamp set.  Make sure to check out the tab above for details.

Enjoy your day creating!!!

Copics used:  C1, C3, C5, C7
E43, E44, E47
B0000, B12, B14, B16
YG63, YG67
R20, R22, R24, R27

Saturday, January 7, 2023

Watercolor Weekend 1-7-2023 and NEW DESIGN TEAM MEMBER!

 Hello Ai fans!

Welcome to our first Watercolor Weekend of 2023!

Not only is it exciting because Watercolor Weekend is always fun,
but we have a big announcement to make.

We have a brand new Design Team member.

Please help us welcome Diane Mason.


We've seen Diane's amazing work for years and when the time came we knew she'd be a great fit for the Watercolor Team.  She's also great at Copic coloring too.  If you've never seen Diane's work, she has a bold, crisp style which will make a wonderful addition to this creative team.  We love that all three of our designers have distinct styles.

You can see Diane's bio HERE.
If you'd like to check out Diane's work and follow her so you never miss a thing you can see that here on PINTEREST and on her INSTAGRAM page.

Now that we've met Diane,  let's see what our Design Team has created for your inspiration.

First up we have Tricia.

Hello Watercolor Fans and welcome to the first Watercolor Weekend of 2023.  We are so excited to be on this journey with you and hope that we can inspire you to create something today.  In this new year, I hope the kindness we extend to others we also give to ourselves. We are all our worse critics.  The best advise I can give is to paint it to the end, leave it alone and come back later to see what you think.  Your mind is amazing, but will trick you into thinking you are no good.  Trick it back, because you are amazing too.

 Onto the project.

I love to create cards that I can use my current stamp collection to think outside the box.  The Gazebo stamp is a favorite, but sometimes I don't want it to take up the entire card.

Because this stamp is so large, I used my MISTI to make sure I was able to ink where I wanted. I inked up only the top two-thirds of the Gazebo (don't ink the lines on the roof as those would be covered with snow) and all the posts except for the middle two, with 569.  In order to lighten it up, I stamped it off once, then stamped it in the upper two-thirds of the paper.

Next, I inked the bottom half of the stamp (only the lake, no mountains) with 569.  I did not stamp this off, I wanted to be able to pull really dark color into the sides to create an ice rink type of feel.  The best thing about white is all the shadows that you can create.  TIP: start light and build up darker colors in just the shadowed areas.  I tend to have a heavy hand.  I bet that Karen's rendition would come out a lot softer.

I softened all of the lines and pulled some of the color into the background.  To create the look of a snowbank along the water, hold your card upside down and with a damp brush pull the color out by swiping the brush along the line.  This will create a darker value at the bottom and a gradient color along the bank with the pure white on top.  It gives the illusion of a banking.  I added additional 569 to the banks bringing it lighter as I got to the center.  


I painted in the mountain using some jagged brush strokes.  Build the color up slowly with the darkest parts being under the snow.  For the sky, I brushed in some 565 between the columns and around the mountain and gazebo.  

As final touches, the bench from the wrought iron set was a perfect spot for them to rest. It reminded me of the old movies with people ice skating. I added a fence from the Barn set between the columns using my stamp positioner and masking tape.  I kept feeling like someone would just fall off the rink without them, lol.

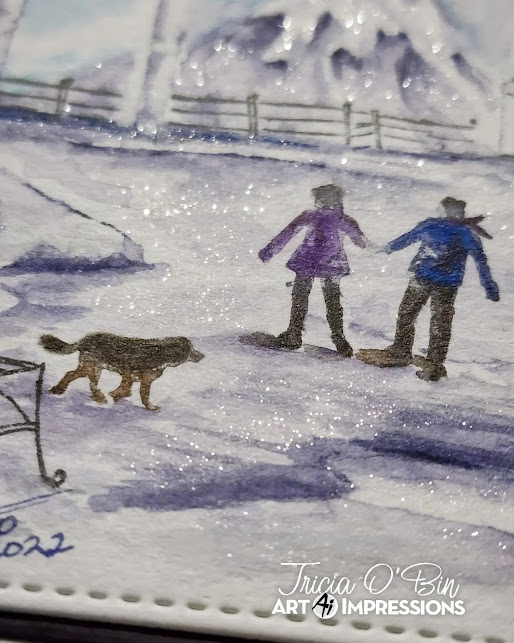
For our skaters and dog, I inked the girl with 636 and N25, the boy with 565 and N25, and the dog with 879 and N25 on her back (looks like my dog :3).  They are so easy, just ink, stamp and add just a smidge of water. 

After it was done, I felt like it was missing something, so I added the pine tree from the Tree Set I.  After I added the water and it dried, I added some bleed proof white.  I love to add bling with my Wink Of Stella, so I added it to all the white snowy areas (really pretty IRL).   Lastly, I signed and dated! 

Come on over to my blog to see the rest of the card details (including the 2023 stamp).  It’s always a pleasure to spend some time with you, I hope you are inspired to create today!  Happy New Year and Happy Crafting!


Next up is Karen with two colorful cards.


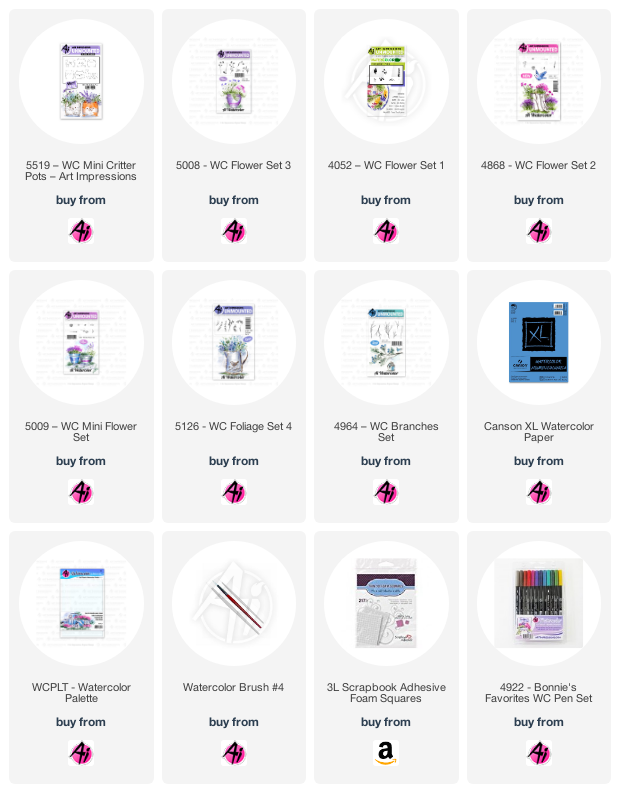
Happy New Year!  I've painted a bright and fun scene today using 5519 - WC Mini Critter Pots.


I placed the snail, owl & puppy onto one clear block, which allowed me to place them exactly where I wanted them, and I could ensure they were straight as this is a clear set.  I inked them all up in #565/969, and stamped onto my Canson XL Watercolour Paper.  With a pencil, I sketched in the plant stands. 


I used #569 to paint the owl, #346 for the snail, and #N55 for the puppy.  With these colours: #565/757/993/346/126 I created the flowers and foliage using these stamp sets: 5008/4052/4868/5009/5126/4964.  After softening the images with a damp brush, I used #N52 to paint in the background, and went in with #565 to add shadows under and on the images. 


 I used my black Twintone marker to add the dots around the flowers, and to darken the eyes of each critter.  I die cut the image and adhered it to my base with some 3D foam adhesive.


Now for Diane's first ever Art Impressions Watercolor Design Team post!
Don't you LOVE it??!!

 
Hello Ai Watercolor fans! I am so happy to be sharing my very first Watercolor Weekend card with you! 
With the holiday season coming to a close, we’re all expected to get back into the swing of things – back to work, back to school, back to all our responsibilities. As a child, I always hoped for just one more carefree, snowy winter day before returning to school. The beloved Snow Day, a day to build snow forts and snowmen, drink hot chocolate, and of course have a friendly snowball fight with friends!
To create this scene, I used the following Ai watercolor sets and Tombow markers:
5197 – WC Winter Kids Set
5467 – WC Snowmen Set
5378 – WC Stone Creek Set
5429 – WC Silhouette Skaters
5010 – WC Tree Set 1
5372 – WC Mini Foliage
Tombow: 565, 969, 249, 177, 526, 528, 743, 606, 847, 850 and N25

 
To prepare my Canson XL watercolor paper for painting, I masked off the hot foiled edges of the border frame. Next, I inked the wagon of snowballs from #5467 with 565 all over then with 969, avoiding the snowballs. I stamped off on a scrap of watercolor paper before stamping onto my project. For the children in the foreground I used stamps from #5197 and inked them both with 565 first, then 969 (avoiding the areas to remain white, like the hat bands and snowball). I used my positioner to place them on either side of the wagon. I then drew a snowball in the girl’s hand with a pencil. 
For the hills in the background, I used #5378. I only inked the hills portion of the stamp with 969 and 565. After stamping off a few times, I stamped the hills to the left and then lined up the stamp to extend the hills to the right and stamped again. Now with the hills in the background, I drew a few more hills with a pencil in the middle to create depth. I then stamped the children in the distance from #5429. I chose the two who looked like they were facing away. I could have stamped them in a single color as a silhouette, but I choose to color them in using my Tombow markers (565 pants, 969 shoes and hair, 743 girl’s jacket and 847 for the boy’s jacket). I stamped them into the center background area to look as if they were running for the hills! With a lightly wet #4 brush, I pulled some color from the hill lines to create snowy hills. Before stamping the fir trees in the distance, I washed in the sky with 565. For the fir trees, I chose the large fir tree from #5010 and the small fir tree from #5372. I inked some of the trees with 249 and some with 177. 
 

With the scene set, it was now time for the fun! With my #4 brush, I began by pulling out the color from the lines on the boy, girl and wagon to establish the shaded areas. I started with the blue inked areas first and then the areas with both 969 and 565. 
 

For the wagon, I mixed a color on my palette of 969 and 526 to create a blue-green rustic color. For the tires I used 969 and N25 to darken the shaded areas. I lightly used N25 for the metal under the wagon and the metal of the handle. For the wooden handle, I used 969. I used a bit of watery 565 to add contour to the snowballs. Next, I brushed in some 565 under the wagon for shadow and a bit around the tires to look like piled up snow.
For the boy in the foreground, I used 528 for his stocking hat and pants, 249 for his sweater and 969 for his mittens, boots and hair (which I added in just above his collar). For the girl, I used 743 for her coat and hat, 606 for her scarf, mittens and boots, 969 for her hair, and N25 for her pants. I used 850 for both of their faces and then a light watery mix of 850 and 743 for their cold little cheeks. With a little 565 from my palette and using my pencil line as a guide, I painted in the snowball in the girl’s hand. Next, I brushed in some hills in the middle and sides of the painting with 565. 
With my #1 brush, I carefully added water to the stamped images of the boy and girl in the background to give them definition. I went back to my #4 brush to dab in the fir trees in the background. With everything now painted, I added some footprints and a couple of snowballs in the background using 565 and my #1 brush. In the foreground I used my #4 brush and 565 to paint in some snowy areas around the children’s feet.
For the finishing touches, I brushed on some Dr. Ph Martin’s Bleed Proof White to the trees to add snow. I added stripes to the girl’s scarf with 606 and a 05 white gel pen. And finally, I used my brown and navy Twintone markers to add back any missing lines that needed to be defined. I then removed the Post-it tape to reveal my finished painting! I die cut the card front with a rectangular die and adhered it with double-sided tape to the front of a white card base.
 

If you’ve stuck with me this far, go make yourself a hot chocolate and take some time to dream about the next wintery Ai watercolor scene you plan to paint – or give this one a try!


Thank you Design Team for these amazing works of art!
Every one of these is amazing!

If you'd like to see all of the Design Team creations you can visit our Pinterest page where we keep all of their paintings and projects in one place to make it simple for you!


Happy crafting everyone!


Monday, November 18, 2019

Snowy Holiday Wishes by Carol Hintermeier

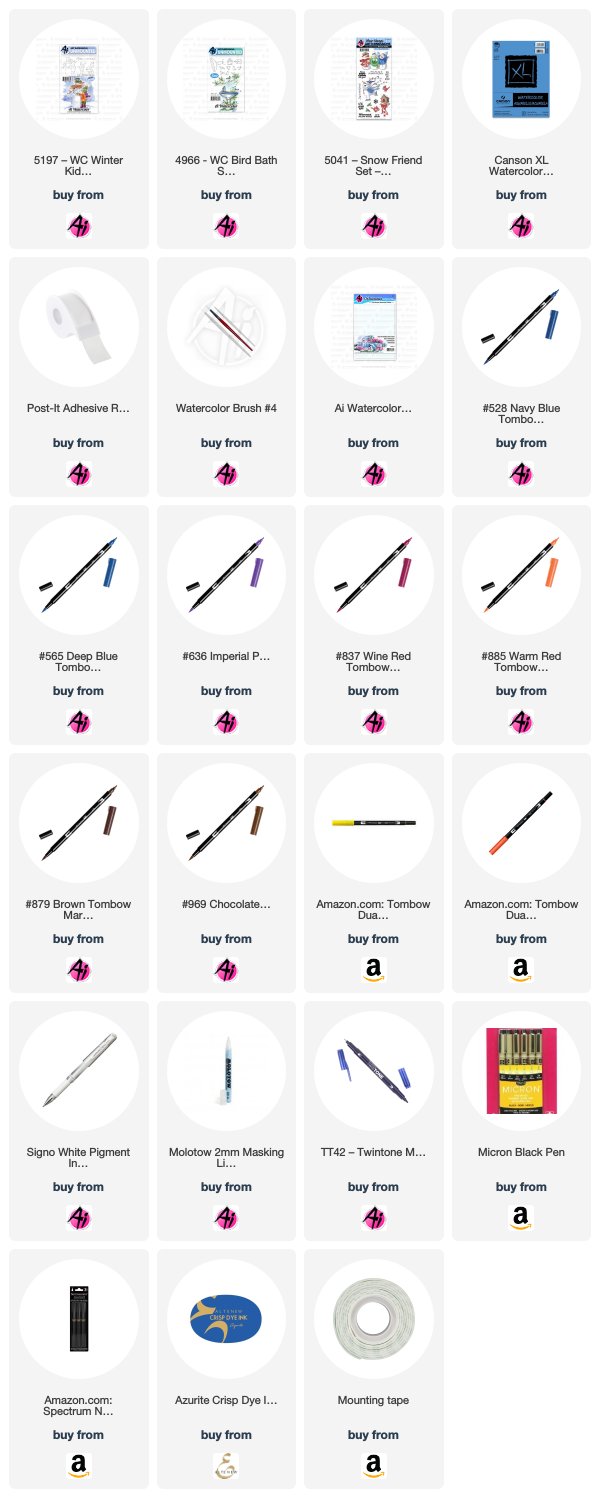
Hello Ai friends!  Today I have a watercolored card using the adorable WC Winter Kids Set.


It has been quite a while since I pulled out any of Art Impressions' watercolor stamp sets, and goodness me, I sure struggled.  LOL!  It's so true about continuing to practice in order to improve and  and not struggle so much!  This card is my "take five"!  Yep, I have four other attempts in the trash can.  The thing that really helps is going to Art Impressions' YouTube channel to see the videos that Bonnie does for all the watercolor sets.  These videos are a great way to refresh, or learn, the watercoloring technique.  Another awesome source of inspiration is the so talented Ai Watercolor design team--talk about beautiful cards!  You can see their cards in the Watercolor board on Pinterest.

After my initial struggles, I pulled out my MISTI, laid out the stamps for my scene, and inked them up--success!  The little bird is from the WC Bird Bath set.  Before I did more, I used a pencil and ruler and drew a square approximately 3-5/8"  around the images and put Post-It Tape around the outside of the square.  Here are the steps for creating this card.
  • Ink the snowman image in first in Deep Blue-565, then Brown-879 on all parts except the snowman body, and stamp onto watercolor paper.
  • Ink the bird and lamppost in 879 first, then 565, and stamp.
  • I'm still limited with the Tombow marker colors I have, so I combined some colors to get the shade I wanted.  For the red, I combined Wine Red-837 and Warm Red-885.
  • The snowman, snow, and sky is a combination of Deep Blue-565 and Imperial Purple-636.
  • The scarf, bird, and pants are Navy Blue-528.
  • The hat, snowman arm, and lamppost are Chocolate-969.
  • The light is a combination of Process Yellow-055 and Orange-933.

Once my watercoloring was finished I added some sparkle with a clear Wink of Stella pen.  I decided to add some details to the scarfs, hat and boots using a Micron .005 black pen.  I used a white gel pen to add snow all over.  (I was going to use a Molotow masking pen before I started painting but found it not usable.  I guess that's what happens when you have something for a long time and don't use it much.)  I used my t-square ruler and a Tombow Twin Tone Navy pen to draw a frame around the image and to sign it.

This close-up shows some of the sparkle that is so hard to capture in photos.


The sentiment is from the Snow Friend set and I stamped it in a blue ink.  I added foam tape to the back and adhered it onto a blue layer (from my stash).  These were then added to a top-folding A2 card base.


Thank you so much for stopping by!  Have a fabulous, crafty week!


Wednesday, November 6, 2019

NEW VIDEO! Winter Kids Set Watercolor + 20% OFF BUNDLE!

Hello Ai Fans!

Why hello again, friends! Happy Watercolor Wednesday!

Today, we're bringing a new video and a NEW Bundle Discount! This week, Bonnie creates a perfect, snowy scene featuring a child hugging a snowman using a Molotow Grafx Marker and our WC Winter Kids Set. We love the simple masking technique with the Molotow pens and how easily you can create softly falling snow.

Get 20% off our Winter Kids Set + Circle Dies, now until November 12, 2019, at 11:59pm! Remember, once the week is up, our video bundles will still be listed at a 10% discount! Just another way you can view our videos and get started on this fun technique!
Do you have any suggestions for winter scenes? Hop over to the video and leave us a suggestion in a comment! We would love to hear some ideas for our upcoming videos!


View on YouTube: https://youtu.be/gFdcClgLhyE


Saturday, November 2, 2019

Watercolor Weekend Roundup - Seasons Change


Happy Watercolor Weekend, Ai Fans! We are so happy to share three wonderful projects from our WC Design Team today to kick off November in a big way! Let's take a look at what Tricia, Karen, and Dot have created today!

Dot Freel - Instagram - Blog - Pinterest
Hello Friends,

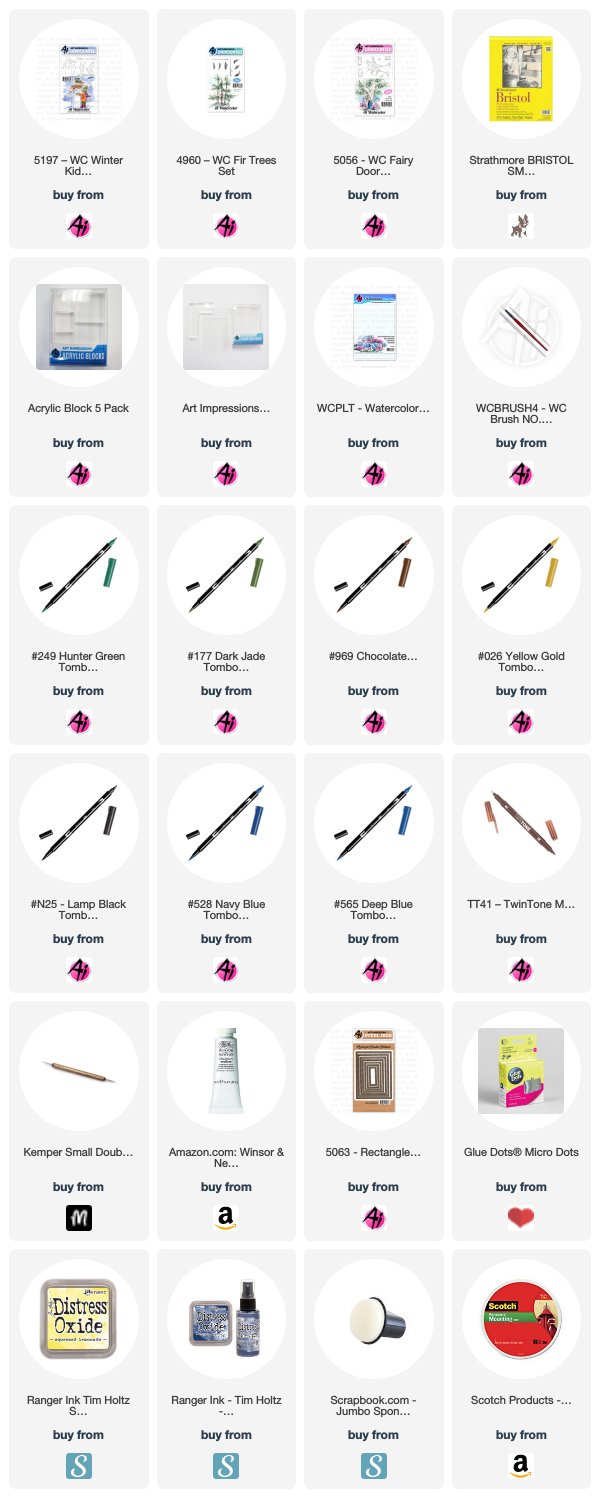
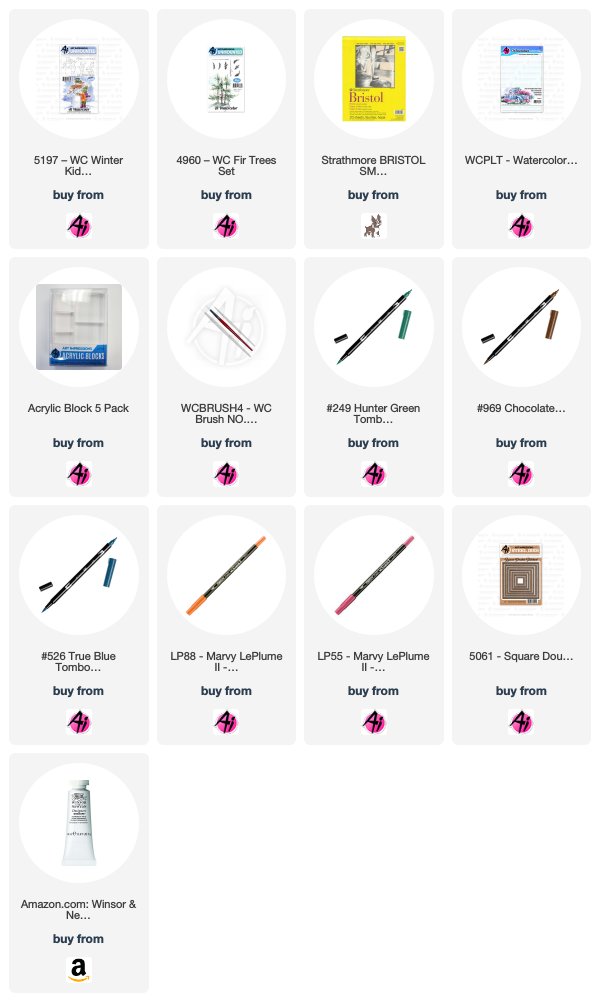
Can you believe it's already November? I can't. I'm working away on Christmas cards. I made this one with yet again, my favorite new stamp set from Art Impressions - 5197 - WC Winter Kids Set. I stamped the lamp post and little girl and fussy cut them out after I watercolored them. I painted the light post in N15 and 026 which is the prettiest shade of yellow! I used the stamp positioner to add the bird from the 5056 - WC Fairy Doors Set because the bird was the smallest one I could find. I colored the bird in with blue 528 and brown 969. I stamped the little girl in with brown (stamped off first) and then watercolored her in with 565, 969, 026, 177, NO 77 pastel peach and NO 67 bubble gum pink. I used the fine tip of the brown Tombow TwinTone pen to draw in some details, her eyelash and her hair. I added a pompom to her hat with a glue dot. I cut out a white piece of Bristol Smooth Paper using a 5063 - Rectangle A2 Double Stitched die and then I used distress inks and round sponge daubers to make the light circle and the sky background. I stamped the trees on the sides from the 4960 - WC Fir Trees Set using the brown 969 and two greens, the 249 and then the 177. I added very little water (mostly to the trunk area) so the branches would stay more detailed. I cut out the snow bank with a die and adhered it with foam tape. Then I used foam tape to adhere the lamp post and the little girl. I used 565 to add the shadows under them. I cut out that frame by using the two largest rectangle dies taped together. The last thing I did was add the snow drops using a stylus and white Gouache paint. It takes a bit of time to dry.


Karen Day - Blog - Facebook - Pinterest
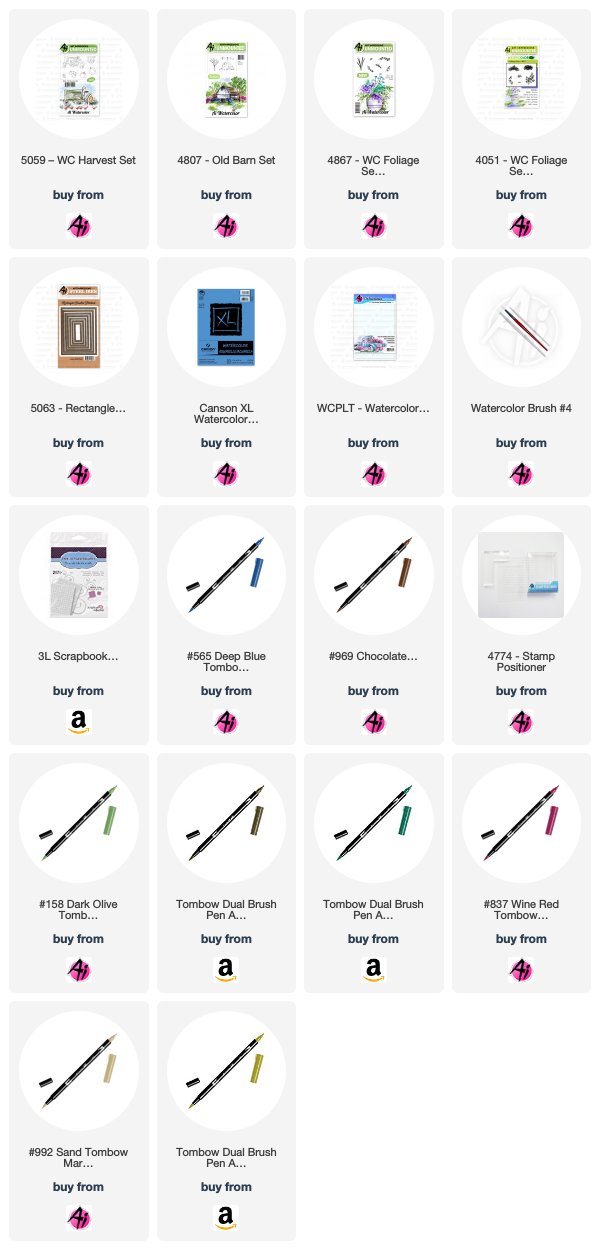
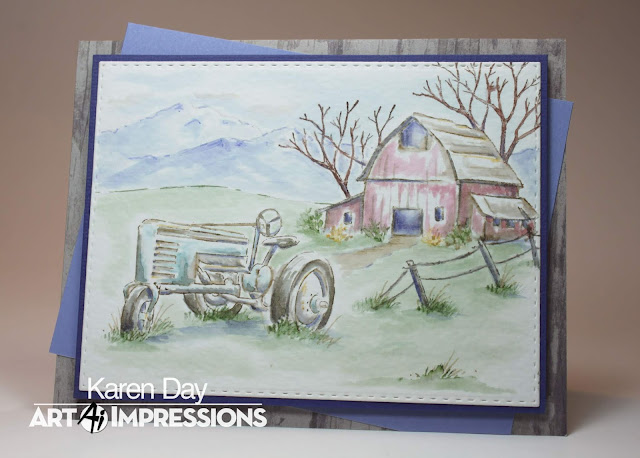
I wanted to make a masculine card, so I placed the barn from #4807 Old Barn Mini Set and the tractor from #5059 WC Harvest Set together on a large acrylic block. I coloured them both with my #969 Chocolate Dual Brush marker from Tombow, stamped it off on scrap paper, and then onto my cardstock. (I had pre cut my Canson XL Watercolor Paper with one of the #5063 Double Stitched Rectangle dies already!). I used my damp #4 paintbrush to soften the lines and pull out the colour. With a pencil, I sketched in my mountains and the hillside, and after masking the barn, I coloured the tree image from #4807 Old Barn Mini Set in #969 and stamped it twice behind the barn. I scribbled #837 Wine Red onto my palette, and picked it up with my brush, adding streaky colour to the barn, leaving lots of white areas for a weathered look. I went over it a second time on the shaded sides of the barn to darken them. I went in directly with the fine point of my #992 Sand marker to draw in the individual barn boards. #992 was also used to paint in the path to the barn. I used #N57 Warm Grey to add darker colour to the tires and seat of the tractor, and to darken up a few of the fittings on it. Then I mixed the grey with #346 Sea Green to create a teal-y shade to paint on the tractor. With my stamp positioner, I added the fence from the Old Barn set to the side of my scene, colouring it in #969 and stamping off on scrap paper first. I made a pale wash with #158 Dark Olive and painted the grassy hillsides, then with the small grass from #4051 Foliage Set and the tiny green from #4867 WC Foliage Set 2 New, I stamped in grass and some greenery around the barn. I switched to #076 Green Ochre to add in fall shrubs around the barn also. Picking up #565 Deep Blue from my palette, I used it to paint in the mountains, and to add shadows to the windows and doors of the barn, going in several times to add darker layers. I used it to add shadow lines on the fence posts, under the roof and on the undersides of the tractor. And finally, I added a few longer grasses by directly using the fine end of my #992 marker on the paper.


Tricia O'Bin - Blog - Instagram - YouTube - Pinterest - Facebook

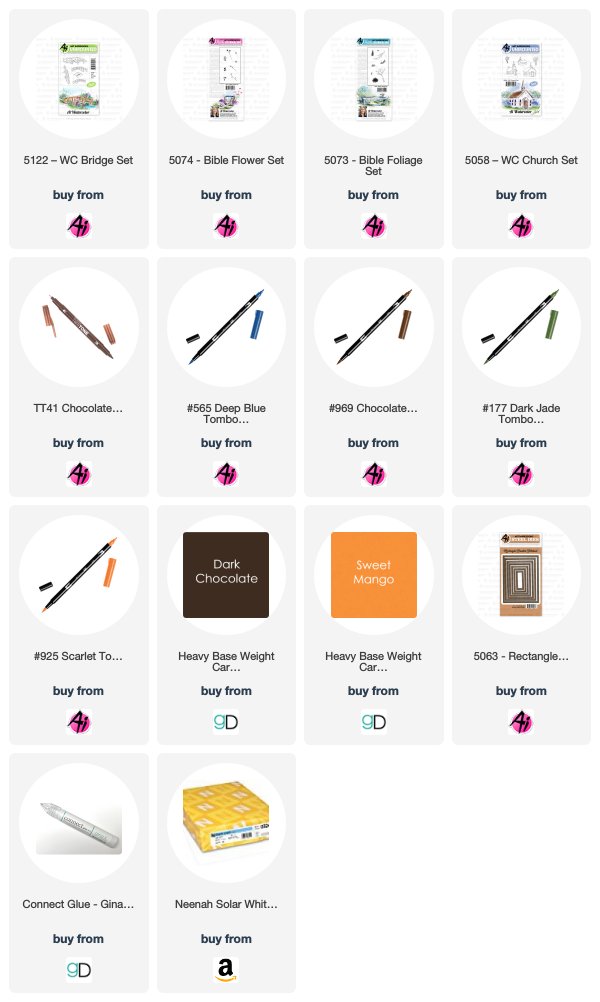
Welcome Back watercolor fans!  Can you believe it is already November?  I can’t.  I decided to create a simple Fall Bridge with some foliage to show off the colors of Autumn.  This is such a versatile card.  You can add any sentiment to it and it would work fabulously.  I love cards like that.  So thank you for stopping by and I hope you get lots of inspiration.

Project Details
I inked the large bridge from the Bridges Set with 969.  I stamped it off and then stamped it in the center of my watercolor paper.  I created a mask for the bridge.  I inked the tree from the Church set with 969 and stamped it behind to the right side of the bridge.  I removed the mask and, using my #1 paintbrush, pulled the color out of the lines. 

Next, I inked the small vine from the Bible Journaling Foliage set with 177 and stamped it several times around the center of the tree.  I added water to the leaves and let them dry. I cleaned the stamp (because I used green) and inked it up with 856 and stamped it several times along the outside of the green leaves.  I added water to the leaves.  Using my Chocolate Twin Tone marker to extend the trunks through the openings in the bridge.  I also darkened up the shadows on the bridge.

I inked the small grass from the Bible Journaling Foliage set with 177 and added it to the right of the bridge and in front of it.  I used my #4 paintbrush and pulled the color out of the lines.  Next, I added 925 to the medium dots from the Bible Journaling Flower set and added them to the tops of the grass.  I added a small amount of water to them.

I masked off my bridge and inked up the small bush from the Bible Journaling Foliage set with 177.  I stamped it several times on the left of the bridge.  I added water to soften them.  I inked up the small dots from the Bible Journaling Flower set with 025 and stamped them several times in the bush.  I added water to soften them.

I added some 569 to the water under the bridge.  Once it dried I added some additional 565 to brighten it up.  I added some 969 from my palette and pulled it out to the left and right of the bridge. I continue to add darker shadows mixing in some of the 969 with my 569.  I added 177 and 856 to create a reflection in the water (still working on this…practice, practice, practice!).

Finally, I added 565 to my palette and using water created the clouds.  Last but not least, I signed my work.

This was so much fun and I hope you got inspired!  Let’s see your work.  Tag us on Instagram!  Hope you have a creative weekend!  See you next time.


Thanks, team! Such a lovely collection of projects!

Did we inspire you this Watercolor Weekend? Let us know in the comments below! And remember, we love seeing your projects when you share them on Instagram with #AiStamps and #AiWatercolor! 'Til next time!

Happy Stamping!

Saturday, October 19, 2019

Watercolor Weekend Roundup - Sweet and Spooky!

Hello, Ai Fans! We're back with a range of projects from sweet to spooky with our Watercolor Guest Design Team! Whether you are gearing up for Halloween, looking forward to winter, or dreaming about spring, we have inspiration for you! Let's take a look!

Dot Freel - Instagram - Blog - Pinterest
Hello Friends,

I am still busy playing with my favorite new stamp set - 5197 - WC Winter Kids. I am now using Strathmore Bristol smooth paper for all of my dye ink watercoloring because I just love how smooth the color blends on it. I stamped the snowman and kid after inking it up with brown 969, then blue 565. I stamped it off first on scratch paper (my usual way) so that the lines would not be so dark. I did the same thing with the light post and then I pulled the color out of the lines the same way Bonnie Krebs, Owner/Creator of Ai, always does on her YouTube videos. If you haven't subscribed yet, you should, I still learn from her every time. I used 565 off the palette to watercolor the snow, boots and sky. I colored the snowman's hat, the branch arm and the little girl's hair using brown 969. I used the Arteza TwiMarker in sage green to watercolor the hat band, the hat, the gloves, the pants and the scarf on the little girl. I inked up a branch from the 4960 - WC Fir Trees Set in green 249 and stamped it up and down the light pole then pulled the color out of the lines. I added the berries using the fine tip of the 55 iris purple pen. I dabbed in some of the sage green from the palette. I used the iris purple to watercolor the scarf, coat and hat band. I colored the nose with 88 terra cotta. I used the fine tip of a Copic Multi-liner pen to darken the eyes and buttons on the snowman. I used the fine tip of the Tombow TwinTone brown pen to draw hair on the girl. I cut it out using the large square die from the 5061 die set. I used watered down white Gouache to flick dots for the snow.

Karen Day - Blog - Facebook - Pinterest
I'm using all sorts of product from the Ai Bible Journaling collection today!
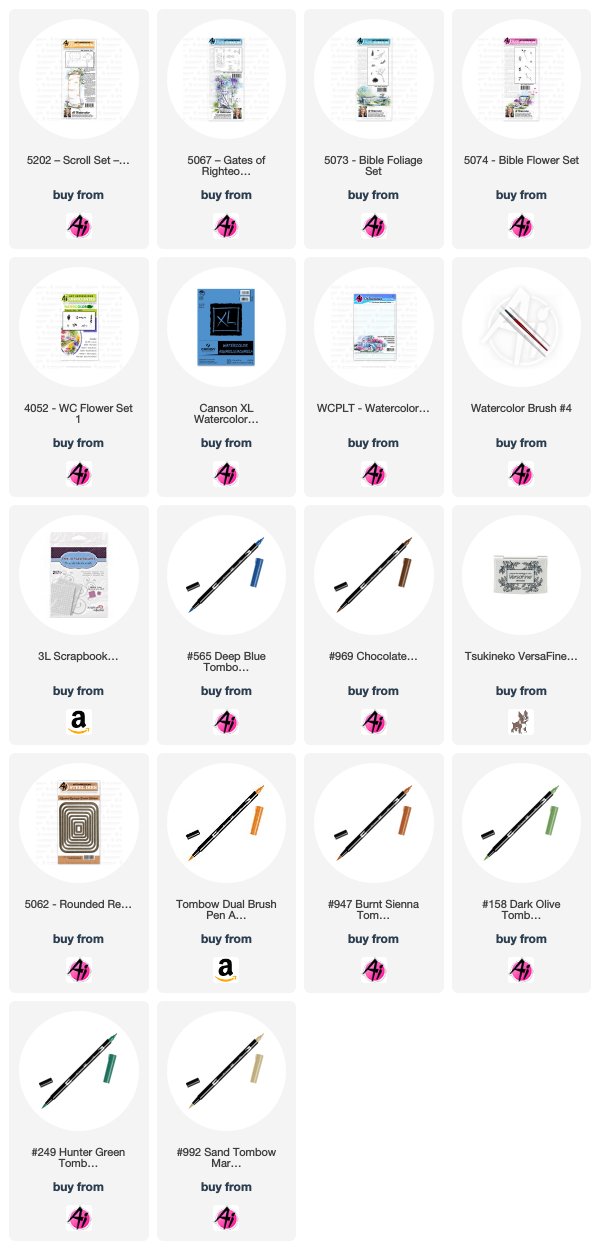
I began by cutting out my Canson XL watercolor paper with two sizes of the 5062 - Double Stitched Rounded Rectangle dies. I coloured the gate image from 5067 - Gates of Righteousness Set first in Tombow #565 Deep Blue, then #969 Chocolate overtop. I stamped it off on scrap paper, and then onto my panel. Since I knew that my card design would have the overlapping sentiment panel, the gate is positioned a little to the right of center. I added the clay pot image on the left side, slightly below the gate so that it would appear in front of it. With my damp #4 paintbrush, I softened the lines and pulled out the colour into the shadowed areas, as I wanted the gate to be white. I did the same stamping method with the medium scroll image from the 5202 Scroll Set on the smaller rectangle. I used a pencil to faintly sketch in the overlapping hillsides, having them meet right in the middle of the gate, as I wanted a sunrise to be centered there, and sketched in the narrow path also. Using the vine image from 5073 - Bible Foliage Set, and #158 Dark Olive, I stamped the vine so that it wrapped up and around the gate, and spilled over the top, sometimes colouring only part of the image if I wanted a smaller sprig of greenery. I filled in a few areas with the small leaf image from 5074 - Bible Flower Set, and used this to add foliage to the clay pot. The spiky trio of blooms from the same set was coloured with #946 Gold Ochre and stamped in the pot and around the vine to created the floral clusters. I used the Mini Foxglove stamp from Flower Set 4052 coloured in #565 to stamp the longer stems in the clay pot. I picked up #947 Burnt Sienna from my palette, and painted it onto the pot, adding several layers to the edges to deepen the colour. Using the shrubbery image from the Bible Foliage set, I coloured it in #249 Hunter Green, and stamped it on either side of the gate - wanting to create a bit of a hedge. I touched all of the flowers and foliage with my damp brush, then picked up #158 from my palette and painted in the hillsides and grassy foreground. I used it with the small grass image from the Bible Foliage set to add tufts of grass in and around the cobblestones. The path was painted with #992 Sand. I used #565 to add shadows between the slats of the gate, and as texture on the stones. With my scene pretty much complete, I used my fine point Twintone marker in 42 Navy to add definition and shadows to the stones, bushes and gate. I also used the finer point of my #946 to add darker yellow shades to the flowers. I used the #946 to paint the sun and it's glow, and added a wash of #565 to the sky.

My scroll was looking a little grey and gloomy next to my image, so I added in touches of the #946 Gold Ochre, which really brightened the scroll, and I added a little of the 565 and 158 around it to mimic the grass & sky - I quite like the effect. Both images were given an 1/8" soft grey matt, and glued onto a subtly patterned background paper. The sentiment is adhered with pop dots, and positioned about 3/8" above the top edge of the 5 1/2" square card.


Tricia O'Bin - Blog - Instagram - YouTube - Pinterest - Facebook
Hey watercolor fans, welcome to another watercolor weekend over on the Art Impressions Blog. This weekend I decided to get into the Halloween spirit by creating a spooky window. It was so much fun using the water to create some really cool textures.

Card Details

First, I inked up the window with 969 and 569. I stamped it off and then stamped it on the watercolor paper. This window seemed to be perfect for this project as it looked like it was kind of hanging off its hinges. I added more water than I usually do to the hanging part. After it dried, I added some additional color with my Twintouch Brown and Blue to get some additional texture. I pulled the color out of the lines around the window and panes.

In order to place the cat inside of the window, I masked it off using post-it tape, inked it up with black and using my positioner, stamped it in the window opening. I added some additional black to my palette and slowly built the color up to a deep black.

Next, I inked up the brick texture with 969 and some 569, stamped it off and then stamped it to the left and right of the spooky window. I added water between the stones. Once that dried, I added some additional cracks in the background for some additional spookiness (LOL).

I wanted to create a lighted window so I added some 025 in between each pane from my palette. I left a small amount of white space and free handed a ghost into the window. I used my fine point to add some cracks to the window panes.

I inked up one of the branches with black and stamped it to the left of the window, for yes - additional spookiness. To finish it up I drew in some spider webs around the window. Finally, I signed and dated my work!

Card Assembly

I cut my painting out with a stitched square die. Using Connect Glue, I added it a mat, using the next size up stitched square die, from Gina K Designs Black Onyx card stock. Next, I inked up a Spider Web Cover-A-Card stamp from Impression Obsession inked with Gina K Whisper ink and stamped it on the background of my white card base.

I cut the spooky BOO out of the Black Onyx card stock with my Art Impressions alphabet dies. I cut it 4 times and glued them on top of each other to give them a little more depth. I added a spider web on the "O" with a white gel pen.

This was such a fun spooky project and I am so happy that you stopped by today. I hope you will join me and my fellow design team members this weekend. Post your projects on Instagram with #AIWatercolor so we can see your creations.

Have a crafty day!!!


Thanks, team! Such a great variety of projects here! It's amazing what you can create with Ai Watercolor Stamps, and how each stamper develops her own style! Do you watercolor the Art Impressions way? Be sure to let us know, and tag us @artimpressions and #aiwatercolor on Instagram so we can see your cards! Also, you can enter our card challenges for a chance to win Ai stamps!

Happy Stamping!