Hello everyone and welcome to our
Box It Up
challenge.
We want to see your handmade or decorated boxes.
Whether you decorate a premade box or create your own,
be sure to use something from Art Impressions.
Then, enter our challenge for the chance to win a free stamp set!
Our Featured Artist this week is Dori and she created a darling, reversible box;
one side fall themed and one side winter themed.
After you read about her creation, scroll down to see who won
our Hey Pumpkin challenge.
-------------------------------------------------------------------------------------------------------------------------
Hello AI Friends!
Welcome to the "Box It Up" challenge. Treat boxes and interactive cards are my absolute favorites so you can imagine my excitement when I was assigned this feature. I decided on a treat box that is perfect as a two for one project. Display for fall and then flip it around and you are ready for winter. No packing this one up until the second season is over. LOL!
This box is made with the #6114 - Village Template box dies. This new box version measures 4 3/8" tall x 3 1/2" wide and 1 1/4" in depth. I tweaked the original box by making it shorter to close off the bottom and I cut off the side tabs so that the treats could flow out the top. I love taking a stamp set or dies and give them a little twist to create a new version from the original use. Great way to extend your dies and stamps!
Here's how I created the box: Using the Village Template #6114, cut two of the main box panels out of heavy weight cardstock. I used 110lb. weight. Score the top tab of panel at 5/8 inch (midpoint). Turn until bottom of the panel is on the left and score at 1 inch. Do the same for the second panel.
Next is the cutting: For both panels, cut off the "chimney looking tab" from the top. For panel #1, cut the bottom up to the first score line on each of the vertical score lines. Cut little miter cuts into each side of the cut lines. See the below picture on the left. For panel #2, do the same as panel #1, but cut off the bottom tabs on both sides. See the below picture on the right.
To assemble the box: Glue the side tabs of panel #1 inside the side tabs of panel #2. In other words, wrap panel #2 around panel #1 to create a box leaving the bottom tabs open. By wrapping the panels this way, it will give the box a more finished look from the bottom. After the sides are adhered nicely, glue the bottom tabs by folding the small tabs in first and then the bigger tab over the other.
Pic of bottom of box:
View of the inside of the box:
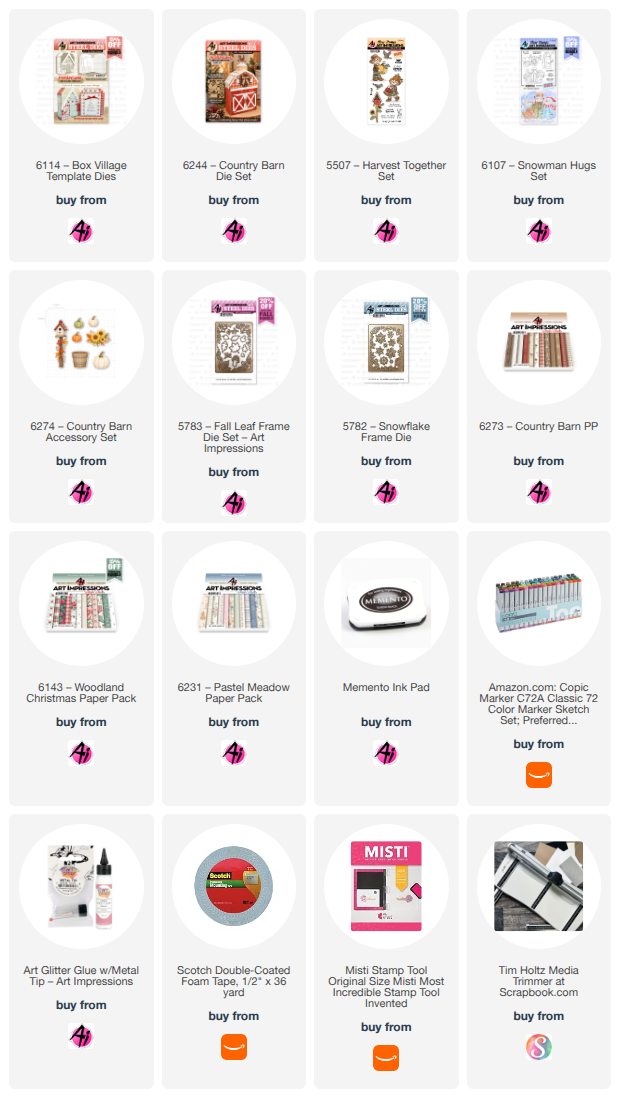
To decorate this box, I used the #6244 - Country Barn die set to create the front shape of each side.
I stamped the images onto copic friendly paper with memento black ink and colored with my copic markers listed below.
For the Fall side, I used #5507 - Harvest Together, #6274 - Country Barn Accessory set, #5783 - Fall Leaf Frame set and #6273 - Country Barn PP.
For the Winter side, I used #6107 - Snowman Hugs, #5782 - Snowflake Frame set, #6143 - Woodland Christmas PP.
For the top tabs on both sides, I used the #6231 - Pastel Meadow PP.
I hope you enjoyed my box and it gives you inspiration to join the "Box It Up" challenge for a chance to win a free stamp set of your choice. Looking forward to seeing your creations!
Thanks for joining me! Have a wonderful day!
Copics used:
Fall side - T0, T2, T4 R20, R22 G82, G94
E07, E09, E13, E15, E21, E23, E25, E51, E53, E55
YR21, YR24, YR27
Winter side - C1, C2, C3, C4 R20,R81, R83, R85
E21, E23, E25 B000, B41, B45, B93, B95
YR12, YR14, YR21 Y15, Y23 G21, G24, G28
What an amazing idea, Dori!
It saves space when you store it away and is incredibly cute.
Now, let's see who won our last challenge.
Our Top Spot went to:
Be sure to grab and share your Top Spot banner and then,
please contact Leah at
Feedback@artimpressions.com
to claim your free stamp set.
Our Lucky Random Winner was:
Please contact Leah at Feedback@artimpressions.com
to claim your free stamp set.
Congratulations to our winners!
Now...get creating those fabulous box creations!
You might be the next winner of a free stamp set.
Here are the rules...
✻ Please make a new card or handmade crafty creation using either stamps, dies and or designer paper from Art Impressions. You can make any item you wish; this is not limited to cards! (unless specified)✻ Limit two submissions per person.
✻Top Spot Winner and Lucky Random Winner each receive a free
stamp set from Art Impressions
✻Please include your first name and last initial on your submission. You may include your entire last name, but it's not necessary.
✻We love to comment on your entries, but keep in mind if you use a private group or a platform that you need to sign up for, we probably won't be able to.
✻ The Ai Challenge is open to everyone, international submissions are welcome!
✻ Include a link back to the Ai Blog or grab our button on the top right of our sidebar!
✻ Share the Ai love if you can, by clicking and commenting on your fellow crafters.
✻ Make sure to get your link up by the deadline to enter your creations.
✻ Good luck and happy stamping!



