Showing posts with label Dori. Show all posts

Wednesday, October 14, 2026

Halloween Teepee card by Dori Mendiola

 Happy Wednesday AI Friends!

Today I have a fun three sided Teepee card that spews Halloween all over it and works perfectly for the current Blog challenge "Bats in the Belfry".  This challenge is a fun one for me because I love creating Halloween projects with all of the cute stamp sets from Art Impressions.  I much prefer the cute Halloween images vs the scary ones.  I'm not a fan of scary!


         Top View

To create the base of this style of card, you need to cut two panels of black cardstock - one at 8 x 4" and one 4 x 4".  Score the larger one in the center at 4".  Then score diagonally from the top of the center line down to the bottom right corner.  Do the same on the left side.  Burnish each score line.  Score the 4" panel diagonally and burnish.  Take this smaller panel and place into the inside center fold of the larger piece matching up the smaller panel diagonal score line with the center score line of the larger panel.  Adhere one side down and then the other.   You should have the large panel with a small triangle jetting out at the bottom.  See picture below.

Cut a white cardstock panel at 3 3/4" square for the inside sentiment.  Cut in half diagonally and adhere to the inside as shown below.    

For the front of the card, cut pattern paper panels in the same way.  The smaller striped triangles are 
1 1/2" square and cut on the diagonal.  

         When opened:

Open the card up as shown above and fold in half to fit into an A2 size envelope.  However, make sure to keep any overhang of decorations close to the sides of each triangular panel so it doesn't extend past the width of 4 1/4".  I used a black velcro dot to keep the card together when opened.  

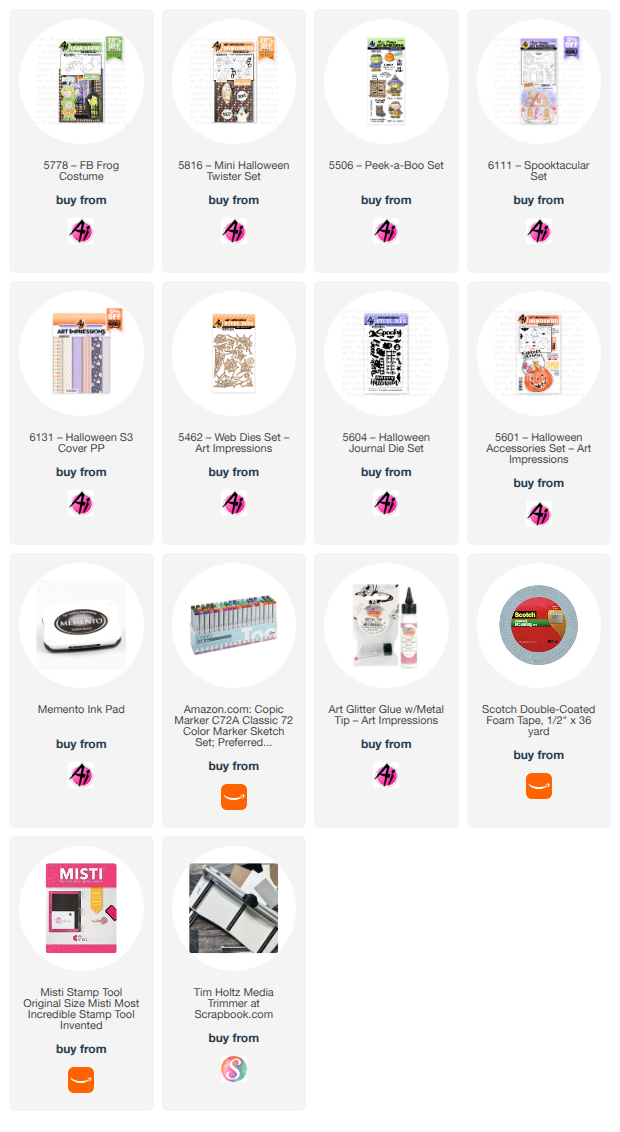
Decorate each panel with various images.  I used several from #5778 - FB Frog Costume, #5816 - Mini Halloween Twister, #6111 - Spooktacular set, #5506 - Peek-a-Boo set and various dies from the #5462 Web dies set and #5604 - Halloween Journal die set.

I hope my card inspires you to create some Halloween fun for the Blog challenge.  Please join us as we love to see all of your creations and you could win a free stamp set.  Yay!

Have a great day crafting!

Copics used:  E00, E01, E11, E21, E23, E25
R20, R22          T0, T2, T4
Y11, Y13, Y15, Y17
YR12, YR14, YR16, YR18
V12, V15          G20, G21, G24

Wednesday, September 30, 2026

STAMPtember 2026 Collaboration Exclusive - Pumpkin Queens

Happy Wednesday AI Friends!

I hope you all were able to snag your Art Impressions STAMPtember 2026 Exclusive set from Simon Says Stamp.  This is truly the best stamp set EVER!!!  If you love Bonnie's girlfriends, she has outdone it this time!  I swear I say that every time, but she keeps amazing me with each one!   This was a limited edition and, unfortunately, they are now sold out.  If you were not able to grab one of these, please check out the Art Impressions website for other girlfriend stamp sets.  My card creations below will work just as well with those other stamp sets.

I was so excited to create with this set that I ended up making two cards.  The first one with the Bold Fall colors.  My second one, I decided to challenge myself and use a softer palette but still the fall colors.  I tend to be a heavy colorer so this was a fun challenge for myself.  


Both images were stamped with Memento black ink onto copic friendly paper and colored with copic markers listed below.  The bottom card used the die to create a shaped flap card set on top of the base.  This is the only opening for the inside sentiment.  The back is set on an easel.


Make sure to check out the Art Impressions Blog that shows more inspiration from the talented design team.  Such great creations!

I hope you have as much fun coloring this image as I did.  

Have a great day and have fun creating!

Copics used: 
                                     Bold Fall card -  E00, E01, E11, E21, E23, E97, E99
E33, E35, E37, E50, E51, E53, E55, E57
B000, B93, B95, B97
R20, R22, R24
YR12, YR14, YR16, YR18, YR21, YR24, YR27
YG91, YG93       G94
N0, N1, N2

Pastel card - E00, E01, E11, E21, E23
E40, E41, E42, E43, E44, E50, E51, E53, E55
YR00, YR01, YR12, YR20
R20, R22     N0, N1, N2
B0000, B91
YG91, YG93

Wednesday, September 16, 2026

Cruisin' Carol birthday card by Dori Mendiola

 Happy Wednesday AI Friends!

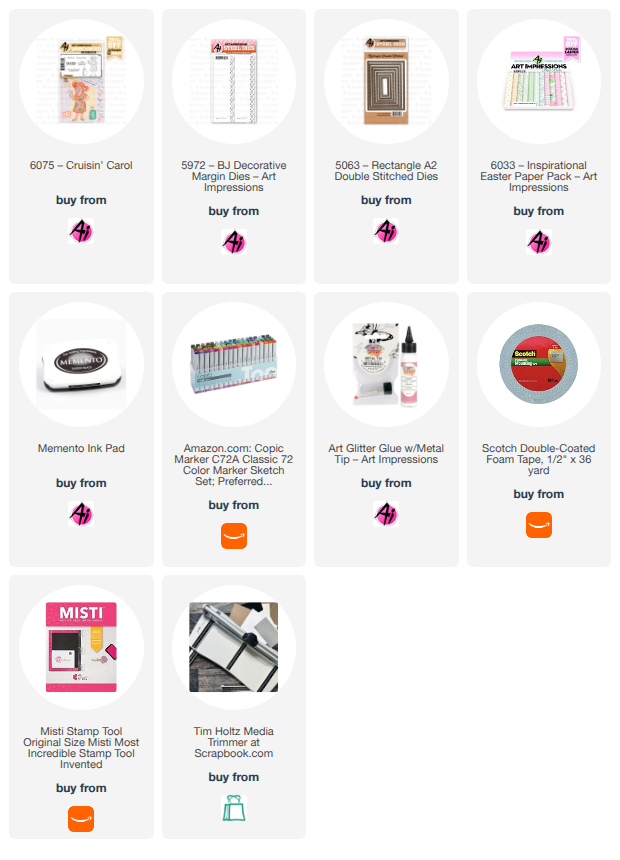
Today I have a card inspired by the current bi-weekly blog challenge - On the Border featuring the #5972 - BJ Decorative Margin dies and Cruisin' Carol - #6075.  I love these ladies from the AI People line. 


I stamped Cruisin' Carol onto copic friendly paper with Memento black ink and colored her with my copic markers listed below.  I then die cut her with the corresponding die that is included in this set.  

I die cut 2 pieces of pattern paper and a white cardstock panel using the #5063 - Rectangle A2 Double Stitched dies.  I also die cut two pieces of mint green cardstock using the #5972 - BJ Decorative Margin die for each side of the image panel.

I placed foam tape onto the backside of the image and popped her up onto the white panel.  The happy birthday word die cut is from my stash.

There you have it - Easy Peasy, Fun and Festive!  Thanks for joining me today!  Hope you join our bi-weekly challenge - On the Border - for a chance to win a free stamp set.  We love to see your creations!

Have a great week and hope you find lots of time to craft!

Copics used:  T0, T2, T4, T6
E00, E01, E11, E21, E23, E25
R20, R22, R24, R27, R29
Y28    YR12, YR14, YR16
B000      V12, V15, V17

Wednesday, September 9, 2026

Gnome Storybook by Dori Mendiola

 Happy Wednesday AI Friends!

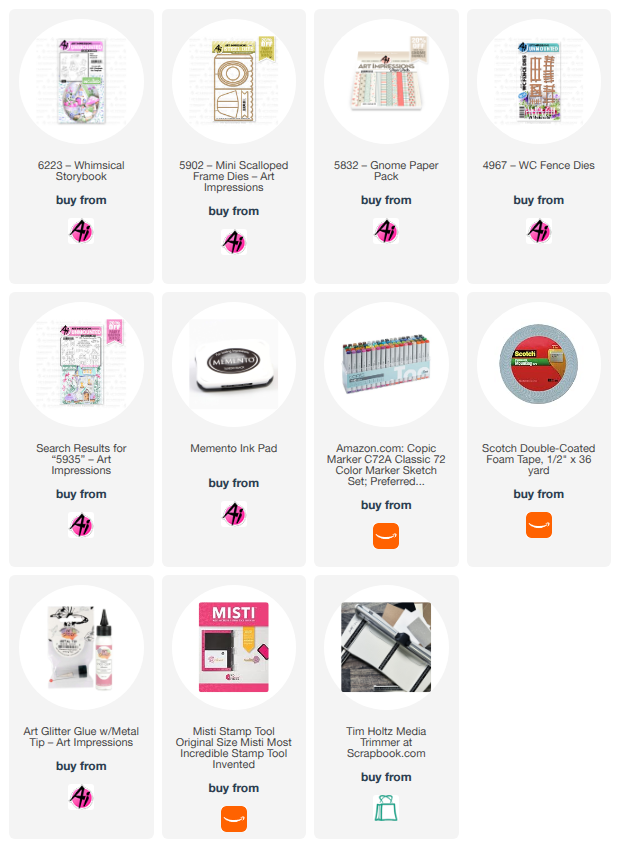
Have you seen the latest storybook stamp and die sets?  Bonnie knocked it out of the park with the #6223 - Whimsical Storybook set with the little gnome and fairy!  Who doesn't love gnomes and fairies? 

There is a perfect little storybook box die that fits this set but I chose to use the #5902 - Mini Scallop Frame set and pop up the layers using foam tape instead of frame layers.   I thought I would show you how versatile these sets are and how you can use them with other products you may have in your collection.


With Khaki colored cardstock, I cut the mini scallop frame with the oval window die placed in the middle.  I then placed the scallop edge of the die on the straight edge of the frame piece and did a partial die cut so that the straight edge had a scallop cut as well.  I cut a piece of pattern paper with the same process and adhered to the front of the frame.  I also cut a small piece of pattern paper to fit the inside of the frame as the background.  
I stamped the images of the storybook stamp set onto copic friendly paper using Memento black ink and colored with my copic markers listed below.  I die cut each with the coordinating dies that are included with the stamp set.  I added stickles to the fairy wings.


You can trim off part of the curved tabs from the images but leave some for gluing into the frame.  I adhered the house flat to the background and then popped up the other pieces to create dimension within the frame.  


I added the sentiment from the #5935 - Fairytale Houses set to the label die, included with the frame set, and adhered it to the front of the frame with some twine.  To finish off, I added the easel to the back of the frame so that this little cutie can be placed on display.

Thanks for joining me today!  I hope you have a wonderful week and you find time to create with this cute set!

Copics used:  R20, R22, R24
E00, E01, E11, E21, E23, E50, E51, E53, E55
N0, N1, N2, N3    B0000, B000, B00, B01
   Y15      YG61    G12     BG93

Wednesday, September 2, 2026

Window Shaker card by Dori Mendiola

 Happy Wednesday AI Friends!

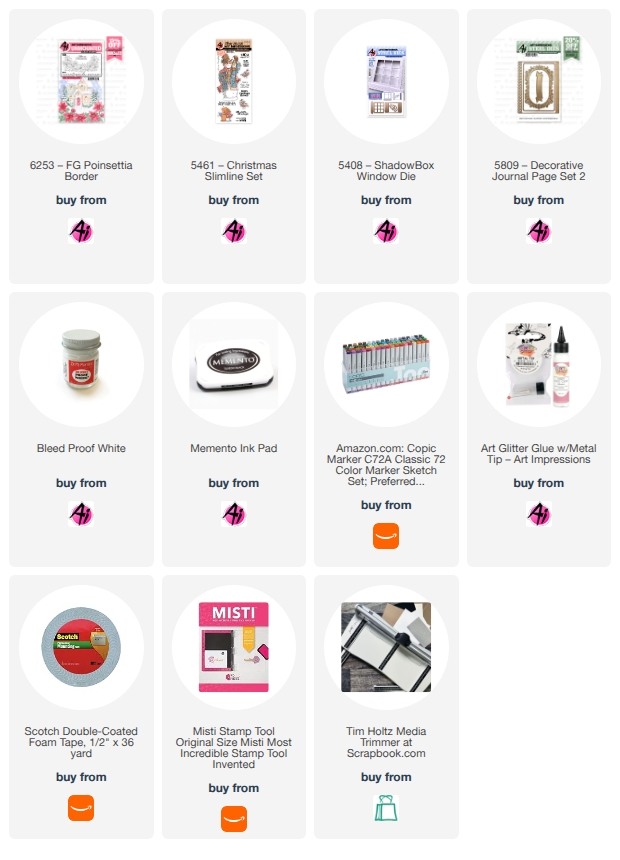
Today I wanted to make a card pairing the latest release of Countryside Series called #6253 - FG Poinsettia Border with the current blog challenge - "Furry Friends".  This little bunny from the #5461 - Christmas Slimline set is definitely one of my favorite furry friends and it was the perfect image to use with the poinsettia floral window swag.   

I started by stamping the poinsettia border and the bunny onto copic friendly paper with Memento black ink.  I colored both with my copic markers listed below.  I used the coordinating die to cut the bunny but I fussy cut the poinsettia border.  

I made the shaker window using the #5408 - Shadowbox window die set.  I die cut two panels and placed a 2 1/4" square piece of acetate in between the panels.  I then placed foam tape around the outer edge of the window and filled with small glass beads to resemble snow.  I also took a 2 1/8" square piece of light blue cardstock and blended ink (Broken China and Salty Ocean) around the edges.  I then splattered white paint onto that panel.  After letting that dry, I adhered this piece to the back of the shaker window.  The shaker is now ready.  

I glued the poinsettia border to the top edge of the window and placed foam tape onto the back side so that it would be level with the window when adhered to the front of the card.  I adhered the sentiment to the bottom edge of the window and placed the bunny onto the card.  I added a few enamel dots and a bow and the card is finished.

I hope you enjoyed my card.  Make sure to enter the blog challenge for a chance to win a free stamp set.

Thanks for joining me today!  Keep creating!

Copics used:  E50, E51, E53
R20, R22, R24, R27      N6
G20, G21, G24

Wednesday, August 26, 2026

Gone Fishin' Slider card by Dori Mendiola

 Happy Wednesday AI Friends!

Today is the last day of the "Boy, Oh Boy" challenge so I made another masculine card for the occasion.  You can never have too many 'man' cards.  LOL!

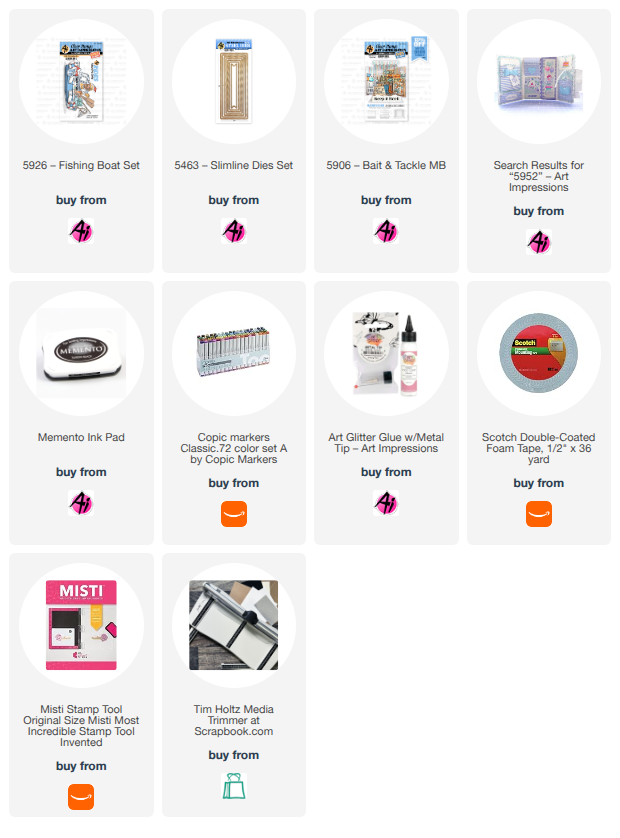
For this one, I used the #5926 - Fishing Boat RIDES set.  I love these sets that have all the fun accessories plus the dies to cut all of the images out.  The other great thing about these, is that the accessories can be used with other sets and vice versa.  Back in June, Sharon used the fishing net on her Pickleball Patty card to have her catching butterflies instead of playing pickleball.  Ingenious!!  

I stamped all of the images onto copic friendly paper with Memento black ink and colored with my copic markers listed below.  I then die cut each with the corresponding dies.

For the wave layers, I cut panels with a cloud die turned upside down.  I then used a stencil brush and stamped white paint (Dr PH Martin's Bleed Proof) across the top to mimic waves.

I cut a slider track out of the darkest wave piece and placed foam tape along the back side bottom, top and left side.  


I also placed a small piece of foam tape on the back of the boat to fit in the slider track. 


 I then created a slider pull tab long enough to fit behind the boat to the right side of the panel.   Place the boat foam through the slider track and attach the pull tab to the foam tape.  Adhere to the card base.


Place foam tape (double stacked) onto the back side bottom and sides of the second wave panel.  Make sure that this foam tape does not hinder the movement of the boat.  Adhere this piece over the darkest wave panel on the card base.  Lastly, add the lightest wave panel over the top.  I did not pop up this layer.

Here is a video of how the boat rides the waves:

That's it for my card today.  Hope this gets you in the mood to enter the challenge for a chance to win a free stamp set.  

Have a great day and keep creating!
Copics used:  C00, C0, C1, C2
E00, E01, E11, E21, E25
Y13, Y15, Y17
YR12, YR14, YR16
YG91, YG93   R22, R24
B000, B12, B14

Wednesday, August 19, 2026

Sweet As Can Be by Dori Mendiola

 Happy Wednesday AI Friends!

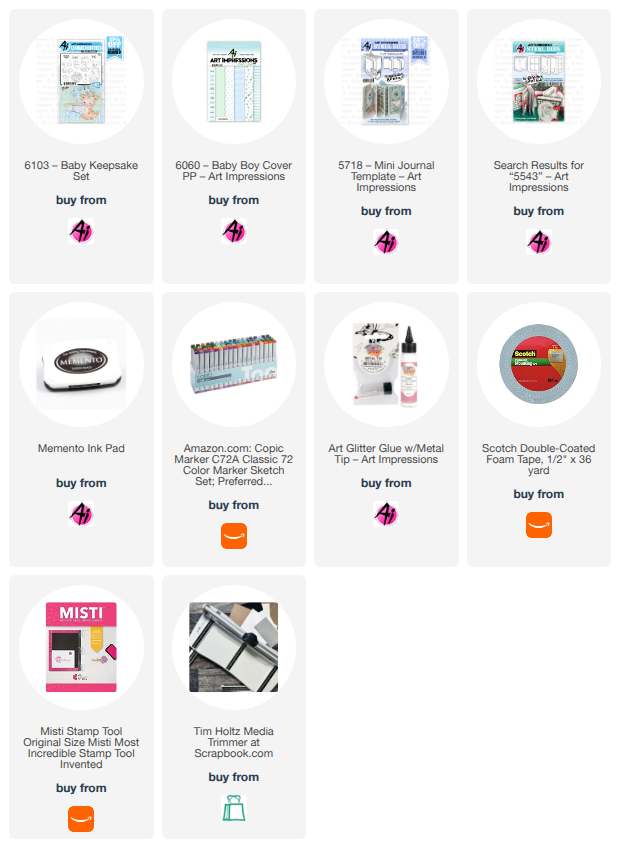
For the current blog challenge "Boy, Oh Boy", I couldn't resist using the #6103 - Baby Keepsake stamp set and the #6060 - Baby Boy Cover PP for my card today.  This stamp set has got to be the most darling set EVER!  Plus, the dies are included!!!  Yay!


I stamped the images onto copic friendly paper with Memento black ink and colored with my copic markers listed below.  I matted baby boy paper onto a blue piece of cardstock and die cut each of the images out.  I popped the images up with foam tape and placed within the windows of this slimline card.  Added the matted sentiments and a little piece of twine and the card is finished.

How fun and easy is that?  

Hope you enjoyed my card and it inspires you to join the blog challenge for a chance to win a free stamp set of your choice.  We love to see your creations!

Have a great day and keep creating!
Copics used:  N0, R20
E000, E21, E23, E25, E50, E51, E53, E55
Y11, Y13, Y19
G20, G21, G24, G40, G43, G46
B12, B14

Wednesday, August 12, 2026

Poppy Belly Band Box & Bookmarks by Dori Mendiola

Happy Wednesday AI Friends!

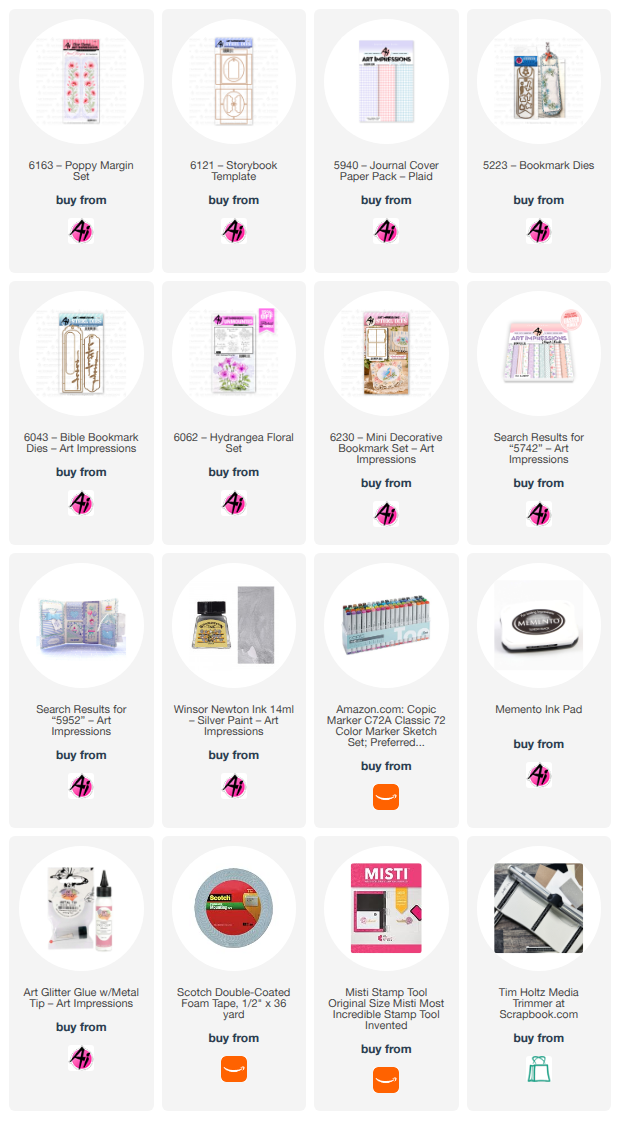
I have two projects for you today that feature the same stamp set #6163 - Poppy Margin set.  One is a belly band using the #6043 - Bible Bookmark and the other is a set of bookmarks using the #6230 - Mini Decorative Bookmark set.

The poppy margin was stamped with Memento black ink onto copic friendly paper and colored with my copic markers listed below.  I painted the scroll frame as well as the floral centers with the Winsor & Newton gold paint.  

The belly band fits nicely over the #6121 - Storybook box.  I created this box without cutting the oval center so that it was a solid closed box.  Wrap the belly band around the box to form the folds.  I then cut two small holes at each end, added the ribbon and sentiment and tied the bow.

Bookmark before matting and forming as a belly band:

Backside of the box with belly band:


Project 2:  The bookmarks below use several fussy cut florals from the poppy margin stamp set and placed on the sentiments.  The first bookmark is magnetic and the second one I used a covered paper clip.  
Paper Clip BM:  Take a lightweight piece of cardstock 3" x 2 1/2" (approx. the size of the bookmark) and fold in half.  Place the paper clip over the folded edge.  Cut a slit at the center fold of the bookmark cardstock and slip the top of the paper clip cardstock through the slit.  Glue the top layers together.  Do the same for the bottom layers.  The paper clip will then hold the pages together of the book.  


Hope you enjoy my projects today!

Have a great week and have fun creating!

Copics used:  G40, G43, G46
V20, V22, V25
Y32, Y35     B000

Wednesday, August 5, 2026

Friends Gnome Matter What by Dori Mendiola

 Happy Wednesday AI Friends!

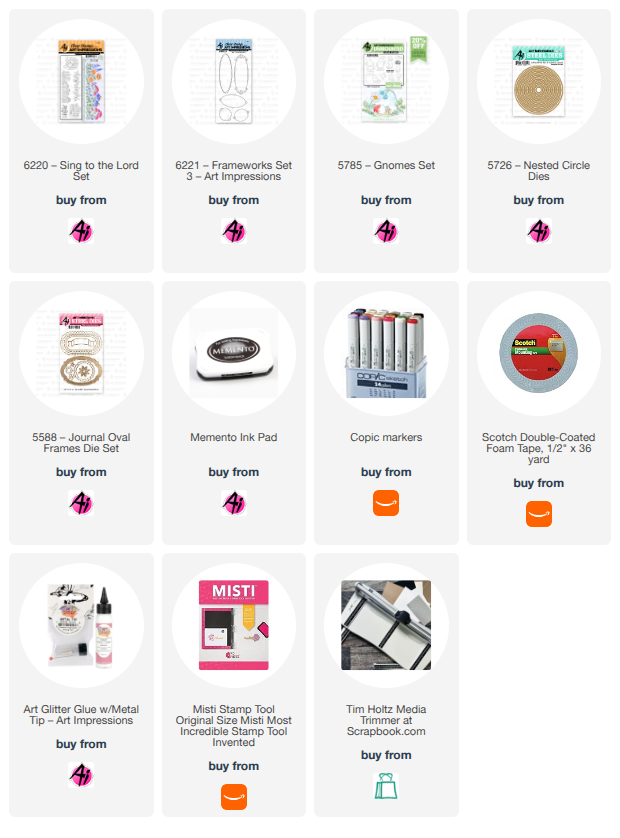
My card today fits the new blog challenge - Floral Frenzy and features two new stamp sets - #6220 - Sing to the Lord and #6221 - Frameworks Set 3 along with the cute little gnomes from the #5785 - Gnomes set.  I personally think you can put gnomes on anything and it just creates cuteness overload!  Wouldn't you agree?

I stamped the images onto copic friendly paper with Memento black ink and colored with copic markers listed below.  I used the corresponding dies to cut the gnomes.  The florals are one stamp from the stamp set.  I colored the full stamp image and then cut it into thirds using a small circle die.  I stamped the frameworks image onto a 4" square piece of white cardstock.  I adhered a colored floral image into each of the frameworks.

To make the "Book Cradle" card style:  There are several tutorials showing how to make this fun fold but I watched the one from Dawn's Stamping Thoughts and made a slight change to it.

Start with a base white cardstock measuring 4 x 8.  Score on the long side at 1/2, 4 and 7 1/2.  Fold and burnish each score as a mountain fold.

For the cradle base: Cut a 4 x 5 inch white cardstock piece.  Score at 1/2, 1 1/2, 2 1/2, 3 1/2, 4 1/2 on the long side.  Burnish at 2 1/2" as valley fold.  Glue the second fold (as mountain) up to the 2 1/2" leaving the first 1/2" as a tab.  Do the same on the other side.  You should be left with 1/2" single width of cardstock, then 1" double width on next two folds and then lastly, a 1/2" single width tab.  

Make the support stand that fits at the bottom of the base:  Cut a 4 x 2 1/2" piece of cardstock.  Score along short side at 1/2, 1 1/4 and 2.  Shape into a W.  Glue the 1/2" tabs of this stand to the inside bottom of the base piece.  See below (bottom of card).  

Adhere the card base 1/2" tabs to the cradle base 1/2" tabs.   The card should fold flat and pop up when standing.  Finish decorating with mat layers and pop up the gnomes with foam tape.  Add the sentiment to the bottom using the banner from the #5588 - Journal Oval Frames.


Once you make one of these cards, you will find out how fun and easy it is to make plus so cute when on display.  I'm hooked so you may see more of these in my future posts.  😁

Make sure to join our blog challenge for a chance to win a free stamp set of your choice.  It's easy, just check out the tab above.  

Have a wonderful day and keep creating!

Copics used:  W0, W1, W3
E00, E02, E21, E23, E25
B0000, B000, B01
G40, G43, G46
Y13, Y15, Y17
RV10, RV32, RV34

Wednesday, July 29, 2026

Three Sheets To The Wind by Dori Mendiola

 Happy Wednesday AI Friends!

I have another "Summerween" card for you.  Today is your last day to enter the blog challenge so make sure you enter for a chance to win a free stamp set of your choice.

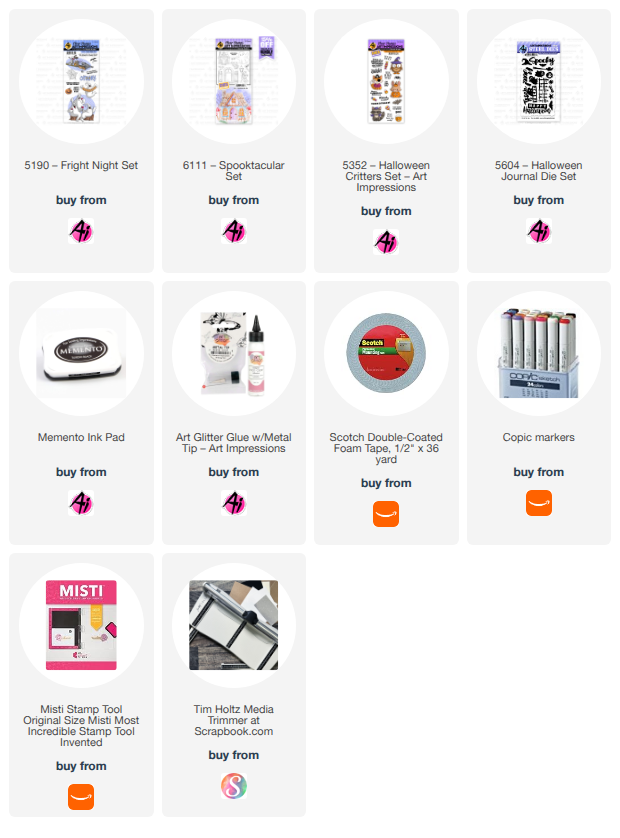
The image for my card is from the #5190 - Fright Night set, one of my favorite sets.  These ghosts look like they are just having a fabulous time!  😀


I stamped the images onto copic friendly paper with Memento black ink and colored with my copic markers listed below.  The pumpkin is from the #6111 - Spooktacular set and comes with the coordinating die so makes for a great accessory to the card.  The spider and bat are from the #5604 - Halloween Journal die set.

Thanks for joining me today!  Have a wonderful day!
Keep Creating!
Copics used:  T0, T2, T6     B000
E42, E44, E47
YR20, YR21, YR23
R22, R24, R37, R56
RV32, RV34
G40, G43, G46

Wednesday, July 22, 2026

Little Miss Boo Card/Box by Dori Mendiola

 Happy Wednesday AI Friends!

Our current challenge is "Summerween" so I decided to start on my Halloween mini journal book for the littles in my life.  Last year, I made Bonnie's Halloween journal into a scavenger hunt book for my oldest grandson and he had the most fun with it.  Actually, we all did!  My son and daughter-in-law made up riddles and clues for the scavenger hunt and I incorporated them into the pages.  Turned out soooo cute, so thank you Bonnie!

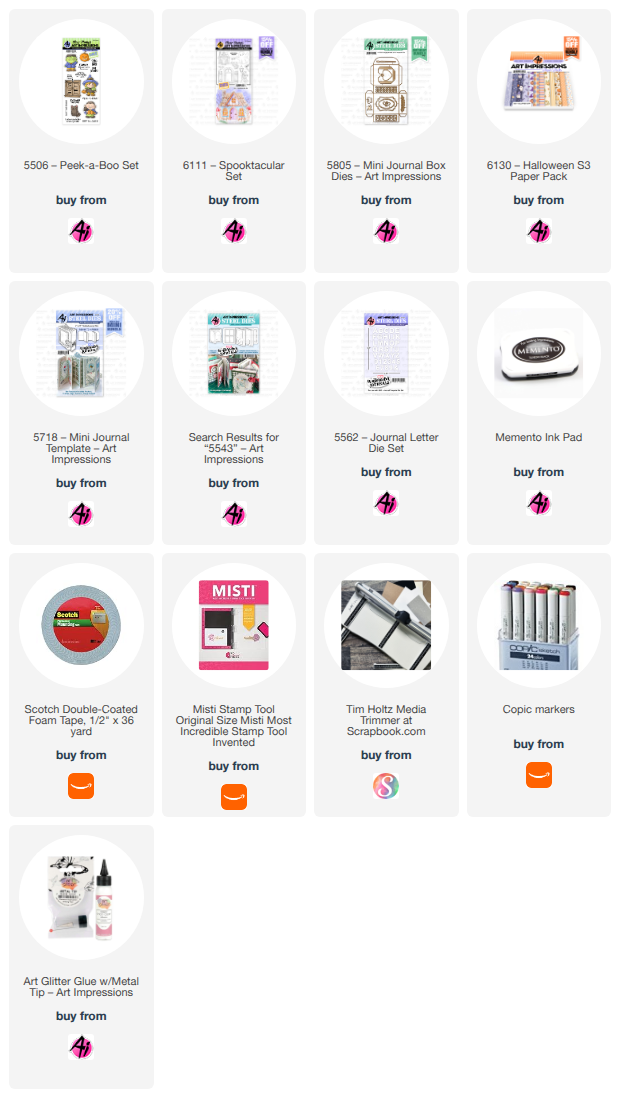
Not sure what I'm going to do in this book yet, so I only made the mini card and attached it to the Mini Journal Box #5805.  I'll finish the book at a later date and share at that time, but for now, I'll share the card/box and front of the inside book.

I started off by making the box with the die from the #5805 - Mini Journal Box out of orange cardstock.  I used the #6130 - Halloween S3 PP to line the box and decorate the sides as well as create the backgrounds for the card front and inside.  

I stamped a few of the images from two sets #6111 - Spooktacular and #5506 - Peek A Boo.  I then colored with my copic markers listed below.  Both of these sets come with coordinating dies which I just LOVE!  

I created a cute little decorative card (2 3/4 by 2 1/4) to fit on top of the box.  The pop up ghost has the coordinating die and scores for the folds, which makes the image pop up so easily on the inside.  

I adhered this mini card to the top of the box so you first open the card and then the box.  The card has a magnetic closure hidden under the front image and the inside sentiment.


The Mini Journal box die creates this cute little box with score lines.  All you have to do is fold and glue the sides.  Boom!  Easy peasy!  I suggest using heavy cardstock or add a pattern paper layer for stability.


This box was created by Art Impressions to hold the #5718 - Mini Journal book perfectly.  The finished dimensions are 2 3/4 x 2 1/4 x 7/8.  Also makes for a nice little treat box.


Thanks for joining me today and I hope you enter our "Summerween" blog challenge for a chance to win a free stamp set of your choice.  We love to see your creations!

Have a wonderful day!

Copics used:  E00, E01, E11, E21, E23, E25
N0, N1, N2, N3, N4, N6           R20
YR12, YR14, YR16, YR18         Y17
V12, V15, V17      G20, G21, G24