Showing posts with label Big Birthday Wishes. Show all posts

Sunday, May 26, 2024

French Door and Big Birthday Wishes


Hi Watercolor Friends!  I hope everyone is having a nice weekend.  I am loving this spring weather.  It makes me dream of going to Paris, France.  I love the vintage French doors.  Those doors are what inspired my first card.  I enjoyed figuring out my layout.  There was a lot of masking done using Post-it Tape and Post-it Notes.  I stamped the bicycle first and then the blue door.  I used Tombow 403 to paint the door.  It's my new favorite color!  Next I stamped the pot with Tombow 565 and 969 stamping off twice first.  I did all of the stamping for this card using this method.  Next I added the wall texture and the cobblestones.  After I had painted all of the foliage and flowers I added in a quiet, gray kitten using the WC Mini Critter Set 5016.  For the decorative element on the door windows I used a stamp from set 5123 WC Decorative Jar set.  I have to be honest, I thought this was pretty clever!  The decorative paper is from 5873 Mini Birthday PP.  I stamped the sentiment and die cut the words out using a die from the 5543 Journal Template Die set.  The last remaining step was to add white highlights using Dr. Ph Martin's Bleed Proof White.


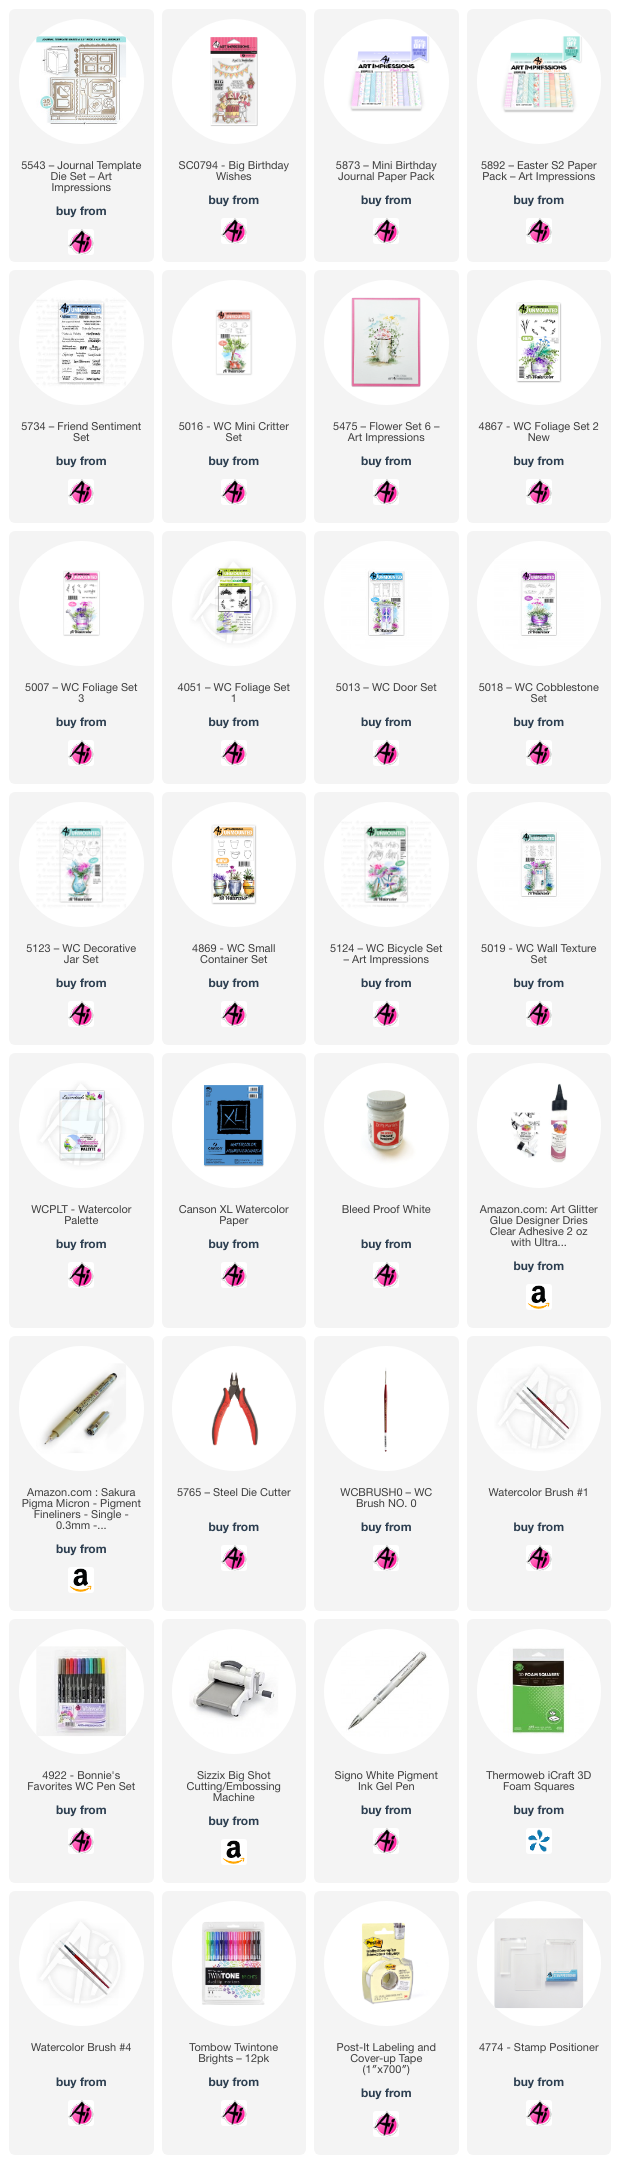
I used the following Tombow markers on both of these cards:  565, 977, 177, 969, 026, 992, 817, 636, 526, 403, 569, N55 and N75.


For my second card I stamped a Happy Birthday card.  This card was simple in comparison to the French door card.  I stamped this image on Arches hot press watercolor paper using Tombow 565 and 969 for a smoother picture.  I did not stamp off this image as I wanted all of the details to be more predominant.  Then I painted the image using Tombow markers.  Afterwards to add some confetti I masked off the entire image and splattered marker paint onto the card.  I used various dies to cutout the image and add details.


I hope you all enjoy my cards as much as I enjoyed creating them!  If you have any questions, please ask on the blog, Facebook or Instagram.  Thank you.


Friday, July 7, 2023

Aged to Perfection Card by Tasha!

 Happy Friday Ai Fans!

Tasha here sharing a new birthday card featuring the SC0794 - Big Birthday Wishes Set. I love creating birthday cards and this stamped image is just too cute!

To make this pink celebration card, I started by stamping and coloring the main image with markers. I also brought in more pink color by ink blending the edges of the center card with Distress Oxide Ink. I think this gives a nice spotlight in the center of the card.


For the greeting, I stamped "Aged to Perfection" with a deep pink ink and used a small banner die to cut it out. I also added a layer of gray glitter paper to mat the sentiment; the pink and gray colors look awesome together!


Lastly, I attached layers of gray glitter paper, pink heart pattern paper, and gray card stock to complete the design. I think this card turned out great and will be perfect to send to someone special on their birthday!


I hope you enjoyed today's project and are having a wonderful day!


Saturday, January 14, 2023

I Love Big Cakes and I Cannot Lie! by Janet


I love big cakes and I cannot lie! I love these gals and all the fun they're having making a HUGE birthday cake. It's big enough for somebody to hide inside!

The image and sentiment come from a collaboration set between Hampton Arts and Art Impression. It's called SC0794 - Big Birthday Wishes. To make this, I cut a piece of alcohol friendly cardstock using the largest die from the 5062-Rounded Rectangle A2 Double Stitched Dies. Then I stamped the image and the sentiment. There's a lot of opportunity to use many colors of your choice on a set like this. I enjoyed coloring the ladies and their big cake. 

The finished panel was adhered to an A2 card covered in patterned birthday balloon paper. before doing that, I included three strips of washi tape which peek out on each side of the panel and break up the pattern a bit. I used a corner rounder on all four corners of the card so it would echo the shape of the panel. Finally I added two candle brads above the sentiment and three small glitter enamel dots to decorate the cake. These are from Eyelet Outlet.

Thanks for joining me today. I hope you enjoyed the project and that you have been inspired. Be sure  visit the Ai Store for all your card making supplies.

Happy Creating!

Janet YouTube - Blog - Facebook - Instagram - Pinterest

Friday, January 13, 2023

Big Birthday Wishes Card by Tasha!

 Happy Friday Ai Fans!

Tasha here sharing a new birthday card created with the super cute 5400 - Baby Critters Set. This card was inspired by the Ai "Let's Celebrate" Challenge and I just love these little animals!

For this project, I started by stamping all the little animals and three (3) extra balloons with black ink. I colored all the images with markers and used the coordinating die set to cut them out. It's awesome that this set includes the matching dies!


To make the party scene, I cut a fence out of pattern paper and added green grass for the ground. I also used a cloud stencil to add tons of fluffy blue clouds for the sky; I love clouds!

After I glued on the fence and grass, I used foam tape to attach the group of friends. You can get a similar look using masking paper if you choose to make a flat card front.


Lastly, I attached a sweet bird to the sky and added the balloons. I also stamped "Big Birthday Wishes" with the same black ink and added layers of purple paper and polka dot pattern paper to complete the design. I love how this turned out and look forward to sending it to someone special!

Thank you for checking out today's card and I hope you are inspired to join in the Ai "Let's Celebrate" Challenge!


Monday, September 3, 2018

Best Friends Birthday by Carol Hintermeier

Hello Ai Fans!

Today I have two cards to share using the Big Birthday Wishes set.  Wouldn't it be fun to celebrate your birthday with your best friends and big, huge cake?!!  LOL!  I think I'd love that!

I stamped the main image twice, then colored them with my alcohol markers.  It's really fun because you can "decorate" the cake with whatever colors you want to give it a different look.

After I finished coloring them, I used two of the NEW steel die sets:  Square Double Stitched dies and  Rectangle A2 Double Stitched dies.  These die sets are really great in that they are very high quality, you get various sizes, and there is stitching on both sides of the cut line!  


For this card I stamped the banners separately, fussy cut them, and popped them up with foam squares for some fun dimension!


I made this next card square and smaller for something a bit different.  I layered the stamped and die cut image onto a piece of paper I made to match by using a matching alcohol marker.  The sentiment is heat embossed and popped up with a bling brad from my stash.  This makes a card that is about 4" x 4".  Perfect size for tucking into a gift!


Thank you for stopping by today!  Have a fun and crafty week!


Thursday, July 5, 2018

Challenge 236 Masculine Cards!


Hello, Ai Fans!

We want to share some inspiration for our new Masculine Cards Challenge! Let's take a closer look at today's "fin"-tastic card!

Hello AI fans!!

It's Dana here with a masculine card tutorial! Sometimes you might not have manly pattern paper on hand, but that doesn't mean you can't make a masculine card!!


I started with the Reel Great Guys stamp set and Echo Park Paper Co Fashionista pattern pad. You can see this pattern paper pad is definitely more feminine than masculine.


But, from the pad, I found a solid teal sheet and a black, white and pink plaid. I used a fancy rectangle to cut the plaid and again cut some white cardstock. 


I stamped the fishing duo on the white rectangle and then got to coloring with my Spectrum Noir Markers. I used: BT4, BT6, DR5, EB1, EB2, EB5, EB6, FS2, FS6, FS9, GB8, GT2. GT3, IG5, MG3, MG5, PV4, TN2, VB3.


I added double sided tape to a white card base and then added the teal sheet. Then I trimmed off the overhang.


I stamped the O-Fish-Ally Over the Hill sentiment, then trimming it down to a strip.


Then I trimmed each end and cut it into a notched end. First I cut a slit in the middle, then cut from the corner to end of the slit. Cut again on the other corner. Then do the same on the other end. 


I adhered the plaid rectangle to the card base and then added foam tape to the colored rectangle. This goes on top of the plaid.


Next, I picked out some matching enamel dots. I cut them still on the plastic (first photo) and move them around until I'm happy with the placement. Then I adhered them with liquid glue because I don't trust the adhesive on dots (second photo).


Last I adhere the sentiment to the colored rectangle. 

Thanks so much for stopping by! I hope this encourages you to look at any pattern paper pad you might have to find some masculine patterns or solids!! Happy Stamping!!


Thanks, Dana! LOVE your colors and pattern on your card today!
This challenge is all about cards for guys! Show us your favorite images, colors, techniques and more for your masculine cards. You won't want to miss out on this challenge for a chance to win some Ai stamps!

Here are the Challenge Rules
✻ Please make a new card or creation. You can make any crafty item you wish; this is not limited to cards!
✻ Limit two submissions per person. You will receive extra votes if you use Art Impressions stamps!
✻ The Ai Challenge is open to everyone, international submissions are welcome!
✻ Include a link back to the Ai Blog or grab our button on the top right of our sidebar!
✻ Share the Ai love by clicking and commenting your fellow crafters.
✻ Make sure to get your link up by Wednesday, July 18 at 5:00 p.m. PST to enter your creations.
✻ Good luck and happy stamping!


Here's the winner's of last week's Patriotic Challenge!

Top Spot goes to...

Ravens and Writing Desks!
Congrats! We just adore your red and white gingham and your super sweet coloring! Your vibrant colors on our Big Birthday Wishes set really stood out to us. Email annelise@artimpressions.com with your address and we will send you a prize pack!

Honorable Mentions go to...

Dorothy!
Liz!
 Congrats, you two! Dorothy, your Oh Sing Window card with your sweet embellishments is just so cute! And Liz, we adore how you used our (now retired) Little Stinker set to make an adorable Canada card! Email annelise@artimpressions.com with your address and select a stamp set of your choice for a prize!

We hope you'll join our new challenge!

Happy Stamping!

Saturday, June 2, 2018

We're not getting old...by Sharon Caudle

Hello AI Fans!!

My card today features the fun Big Birthday Wishes which is available either through Michael's or Art Impressions!  Don't they look like they're having so much fun making that amazing birthday cake??  I stamped the image onto Cryogen White paper and colored it up with Copic markers listed below. 


Thanks so much for stopping by for a visit today and hope you have an amazing weekend!! Until next time - stay crafty!!

Copic markers used:

E000, E00, E11, E17, E21, E23, E30, E33, E35, E37, E50, E51, E53, E97, E99
R02, R20, R81, R83, R89
Y35, Y38
BG32, BG34, BG57, B000
C1, C2, C3, C5, C7
Blender pen


Saturday, September 16, 2017

You're the sweetest by Sharon Caudle

Hello AI Fans!!

My card today features the adorably fun #4802 Elephant Sliders Set from the Sliders Line at Art Impressions!  I love how when you pull out the slider, the elephant runs towards the cupcakes!! 


Thanks so much for stopping by for a visit today and hope to see you again soon! Until next time - stay crafty!!

Copics used: C1, C2, C3, C5, YR18, YR65, YR68, BG53, BG57, R20, R22, R24, R27, Y11, Y15, Y17, RV32, RV34, E33