Hello everyone!
Happy Thursday and welcome to our last challenge before we close for Thanksgiving break.
This time we are Making Spirits Bright!
We're switching things up a bit this week. Janet is our featured artist but we'll be sharing her card next week. For now, this week, I'll be sharing my card that I made for the challenge.
Before we get to my project let's announce the winners of our You're Such a Square challenge.
For our Top Spot we selected:
Gennette Houghton
.jpg)

Please contact Leah at Feedback@artimpressions.com
to claim a free stamp set of your choice!
Also, be sure to grab our badge to display on your blog, Facebook or Instagram!
Our Lucky Random Winner was:


Please contact Leah at Feedback@artimpressions.com

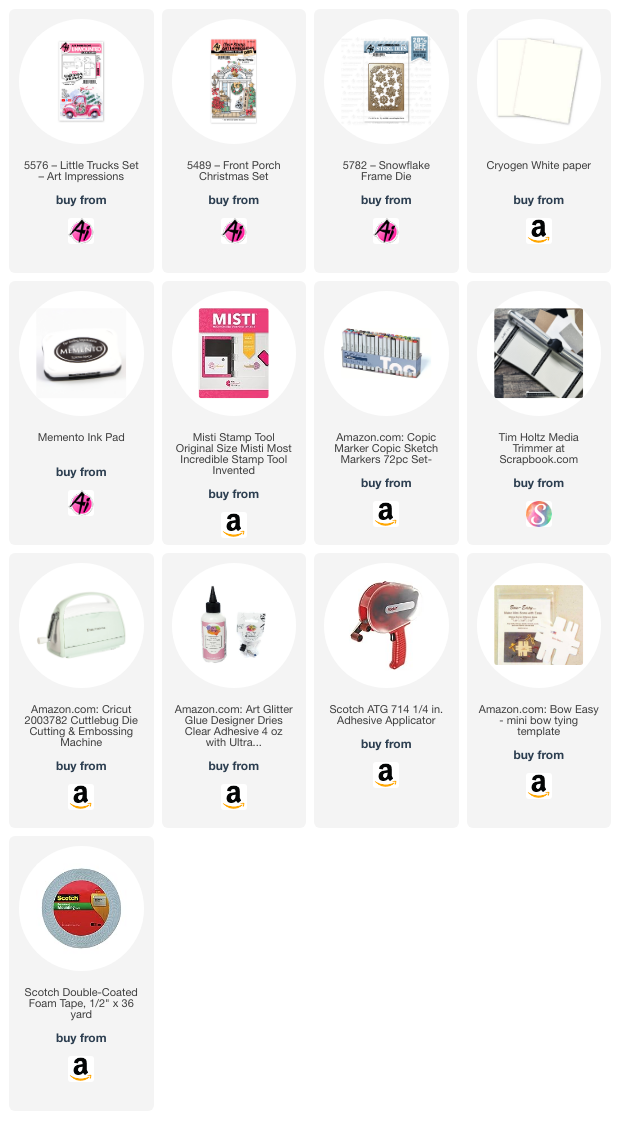
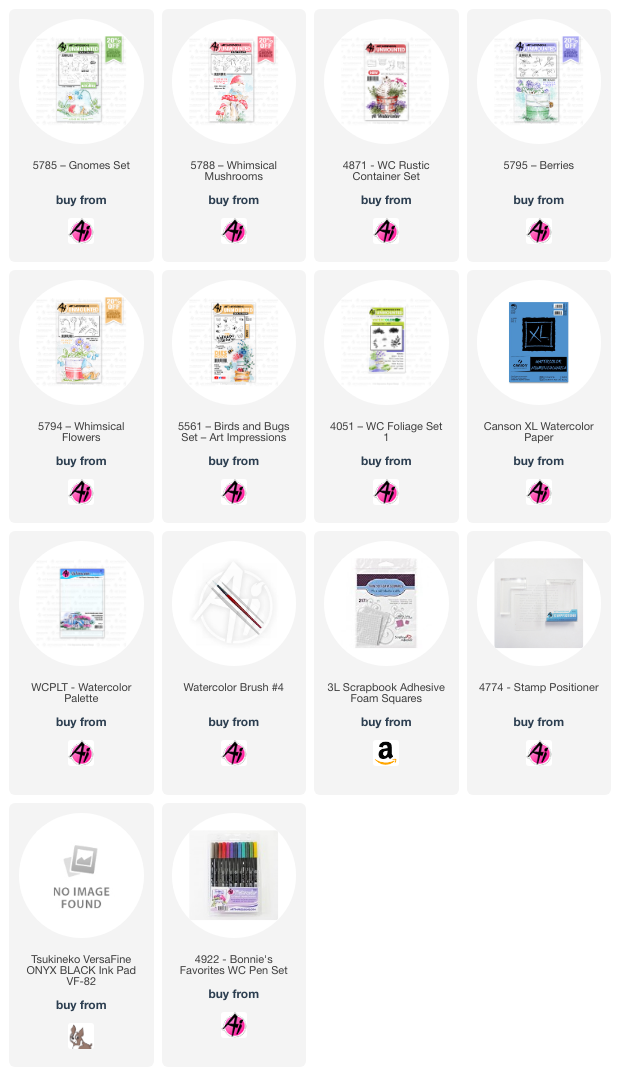
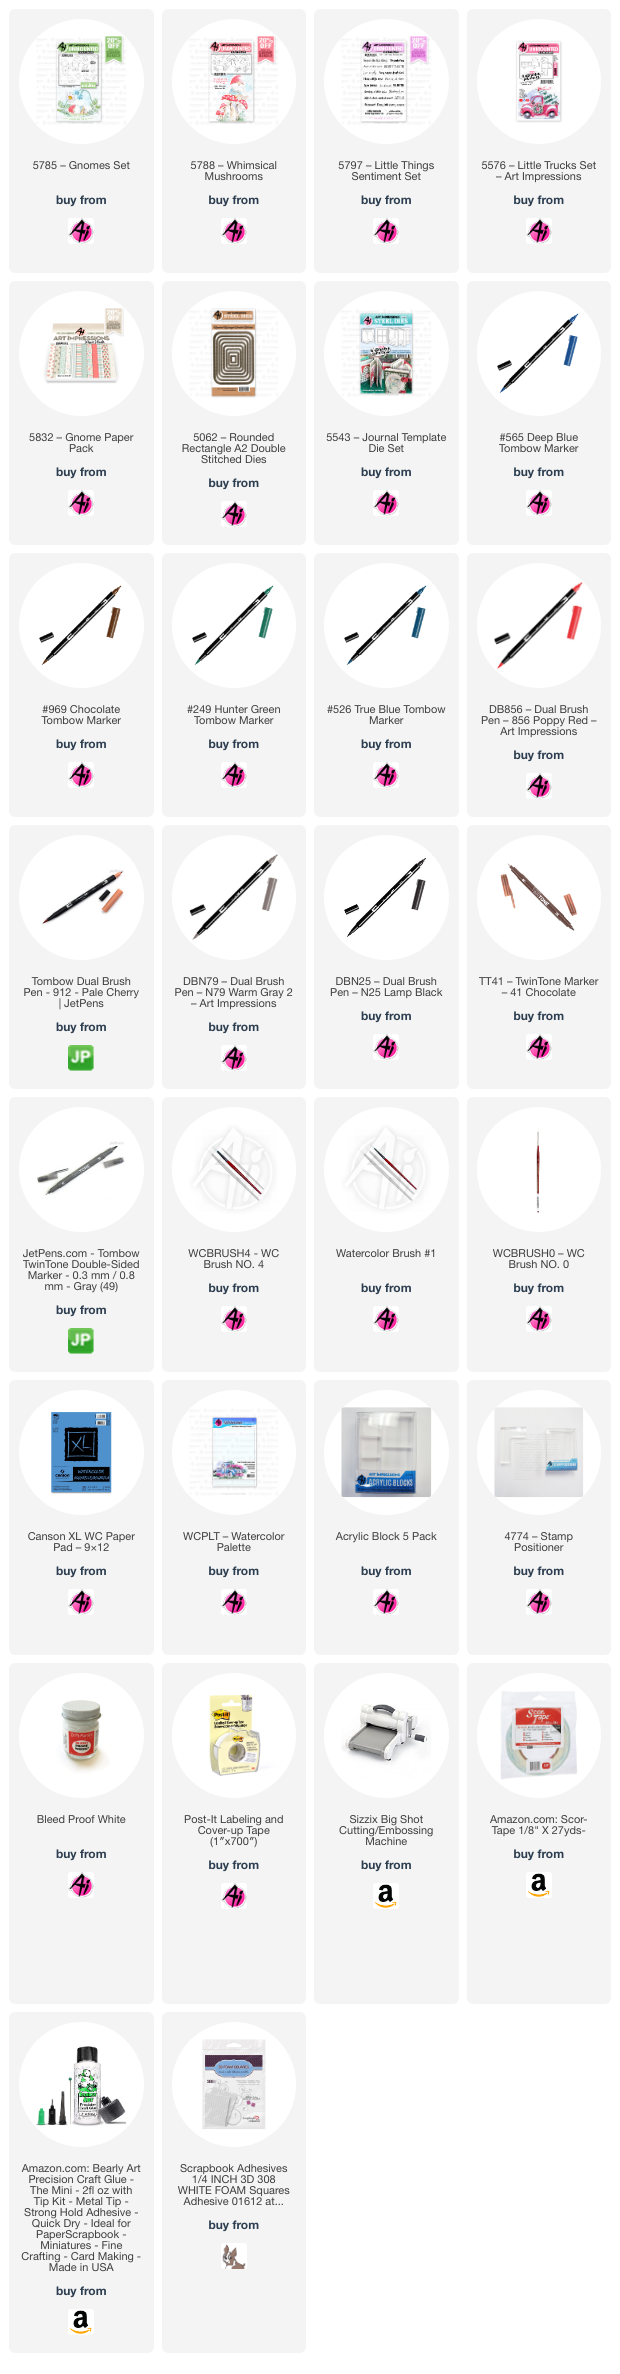
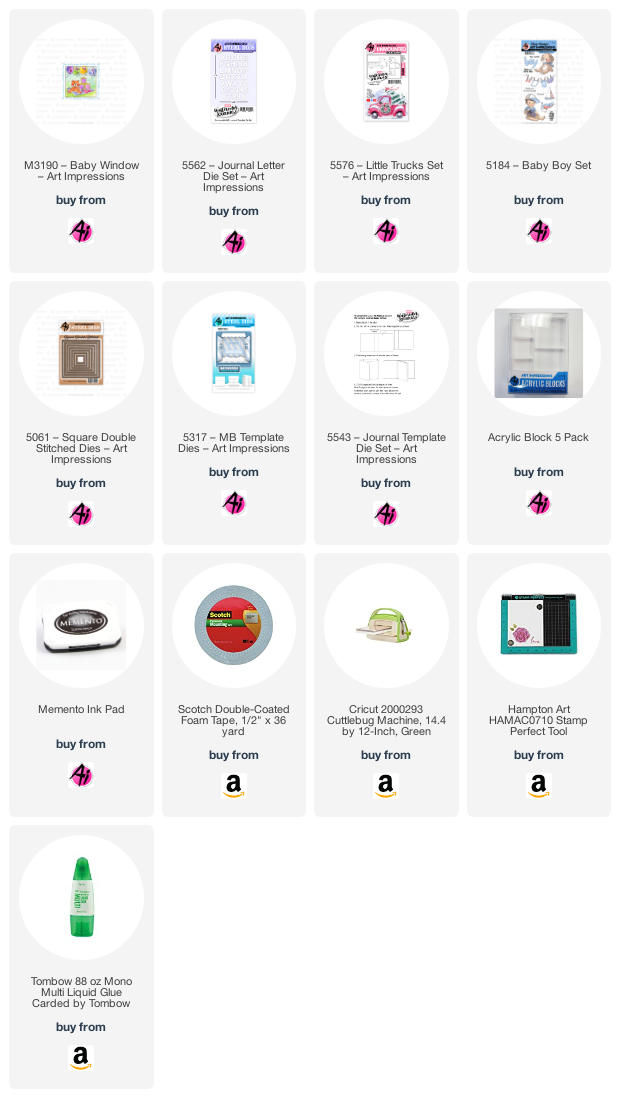
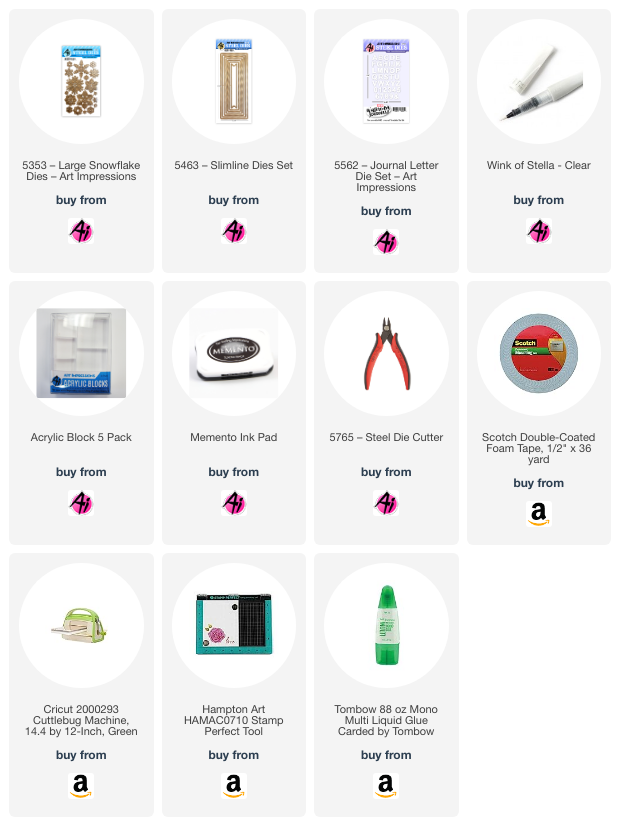
When I saw this set I snatched it up immediately! It's one of my all-time favorite die sets.


I used Wink of Stella and Prima Marketing 584276 Watercolor Confections: Decadent Pies to make some clear and gold sparkle splatters on it with a paint brush.

For some, I removed the inside pieces of the white paper and added gold inside. A few rhinestones and pieces of confetti completed the look.


Now for our challenge!

You are invited to the Inlinkz link party!

She used:


Please contact Leah at Feedback@artimpressions.com
to claim a free stamp set of your choice!
Also, be sure to grab our badge to display on your blog, Facebook or Instagram!
Now, without further adieu, here is my snowy, merry and bright card!
---------------------------------------------------------------------------------------------------------------------------
---------------------------------------------------------------------------------------------------------------------------
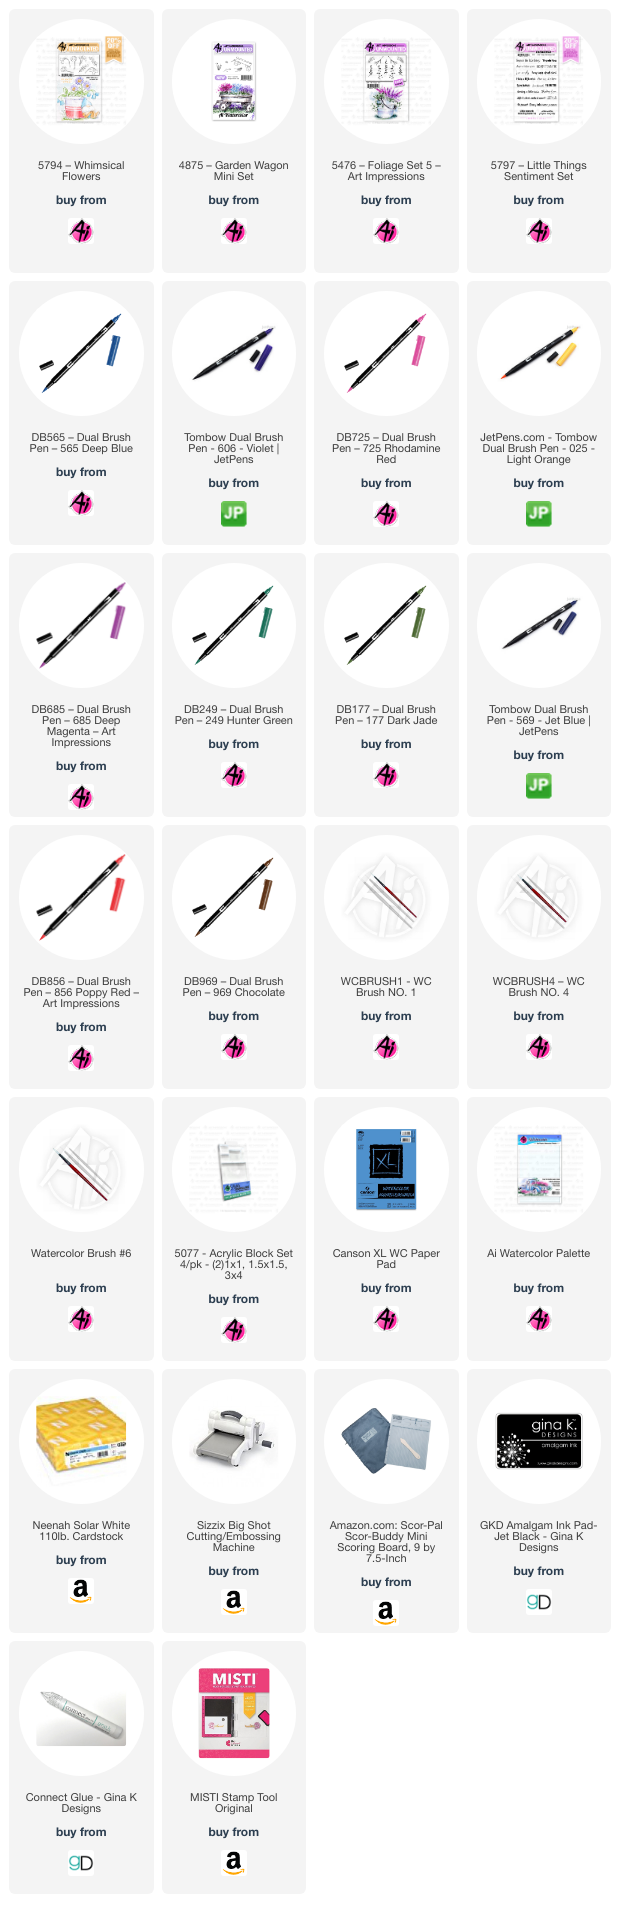
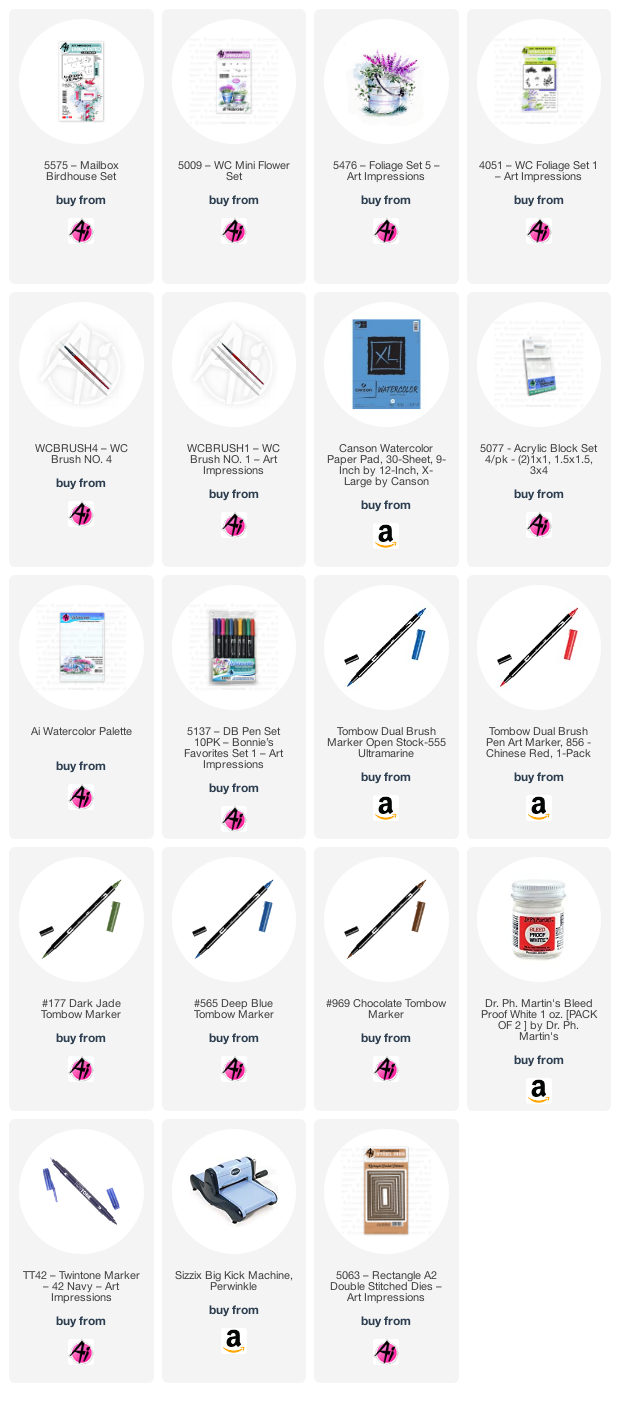
I really love all of the cutesy style Christmas stamps that Art Impressions offers but sometimes I want something a little more elegant. I felt that these snowflakes were just the thing.

When I saw this set I snatched it up immediately! It's one of my all-time favorite die sets.
5353 – Large Snowflake Dies

I used the Canson XL WC Paper Pad – 9×12 paper because I wanted something more cream colored rather than bright white. I also wanted it to have a little texture.
I used the Canson XL WC Paper Pad – 9×12 paper because I wanted something more cream colored rather than bright white. I also wanted it to have a little texture.

For the snowflakes I die cut some and left them in. For some I die cut it a second time and glued a second layer on top so they are a little popped up.

I used Wink of Stella and Prima Marketing 584276 Watercolor Confections: Decadent Pies to make some clear and gold sparkle splatters on it with a paint brush.

For some, I removed the inside pieces of the white paper and added gold inside. A few rhinestones and pieces of confetti completed the look.


Now for our challenge!
We want to see your holiday projects. They don't need to be Christmas. Maybe you celebrate Hanukah or something else. As long as your creation will brighten someone's spirits then it applies.

✻ Please make a new card or handmade crafty creation. You can make any item you wish; this is not limited to cards!
✻ Limit two submissions per person. You will receive extra votes if you use Art Impressions stamps!
✻Please include your first name and last initial on your submission.
✻We love to comment on your entries, but keep in mind if you use a private group or a platform that you need to sign up for, we probably won't be able to.
✻ The Ai Challenge is open to everyone, international submissions are welcome!
✻ Include a link back to the Ai Blog or grab our button on the top right of our sidebar!
✻ Share the Ai love if you can, by clicking and commenting on your fellow crafters.
✻ Make sure to get your link up by the deadline to enter your creations.
✻ Good luck and happy stamping!
You are invited to the Inlinkz link party!