
Hello, Ai Fans!
Welcome to a new challenge and an exciting new release today! Plus, don't miss this fabulous tutorial by Sharon Caudle below!

But first, our new release of some great new stamp and die sets you will love!
Welcome to a new challenge and an exciting new release today! Plus, don't miss this fabulous tutorial by Sharon Caudle below!

But first, our new release of some great new stamp and die sets you will love!
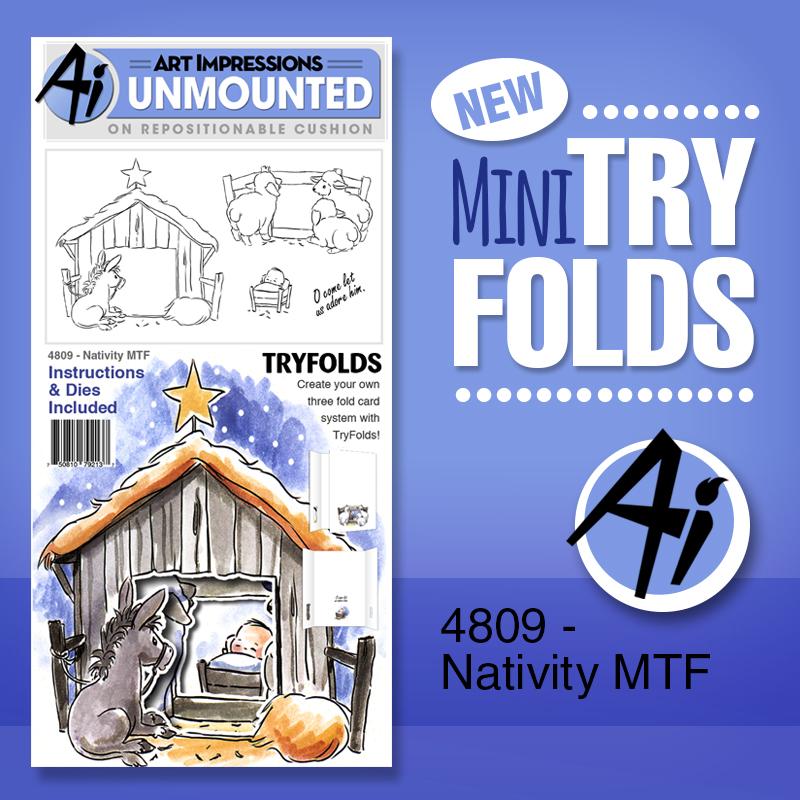      Check out a closer look at our new products in our Scrapbook Expo Latest & Greatest videos! And now it's time to check out our new challenge! |

This week, we want you to make cards to DIE for! Not literally of course, but just use your die cuts and you are in to win! Here to inspire you this week is Sharon Caudle from our design team. Check out her amazing tutorial using our Christmas Placecard Set!
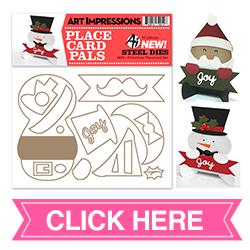
I'm SUPER excited today, cause I get to help introduce the brand new Placecard Pals from Art Impressions!!! Oh my gosh, if you haven't seen these yet, I think you're about to fall in love! AI has come up with an amazing and fun way for you to use your creativity and imagination to create the most adorable place cards ever!!! As you'll see by my samples below, I used one of them on a card! Let's start by showing you how I put this one together.I used the Snowman or Santa Placecard Pals.

First decide what papers you're going to use and cut all the pieces for the body ( I used Doodlebug Puppy Love). Don't forget to turn your paper over to cut the opposite foot and hand!! You can see in the picture (right hand side) I made the mistake of cutting two feet going in the same direction. If I flip the foot over, the pattern paper will be different than the rest of the body. Don't make the same mistake I did. :)

I wanted to cut the mustache cause I wanted to see if it would work as ears if I cut it in half. I'm thinking they would even make super cute pigtails if you wanted to create young girl place cards, don't you think?

I then chose the papers I wanted to use for the hat, hat band, and bow tie. I used one of the small circle dies and cut it out to pop up the center of the bow tie. Just cause I like lots of dimension on my projects. I also love using googly eyes on these! There are lots of different kinds, so there's definitely loads of fun to be had! I cut the small oval shape out of black cardstock to use as a nose.

Before I put anything together, I inked all the edges with a dark brown chalk ink. It made everything pop as individual pieces instead of everything blending into each other.

Then I just started placing everything together and adhering into place. I popped the hat band up from the hat, and popped the hat up from the head. It took me a little bit to be happy with the placement of the ears, but then I popped them up from the head as well. The legs slide right into the slits that are cut for you!! With the little stability base that is folded back on the bottom, they stand up perfectly!!

Next I cut the banner and inked it as well. I like putting the hands at a slight angle onto the banner. I don't know why....I just like it. LOL! I also pop the hands up off the banner, again for more dimension. So I add the mounting tape on the bottom portion of the hand only.
 
I added a mouth with a fine point marker, then popped the banner onto the lap and voila!! You have an adorable placecard!! tip-if you're going to add a mouth with a marker, trace it out with pencil first until you like what you've got. Then go over it with marker. Let the marker dry completely, then erase your pencil marks.

And now for some more samples. First using the Snowman or Santa Placecard Pals
 
I love how this one turned out with the big googly eyes and the brightly colored hat and the cute mustache!! Perfect for a fun Birthday party!

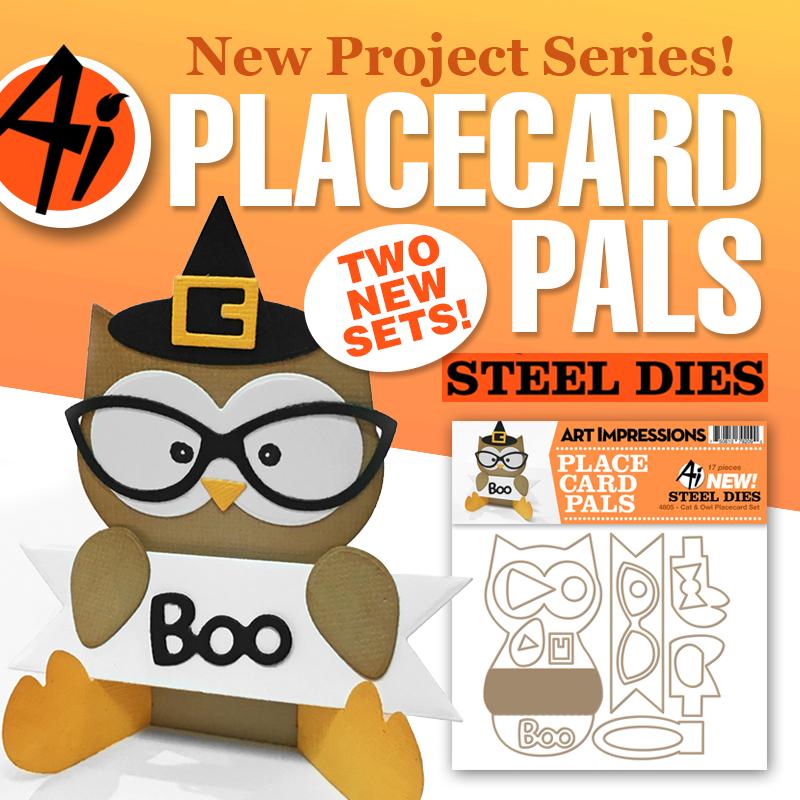
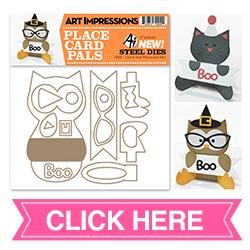
And these were made using the Cat and Owl Placecard Pals. Aren't these just too cute??!!

On one of these, I cut some thin strips of paper and used those for the kitty whiskers. On the other, I actually cut some wire for the whiskers. The wire ones were pretty tricky to adhere without creating a big glue gun mess. Don't you just LOVE those glasses???!!!

And then I wanted to show you what one would look like on front of a card!

As you can see, you are only limited by your imagination! I can't wait to see all the amazing things you create with these Placecard Pals Die Sets! Thanks so much for visiting today!!
 Thank you, Sharon! Your projects are so fantastic!!! And now it's your turn to join the fun!
Here are the challenge rules …
✻ Please make a new card or creation. You can make any crafty item you wish; this is not limited to cards!
✻ Limit two submissions per person. You will receive extra votes if you use Art Impressions stamps!
✻ The Ai Challenge is open to everyone, international submissions are welcome!
✻ Include a link back to the Ai Blog or grab our button on the top right of our sidebar!
✻ Share the Ai love by clicking and commenting your fellow crafters.
✻ Make sure to get your link up by Wednesday, September 28th at 5:00 p.m. PST to enter your creations.
✻ Good luck and happy stamping!
Before we go, let's recognize the winners of last week's Watercolor Stamping challenge! Top Spot goes to Funtography using our WC Series 5 Set 2  Congratulations! We absolutely loved your Birdhouse Neighborhood card! Contact annelise@artimpressions.com with your address to claim your prize pack And Honorable Mentions go to ...  
Tricia O with this beautiful watercolor scene using containers from our WC Project Series 9 Set 1 and WC Containers set.
Congratulations to Janet and Tricia! Contact annelise@artimpressions.com with your address and a stamp set of your choice! We can't wait to see what you create this week! Happy Stamping! |
3 comments:
Congrats to the winners! Great projects!
The new place card holders would make any party extra special. Thanks for the challenge!
Thank you so much!! Can congrats to the other winners!!
Big congratulations to all of the winners and your stunning watercolor cards!
Post a Comment