Hello Ai Fans - Bri here! Today, I am sharing a few masculine cards for the Personalities challenge! These cards feature the Mr. Set which is part of the new Hats Off collection. Check out all the new 2021 products from Ai here. These cards are perfect for any male figure in your family! This card is also featured on my personal blog, check it out here!

Project 1
For my first project, I went with a fishing-themed card. I used the fish hat and bucket to accessorize the fisherman. I decided to go with a rainbow trout color scheme for the card. I used Tattered Rose, Kitsch Flamingo, Peeled Paint, and Forest Moss Distress Oxide inks to blend the rainbow trout colored background. To finish the backgrounds, I used Black Soot Distress ink to create the ink splatter effect. I used the Rectangle Double Stitched die cut the front ink blended panel. I die cut the sentiment block and the sentiment matte with the Rounded Rectangle Double Stitched dies. I added black enamel dots for embellishment.

Project 2
For my second card, I went with a handy man theme. I used the hammer and tool belt to accessorize the craftsman. I made a peg board with the Rectangle Double Stitched die and a black pen. Then, I used the Tools Mini Die set to decorate the peg board. The "Nailed It!" sentiment worked perfectly with this character!

Project 3
For my last card, I went with a barbeque theme. I decided to make the card background look like a picnic table. The Oval Double Stitched die cuts are supposed to look like a serving platter full of different grilled foods. To accessorize the cook I used the chef hat and spatula. To finish this card I added a sentiment banner with the Banner Double Stitched dies reading "catch you on the flip side."

Check back next week for more Ai inspiration made by me!

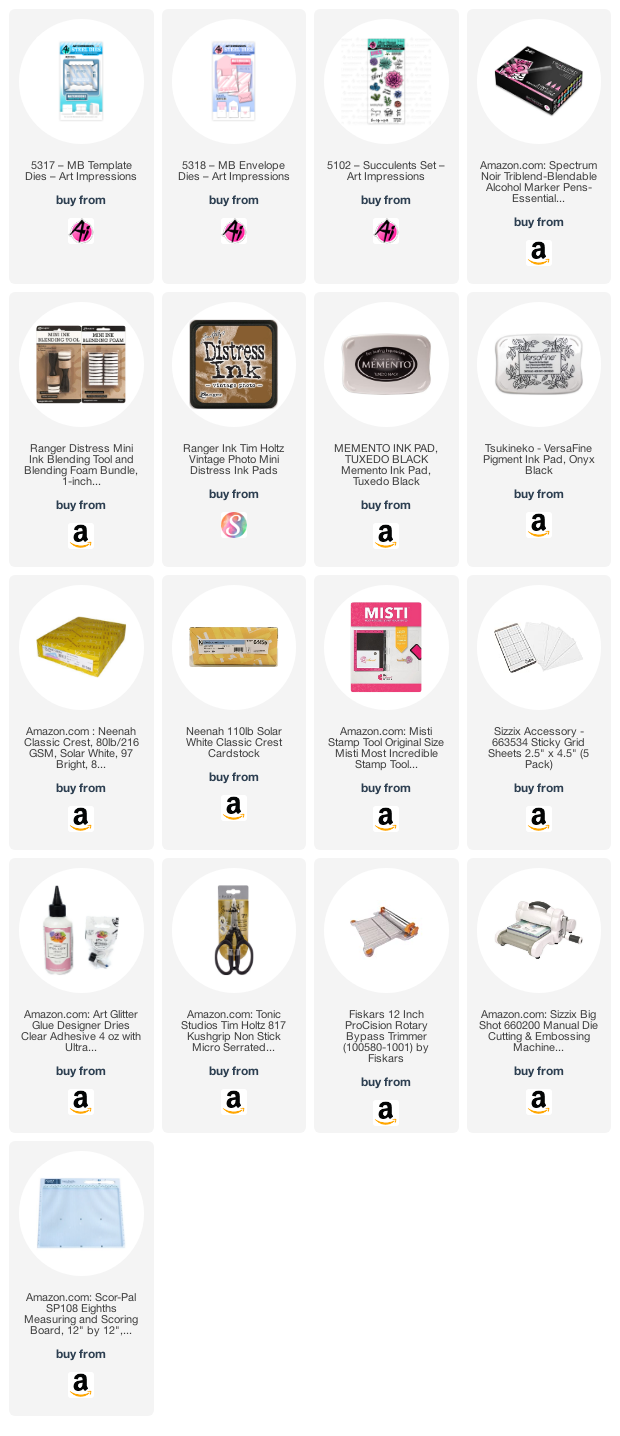
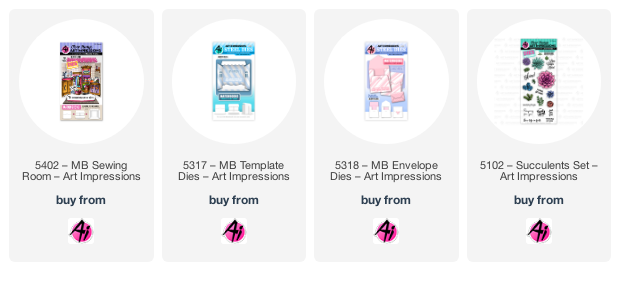
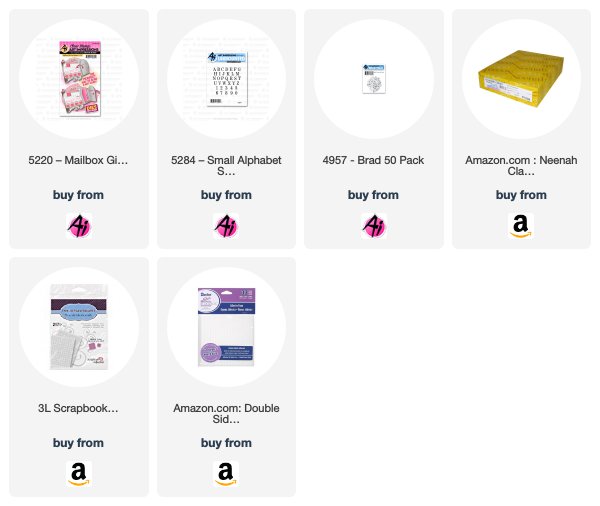
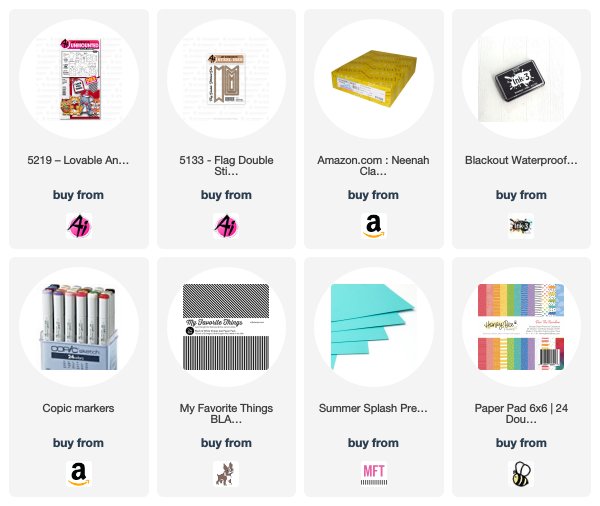
Ai Products Used: