Hello Ai Fans!
My card for today features the new WC Bicycle Set. I've loved this set since I first saw it and I'm so glad to have finally used it!
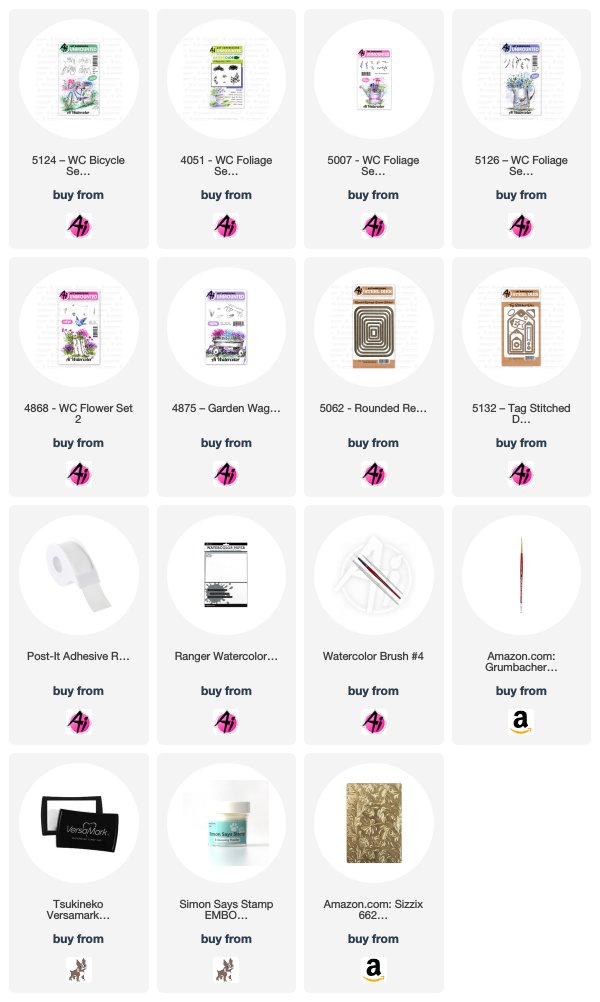
Since this is the first time I've used this set, I started out with a scrap piece of watercolor paper to practice my stamping and shading of the bicycle. I inked up the largest bicycle in the set first with Chocolate, then stamped it off and added Deep Blue. I stamped it off onto scratch paper again, then stamped it onto my card panel. I used Ranger Distress Watercolor Cardstock as I really like how bright white it is. I have all of the watercolor pens listed by brand and number, as well as all the supplies I used at the end of this post.
Here is a list of the steps I took to finish the watercoloring:
- I lightly pulled the color out of the lines of the stamped image being careful on some of the smaller parts. (That's when I switched to a No. 2 brush.) I pulled more color out of the stamped lines of the two baskets as I wanted them to appear white.
- I smooshed some Peacock Feathers Distress Ink onto my glass mat and used a No. 2 watercolor brush to pick up the ink and color the bicycle. Go back and add more color for your shading.
- For the tires and the baskets I mixed some Deep Blue and Chocolate on my mat until it was the shade of gray I wanted. I used it darker on the tires and a more diluted mix on the baskets.
- If you have looked at the supply list and wondered why I used all four of the WC Foliage sets, well I didn't plan that! Haha! I just had them out and was pulling various stamps to try and there you go. You can easily do the greenery with one or two sets. I used a strip of Post-It tape to mask the basket in the back before stamping the foliage in Dark Jade.
- Next I put some ink from the Sapphire pen onto my mat and mixed in a bit of water for the sky.
- All the flowers are stamped in Rubine Red. I used my No. 4 brush to soften. I used the fine tip of the Brilliant Yellow to add dots of color throughout the flowers.
- Next I stamped the small grass and pulled out the color. Then I stamped a few tall grasses and flowers.
- Don't forget to use a pencil to draw in the spokes on both wheels!
To finish, I cut out the image (make sure it's dry!) with a Rounded Rectangle Double Stitched die. For the blue layer, I used a pencil and traced around the outside edge of the same die. I used my trimmer for the straight sides and fussy cut the rounded corners.
I used a 3-D embossing folder and embossed some white paper and cut it down to 4" x 5-¼" and layered it onto the blue top folded A2 card. The image is popped up with foam tape. After I stamped the sentiment in Versamark, I added white embossing powder, heat set it, and cut it out with a die from the Tag Stitched Dies set.

Thank you so much for stopping by! I hope I've inspired you to get out your watercolors and and have a fun crafty day!


Thank you so much for stopping by! I hope I've inspired you to get out your watercolors and and have a fun crafty day!

Markers:
Marvy: 100 Sapphire, 43 Brilliant Yellow
Tombow: 755 Rubine Red, 177 Dark Jade, 696 Chocolate, 565 Deep Blue


No comments:
Post a Comment