Showing posts with label Ai Watercolor. Show all posts

Tuesday, January 7, 2025

Warmest Wishes from Reneé Matarese

 Hello Ai fans!

I'm starting out by sharing a winter card today.
Christmas may be over but we still have LOTS of winter ahead where I live and I know some people like to create Christmas cards all year round. It's never too early to start adding to your Christmas stash for December 2025!

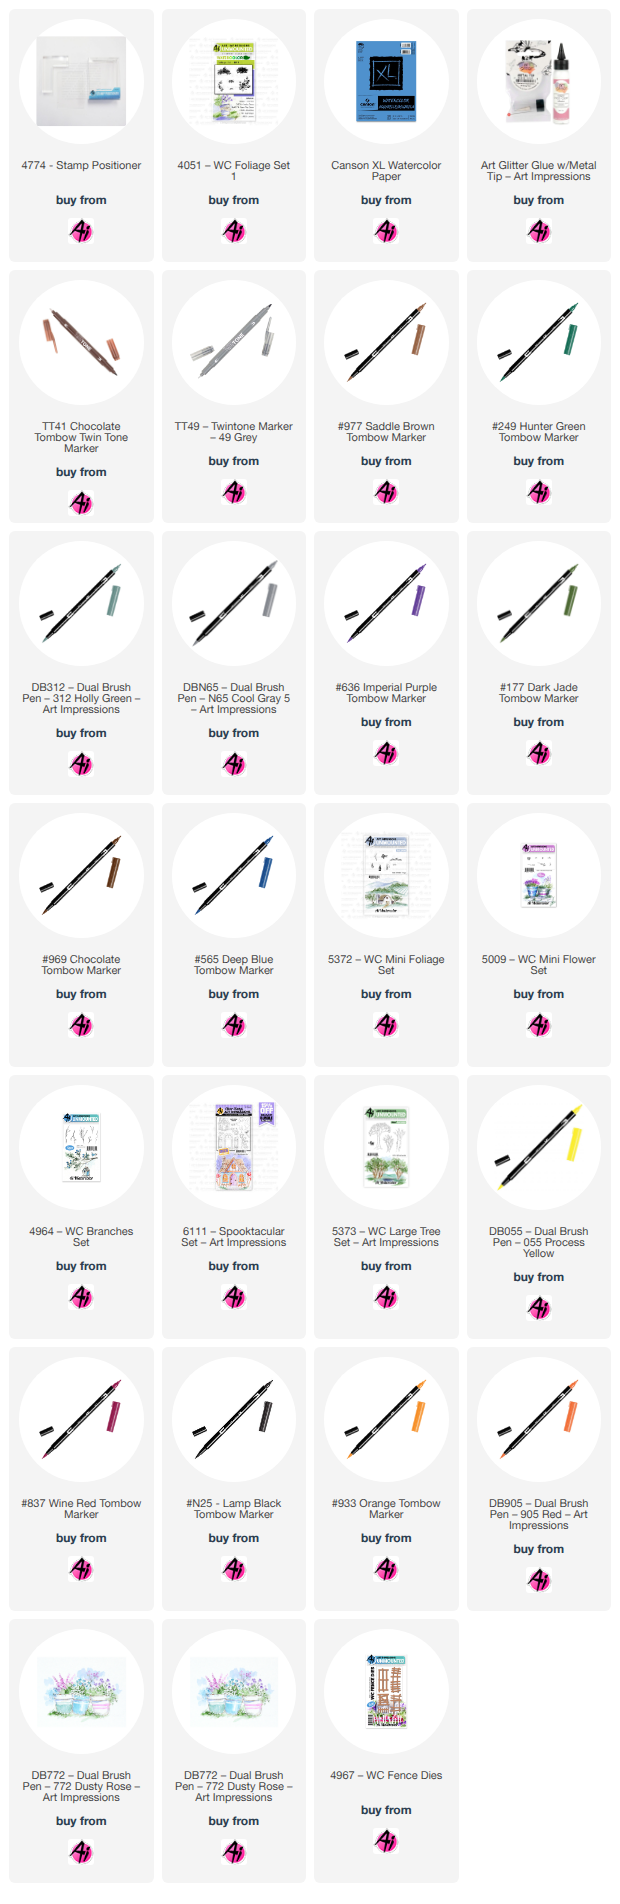
My first card used

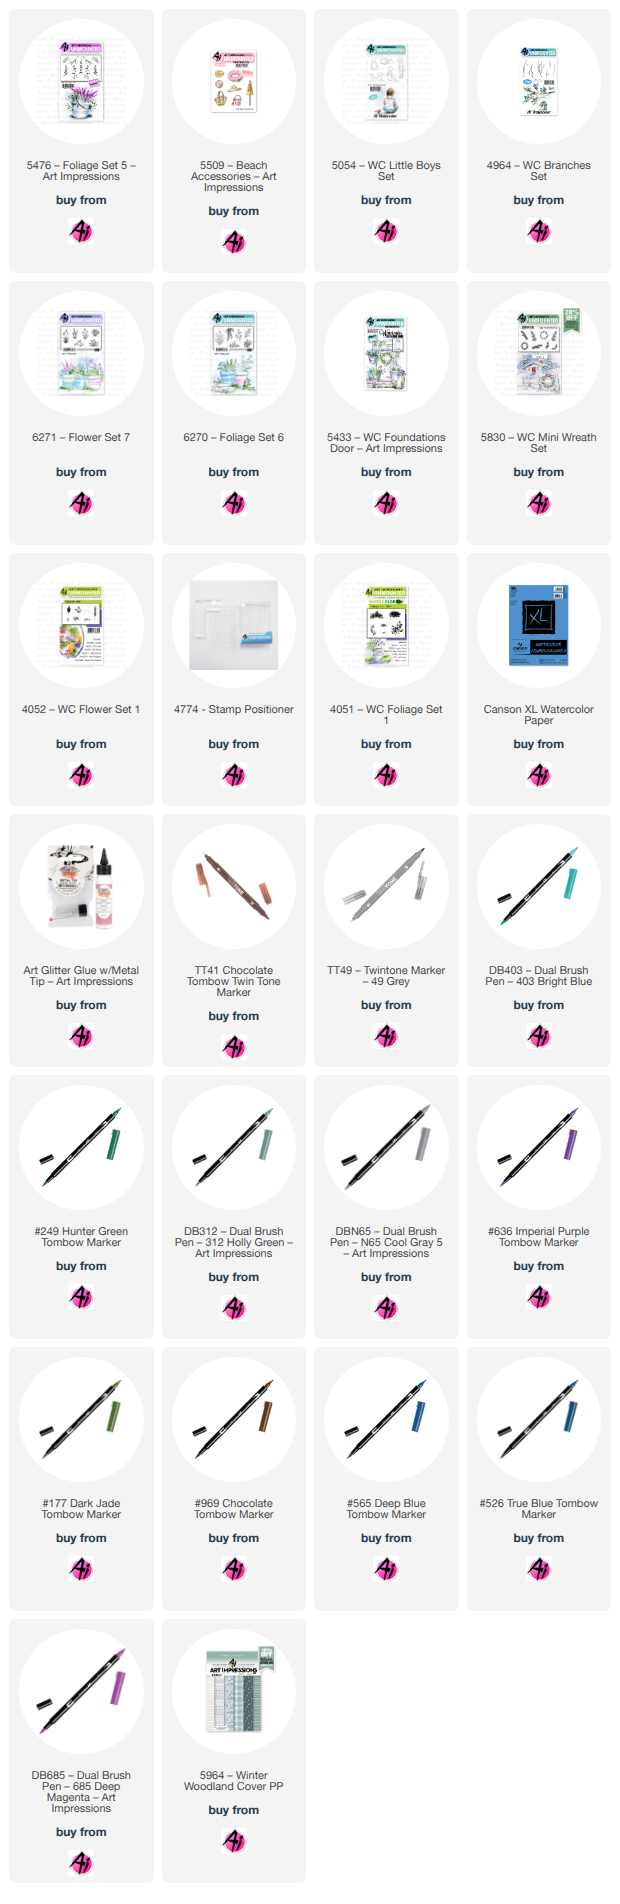
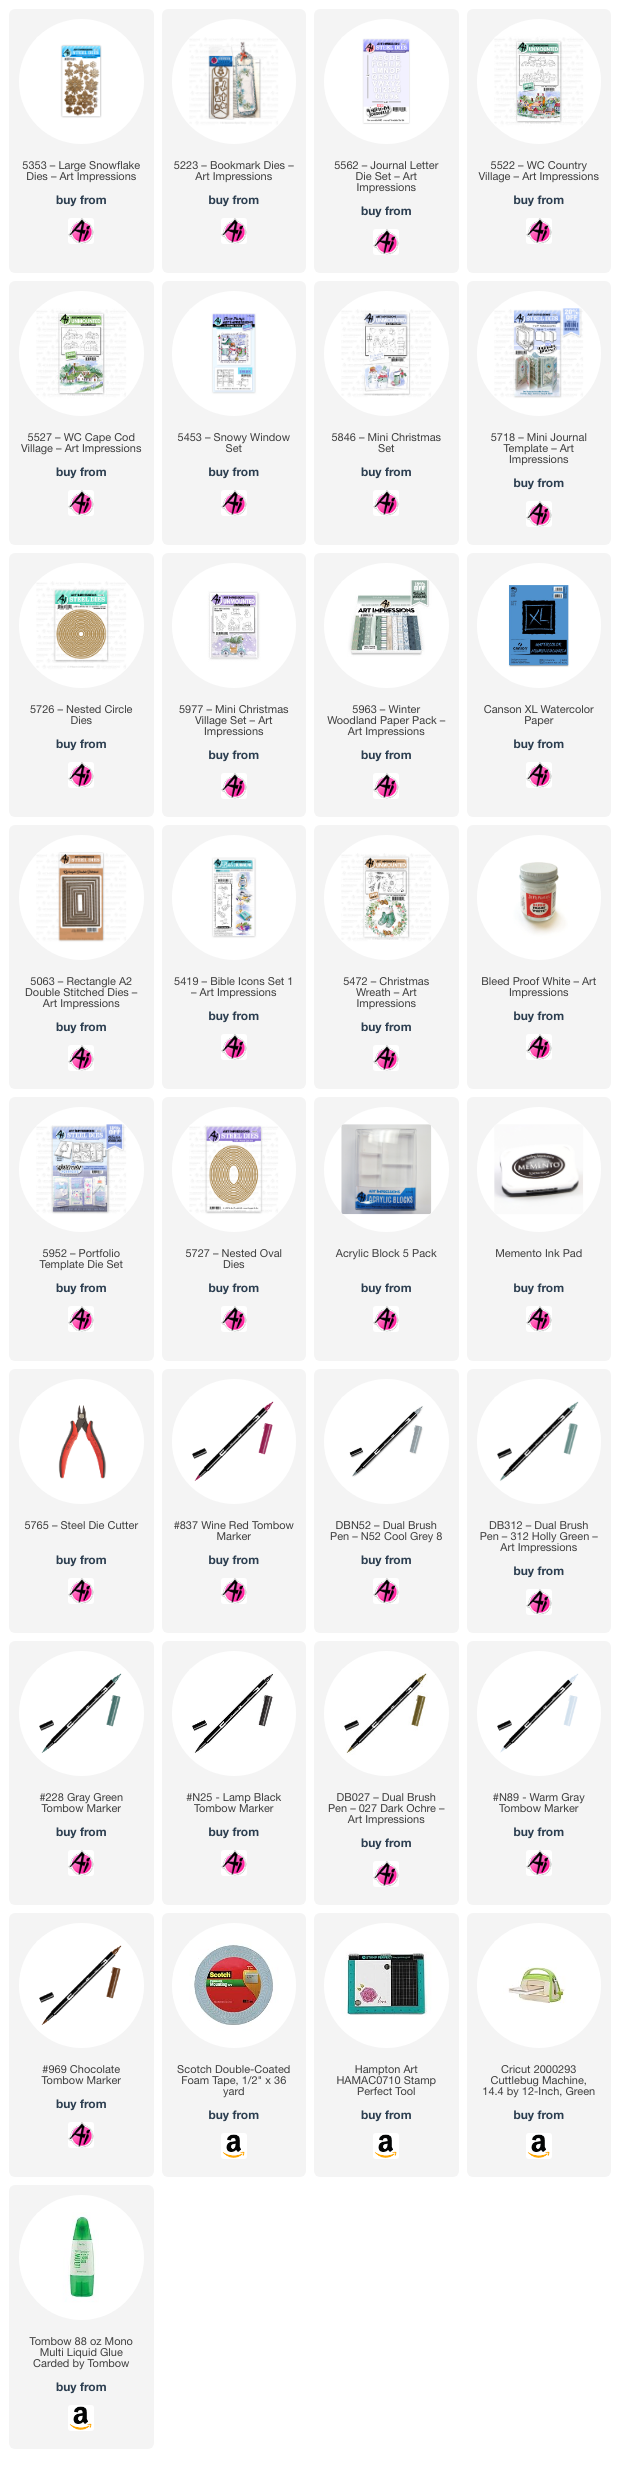
All of the colors that I used are at the end of my InLinkz at the bottom of the page.


My next project was something put together to do with one of the 5th grade classes that I work with.
I thought a little snowglobe ornament would be fun for them. They tend to be a very "lively" class but they really focused on this and did a great job. One girl added a deer silhouette with hoof prints, several kids added smoke and some made the chimney brick or added Aurora Borealis to the background. They were so creative.

I used colored pencils for my sample since I knew that's what they'd be coloring with.


My third project is my second attempt at making a Matchbook resembling the 5950 - Christmas Town MBE which quickly sold out. Don't despair. You can create something similar using current Art Impressions products. I think it might have been Caly Person who said she initially mistook the easel die that holds the MB up, for a snowbank. I decided to use it that way with the snowman.


You can see my MB with the official Christmas Village set HERE.
You can find my other "knock off" version HERE.


My final project is two bookmarks.
I have two coworkers who are avid readers. I had a bunch of scraps laying around from other projects and decided to whip these up. They would have come together really quickly except that I decided to add text which took time to cut and glue.


I hope your 2025 is off to a crafty start!

See you next Tuesday with my Craft Time is Golden card.

Sunday, December 1, 2024

Christmas Wishes #12 December Monthly Guest Designer Challenge with Dot Freel

  Hello Ai fans!

Welcome to our Monthly Challenge.

This month's theme is Christmas Wishes!

We want to see all of your handmade holiday projects.
Cards, journals, ornaments, gift boxes and bags, GC Holders...
You name it!

We're thrilled to have Dot Freel as our final Monthly Guest Designer.
This is our last monthly challenge but be sure to check out our Bi-Weekly challenges for lots of fun and the chance to win free stamps!

Before we see what Dot created, let's see who won our Frame It challenge!

We selected #5 Francesca for her adorable framed snowman.


Please contact Leah at Feedback@artimpressions.com
to claim a free stamp set of your choice!!

Congratulations!

Our Lucky Random Winner of a free stamp from me is #2 Amy M.

Please contact me at Renee@artimpressions.com with your address to see what freebies I have and claim your free stamp.

Now, onto Dot's gorgeous Christmas scene.
Her painted snow is incredible!


Hello,

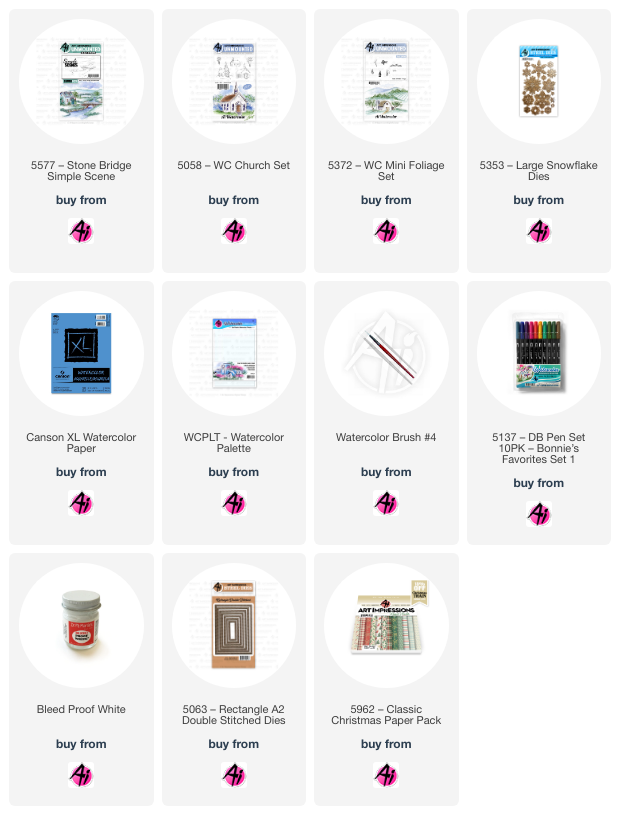
I get to be a Guest Designer for my favorite stamp company Art Impressions! I am busy making Christmas cards. Last year I didn't send out cards for the first time ever so I'm happily getting them made and ready to send out this year. I used the church from the 5058 - Church Set and the bridge scene from the 5577 - Stone Bridge Simple Scene. The trees are from the 5372 - Mini Foliage Set. The snowflakes are from the 5353 Lg Snowflake Dies and I doubled them up then used a brad for the centers. The snow is made using the Dr. Ph. Martin's bleed proof white paint. Give this one a try and add some Wink of Stella glitter to make it even prettier! The 5063 - A2 rectangle dies and 5962 - Classic Christmas paper from Art Impressions finishes it off beautifully. 


Here is the fine print...

✻ Please make a new card or handmade crafty creation.
✻You can make any item you wish; this is not limited to cards!
✻ Limit two submissions per person. 
✻You MUST use Art Impressions stamps or dies! You may use other companies products but the main focus should be on Ai items.
✻If you win, you will receive one free stamp set of your choice. 
✻We will share your creation on Art Impressions social media.
 ✻Please include your first name and last initial on your submission.
✻We love to comment on your entries, but keep in mind if you use a private group or a platform that you need to sign up for, we probably won't be able to.
✻ The Ai Challenge is open to everyone, international submissions are welcome!
✻ Include a link back to the Ai Blog or grab our button on the top right of our sidebar!
✻ Share the Ai love if you can, by clicking and commenting on your fellow crafters.
✻ Make sure to get your link up by the deadline to enter your creations.
✻ Good luck and happy crafting!


You are invited to the Inlinkz link party!

Click here to enter

Sunday, October 27, 2024

Watercolor Weekend with Ruthan and Simone!

Hello Ai fans!

Welcome to Watercolor Weekend.


This weekend we have something a little different for you.

Jami needed to take some personal time off so we are sharing two cards from some special guest designers.

First up, we have Ruthan Plant who has been an Art Impressions fan for several years and co-founded the Facebook fan group The Art Impressions Way along with Kathy Acres.

Ruthan created this darling Christmas card.
I think we all can agree. There are few things cuter than a puppy in a Santa hat.


She painted the inside of her card as well, which is such a professional touch.


Ruthan was kind enough to show exactly which images from the sets she used helped create her adorable card.


Our next special Guest Designer is Simone Carr.

Simone has been very busy for us behind the scenes lately.  She will be our featured Monthly Guest Designer for November because she won our September, We Don't Use Enough Purple Challenge. Stay tuned to see what her challenge will be. Her card today gives you a little hint.

She will also be our November Watercolor Weekend artist for Jami next month as well. 
You're going to be so excited when you see all of the special cards she has created and I hear there may be more to come! Yippee!

Her little Christmas critter card is just TOO CUTE!
I just love the sparkle, the paper, the frame and the beautifully painted animals.


May I just ask...What on earth did we do before Dr. Ph Martin's Bleed Proof white paint???

Thank you to both Ruthan and Simone for their beautiful inspiration for this Watercolor Weekend.
We hope you all had a wonderful weekend.


Be sure to check out all of the newest releases at Art Impressions.
We have a fabulous new line of Christmas and Fall, paper, stamps and dies as well as several new online classes to choose from. Keep in mind that all of the sets in the bundles (which save you money if you want them all) can be purchased individually.


Tuesday, September 17, 2024

Yellow Flowers, Bees and Earrings! by Reneé Matarese


Hello Ai fans!

These are some of my favorite things!
Bees, green, yellow, gingham, wood grain, metal...earrings!


My card was created for the Not Just Paper challenge.
I used twine, a metal heart and some rose gold metal "dots."

I tried some WATERCOLOR!
I started small with the new 5921 – Glass Containers Set and 5917 – Floral Bouquet Set.
The beautiful bees and vines are from 5925 – Honey Bee Set. I used Copic markers to color the die cut vines.


I also created a fun pair of earrings using the new 5918 – Floral Long Stem Bouquet Set stamped inside of 5726 – Nested Circle Dies.  I used Memento Ink Pad to stamp the image and then splattered them with Bleed Proof White paint.

Sunday, August 25, 2024

Halloween Potting Garden Shed and Slimline Cards by Jami Steiger

Halloween Potting Garden Shed and Slimline Cards by Jami Steiger


Happy Watercolor Weekend!  

My goodness, how time flies these days!  I know we are MONTHS away from Halloween but I was so inspired by Kim painting the Potting Garden Shed in a fall design that I wanted to paint one in soft fall colors and then I wanted to paint a Halloween Potting Garden Shed. 

Well, I painted three!  I couldn't decide what color scheme I wanted to go with so I kept experimenting with colors and by the time I had all three completed I liked them all!  I had my family vote on the one they liked the best and the first card was voted number one.  I used the following stamp sets and dies to create all of the "Hello Fall" cards except the original fall card which is posted at the bottom of the Halloween cards.  5817 - Potting Garden Shed, 5487 - Front Porch Halloween (tree), 5601 - Halloween Accessories (ghosts and spiders), 5059 - WC Harvest (pumpkin and wheat grass), 5009 - WC Mini Foliage, 4051 - Foliage, 5592 - Harvest Journal Dies (Hello Fall)

The following are the markers used on all of the cards:  565, 969, 947, 177, 933, 856, 126, 679, 985, 837, 526, 026, 312, N52, N65, N55, and N45

I stamped all of these cards using the technique of coloring the stamped image with 565 and 969, then stamped off twice.  I drew in the spider webs in the tree and on the door.  I added some white accents with Dr. PH Martin's Bleed proof white.  For the final touches I stamped and die cut the ghosts and spiders and popped them up with foam squares for dimension.  The twine is from May Arts and I started on the front of the card by holding a long end and wrapping the twine around 4 times ending in the front and tying a bow.  You need to do this before you mount your finished front to the card base.


Card 1:  Background paper, 5849 - Halloween S2 PP


Card 2: Background paper 5838 - Fall PP


Card 3: Background paper, 5605 - Halloween Journal PP.  For the red color on the shed I mixed markers 856 and 177 to get a more rustic red.


When Kim painted the Garden Shed image during Watercolor Wednesday I knew I wanted to paint one like she had demonstrated.  Kim's card was so pretty and I think my card goes perfectly with the plaid paper from the 5838 - Fall PP.  


Slimline Halloween card

For this card I stamped and painted all of my images onto watercolor paper and then die cut them using the coordinating dies.  
Then I cut a card base 4 1/4 x 8 1/2 inches.  Scored at 3 1/2".  This leaves an edge of 3/4" to attach the full card base to after you die cut the front of the card.  I then cut a piece of decorator paper 3 1/2 x 8 1/2 for the front of the card and glued the paper to the front of the card base.  Next I decided where I would place my biggest die cut of stacked animals and pumpkins.  Using some washi tape to hold the die in place I then ran it through my Big Shot laying flat.  At this point I cut another piece of cardstock 3 1/2 x 8 1/2 and glued it to the short side of the card base on the inside which be on the right side of the base.   Now that I have an opening in the front of the card I could place my painted stack exactly through the opening into the card base and glue it in place.  Now it was time to glue down all of my other painted decorations. I cut a final piece of decorator paper 1 1/4 x 8 1/2 for the very back of the card.  I used a paper punch to punch a decorative edge and then glued it down on the back of the card to cover the small edge.  

I took pictures to show you the front, inside and back of the card but if you have any questions, please ask!  Thank you so much!