

Hello, Ai Fans! Happy Watercolor Weekend!
Can you believe we are already almost halfway through May?!
Our amazing Watercolor Design Team has some gorgeous, fresh creations for you on this wonderful weekend. Don't forget, we have our Memorial Day Sale coming up, so make sure you're subscribed to our newsletter HERE to make sure you get the coupon code!
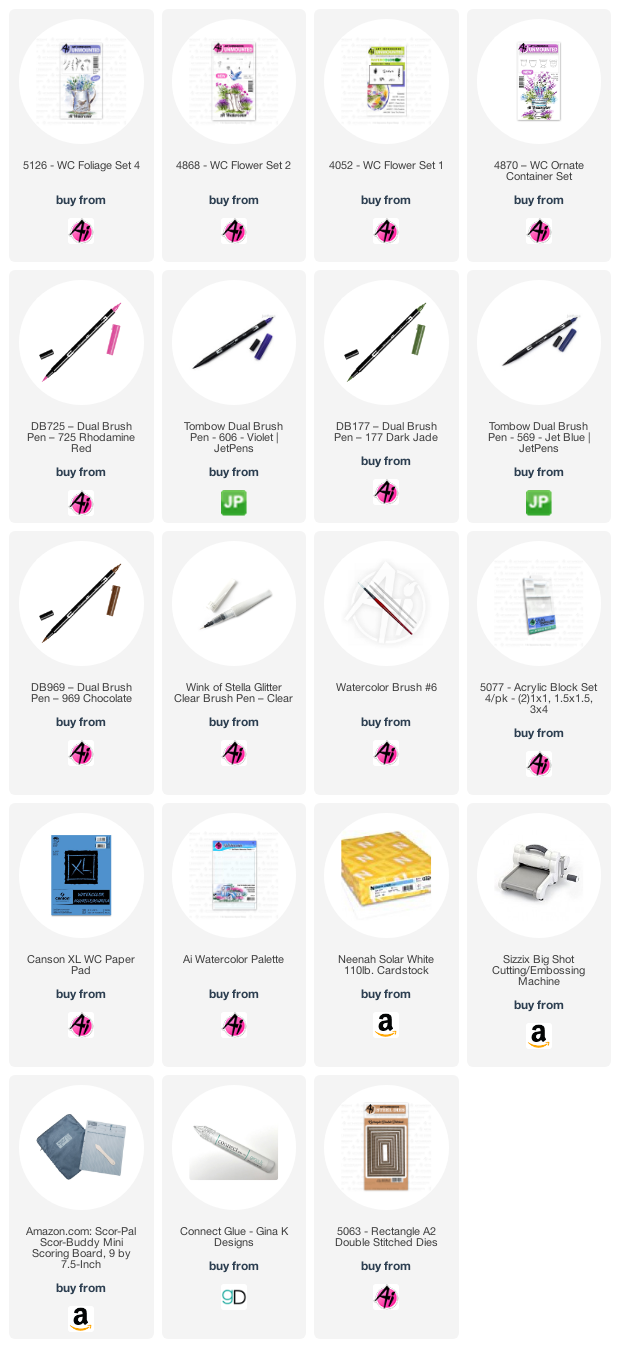
This is a really simple project that can be done in minutes. I like to do these smaller projects sometimes to get my creative juices flowing. They are a great warm up exercise and you end up with a card that you can add any sentiment to. I hope you will give it a try!

Step 1:
I inked up the large vase with my light blue (476) and little bit of blue-purple (569), stamped it off and stamped it in the bottom third of my card. In order to keep it light, I added water to the lines being careful not to use too much so it blurred the line. The vase is round so I made sure to keep the darkest color along the outside of the vase.
Step 2:
Sometimes I have a heavy hand with my foliage so I like to start by adding the foliage around the top of the vase. I used the left and right rounded leaves inked with 177, to create a bed of greens. I softened the leaves with water.
Step 3:
Next, I inked up the stamp that looks like small hearts with my pink (725) and created five blooms (odd numbers are more interesting) by stamping at least 5 times in a circle. I tried to keep the lighter color toward the back of the bloom. Soften the blooms with water.
Step 4:
I added more green leaves around the blooms, making sure I stamped 4-5 times. I softened the lines.
Step 5:
I stamped the small twigs from the desert stamp inked with brown (969). I added some additional blue, purple and dark blue. I added some wink of stella over the whole vase.
Step 6:
To create a little height and interest, I inked the left and right twig from the Foliage set 4 with purple (606). I stamped it 3 times at the top and twice at the bottom left. I added a small amount of water.
Step 7:
To ground the vase (don't want it floating out there), I added brown (969) to the bottom of the vase, darker underneath the vase. I signed and dated project.
I hope that you all enjoy this card, and hope you guys are doing well and staying safe!

Dot Freel - Instagram - Blog - Pinterest

Hello Ai fans!
I have coloured up the pretty rose bouquet image from the
Exclusive Rose Set available at Scrapbook.com!


Hello,
I hope you will check out my tutorial for this card on YouTube. Click here to see it. I plan to create YouTube tutorials at least twice a month for the Art Impressions Watercolor Weekend. Be sure to go to the Ai blog to get lots of inspiration from the Design Team on the first and third Saturday of every month.

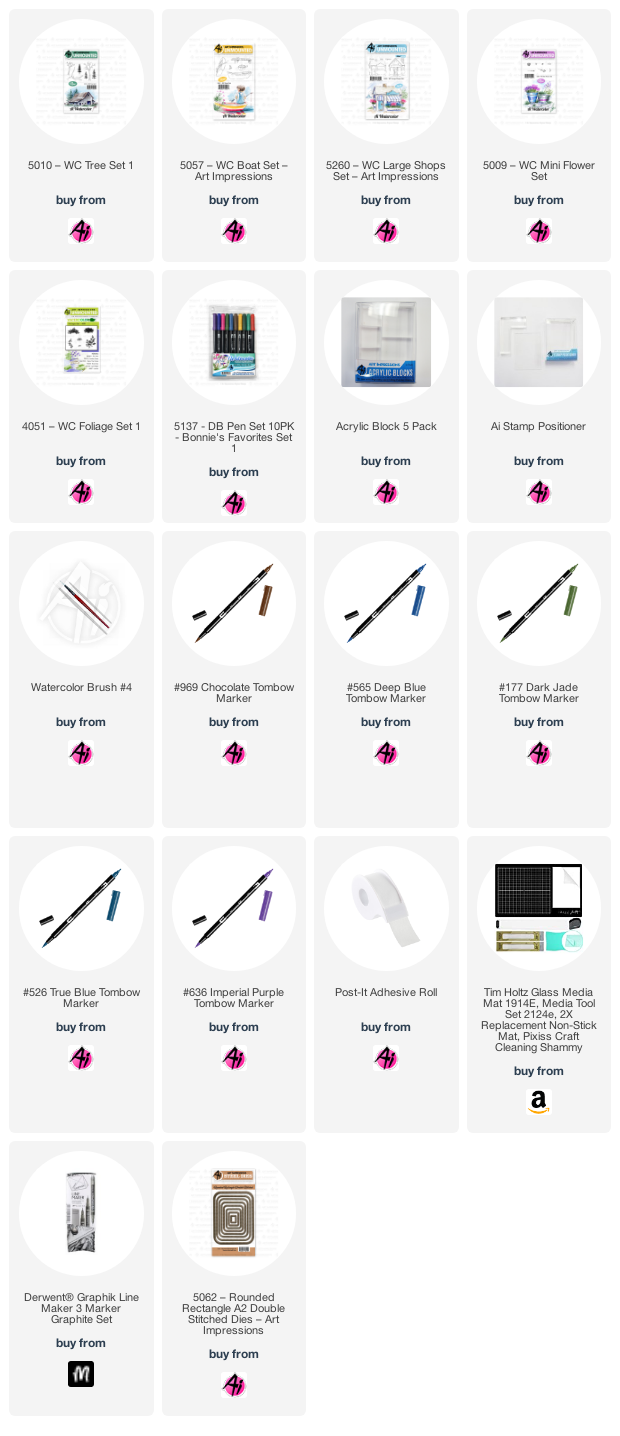
To create this card, first ink up the shop from the 5260 - WC Large Shops in brown 969 then in blue 565, stamp it off on scratch paper, then stamp it in the middle of your watercolor paper or Bristol Smooth paper which is what I prefer to use. It's more white and I love how the colors blend on it.
Pull the color out of the lines, then use a mix of Tombow 379 and N45 to color in the flower boxes and the sign. Color the windows with 565 and make the lines on the awning. Color the roof, steps and door knob with the N45.
Use 177 to ink up the tiny foliage from 5009 - WC Mini Flower Set and stamp it in the window boxes leaving room for the flowers. Dab at the leaves with a wet brush tip. Ink up the tiny dots from that same set in 636 and stamp the flowers in. Dab at them with the wet brush. Use 177 to color the door.
Ink the boat from the 5057 - WC Boat Set in 969 and then 565. Use the 4774 - Stamp Positioner to stamp the little boat on the side of the house. Pull the color out of the lines, then color the bench and oars with N45. Use the 636 to make a line on the boat and use 177 to make another line at the top of the boat. Use 969 to ink up the tree from the 5010 - WC Tree Set 1 and stamp it on the side of the house after you use post it tape to cover the roof of the house. Pull the color out of the lines then color more of the trunk with the 969.
Ink the foliage in 177 and stamp it on the tree. Pull the color out of the lines, then ink it up with the 173 and stamp it again. Then dab at the foliage with a wet brush. Ink up the grass from the 4051 - Foliage Set 1 in 177 and stamp it around the tree trunk and the house. Pull the color up and out.
Color the walkway with 969. Color the ground with green 177. Use 526 to color the sky. Use 565 to add the shadows on the ground, around the boat and under the flower boxes. Use a grey fine tip pen to write on the sign, draw in lines that were washed away or hard to see and sign your artwork. Cut it out with the 5062 - Rounded Rectangle A2 die set.


Hello Ai fans!
I have coloured up the pretty rose bouquet image from the
Exclusive Rose Set available at Scrapbook.com!

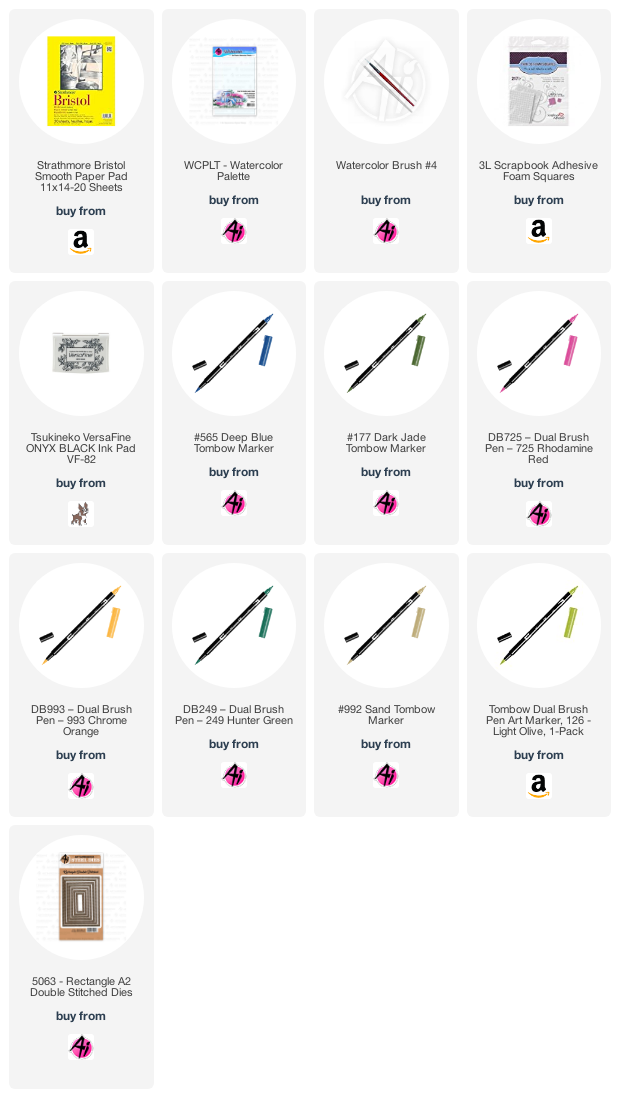
I used one of the Double Stitched A2 Rectangle dies to cut my Canson XL Watercolor paper, and put it into my Misti along with the image that I chose. This allowed me to colour it in stages, using multiple colours and restamping when needed.
I used my Tombow Dual Brush Marker #725 Rhodamine Red to colour the buds and the outer petals of the roses, then switched to #993 Chrome Orange for the rose centers. I softened the lines with a damp #1 paintbrush, then scribbled them both onto my palette and painted in the pink and orange tones, concentrating them in the crevices between petals.
I did a similar process for the leaves, stamping them first in #177 Dark Jade, pulling out the colour with my damp brush - and then restamping after colouring the veins and stems with #249 Hunter Green. I picked up #126 Light Olive from my palette, added touches of this brighter green to the leaves, and added some #992 Sand to the woody stems.

To finish the painting, I picked up #565 Deep Blue, and painted it as my background, concentrating it more, closer to the image. The sentiment is from the Exclusive Daisy Set, stamped in Onyx Black Versafine ink. After matting the image with a 1/16" black mat, I attached it to my base with 3D adhesive, then added a sprinkling of tiny white pearls.

Thank you, ladies, for your wonderful weekend additions to our blog!
Happy Stamping!
2 comments:
Post a Comment