Showing posts with label Scrapbook.com Exclusive. Show all posts

Friday, October 9, 2020

Fall daisies to a dear friend | By Jessica Shier

 Hello Ai Fans!

It's Jessica on the blog today. I have a watercolor floral card to share. I'm using the Daisies Exclusive set from Art Impressions sold only at Scrapbookcom. To watercolor I'll be using Tombow Markers. This lovely image is bordered by a cork paper and gold embossing powder. 

I started with stamping the large daisies on watercolor paper using Versafine Clair Nocturne ink. I love this ink for water coloring and also for stamping detailed sentiments. The colors of markers I used are listed below. I used two tones of each color of markers. First using a light wash of color, using the lightest marker then adding in more depth with the darker marker, once the first color had dried. I also went straight in with the tip of the marker to achieve a darker color in the smaller shadow areas. Once the coloring was done I also did a light wash of watercolor with the Process Blue 452 marker around the flowers. 


The flowers are such beautiful colors that I decided to use more neutral shades for the rest of the card. I trimmed down the watercolor paper a bit and added a bright green cardstock underneath. I've had this cork paper around for a long time and it normally makes an appearance around fall and winter. Though it is discontinued you can still find cork paper in places. I used this lovely pattern and adhered it to a A2 Neenah Desert Storm cardbase. 

Before attaching the flowers to the base I used some gold embossing power on the edges of the card base. Such an easy way to add some quick texture. You do this by taking your embossing ink, I like Versamark, and swiping the edge of the ink along the edge. Then pour your embossing powder over the inked areas and heat to melt as normal.  


For the sentiment I used vellum and the same gold embossing powder. The smallest Rectangle Double Stitch die perfectly die cuts out this lovely sentiment. To adhere the vellum down I used a fine tip applicator and Multi Medium Matte glue. Placing the glue in the areas directly behind the letters, so that the glue doesn't show through the vellum.

Tombow Markers used:

Pink - 743, 755
Purple - 679, 636
Orange - 933, 947
Green - 028,  098
Blue - 452

Alright that is it from me today! Thank you for joining me. Happy Stamping.

Monday, August 10, 2020

Cards for Kindness Challenge - Roses for Kindness by Bri Firth

Hi everyone! Today I am sharing my creation for my first Art Impressions Challenge as part of their wonderful design team. Art Impressions is partnering with Scrapbook.com for their event, Cards for Kindness. For more information on this event check out the details here

For this event they request you mail in a minimum of 10 cards so I wanted to make a card design I could duplicate easily. For my challenge project I used the Exclusive Rose stamp set available on the Scrapbook.com website. I love "thinking of you" cards because they are great for variety of occasions.

First, I used the Oval Double Stitched Dies to die cut oval shapes out of Canson watercolor paper. I then used my Misti stamping platform and Tombow Dual Brush Markers to color and stamp the rose image onto all of the ovals. I used a waterbrush to spread the color throughout the rose stem images.

For the card background I used a piece of 4" x 5.25" floral cardstock. By trimming the floral cardstock to those dimensions I was able to create a card background for 12 cards out of two pieces of 12" x 12" cardstock! I finished the card background by double matting the floral cardstock with different shades of green solid cardstock.

Next, I heat embossed the "thinking of you" sentiment with white embossing powder. Then I added the rectangular sentiment strip to the card. Finally, I finished the card by attaching the watercolored oval image to the card front.

Thank you for stopping by the blog today. Check back next week for more of my creation inspiration!


Saturday, May 16, 2020

Watercolor Roundup : May 16th


Hello, Ai Fans! Happy Watercolor Weekend!

Can you believe we are already almost halfway through May?!

Our amazing Watercolor Design Team has some gorgeous, fresh creations for you on this wonderful weekend. Don't forget, we have our Memorial Day Sale coming up, so make sure you're subscribed to our newsletter HERE to make sure you get the coupon code!

Be sure to follow these lovely ladies on social media by clicking the link in pink next to their names!


Tricia O'Bin - Blog - Instagram - YouTube - Pinterest - Facebook

Greetings Ai Watercolor Fans!

This is a really simple project that can be done in minutes.  I like to do these smaller projects sometimes to get my creative juices flowing.  They are a great warm up exercise and you end up with a card that you can add any sentiment to. I hope you will give it a try!


Step 1:
I inked up the large vase with my light blue (476) and little bit of blue-purple (569), stamped it off and stamped it in the bottom third of my card.  In order to keep it light, I added water to the lines being careful not to use too much so it blurred the line.  The vase is round so I made sure to keep the darkest color along the outside of the vase.

Step 2:
Sometimes I have a heavy hand with my foliage so I like to start by adding the foliage around the top of the vase.  I used the left and right rounded leaves inked with 177, to create a bed of greens.  I softened the leaves with water.

Step 3:
Next, I inked up the stamp that looks like small hearts with my pink (725) and created five blooms (odd numbers are more interesting) by stamping at least 5 times in a circle.  I tried to keep the lighter color toward the back of the bloom.  Soften the blooms with water.

Step 4:
I added more green leaves around the blooms, making sure I stamped 4-5 times.  I softened the lines.

Step 5:
I stamped the small twigs from the desert stamp inked with brown (969). I added some additional blue, purple and dark blue.  I added some wink of stella over the whole vase.

Step 6:
To create a little height and interest, I inked the left and right twig from the Foliage set 4 with purple (606).   I stamped it 3 times at the top and twice at the bottom left. I added a small amount of water.

Step 7:
To ground the vase (don't want it floating out there), I added brown (969) to the bottom of the vase, darker underneath the vase.  I signed and dated project.


I hope that you all enjoy this card, and hope you guys are doing well and staying safe!


Dot Freel - Instagram - Blog - Pinterest

Hello,

I hope you will check out my tutorial for this card on YouTube. Click here to see it. I plan to create YouTube tutorials at least twice a month for the Art Impressions Watercolor Weekend. Be sure to go to the Ai blog to get lots of inspiration from the Design Team on the first and third Saturday of every month. 


To create this card, first ink up the shop from the 5260 - WC Large Shops in brown 969 then in blue 565, stamp it off on scratch paper, then stamp it in the middle of your watercolor paper or Bristol Smooth paper which is what I prefer to use. It's more white and I love how the colors blend on it. 

Pull the color out of the lines, then use a mix of Tombow 379 and N45 to color in the flower boxes and the sign. Color the windows with 565 and make the lines on the awning. Color the roof, steps and door knob with the N45. 

Use 177 to ink up the tiny foliage from 5009 - WC Mini Flower Set and stamp it in the window boxes leaving room for the flowers. Dab at the leaves with a wet brush tip. Ink up the tiny dots from that same set in 636 and stamp the flowers in. Dab at them with the wet brush. Use 177 to color the door. 

Ink the boat from the 5057 - WC Boat Set in 969 and then 565. Use the 4774 - Stamp Positioner to stamp the little boat on the side of the house. Pull the color out of the lines, then color the bench and oars with N45. Use the 636 to make a line on the boat and use 177 to make another line at the top of the boat. Use 969 to ink up the tree from the 5010 - WC Tree Set 1 and stamp it on the side of the house after you use post it tape to cover the roof of the house. Pull the color out of the lines then color more of the trunk with the 969. 

Ink the foliage in 177 and stamp it on the tree.  Pull the color out of the lines, then ink it up with the 173 and stamp it again. Then dab at the foliage with a wet brush. Ink up the grass from the 4051 - Foliage Set 1 in 177 and stamp it around the tree trunk and the house. Pull the color up and out. 

Color the walkway with 969. Color the ground with green 177. Use 526 to color the sky.  Use 565 to add the shadows on the ground, around the boat and under the flower boxes. Use a grey fine tip pen to write on the sign, draw in lines that were washed away or hard to see and sign your artwork.  Cut it out with the 5062 - Rounded Rectangle A2 die set.


Karen Day - Blog - Facebook - Pinterest

Hello Ai fans!  


I have coloured up the pretty rose bouquet image from the 
Exclusive Rose Set available at Scrapbook.com!


I used one of the Double Stitched A2 Rectangle dies to cut my Canson XL Watercolor paper, and put it into my Misti along with the image that I chose.  This allowed me to colour it in stages, using multiple colours and restamping when needed.  

I used my Tombow Dual Brush Marker #725 Rhodamine Red to colour the buds and the outer petals of the roses, then switched to #993 Chrome Orange for the rose centers.  I softened the lines with a damp #1 paintbrush, then scribbled them both onto my palette and painted in the pink and orange tones, concentrating them in the crevices between petals.  

I did a similar process for the leaves, stamping them first in #177 Dark Jade, pulling out the colour with my damp brush - and then restamping after colouring the veins and stems with #249 Hunter Green.  I picked up #126 Light Olive from my palette, added touches of this brighter green to the leaves, and added some #992 Sand to the woody stems.  


To finish the painting, I picked up #565 Deep Blue, and painted it as my background, concentrating it more, closer to the image.  The sentiment is from the Exclusive Daisy Set, stamped in Onyx Black Versafine ink.  After matting the image with a 1/16" black mat, I attached it to my base with 3D adhesive, then added a sprinkling of tiny white pearls.


Thank you, ladies, for your wonderful weekend additions to our blog!

Happy Stamping!

Thursday, April 23, 2020

Wishing You a Cherry Good Day -by Crystal


Hi, Ai fans! This week I pulled out some watercolors and played with Scrapbook.com Exclusive Cherry Stamp Set from Art Impressions. I stamped the image onto watercolor paper with Versafine black in and heat set it with clear embossing powder. 


I used a double stitched rectangle die to cut out the stamped image. I then pained the image in with watercolors. 


I love the fun sentiment in this stamp set "Wishing you a Cherry good day" 


Happy stamping!


Friday, April 10, 2020

Oopsie Daisy Birthday Card with Colored Pencils | By Jessica Shier

Hello Ai Fans!

It's Jessica here on the blog today and I'm back with another floral card. These Scrapbook.com exclusives have been really fun to work with. This time I have a card using the Daisy set. I just love Daisy's. I've said for a long time now that they are probably the most happy flower out there. They always make me smile. This punny sentiment is just to cute paired with this gorgeous bunch.


I'm using Prismacolor pencils on Kraft card stock for this card. I started by stamping the daisy bunch onto the center then stamped the two littler daisys on either side. I used Versafine Claire Nocturne ink for this. I'm coloring all the daisys with the white colored pencil, then adding in a hint of a French Gary and Warm Gray for contrast and shading.


I used one of the Art Impressions Rectangle Double Stitch dies to trim out my coloring. This is backed with a bright green card stock that matches the stems. The sentiment is also stamped with the same ink as the daisies but onto a piece of light yellow card stock. Then die cut using the double ended flag from the Flag die set.


before adding the sentiment I used several more colored pencils, the list is below, to create a cloudy back scene. The inside is kept simple of course with a tiny bit of coloring of two more daisies. One of which has a fabulous sentiment. 


Prismacolor Pencils used

PC938 White
PC1070 10% French Gray
PC1054 50% Warm Gray
PC915 Lemon Yellow
PC916 Canary Yellow
PC989 Chartreuse
PC913 Spring Green
PC1096 Kelly Green
PC1086 Sky Blue Light
Pc1088 Muted Turquoise

Thanks for stopping by today. Happy Stamping!


Friday, April 3, 2020

Exclusive Roses Window Card | By Jessica Shier

Hello Ai Fans!

It's Jessica today and I have a rose window card to share with you. These Scrapbook.com exclusives are gorgeous and the rose one especially. I love all the detail, I knew these roses would look good colored or embossed so I had to try both. 


I'm using the Hexagon Double Stitch die set. This shape is a lot of fun to work with. I die cut one of the larger dies on to the front of my card. I'm using a Neenah 110lb card base. I one of the large rose images and heat embossed in two corners, using copper embossing powder. Having some fun with a teal and copper color combination. 

The light gray texture is done by using gray dye ink and a hexagon stencil. Also, I shaded in the roses with a W3 Copic Marker. I never recommend coloring your images with alcohol markers when it has been powder embossed. I'm pretty sure I have ruined more Copic tips. 


Using black ink I stamped the wreath image on to Neenah 80lb card stock. And color in with Copic Markers. The list of colors I used is listed below. After heat embossing the sentiment into the center of the wreath, I fussy cut it out and adhered to the inside center. I do like to add something else to the inside with window cards. I like the idea of having a little surprise. For this card, I die cut two smaller hexagons and add an embossed sentiment and small rose image to them. Those are adhered to just out of sight through the window of the card. Embossing these images in a metallic powder is pretty magical. 


Copic Marker list
BG18, BG15, BG11
YG67, YG03
W3

Color inspiration.


Thanks for stopping by today and happy stamping!

Thursday, March 26, 2020

Spring Cleaning Sale + Challenge #279 Bloom Where You're Planted

Hello, Ai Fans!

Many of you have been taking care and staying home during this new and challenging time. 
While this change of scenery can be difficult to weather, we are keeping positive and cleaning shop with a new sale!


Today through Sunday, March 29th, all of our sale items are 60% off!!!!

This phenomenal deal is a great chance to find some new creative outlets to keep your hands busy, do a craft with the kids, or just try something new from Art Impressions.

We are also offering 20% off of all of our 2020 New Releases. 

This means ALL of our new releases at once! 


Also, we are offering a free, limited-edition stamp with EVERY purchase.

Let's bring a little sunshine to this weekend with creativity, a fresh start, and hopefully, some great cards and scrapbooking out of our situation.

Ready to get started?
You can shop our Sale and 2020 New Releases categories at artimpressions.com

Here's a sneak peek at some of the new Bible Journaling releases (which are included in this sale), courtesy of our  AMAZING Watercolor Design Team!!!

From : Dot


Hello,

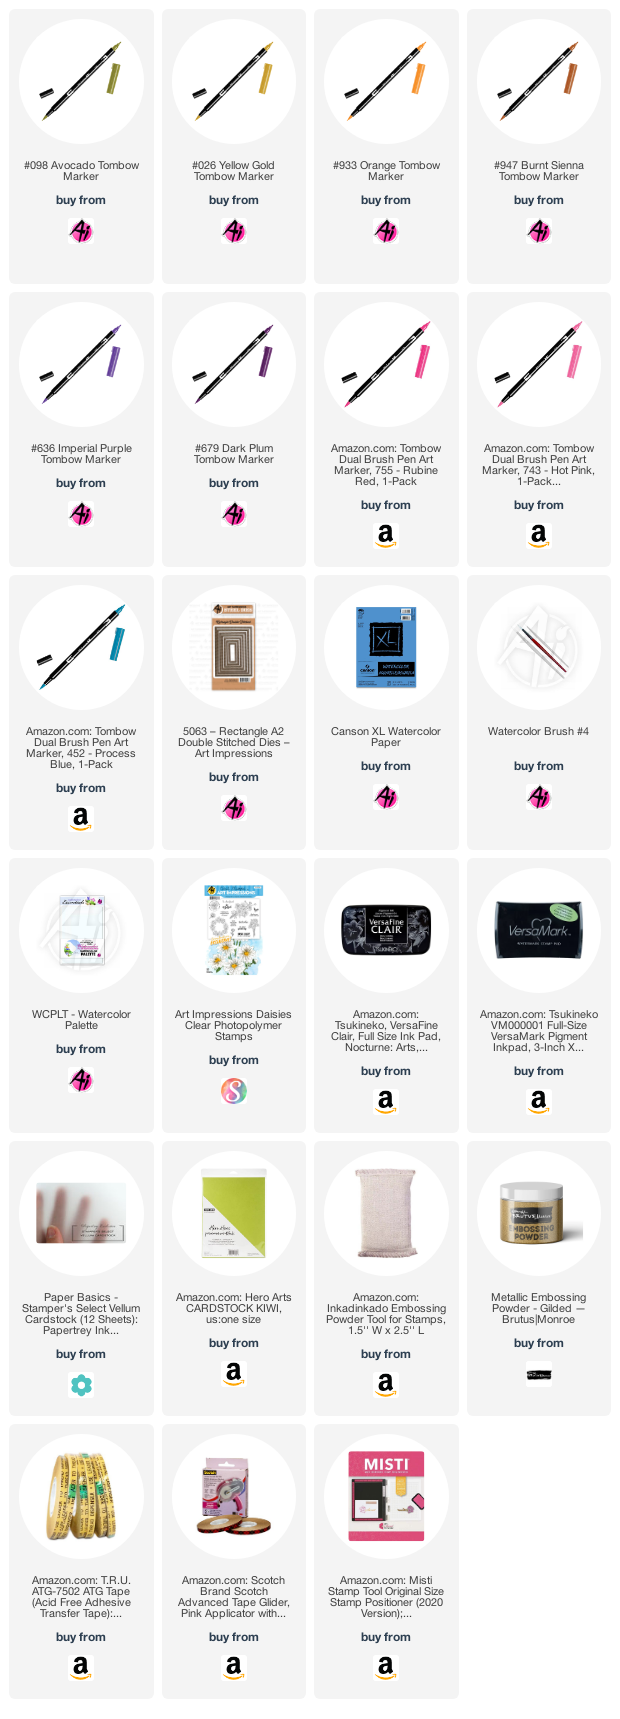
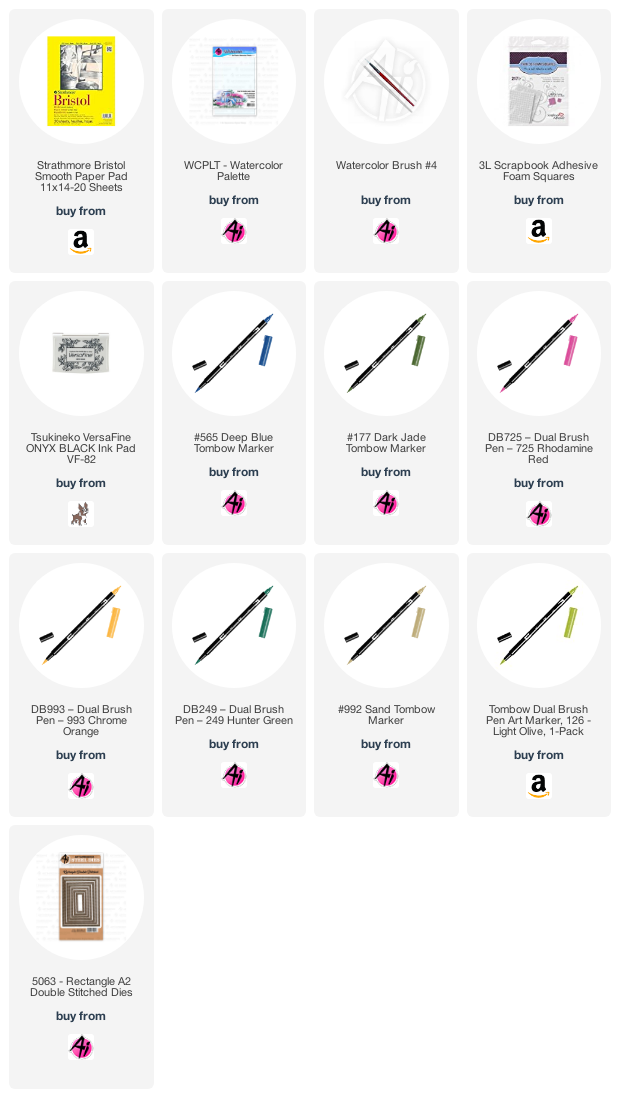
Have you seen the brand new Bible Journaling stamps from Art Impressions? I made this card with the 5270 - Columns Set. I LOVE all four stamps included in the set and know I will be using them often. Bonnie Krebs, owner/creator of Art Impressions gave me the idea to add the flower pots to the light pole. 

So to make this card, I stamped the light pole after inking it in 969 and 565 but I think next time, I will use an archival ink so my light doesn't get muddied up. I pulled the color out of the lines, then I added the yellow 993 from the palette to the light. 

I used the stamp positioner to add the pots from the 4869 - WC Container Set. I pulled the color out of the lines then colored them in 636. I used a fine tipped pen and ruler to add the lines over the pots. 

I inked up the vine from the Foliage Set - 4051 in 177 and added it around the pole. I used the smaller vine from the 5126 - WC Foliage Set 4 inked in 249 to fill the flower pots, leaving some areas to stamp the brand new roses from the 5258 - WC Flower Set 4 inked in 685. I dabbed at all of the foliage and flowers with a wet brush. 

I then used 228 on the palette to color the light pole. Next, I added the grasses from the 5126 - WC Foliage Set 4 inked in 177 to the ground. I added the yellow 993 flowers from the 5009 - WC Mini Flower set all around. I used 565 to watercolor the sky. 

I stamped the bunny from the 4874 - WC Bunnies Set inked in 969 then pulled the color out of the lines. I added some of the yellow to the bunny and 685 to the ears and cheek. I used the smaller vine from the 5126 set inked in 173 to add that lighter green to brighten up all of the greenery. I shaded the ground with the 565 then stamped the Happy Easter from the Easter Twist Set - 5210 in grey Memento ink. 

I used the 5062 - Rounded Rectangle A2 Double Stitched Dies to cut it out along with a back ground piece. I used my Sakura Glitter Gelly Roll pen to add some glitter on the light, flowers, bunny and the pots.

Are you participating in the fabulous Kathy Racoosin's 30 Day Coloring Challenge? You can join in any time. Just include the #thedailymarker30day on your posts.

Thank you for checking out my blog!  You can find more of my cards on my Instagram account here


From : Karen

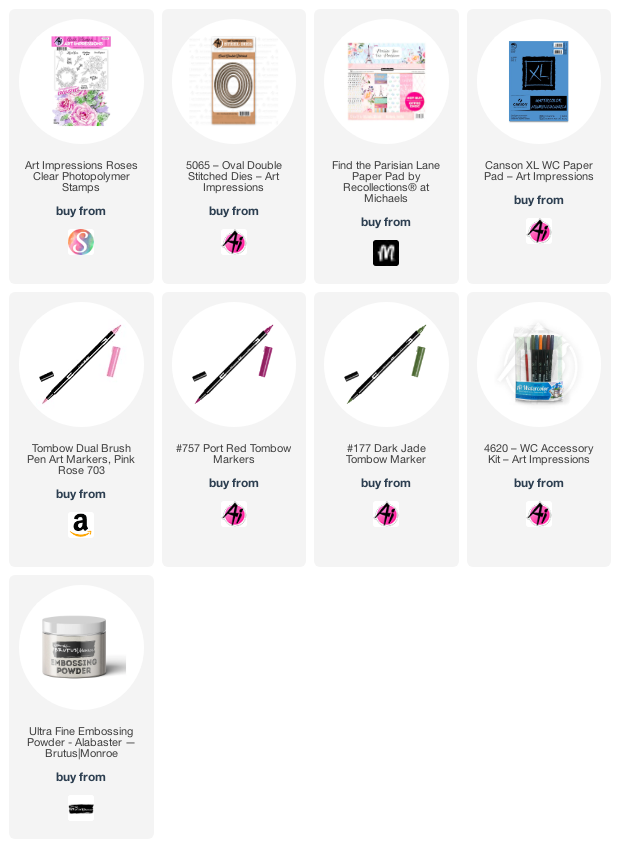
I had fun making three projects today, showing the new 5270 Columns Set:


I started by die cutting the largest of the new Bookmark Dies out of Canson XL Watercolor Paper.  Using Tombow Dual Brush Marker #N55 Cool Grey 7, I coloured the urn from the set, and stamped it in the lower left corner, and again on scrap paper.  I cut out the scrap image, and masked the urn.  Using my Stamp Positioner, I coloured only the bottom 1/4 of the large column image in #N55, and stamped it slightly higher and to the right of the urn.  Next I coloured only the top half of the column, and because these are clear stamps, I was able to match it up to the other half of my image, creating a much smaller column.  I stamped a second urn on top.  After more masking, I stamped the full column image behind the others, also in #N55.  With a damp #1 paintbrush, I pulled out the colour from the lines, keeping it where the shadows would fall.


Using the two trailing greenery images from 5126 - WC Foliage Set 4, I stamped them with #177 Dark Jade, having them trail out from either side of the urns.  I used the rose image from 5258 - Flower Set 4 and stamped it several times in #493 Reflex Blue, and touched everything with my damp paintbrush to bring out the colours.  I added several of the feathery greenery image in #126 Light Olive to my pots.  I added a pale wash of #493 to the background.  The Bookmark Dies include several small images, so I diecut a feather and cross, and added them to my bookmark along with some Baker's Twine.


My second bookmark and card are painted in the same method, with the same supplies. *More details on my blog!


From : Tricia


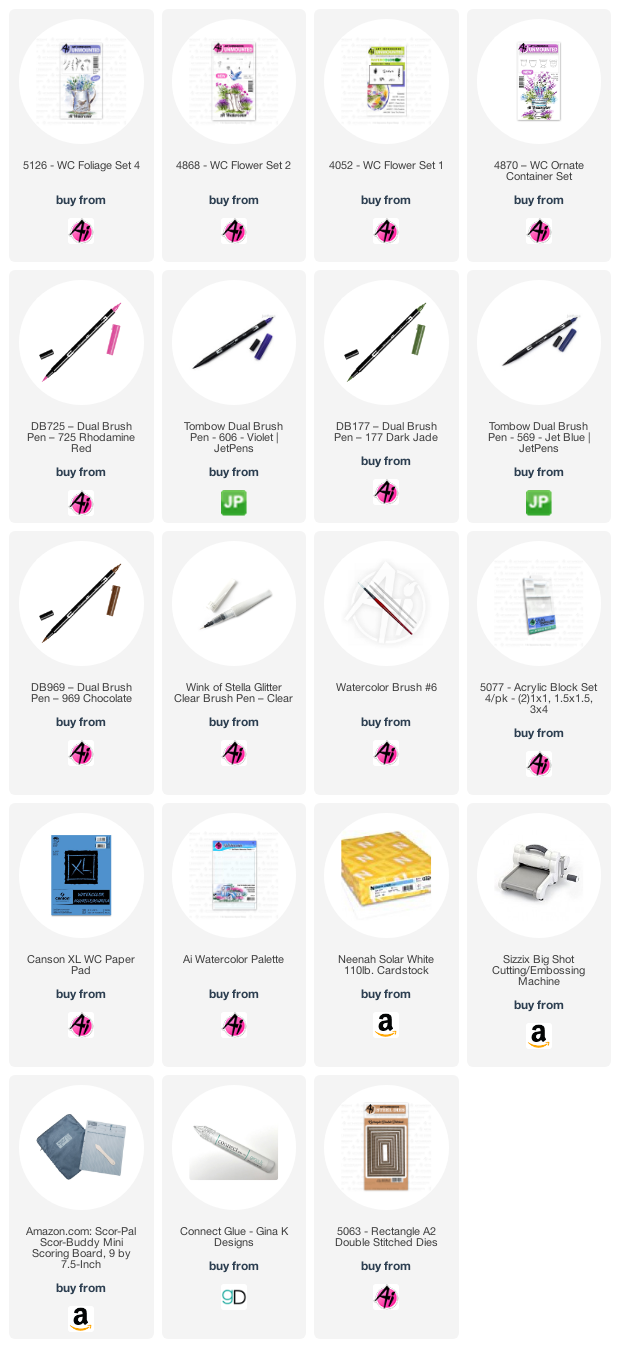
I am so excited to be a part of the new Bible Journaling watercolor stamps release.

Project Details
Step 1:  I inked up the column from the new Columns Stamp set with 569.  You can also use 565 if you don't have 569.  I wiped off a few of the sides so that I wouldn't have to fight with them when I added the leaves. I stamped it off and then stamped it to the right side of my Canson watercolor paper.  Then I inked up the urn from the set and stamped it off.  Using my positioner, I added it to the top of the column.  I added water to the columns and the urn.
Step 2:  Using post-it tape, I masked the bottom of the column off.  I inked up the cobblestones from the Cobblestone set with 569, stamped it off and added 969, I stamped it off.  Using my positioner again, I positioned where I wanted my cobblestones to the left of the column.  Then I stamped it again to the bottom and left of the column without re-inking it.  I added some water below each of the cobblestones and adding some additional color to the left of the column for a shadow.
Step 3:  I inked up the vine from the original Foliage set with 177 and stamped it several times along the bottom of the column.  Next, I inked the entire vine up again several times and stamped it up the column.  To create the vines coming down from the urn, I used the hanging vine stamp from  Foliage set 3 inked up with 177 as well.  I stamped the top of the column, bottom of the urn to the left and right.  Tip:  I had a hard time with this stamp because I had no idea how to use it.  Stamp it with the vines draping towards the bottom of paper.  You could also stamp it on its side.  I added water to all the foliage.
Step 4: Once that was dry, I inked the flower trio from the Mini Flower set with 685 and stamped it around the vines.  I used the flower top in the new Flower set 4 in 569 along the bottom of the urn. I added a small amount of water to the blooms.
Step 5Using my palette, I brushed in some 565 and 403 for the water.  I inked up the small boat from the Boats set with 569 and stamped it off.  I added it to the top of the water.  Add a small amount of 569 along the bottom of the boat to give the illusion of movement.  I pulled the color out of the lines and added some red to the sails.
Step 6:  I added some of the color left on my palette to create a sky.  And last but always so important, sign and date your work.
That is it!  Easy Peasy right?  To see how I put the card together visit my blog.  I would love to hear from you!   

I hope I have inspired you to create some peaceful cards in the current turmoil the world is in.  This hobby brings me so much peace and joy that I use it in just such times.
Take advantage of your home time to do some crafting!!!  Be healthy and safe my friends!  Til next time...Stay healthy!

Tricia

Now, as we get ready for our ADORABLE new challenge, let's congratulate the winner of our 
Spring Celebrations Challenge!!!

Top Spot goes to June who used our Sweet Easter Set
to showcase one sweet little bunny that's ready for Spring!

Congrats June!!!


Contact Claire at feedback@artimpressions.com with your mailing address, and choice of 3 stamps. Well done!


This week for our challenge, we want to see some fun with florals!!! Art imitates life, and as blossoms are budding, fruit is flowering, and plants are popping up, let's see what that inspires! If you're looking for some starter ideas, check out our Floral CardsTryfoldsEaster Cards, or Bible Journaling on our Pinterest Page.

Jessica from our Design Team has created a fun feature for our newest challenge to brighten your day!!

Hey all! I can't wait to see what you make for this fun challenge! 
Today I'm using the Cherry Blossom Set that is an Art Impressions exclusive over at Scrapbook.com. I'm using some Copic markers to color in the cute cherry bunches and blossoms.


I created my own pattern by stamping the two different cherry bunches all over a piece of Neenah 80lb card stock. Then filled in the rest of the spaces with the beautiful blossom stamp. I'll have the list of Copic Markers I used listed below. Once the coloring was done I also used a C1 Copic Marker to make a light shadow around each image. 

To add a bit more texture I used a stencil, and ink blended a very light gray ink over the top. This doesn't really darken the coloring but adds a fun design in the white card stock. I also inked the edges of the same card stock piece with the same light gray dye ink. 


After trim the panel down to 4in x 5.25in, I adhered it to a A2 top fold card base. At this point I decided to use gold embossing powder with the sentiment. First die cutting a piece of green card stock with a smaller Art Impressions Circle Double Stitch die. I adhered some craft foam behind the die cut circle and adhered it to my card. 


From my stash I grabbed a few more gold items. The first is a watercolor pallet from Kuretake Gansai Tambi, Starry Colors, that has several gold shades in it. I used the yellow gold as a highlight on each of the cherries and also added a few well placed dots on the panel. I then took some gold sequins that range in sizes and applied those too. My last gold item I used is some gold chunks, this stuff can be used in shaker cards too. I adhered small gold chunks to all the of blossom centers.


I hope you like the cherry card I made today! The sentiments in this set are fabulous and don't forget to check out the rest of the Art Impressions exclusives on Scrapbook.com.

Happy Stamping!


We want to see how you create cards with a floral theme or accent. Though you can use any stamps you have, we'd love to see any Art Impressions products in your collection! Hurry, challenge closes April 8th at 5PM PT!

Here are the Challenge Rules...
✻ Please make a new card or creation. You can make any crafty item you wish; this is not limited to cards!
✻ Limit two submissions per person. You will receive extra votes if you use Art Impressions stamps!
✻ The Ai Challenge is open to everyone, international submissions are welcome!
✻ Include a link back to the Ai Blog or grab our button on the top right of our sidebar!
✻ Share the Ai love by clicking and commenting your fellow crafters.
✻ Make sure to get your link up by the deadline to enter your creations.
✻ Good luck and happy stamping!
You are invited to the Inlinkz link party!
Click here to enter

NEW VIDEO!!!


Watch guest artist Kendra Krebs create another adorable wreath using some of our most popular stamp sets and a Molotow pen for a unique twist!

Happy Stamping!