Hello, Ai Fans! Happy Watercolor Weekend!
Though our lives are currently a bit cloudy, with everything that is going on, we have seen such beautiful creations coming from homes all across the U.S. This may be a small silver lining, but we are so glad that we are able to be a part of the beauty in this chaos!
This week, our Watercolor Design Team has come up with some darling new demos for you to enjoy.
Welcome to watercolor weekend!
I am so excited to share my project with you this weekend. In these hard days, it's wonderful to have a rewarding hobby that allows us all to inspire and love each other.
Thank you all so much for your kindness and love!
PROJECT DETAILS
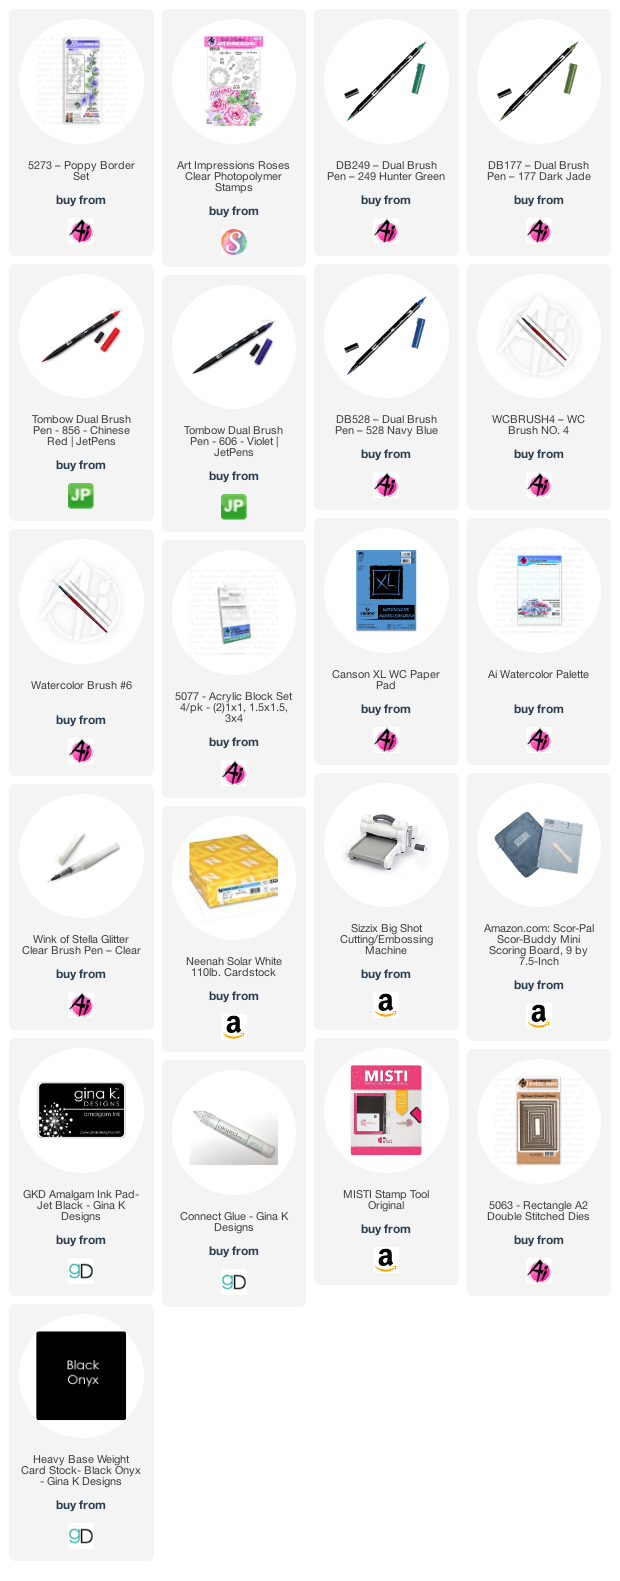
Step 1: To begin, I cut my watercolor paper with my rectangle stitched die.
Step 2: I used my MISTI positioner to place one of the Poppy border stamps into the corner of the paper. Using 249, I inked up the leaves and stamped them onto the watercolor paper. Then, I inked up the blooms with 606 and stamped them.
Step 3: I flipped the paper around, reinked the stamp with the 249 and 606, and stamped it. This created a frame. I used water to soften the leaves and blooms. (TIP: Leave the stamp in the MISTI in case you want to stamp some additional color on to the leaves or blooms)
Step 4: I added some 493 (or any blue) to my palette and added a lot of water to create a really light wash. I added it to the middle of my paper for a background.
Step 5: I added the rosebud to my MISTI, inked it up with 177 and 856, and stamped it onto a separate piece of watercolor paper. To soften the bud and leaves, I added water with my brush. Next, I added some wink of stella to the rose to make it stand out. In order to get some depth, I added some foam tape to the rosebud, stem, and leaves and placed it into the middle of the Poppy frame.
Step 6: I really wanted to give the flowers and leaves some dimension so I lightly traced below and some of the leaves and flowers on the Poppy's and rosebud with a light gray marker.
Step 7: I placed the piece back into the MISTI and stamped the Sending you a little sunshine sentiment from the scrapbook.com Daisy set using Gina K Designs Amalgam Ink. Lastly, I signed my work.
CARD DETAILS
I added the watercolor piece to a Gina K Designs Black Onyx mat and added that piece to the Neenah Solar White card base using Gina K Designs connect glue.
Thank you so much for taking some time today to visit the Art Impressions blog for inspiration. Stay healthy & safe. See you next time!
Dot Freel - Instagram - Blog - Pinterest

Hello, Ai fans!
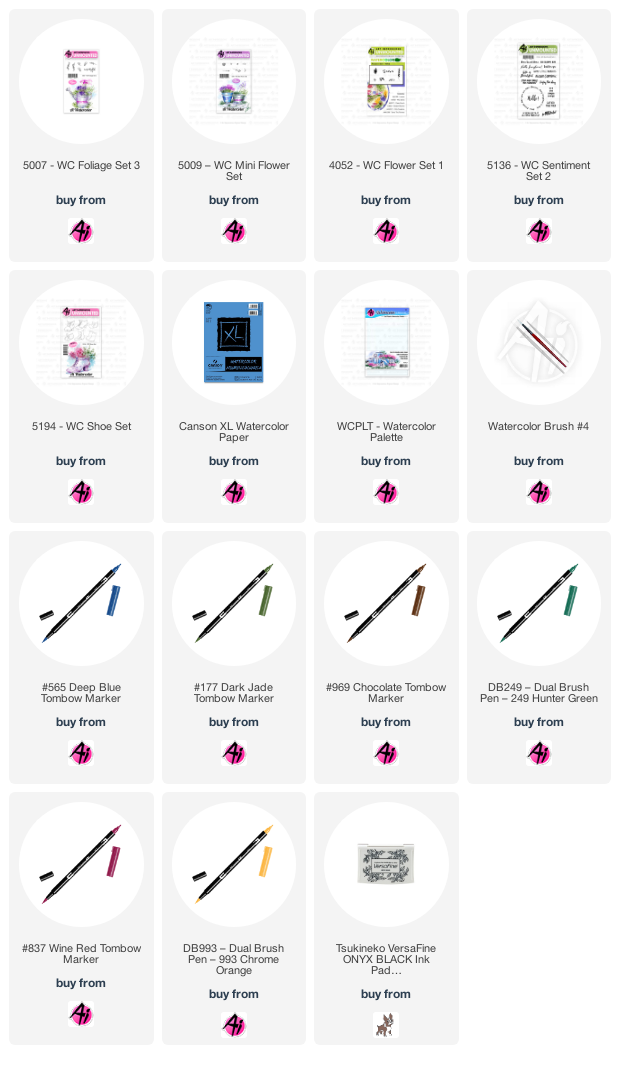
I love the 5194 - WC Shoe Set for its versatility! Each of the shoes in the set can create a totally different kind of card, and today I've chosen the work boot.I began by colouring the boot with my Tombow Dual Brush Marker #565 Deep Blue and stamping it off on scrap paper. Then I reinked it with #969 Chocolate and stamped it onto my Canson XL Watercolor Paper. I used my damp #4 paintbrush to soften the lines and pull out the colour, concentrating it where the shadows would be: the lower edge of the boot, under the creases, and in and under the laces.

Hello!
This was a very fun card to make for me as I love Art Impressions Stamps and I love everything to do with quilts.
I cannot take credit for the Quilt Shop idea though, as I am in an Art Impressions Facebook group and Mary Nielsen Schwaderer posted one. There are some really talented gals in that group so check it out if you are on Facebook and looking for more inspiration. Mary gave me permission to share a photo of her beautiful Quilt Shoppe:
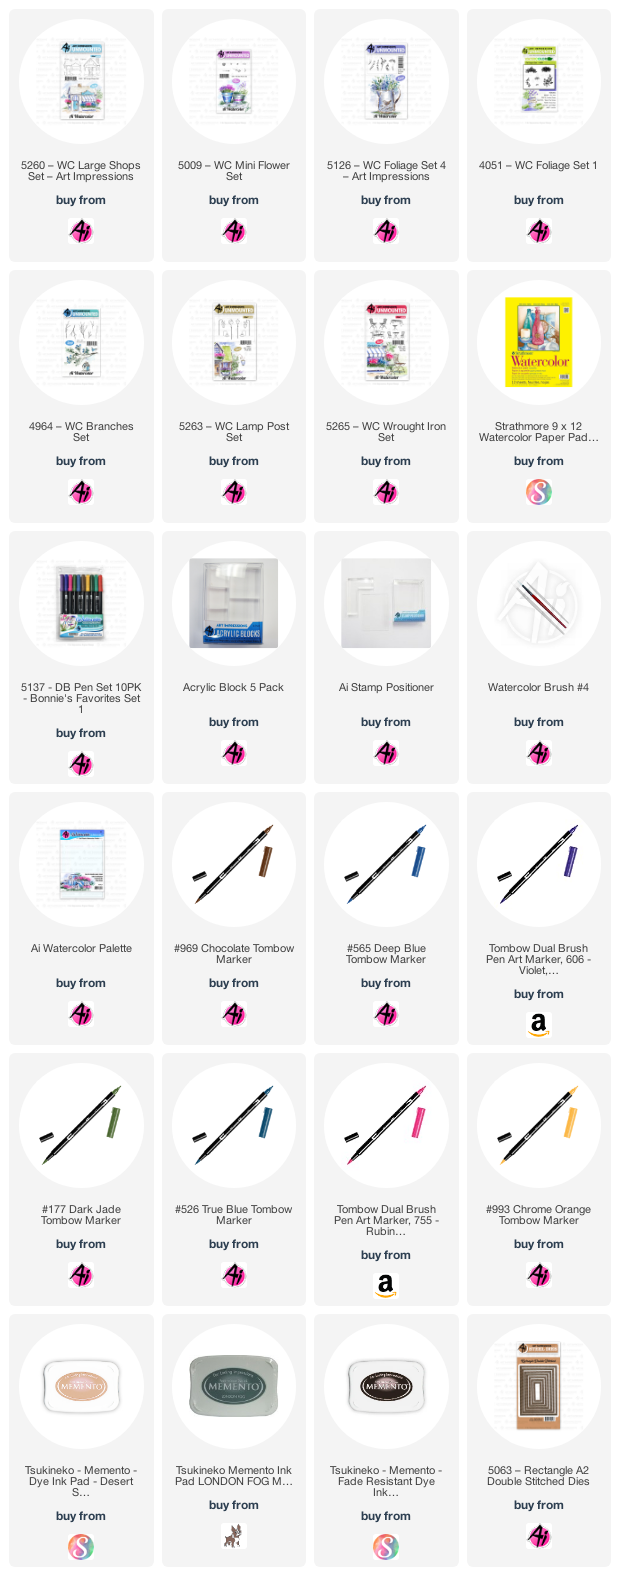
So to make my card, I stamped the shop first after inking it in 969 and 565 and stamping it off on a piece of scrap paper. I pulled the color out of the lines with a damp brush. I stamped three of the little quilts using Memento Desert Sand ink leaving room for the fence that I penciled in with a ruler afterwards. I watercolored the roof and window boxes in 993.
I used 526 for the windows and some of the quilts. I used 606 for the door and the stripes. I used 755 for the Quilt Shop Sign and parts of the quilts. I inked the tips of the leaves in 177 from the 5126 - WC Foliage Set 4 and stamped them in the flower boxes.
I dabbed at them with a wet brush, then stamped the heart flowers from the 5009 - WC Mini Flower Set inked in 755 and some in 606 on top of the foliage in the flower boxes. I dabbed at them with a wet brush.
I finished the quilts in the same colors mentioned before then I stamped the yellow flowers also from the 5009 set, inked in 993 and 177 in front of the shop.
I stamped the foliage from the 4951 set inked in 177 to the side of the shop. I dabbed at the leaves with a damp brush then I stamped a branch from the 4964 - WC Branches Set inked in 977 on top of the foliage. I do things backward sometimes!
I watercolored the sky using 526 and then I decided to add the light from the 5263 - WC Post Set so I inked it in Memento London Fog and then colored the light in 526 and the top of it in 606. I stamped the bench from the 5265 - WC Wrought Iron Set inked in Memento Tuxedo Black.
I watercolored the shadows under the quilts, under the bench, in front of the door, and under the flowers in 565. I wrote Quilt Shop on it with a Derwent Graphite pen. I cut it out with the Rectangle Double Stitched Dies along with a background paper.
Supplies used:

Hello, Ai fans!
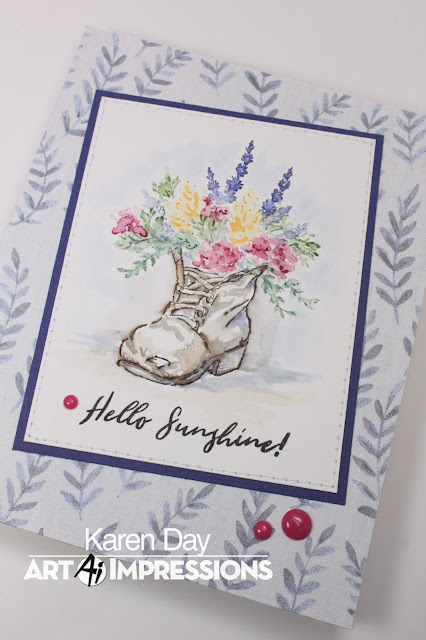
I love the 5194 - WC Shoe Set for its versatility! Each of the shoes in the set can create a totally different kind of card, and today I've chosen the work boot.I began by colouring the boot with my Tombow Dual Brush Marker #565 Deep Blue and stamping it off on scrap paper. Then I reinked it with #969 Chocolate and stamped it onto my Canson XL Watercolor Paper. I used my damp #4 paintbrush to soften the lines and pull out the colour, concentrating it where the shadows would be: the lower edge of the boot, under the creases, and in and under the laces.
I always build my bouquets from the bottom up, so using the two trailing sprigs from 5007 - WC Foliage Set 3, I coloured them with #249 Hunter Green, and stamped them trailing over each side of the boot. Next, I used three different blooms from Flower Set - 4052, stamping the daisy bunch in #837 Wine Red, always 3 times in a circular pattern to create a cluster (this is a filler flower, and appears lower in the bouquet, so I start with them).
Using the Lupine-like bloom, coloured in #993 Chrome Orange, I stamped it twice. Finally, with the tall bloom, I stamped it in #565, filling in areas that needed some shape, being sure to vary the height and angle of them. After touching everything with a damp brush, I could see which spots needed to be filled in with greenery. I used the small green from 5009 - WC Mini Flower Set coloured in #177 Dark Jade, stamping it repeatedly in and around the blooms, filling out the shape of the bouquet.
With my image complete, I picked up #565 from my palette, and added a few shadows, in and under the flowers, and on the boot as well. I also painted the suggestion of shadows along the ground, and after watering the blue even more, I painted a background around the bouquet. I stamped the sentiment from 5136 - WC Sentiment Set 2 using Versafine Onyx Black ink, then used my sewing machine to stitch the rectangle to some indigo cardstock. I decided to mount it to my base on an angle, and added a few deep pink enamel dots.

Thank you, ladies, for brightening our weekend!
Happy Stamping!


2 comments:
I love the different styles that shine through from the watercolor design team. As a quilter, I love the idea of a quilt shop. Art Impressions - maybe add a small set of words to personalize the lovely little shops - Quilt Shop, Tackle Shop (we could put the boats out front of that), Coffee, Tea Cafe, etc. Thanks for the beautiful inspiration ladies!
Great piece of content Thanks for this website
Buy sex toy in India
Solid Silicone Sex Doll
Small Masturbation Toys
Post a Comment