

Hello Art Impressions watercolor fans, and welcome to another Watercolor Weekend!
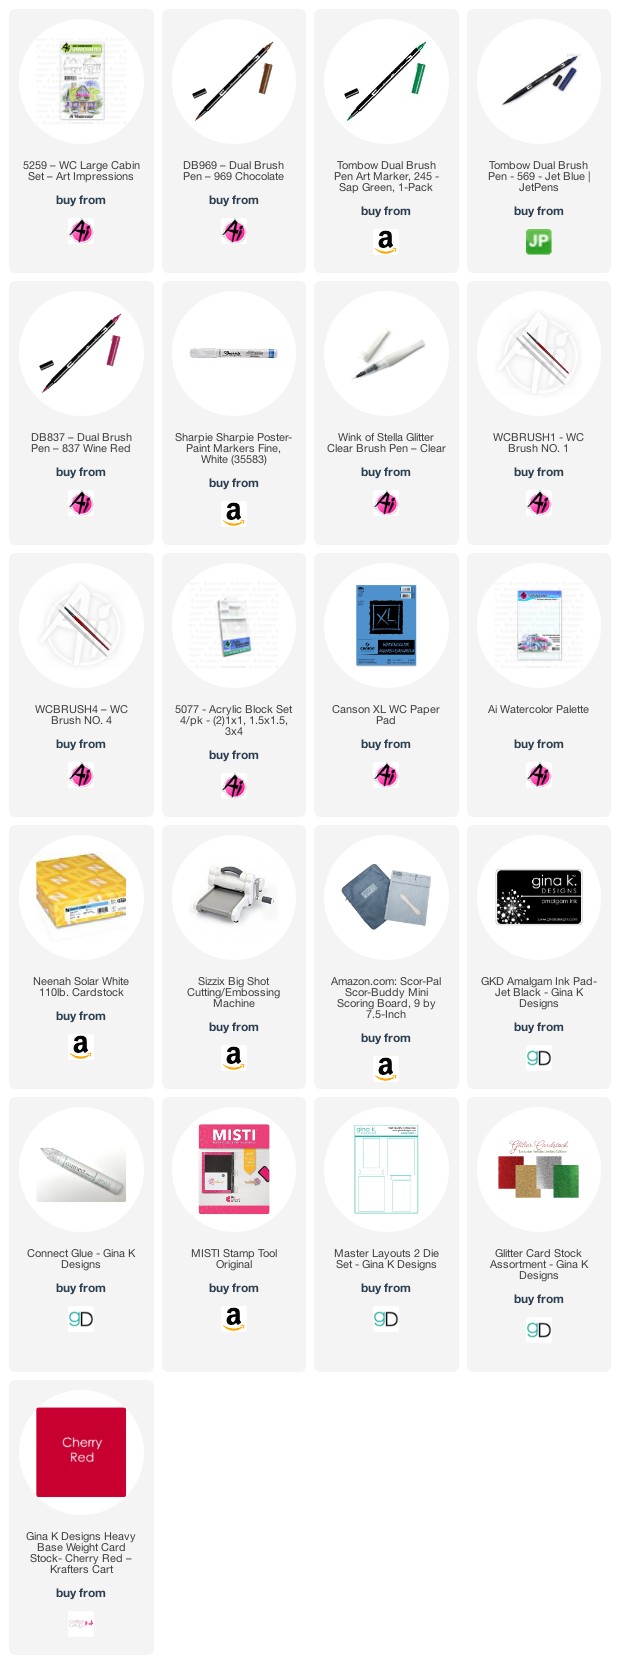
I am so excited to show you my project for this weekend, it’s a Gingerbread House. This is a great project to show you how you can stretch your stamps. I used one stamp only in the creation of this project, I used one of the Large Cabins to create this holiday treat.

Painting Details
In order to determine how I was going to stamp the cabin (meaning what I was going to leave off), I inked it up with brown and stamped it onto a sticky note. I then took a pencil and circled what I wanted to be left off (all of the window boxes). I then circled where I wanted the frosting icicles to be. I also wanted to do the door, so it looked like a chocolate bar and the door frame to look like a candy cane. This gave me a good template for when I started to paint. Sometimes if I don’t plan something like this, I forget to leave the white space I need for such things.

Once I was happy with the design, I inked up the stamp with the brown (after I cleaned it well), I carefully only inked the areas that weren’t circled and stamped it towards the bottom third of my watercolor paper. I added some Molotov to the areas where I wanted it to be frosting and let that dry. Once it was dry, I pulled the color out of the lines.
For the candy canes, I added some red stripes to the door frame and the window frames with my paintbrush, for smaller areas I used the bullet nib of my red marker. Next, I took a pencil and drew in the candies along the roof. I painted them using my color from my palette.
To achieve the gingerbread look, I added additional brown to the building and chimney, not being really careful as I thought the variation gave a more natural look. For the bushes (I saw them as gum drops…mmm) I painted them in using green. For the door, I added in some darker brown in blocks to replicate the look of a chocolate bar. I kept layering the brown until I got a look I liked. For the snow, I added some blue to the ground around the house for a snowy effect.
Once it was completely dry, I removed the Molotov and added some shadows using my blue. To finish the look of the icing, I used my white paint marker to draw in the icing between the candies on the roof and the windows. Lastly, I signed and dated my work.
This was so much fun to paint and it allows me to use my stamps in a creative way which I love!! I hope you give this a try and share what you create on Instagram or Facebook. I hope this gives you some ideas for your Christmas Cards!
Happy crafting!

Hello,
I made this barn scene card for the Art Impressions Watercolor Weekend.
It's a pretty fast, easy one to do but the hard part for me was turning it into a shaker card.


Hello Ai fans!
I'm using the sweet image from 5060 - WC Snowman Set for my holiday card today:


1 comment:
Five weeks ago my boyfriend broke up with me. It all started when i went to summer camp i was trying to contact him but it was not going through. So when I came back from camp I saw him with a young lady kissing in his bed room, I was frustrated and it gave me a sleepless night. I thought he will come back to apologies but he didn't come for almost three week i was really hurt but i thank Dr.Azuka for all he did i met Dr.Azuka during my search at the internet i decided to contact him on his email dr.azukasolutionhome@gmail.com he brought my boyfriend back to me just within 48 hours i am really happy. What’s app contact : +44 7520 636249
Post a Comment