Showing posts with label Karen Day. Show all posts

Sunday, September 7, 2025

Fall Wreath & Scene by Karen Day

 Hello Ai Watercolour fans!


Painting fall scenes are among my favourite things to paint!  Another thing I love to do is to use multiple stamp sets to create my scene, which is what happened with my first card:


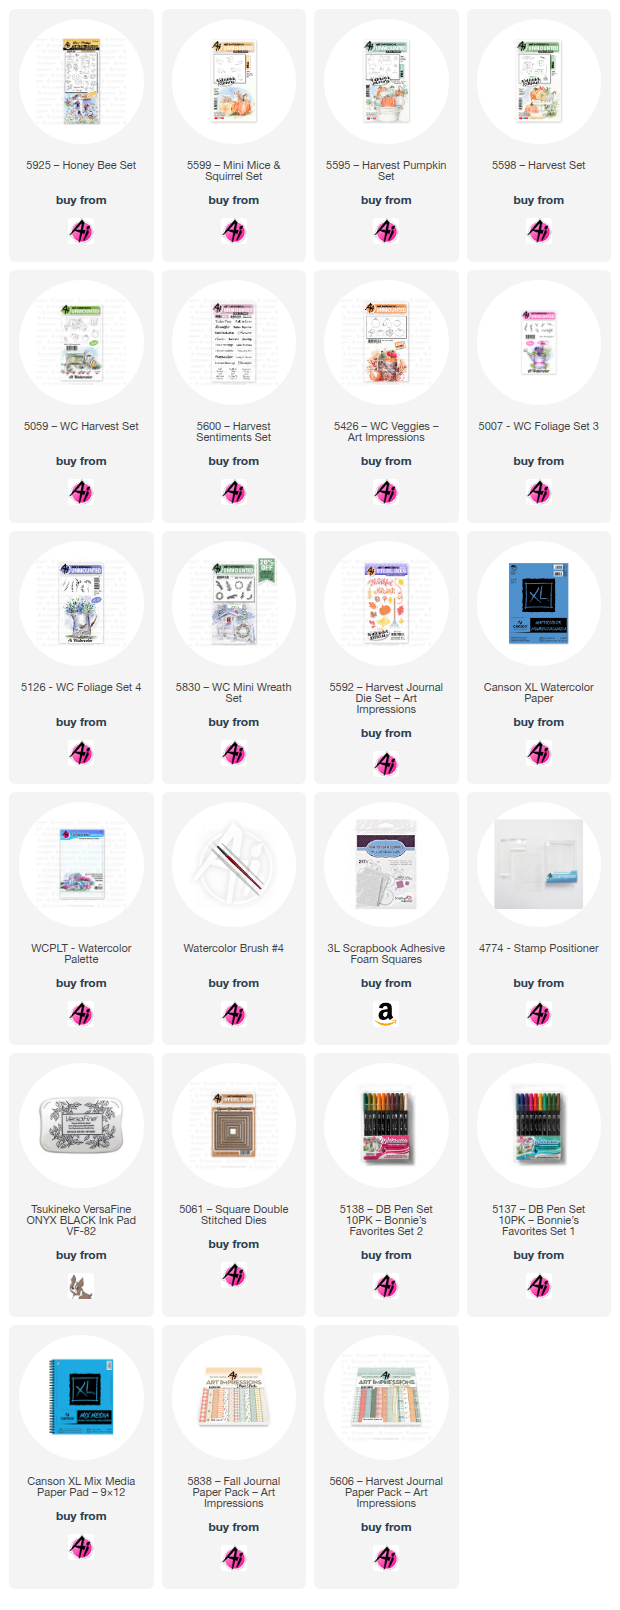
This was the first time I've used the Canson XL Mixed Media paper that is available in the shop, and it wasn't bad to paint on!  It's very lightweight, and fairly smooth, but took the colour well.  I started by stamping the large birdhouse from 5925 - Honey Bee Set in N45, leaving off the lower right corner as I knew that I was going to stamp the single pumpkin from 5595 - Harvest Pumpkin Set beside it.  After masking the birdhouse, I stamped the two pumpkins from 5059 - WC Harvest Set in N55, and put the mouse from 5599 - Mini Mice & Squirrel Set in front.  I really love the line of leaves from 5598 - Harvest Set, and stamped it in front of the pumpkin, as well as just small parts of it on either side of my scene.


With all the elements in place, I started painting in #993 and #312 on the house, and to get the colour of blue that I was looking for, I used Stormy Sky Distress ink for the roof and wooden base.  On the two lighter pumpkins, I used #312/N45/565, and for the orange one I used #993/933/947/899.  The mouse was painted with layers of #899, and my black Twintone marker filled in his eye and feet.  The leaves were done in a multi-coloured fashion, using #126/933/993/899.  The sky was added using a wash of #565, and a wash of #126 was painted in as the ground.  I used my #565 to add shadows under the house and objects, and darkened up different areas with my grey Twintone - or redrew lines that had disappeared.

The greeting from 5600 - Harvest Sentiments Set was stamped in Versafine Onyx Black, and the scene was matted with a blue decorative rectangle die, and mounted on paper from the 5606 - Harvest Journal PP.

My second project was started with the intention of it being a wreath, but as I got painting, I stopped at a half-wreath since I liked the way it looked.


I started with the veggies from 5426 - WC Veggies, stamping them in N55, masking where needed (can you tell that's some broccoli peeking out??).  Then I began building my design with the ferns from 5830 - WC Mini Wreath Set, done two-toned in 126/993 and 126/158.  The vines from 5007 - WC Foliage Set were coloured in #565/177, stamping one in each direction, on each side.  This is the point where I decided that I didn't want to do an entire wreath, so I added the leafy branch from 5126 - WC Foliage Set 4 in 933/993 on either side to finish it off.  I decided that my wreath needed a little something beside the veggies, so I used the small sprig from 5830 - WC Mini Wreath Set in a bit of a rainbow fashion using #565/685/933/993.  After painting in the veggies with (orange) 933/947/969 (brown) 899/947 (yellow) 993/899/933 and (green) 249/177/126, I touched everything with a damp brush, and pulled out a bit of the colour.


After looking for a sentiment to add, I found the Hello Fall die in the 5592 - Harvest Journal Die Set.  I first painted it in an ombre style on watercolour paper, but it looked a little bold.  Knowing that I intended to add a metallic gold mat under my square, I tried adding a gold diecut layered over the painted one, and loved the look!  A few dots with my gold pen added a little more sparkle.  The square was cut using the 5061 - Square Double Stitched Dies, and was mounted onto paper from the 5838 - Fall PP with 3D foam adhesive.


Thursday, August 7, 2025

Stitches & Scallops Challenge #409 Week #2

 Hello Ai fans!

Welcome to week #2 of challenge #409,

STITCHES & SCALLOPS


We want to see your handmade projects using stitching or stitched or scalloped dies, stamps, embellishments etc. The stitching or scallops can be real (sewn), hand-drawn or cut with a die. You name it!

For our challenge, Janet is our Featured Artist and you can hear all about how she created her card on her blog post.

Janet also created this pink beauty.

Our August Guest Designer Sara created this lovely card. Click HERE to hear all about it and to enter our monthly challenge for your chance to win a free stamp set.


Sharon's sassy card can be found HERE.
I created two fun shaped snowmen cards that you can read about HERE.


Dori's darling gnome can be found HERE.


Lynn's Loungin' Lady can be found HERE along with her YouTube tutorial video.


Tasha's totally stylish little snowman uses
Karen made two cards for Watercolor Weekend and you can learn how she created them when you visit her post.


We hope that our Stitched & Scalloped designs have inspired you to create your onw and enter our challenge. You may be the next winner of a free stamp set!

Be sure to enter your creation for the chance to win a free stamp set from Art Impressions. 
We award one Top Spot and one Lucky Random Winner, and each will win a free stamp set from Art Impressions.

✻ Please make a new card or handmade crafty creation. You can make any item you wish; this is not limited to cards! (unless specified)

✻ Limit two submissions per person.
 ✻Please include your first name and last initial on your submission. You may include your entire last name, but it's not necessary.
✻We love to comment on your entries, but keep in mind if you use a private group or a platform that you need to sign up for, we probably won't be able to.
✻ The Ai Challenge is open to everyone, international submissions are welcome!
✻ Include a link back to the Ai Blog or grab our button on the top right of our sidebar!
✻ Share the Ai love if you can, by clicking and commenting on your fellow crafters.
✻ Make sure to get your link up by the deadline to enter your creations.
✻ Good luck and happy stamping! 

You are invited to the Inlinkz link party!

Click here to enter
Good Luck!

Sunday, August 3, 2025

Foxes & Wild Buck Foundation by Karen Day

 Hello Ai Watercolour fans!


Since fall is such a short season for card makers... now that it's August, I'm sharing my first fall cards!  This is the 6067 - Wild Buck Foundation.


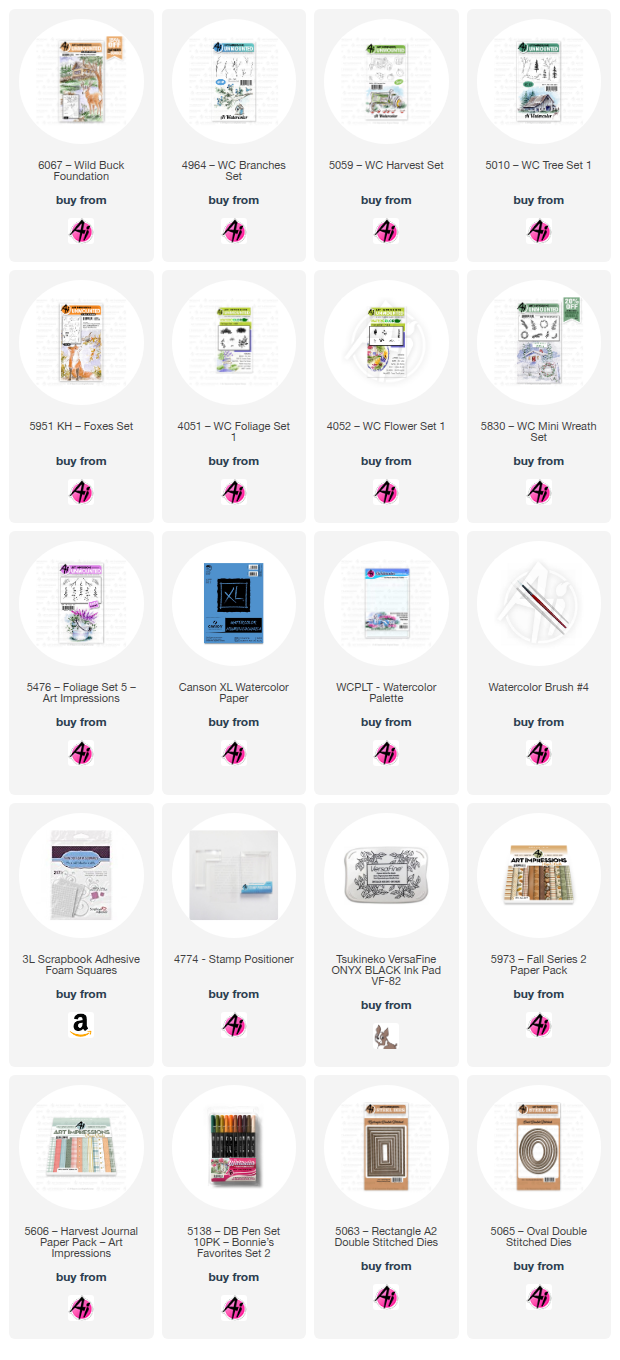
I coloured the image with Tombows #969/565 and stamped it onto my Canson XL Watercolour Paper.  After pulling out the colour with a damp brush, I started by adding a wash of #493 to the water and sky, and adding shades of #969/899 to the tree.  I used the warm brown #947 to start adding layers of colour to the deer, keeping it lighter on his back and under his belly.  Now that my main elements were defined by at least a first layer of colour - I found it easier to plan the rest of my painting.  I used #991/126/177 to paint the grassy hill areas, wanting them to look a little faded/dry like they would in the fall.  I wanted my cabin to look like cedar shakes, so I painted it with #N49, and used 969 to give it wood trim.  I used a pencil to sketch in the suggestion of the shakes.  #837 was painted on the roof, and the windows were shaded with #565.  The rocks were painted with #N49, and hints of the browns used in the scene.  #899 was used for the deer's antlers, and to add some darker areas on his legs.


I used the small twig cluster stamp from 5059 - WC Harvest Set to stamp in the shrubs around the cabin and rocks.  Then with the foliage stamp from 5372 - WC Mini Foliage, I added the leaves in #993 and 837.  The small grass from Foliage Set - 4051 was stamped in #992 to add dry looking grass to the scene.  One of the trees from 5010 - WC Tree Set 1 was stamped to add a pine tree beside the cabin in #247.  To finish things up, I used #565 to paint the edges of the stream, and to add shadows where needed - especially on the mountains, rocks and the darker sides of the cabin.


I die cut my scene with the A2 Stitched Rectangle dies, and used 3D foam adhesive to adhere it over a brown mat, onto my subtle plaid paper from 5606 - Harvest Journal PP.  I wrapped some plain twine around the card base several times.

My second project features the KH5951 - Foxes Set.


I stamped the fox and stump from the set in #N49 onto my Canson XL Watercolour paper, masking the fox so that the stump would appear to be behind him.  I painted shades of #947 on the fox, along with N47 on his paws.  Using several browns - #992/969/899, I painted streaks of colour on the stump.  Masking both the stump and the fox, I used both ferns from 5830 - WC Mini Wreath Set coloured in three colours - #076/126/373 which gave them an interesting appearance!  The two leafy stems from 5476 - WC Foliage Set 5 were also added, being coloured up in #373/565.  The Daisy Bunch stamp from 4052 - Flower set were stamped repeatedly in #991/703 to add some two-toned flowers along the ground. 


 After touching everything with a damp brush to pull out the colour, I added the small grass from 4051 - Foliage set in #126, then did a wash with it on the ground.  #565 was painted in as the sky, and used to add shadows under the fox and stump.


My scene was die cut with the Stitched Oval die, and added to my base with a brown mat.  The background paper is from 5973 - Fall S2 PP.  For a little extra decoration, I added multi colour die cut pieces from Spellbinders Holiday Blooms, a wax seal and a few gems.  Hope you'll pull out those fall sets and get painting!


Sunday, July 6, 2025

Water of Life and Hiker Foundation by Karen Day

 Hello Ai Watercolour fans!


My first card is using one of the newly released Scenic Foundation sets that have more of a masculine feel to them.  This is the 6068 - Hiker Foundation set.


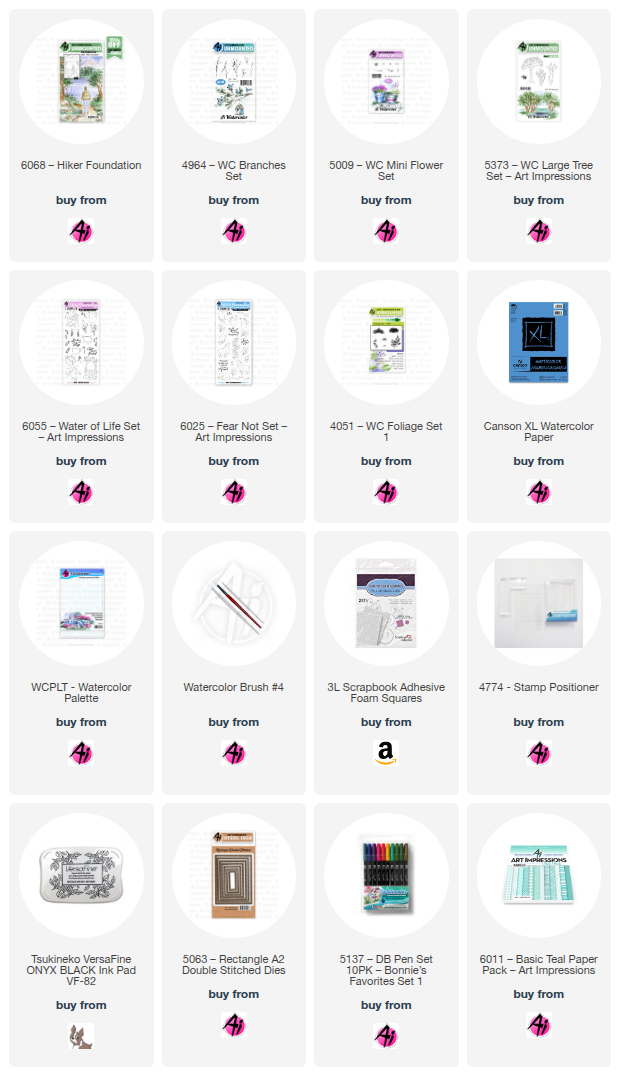
Using my Misti, I stamped the image onto my Canson XL watercolour paper using Tombows #969/565.  *With a larger image like this, it helps to use a stamping platform, as you can reink and stamp it a second time if your first impression isn't perfect.  Before stamping the foliage, I painted light shades of #565 on the mountains, getting a little darker for the hills in the foreground.  I was aiming for some striking contrast, so used #346 to paint in the two closest bits of land.  I wanted a bit of a sunset sky, so I started by mixing #991 and #856 to give me tones of yellow and peach.  I echoed the same colours in the water, reflecting both the mountains and the sunset.  I added streaks of darker tones to the water to make it look like ripples on the lake.


The grass in the foreground was painted with a wash of #177, and layers of #992 were painted on the pathway.  The two main trees were painted with streaks of #992/969/947, as were the edges of the pathway under the grass overhang.  After pulling out the colour of the rocks with my damp brush, I added more shades of N52/565/992 to the stones, creating contrast between the rocks.  I used the foliage stamp from 5373 - WC LG Tree Set and #177/249 to stamp the foliage on each of the trees, turning the stamp so that it would appear irregular.  I touched the foliage with a damp brush to soften it, and added in a few darker tones for shadows.  I used the tiny sprig from 5009 - WC Mini Flower Set and #177/346 to add a few low shrubs in and around the trees and rocks, then added a few branches from 4964 - WC Branches Set in #969.  A little grass was added in #177 using the small grass from Foliage Set - 4051.


I painted the hiker in coordinating colours #565/992/177/969, other than his bright hat in #856.  I hadn't painted in the sun before I added the foliage (should have!), so I just dabbed some white at the edge of the mountain, and then painted some white streaks into the water to indicate the sun.  White paint was also used to add in some flowers on the shrubs.  As a final touch, I used my paint brush and #346 to add a line of pine trees to one of the hillsides.  The image was die cut with the 5063 - A2 Rectangle Double Stitched Dies, matted with a warm brown, and adhered to my base with 3D foam adhesive.

My second card is using two of the new sets from the Bible Journaling line.


I die cut my Canson XL watercolour paper with the 5063 - A2 Rectangle Double Stitched Dies, and stamped the sleeping lamb from 6025 - Fear Not Set using #969/565.  After masking him, the stone well from 6055 - Water of Life Set was stamped behind him.  I pulled out the colour from the lines on the well, concentrating the colour where shadows would be - then added more N52/565 to darken the stones.  On the lamb, I added #850 to his ears and nose, and painted it as a wash over his fleece, to add a little warmth.  N52/565 were used for shadows, and to add some dabbled texture to indicate the fleece.


#126 was painted as a wash for the grass, and #493 done as a wash in the sky.  The two long grass stamps from 6025 were stamped around the well in #177, and two of the floral images were stamped in #177/856, on either side.  The small grass from Foliage Set - 4051 added a little texture in #177 around the bottom.  I used a light version of #565 to paint the bird, and touch some pale orange to his beak.  I used my black Twintone marker to darken the eye of the bird, and those of the lamb.  My grey Twintone marker was really helpful in redefining the lines of the well that had blurred a bit after painting, and for darkening the bird's legs.  Since I don't have a lot of luck in spattering paint on my images, I used the grey Twintone to add little dots around my image to suggest a little texture in my painting.


The sentiment is from the retired Exclusive Daisy set from several years ago.  I added a grey mat to my painting, and adhered it with 3D foam adhesive to my base which is paper from the 6011 - Basic Teal PP.

Sunday, June 1, 2025

Lighthouse and SF Cottage Creek - by Karen Day

 Hello Ai Watercolour fans!


Every once in a while I love to just create a lighthouse card!  So I pulled out the 5466 - WC Lighthouse Set, and created a bit of a 'rainbow' lighthouse.

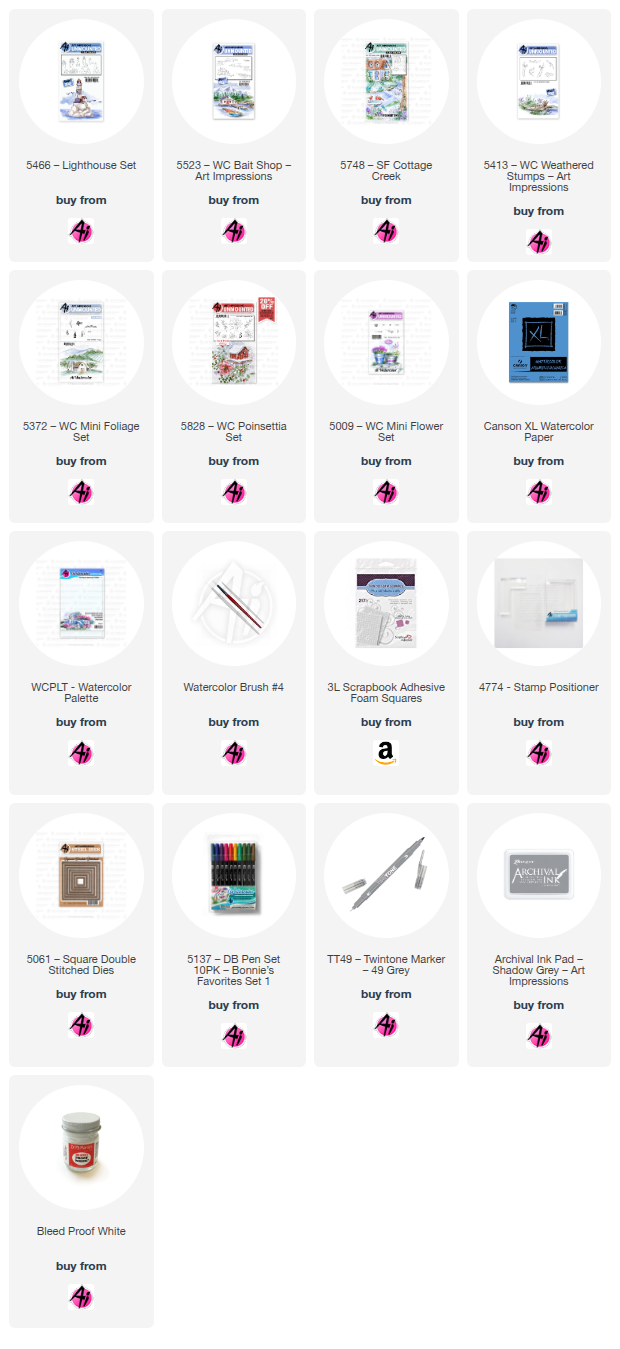
I stamped my lighthouse and one of the shorelines from the 5523 - WC Bait Shop set in the new Shadow Grey Archival ink from Ranger, since I knew I was going with 'pretty' colours, and didn't want any muddy outlines.  I stamped the two trees from 5372 - WC Mini Foliage in #969 on either side of the lighthouse, and using the foliage stamp from the set, I stamped in #177/126 to create the leaves.  To create my rainbow lighthouse, I started by painting the roof in #847, then used #685 on the railing, and as a wash on the main structure.  I moved into #606 and finally #407.  Into the stones at the base, I painted touches of #407 and then #126 near the bottom - so the colours fade from top to bottom in rainbow order.  A wash of #126 was added to the grass, and darkened in the crevices with #177.  I used the shrubbery row from the 5372 set to add bushes to either side of the lighthouse, then painted out those and the trees with a damp brush.  The roof of the small building was done with #847, and the base of it in #555.  Layers of #992/947 were painted on the edge of the bank, concentrating the colour in the crevices, and tones of #N55 were used on the rocks.

I loaded up my brush with #407 and painted a line to indicate the horizon, then washed out the colour in a streaky fashion along the shoreline.  I darkened the water nearer to the shore, using #555.  I wanted to create a bit of a fantasy sky, so painted some #407 in a way that suggested clouds (the white space left below), then added #991 to the sky, and a very pale version of #685.  Both of these colours were painted as reflections in the water as well.  I like to add some darker areas to clouds for just a touch of drama, so used a wash of #606 just above the horizon.  I used my grey Twintone marker to add in any details that were painted out, or simply areas that needed emphasis.  


My scene was cut out with the 5061 Square Double Stitched Dies, matted it on a pinkish/red square of cardstock, and attached a little off-center onto my patterned paper.  The finished card is 5 1/2" square.


Card #2 is featuring the 5748 - SF Cottage Creek Scenic Foundation from Summer 2023.  I had stamped this ages ago, and finally got it painted and made into a card.

I wanted to stick mainly with primary colours, so painted the house in #991, with the door and chimney in #847, and the roof in shades of #969 warmed with a touch of #947.  The same browns were used on the tree, and the stump from 5413 - WC Weathered Stumps that I added to the foreground using my stamp positioner.  #177/126 were painted as a wash on all the hillsides and grass, as well as with the foliage stamp from 5372 - WC Mini Foliage for the leaves, and the tiny grass stamp. The two pine trees from the set were used for the treeline in the background and the shrubs on either side of the door - in #177.  Using the gray Twintone marker, I drew in the stones on the walkway, and painted around them with #991.  The stones and rocks in the water were painted with touches of N55, 565 and 991.

Painting my way forward, I added #526 as the lighter blue in the water, keeping my strokes horizontal, and then I darkened the edges with #565.  565 and 847 were used to paint the birds, and N55 added some colour and shadows to the birdbath.  Masking the stump, I added the stem from 5009 - WC Mini Flower Set in 177/565 and the sprig from 5828 - WC Poinsettia Set in #407.  With the tiny sprig from 5009 set, I added green foliage to the base of the flowers, and around the house - and topped them with tiny white flowers painted with the Bleed Proof White paint.