


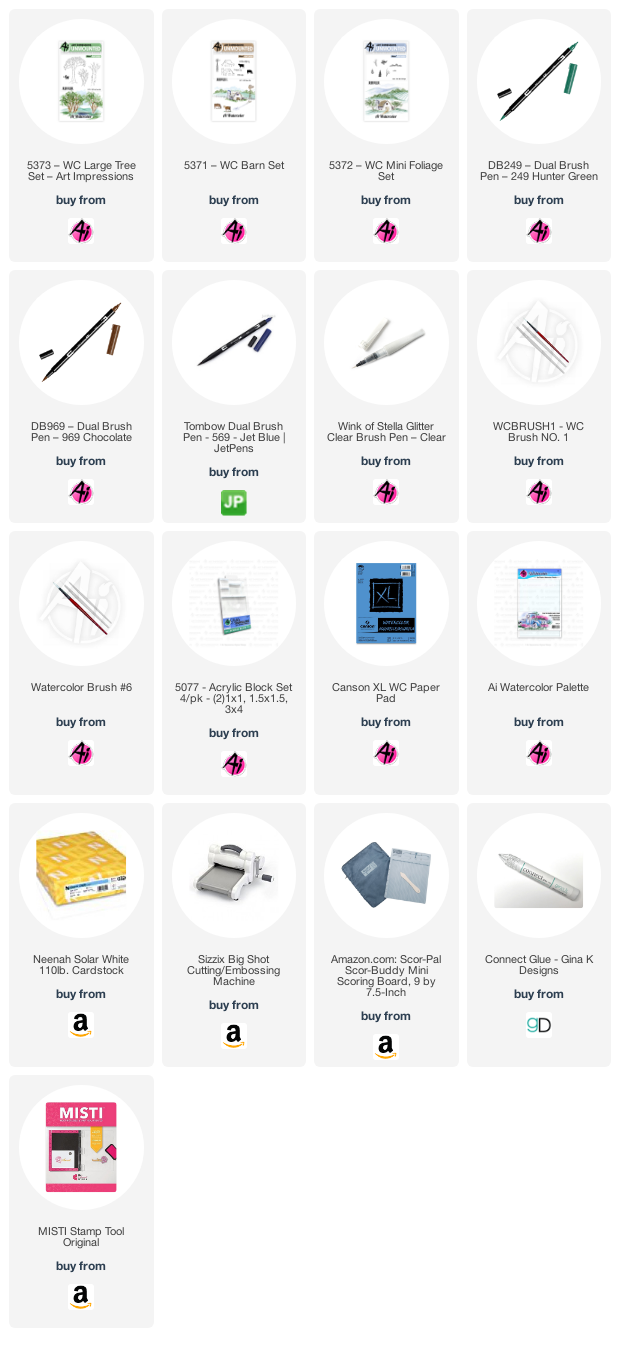
This painting is special to me as it is a friend of mine’s farmhouse. I was lacking inspiration and his home was all it took. The Snow Globe stamp set is actually a frame stamp from Gina K Designs that is retired…sorry!

To create the snow globe, I placed the stamp in my MISTI and inked just the circle with my 569. I wish I had cleaned the lines off of the edges before I stamped it; learn from my mistake. There is also a base included in the set. I lined it up in my MISTI and inked it with my 969 and stamped it below the globe. I pulled the color out of the lines of the base and lightly around the snow globe.

In the background, I painted in some mountains using 569. I think this is my favorite color for snow. I added some additional shadows underneath the house
For the trees I used the small trees from the New WC Large Tree set and the small pine and branches from the New WC Mini Foliage set. I stamped them in 969, 569 and 249. I added a small amount of water. I also added a small shadow. I painted in a birdhouse in the front yard.
Using the wet-on-wet technique, I added darker color along the edges of the globe and let it bleed down. I made sure to leave a few white spaces to make it look like glare spots. I kept adding water and color until I was happy. Once it was dry, I added some Dr PH Martins white paint to resemble snow and to add a few more glare spots. Lastly, I signed and dated (2021…wow).
Card Details
I cut the piece out using my Big Shot machine and a rectangle stitched die. I glued it to a base made from Gina K Designs Edible Eggplant card stock with Connect Glue. I added this to a card base.
I am so thankful that you chose to spend some time with us this weekend. I hope you will keep posting all of your inspiring creations. I look forward to seeing them every day. Be safe and keep creating!


Hello Ai Watercolor fans!
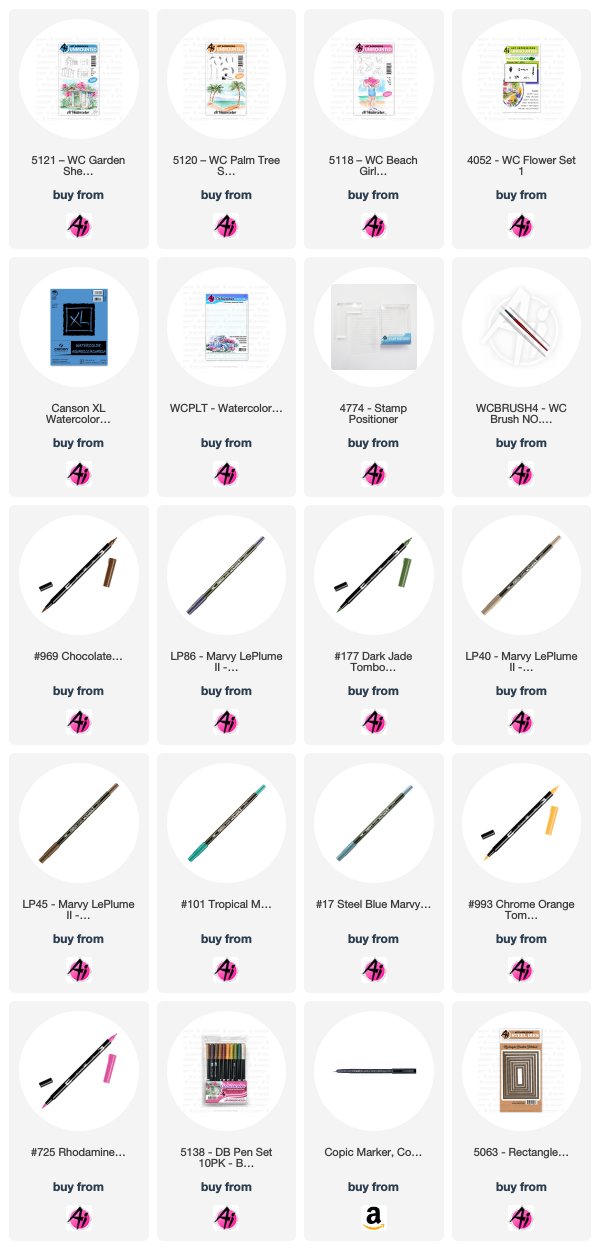
I was so happy to finally pull out the new 5367 - WC Birdcage Set to create a card to kick off the Watercolor Weekends for 2021!

This set consists of dies only - no stamps, so I began by die cutting one of the birdcages in Masking Paper, peeled off the backing, and adhered it to my Canson XL Watercolor Paper. Then I selected my colour palette of Tombow Dual Brush Markers, and pulled out several sets for flowers & foliage. Using the tiny circle of v-shaped blossoms from 4868 - WC Flower Set 2, I coloured it up in #856 Chinese Red, #933 Orange and #993 Chrome Orange - stamping several times to create clusters of colourful blooms. To add foliage, I chose the two trailing ivy in 4867 - WC Foliage Set 2 New, and stamped them in #249 Hunter Green several times, to have ivy trailing out of the birdcage in both directions. There were still some white areas in the middle of my cage, and I wanted some darker flowers, so I used the tiny dotted flower image from 5074 - Bible Flower Set coloured in #565 Deep Blue in two spots, and then took the small green from the same set and stamped it in the brighter #126 Light Olive - which added some contrasting foliage.

I touched all the stamped images with my damp paintbrush, then picked up #533 Peacock Blue from my palette, and carefully painted the background sky in around all of the birdcage edges (*this is important! If you don't paint right up to the edges of the mask, the 'negative' image of the birdcage will not remain when you remove the mask). With my painting done, I removed the mask, and using my thin #1 paintbrush, I picked up #565 from my palette, and painted a fine line along the edges of the cage to indicate a shadow. It also cleans up any ragged edges that remain from your painting. I decided that a couple of birds would finish things off nicely, so I stamped two of them from 4872 - WC Birds Set in #N55 Cool Grey 7, and used N55, 565 and 533 to add colour. I went in with my Twintone 42 Navy fine point marker to darken the eyes, beak and legs.
I cut the image out with the 5063 - A2 Rectangle Double Stitched Dies, leaving enough space below to add the sentiment from the Hydrangea Exclusive set available through Scrapbook.com. After matting it with red, I adhered it to my patterned base using 3D Foam Adhesive.


2 comments:
Five weeks ago my boyfriend broke up with me. It all started when i went to summer camp i was trying to contact him but it was not going through. So when I came back from camp I saw him with a young lady kissing in his bed room, I was frustrated and it gave me a sleepless night. I thought he will come back to apologies but he didn't come for almost three week i was really hurt but i thank Dr.Azuka for all he did i met Dr.Azuka during my search at the internet i decided to contact him on his email dr.azukasolutionhome@gmail.com he brought my boyfriend back to me just within 48 hours i am really happy. What’s app contact : +44 7520 636249
Five weeks ago my boyfriend broke up with me. It all started when i went to summer camp i was trying to contact him but it was not going through. So when I came back from camp I saw him with a young lady kissing in his bed room, I was frustrated and it gave me a sleepless night. I thought he will come back to apologies but he didn't come for almost three week i was really hurt but i thank Dr.Azuka for all he did i met Dr.Azuka during my search at the internet i decided to contact him on his email dr.azukasolutionhome@gmail.com he brought my boyfriend back to me just within 48 hours i am really happy. What’s app contact : +44 7520 636249
Post a Comment