Hey watercolor fans, welcome back to Watercolor Weekend.
We have some fabulous inspirational project for you. Check out Dot and Karen’s projects below. We are so blessed and excited that you joined us today!
Project Details
I started out by sketching the balloon to figure out the placement and give me a guideline for when I water colored it. To add a place for the sentiment, I added the banner and water colored it.
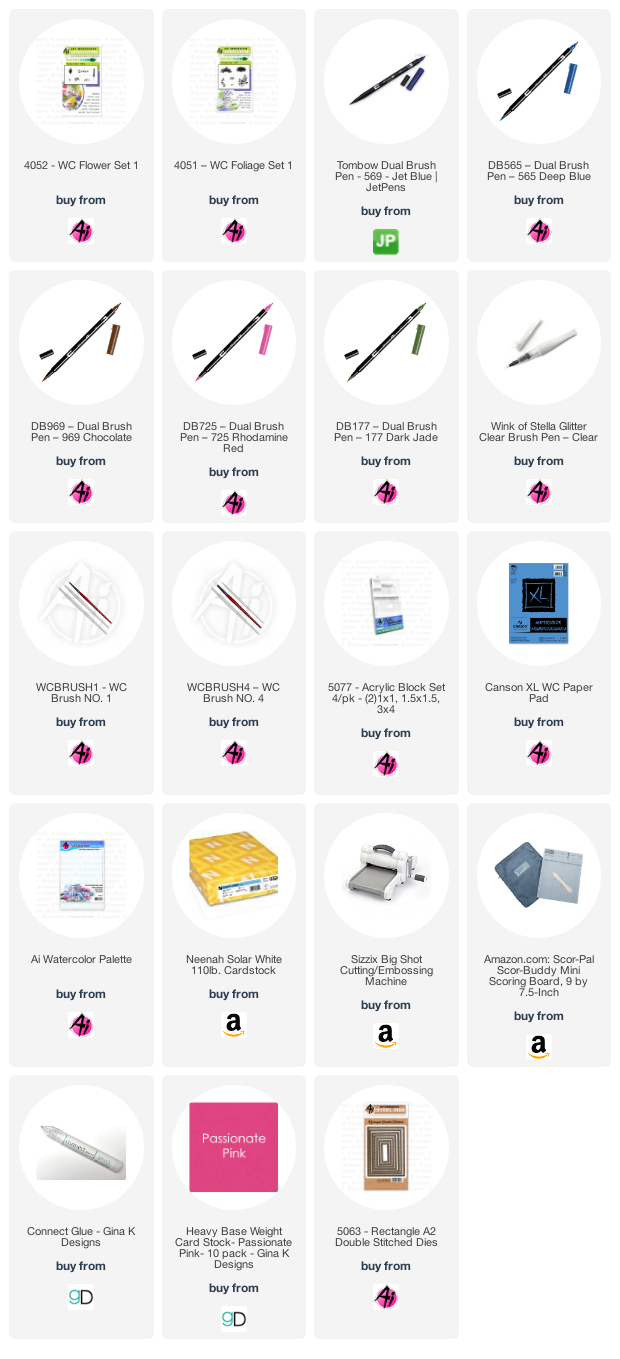
I added flowers along the bottom of the balloon. I usually add my flowers first because I tend to get carried away with my foliage. The flowers were inked with 725, added water, then dotted the centers with 636. To fill in the piece, I added foliage (177) around the blooms and added water to soften them.
Next, I inked up my basket stamp (which I think may be retired, sorry) and used my positioner to line it up under the balloon. I stamped it and pulled the color out of the lines.
To add some color to the balloon, I added 569 and 725 to my palette. I painted the balloon in opposite pink and purple making sure to keep with the shape of the balloon. Next, I added some blue behind the balloon so it gave the impression of a sky. If I had to do it again, I would make these more like clouds.
Finally, I wrote in the sentiment and added a shadow under the banner with 569. Lastly, I signed and dated my work.
Thanks so much for stopping by and I hope you have a creative day!

Hello,
I made this Valentine's Day card for the Art Impressions Watercolor Weekend. If it's from a male to a female, a cute sentiment to put inside would be, "She thinks my tractor's sexy".
I used a pencil to draw in the hearts. Color half of each heart in 856 or 837 and then color the other half in 993. Erase the pencil lines only after the hearts are dry or you could tear the paper. Pull the color out of the lines then color the tractor in 856 and the grey parts in N45. Color the trailer in 977, 856 on the wheels and N45 on the tires. Paint lines in 969 across the trailer.
Paint the shadow under everything with 565 then stamp the grass from the 4051 Foliage Set inked in 177. The tall grass is from the 5126 Foliage Set 4 inked in 992. The sky is in 526. Happy Valentine's Day to you and yours!
Hello Ai Watercolor fans!
Sharing a quick Valentine idea using the wonderful 5072 Block Letters Die Set and a little watercolor wreath to spell out "I (heart) you"!
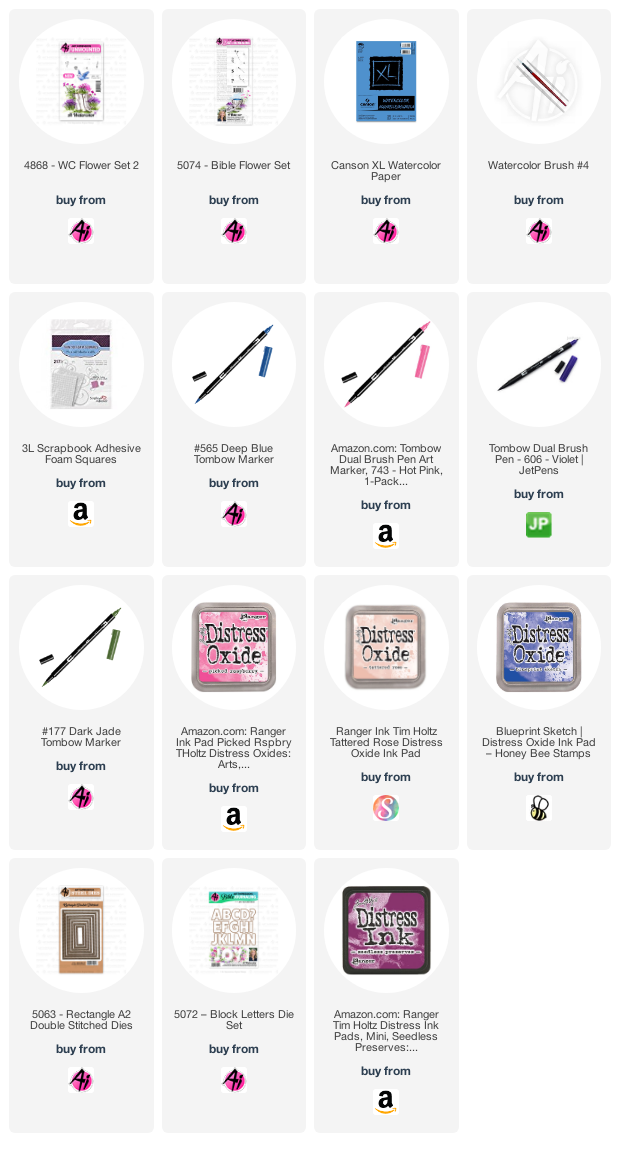
I actually started out by creating my ink blended background panel, which established my colour palette - Distress Oxide Ink colours are listed below!
I chose similar colours of Tombow Dual Brush Markers, and started making my focal panel by sketching a heart shape on my Canson XL Watercolor paper. I stamped little clusters of flowers and greenery using the following: From 5074 - Bible Flower Set, the Daisy cluster in #606 Violet; the tiny dot flowers in #565 Deep Blue; and the Tiny greenery in #177 Dark Jade and from 4868 - WC Flower Set 2, I used the little heart flowers in #743 Hot Pink. I touched everything with a damp brush - but kept the images fairly intact without spreading the ink around. I lined up the I and U from the die set, and ran it through my machine to cut out the letters.
I took both of my panels and cut them out with the 5063 - A2 Rectangle Double Stitched Dies which finished the edges nicely. Both panels were mounted onto a matte silver cardstock, and I had to cut the middle of it out under the letters to have the background show through. I tied some blue organdy ribbon around my base, and added a bow before adhering my image down with 3D adhesive tape. A few sequins finished it off.


1 comment:
Gorgeous cards as always, girls!! I love all three of them!
Post a Comment