

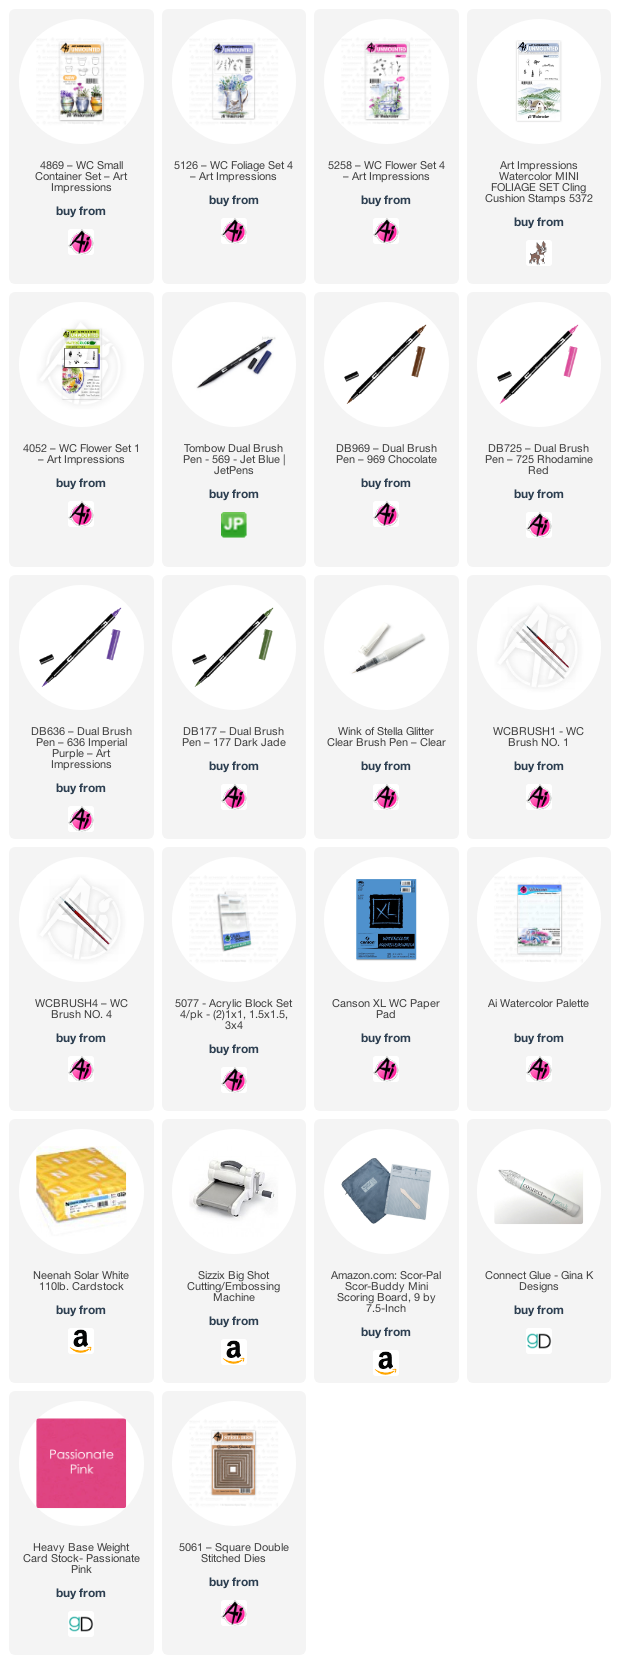
So our challenge this week was to create a quick and easy card. This one looks difficult but it was really easy!

Sometimes I find myself creatively challenged when it comes to colors. Sometimes I do so many colors it overwhelms the painting. For this quick and easy project, I used only three colors for the flowers. In order to vary each flower arrangement, I used each color on different flowers. This worked out well with my three square layout. It created interest while maintaining an overall together look.
So, how do you re-create this layout, well I am here to tell you. I am only going to walk through one of the pots as the technique is the same for all the arrangements changing the flower colors each time. I inked the buckets with 969 and 569 to get a gray color. For a softer look, I stamped it off. I pulled the color out of the lines and added some additional color from my palette. I added a light brown shadow below the bucket. I repeated this for all of the buckets. Next, I moved onto the foliage.
When I approach a container, I like to first stamp in the foliage around the top of the container, then move onto the flowers and finally come back in with some additional foliage. I tend to be crazy with my foliage and lose places for my flowers to go so I find this works for me. So that being said, I inked my small vine (just the top of the stamp) and stamped it several times around the top of the container. I added water to soften them.
I then grabbed one of my flower colors (each flower set is going to be stamped with each color) and inked up the daisy bunch and added it to the left, right and off the left edge making sure to ink and then stamp in tight circles to create depth. I inked the top of the salvia stem with the next color and stamp it a few times on the left side leaving plenty of white space in the middle for some additional foliage. Soften your flowers with water. Stamp the foliage in between all of your blooms and dab. Finally, ink the rose buds with your next color and ink the stem with 177. Stamp them several times on the right side of the arrangement. I added water to the blooms only.
And as always the final touch is your signature and the date. I am so excited that you stopped by. I can’t wait to see what you create. For more inspiration check out Karen and Dot’s projects. See you next Watercolor Weekend!
Have a crafty day!

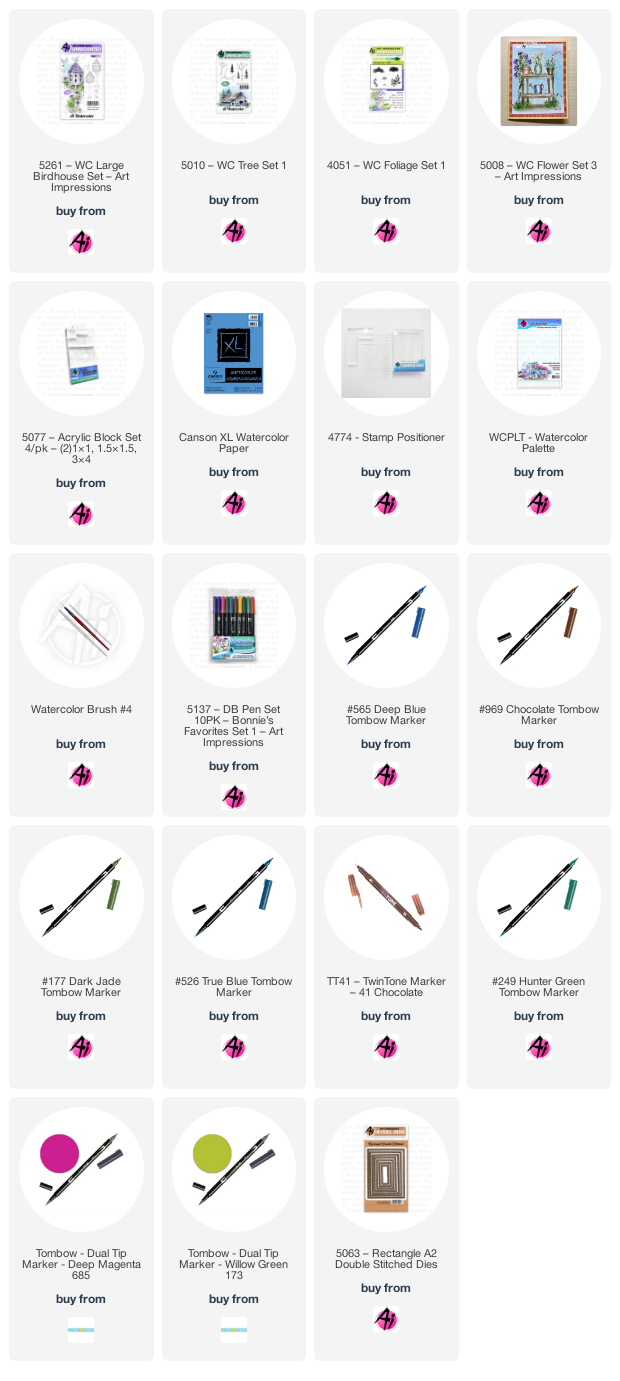
The theme for the Art Impression's Watercolor Weekend is quick and easy and this card certainly was that!

If you would like to make it, first stamp the birdhouse (not the post) from the 5261 Large Birdhouse Set inked in Tombow 969 and 565 and stamped off on scrap paper into the middle of your watercolor paper - I used Canson. Stamp it again on a piece of watercolor paper and cut it out so you can color it up and use foam tape to add dimension to your card.
Stamp the tree from the 5010 Tree Set 1 inked in 969 above the birdhouse. Use the vine from the 4051 Foliage Set 1 first inked in 177 and then stamp it inked in 173. I just love those two colors together. Dab at them with a wet brush, then use some 969 off the palette to color in the branch.
Use the largest foliage set from 4051 inked in 177 to add the flower bush below the birdhouse. Stamp the flowers from 5008 Flower Set 3 inked in 249 for the stems and 685 for the flowers onto the bush.
Ink the bird from the 5261 Large Birdhouse Set inked in 565 and then color it in with 526. Darken the beak and eye with a fine point black pen. Drag the color out of the lines of the birdhouse just around the outside for a sky look. Color the roof and bottom of the other birdhouse in 969 and then use the 565 to darken the windows. Use some 565 on the palette to add shade under the posts. Use a ruler to draw a line above the birdhouse to the branch. Use the 5063 Rectangle Die Set to cut it out and a background piece.

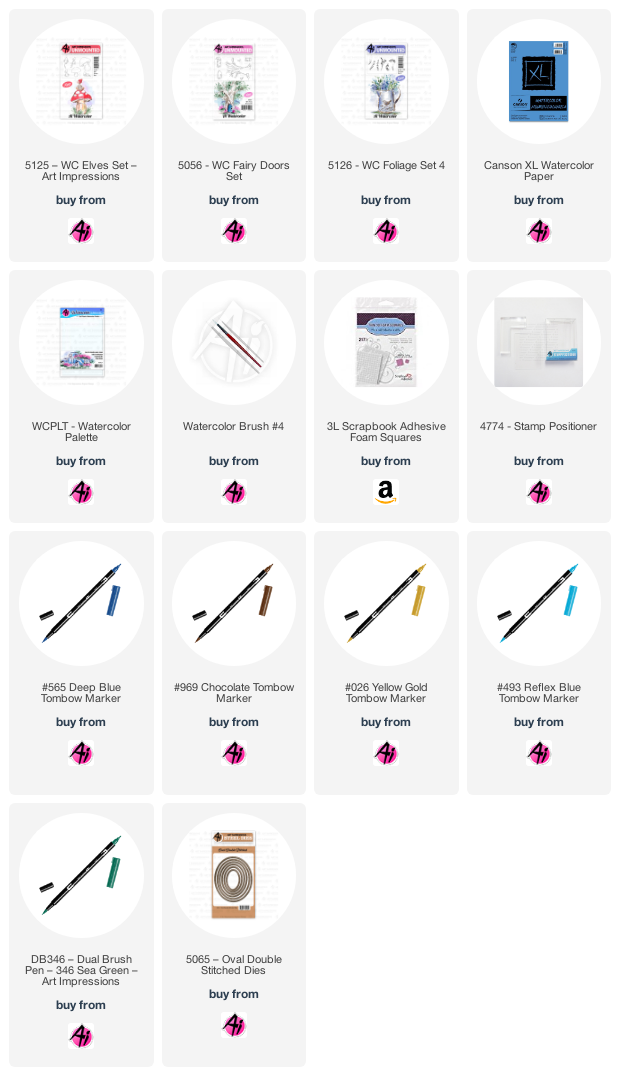
Hello Ai Watercolor fans!
For me, "Quick & Easy" means a simple scene. I often reach for more than a dozen stamps to put my scenes together, but this one took just 4:


3 comments:
These look so adorable, might actually try to make some with my personal design for my cannabis store
Post a Comment