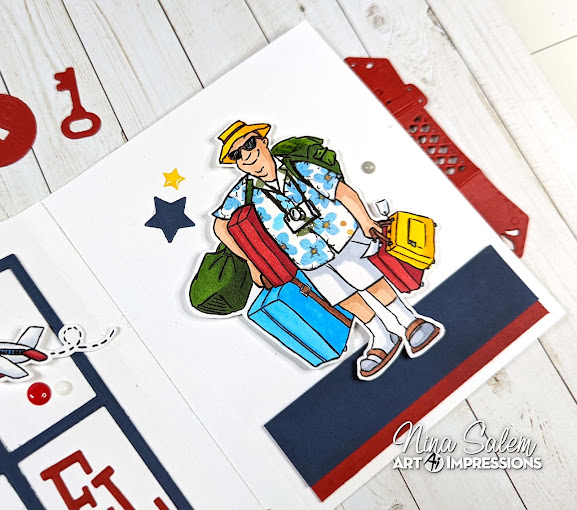
Hello Ai fans, I am so excited to share with you this fun Travel Journal that I made with the new amazing die set "Journal Template Die Set" by Art Impressions. I also used the cute "Pack your Bags" stamp set.
The set has all the dies you need to create a stunning journal. I used the biggest die to create the outer cover from white Bristol Smooth paper. I then created a single inner page and I folded its flap along the score line the die created and placed double-sided tape on the flap and attached it to the inner side of the spine of the journal.
Now that my Journal base is ready, I stamped and colored my images from Pack your Bags stamp set using Copic markers. I did not color the shirt of the travelers because I am gonna cut them from patterned paper later.
I started with my cover, I cut the lovely frame from red cardstock and placed it on the cover on top of a blue sky paper and attached the ship with tiny sun and clouds.
For the first spread I cut the letters to create the word bag and attached the bags on the left side page.


2 comments:
Oh this is just too much fun!! How cute!! I love what you did with this, Nina!
Thank you Sharon so glad you like it :)
Post a Comment