Tuesday, December 19, 2023
Nina's Top 10 - 2023
Tuesday, December 12, 2023
Snow globe Card by Nina
Hello Ai fans, Nina here and today I wanna share with you how I created this cute Snow Globe Card. I used HM Accessory set, stitched circle die set and stitched rectangle die set.
I stalled the images on white paper using my Memento Tuxedo Black Ink and my Mini Misti and colored then with Copic markers.
I die cut a rectangle with the stitched rectangle biggest die and added a little bit of Speckled Egg distress Ink with my ink blending tool.
And cut two circles in the middle of it to create an opening and a frame around it, I cut the frame again from a white paper and attached the ink blended background, the circle and the white frame to a white paper slightly bigger than the ink blended background.
I then added a white hillside border to by my white and made Santa stand on it then tucked the tree behind it and the deer coming from behind the frame.
I cut the word hohoho from red cardstock and attached it on top. I also cut with the scissors a base for the snow globe using the same red cardstock.
Tuesday, December 5, 2023
Missing You Tag By Nina
Hello Ai fans, Nina here with a new cute tag project. I am using Birdhouse Village set and the Stitched Tag die Set.
I started by stamping my birdhouse image using my Mini Misti and Memento Tuxedo Black ink on a Bristol Smooth White Paper and colored it with Copic Markers.
Copic Shades:
Blues: B05 B04 B02
Blue Green: BG15 BG13
Yellows: Y17 Y08
Browns: YR27 E09
Reds: R30 R32 R27 R29
Purples V09 V06 V04
Oranges: YR07 YR04
I then cute my image with the scissors and backed it with foam tape.
For the tag background I Die cut the biggest tag from the stitched Tag Die Set from white paper and ink blended Salvaged Patina Distress ink on the background with ink blending tool.
I also grounded the scene with couple grass hillsides that I attached to the bottom of the tag and tucked my Birdhouses image between them both.
Tuesday, November 21, 2023
Holidays Shaker Tags by Nina
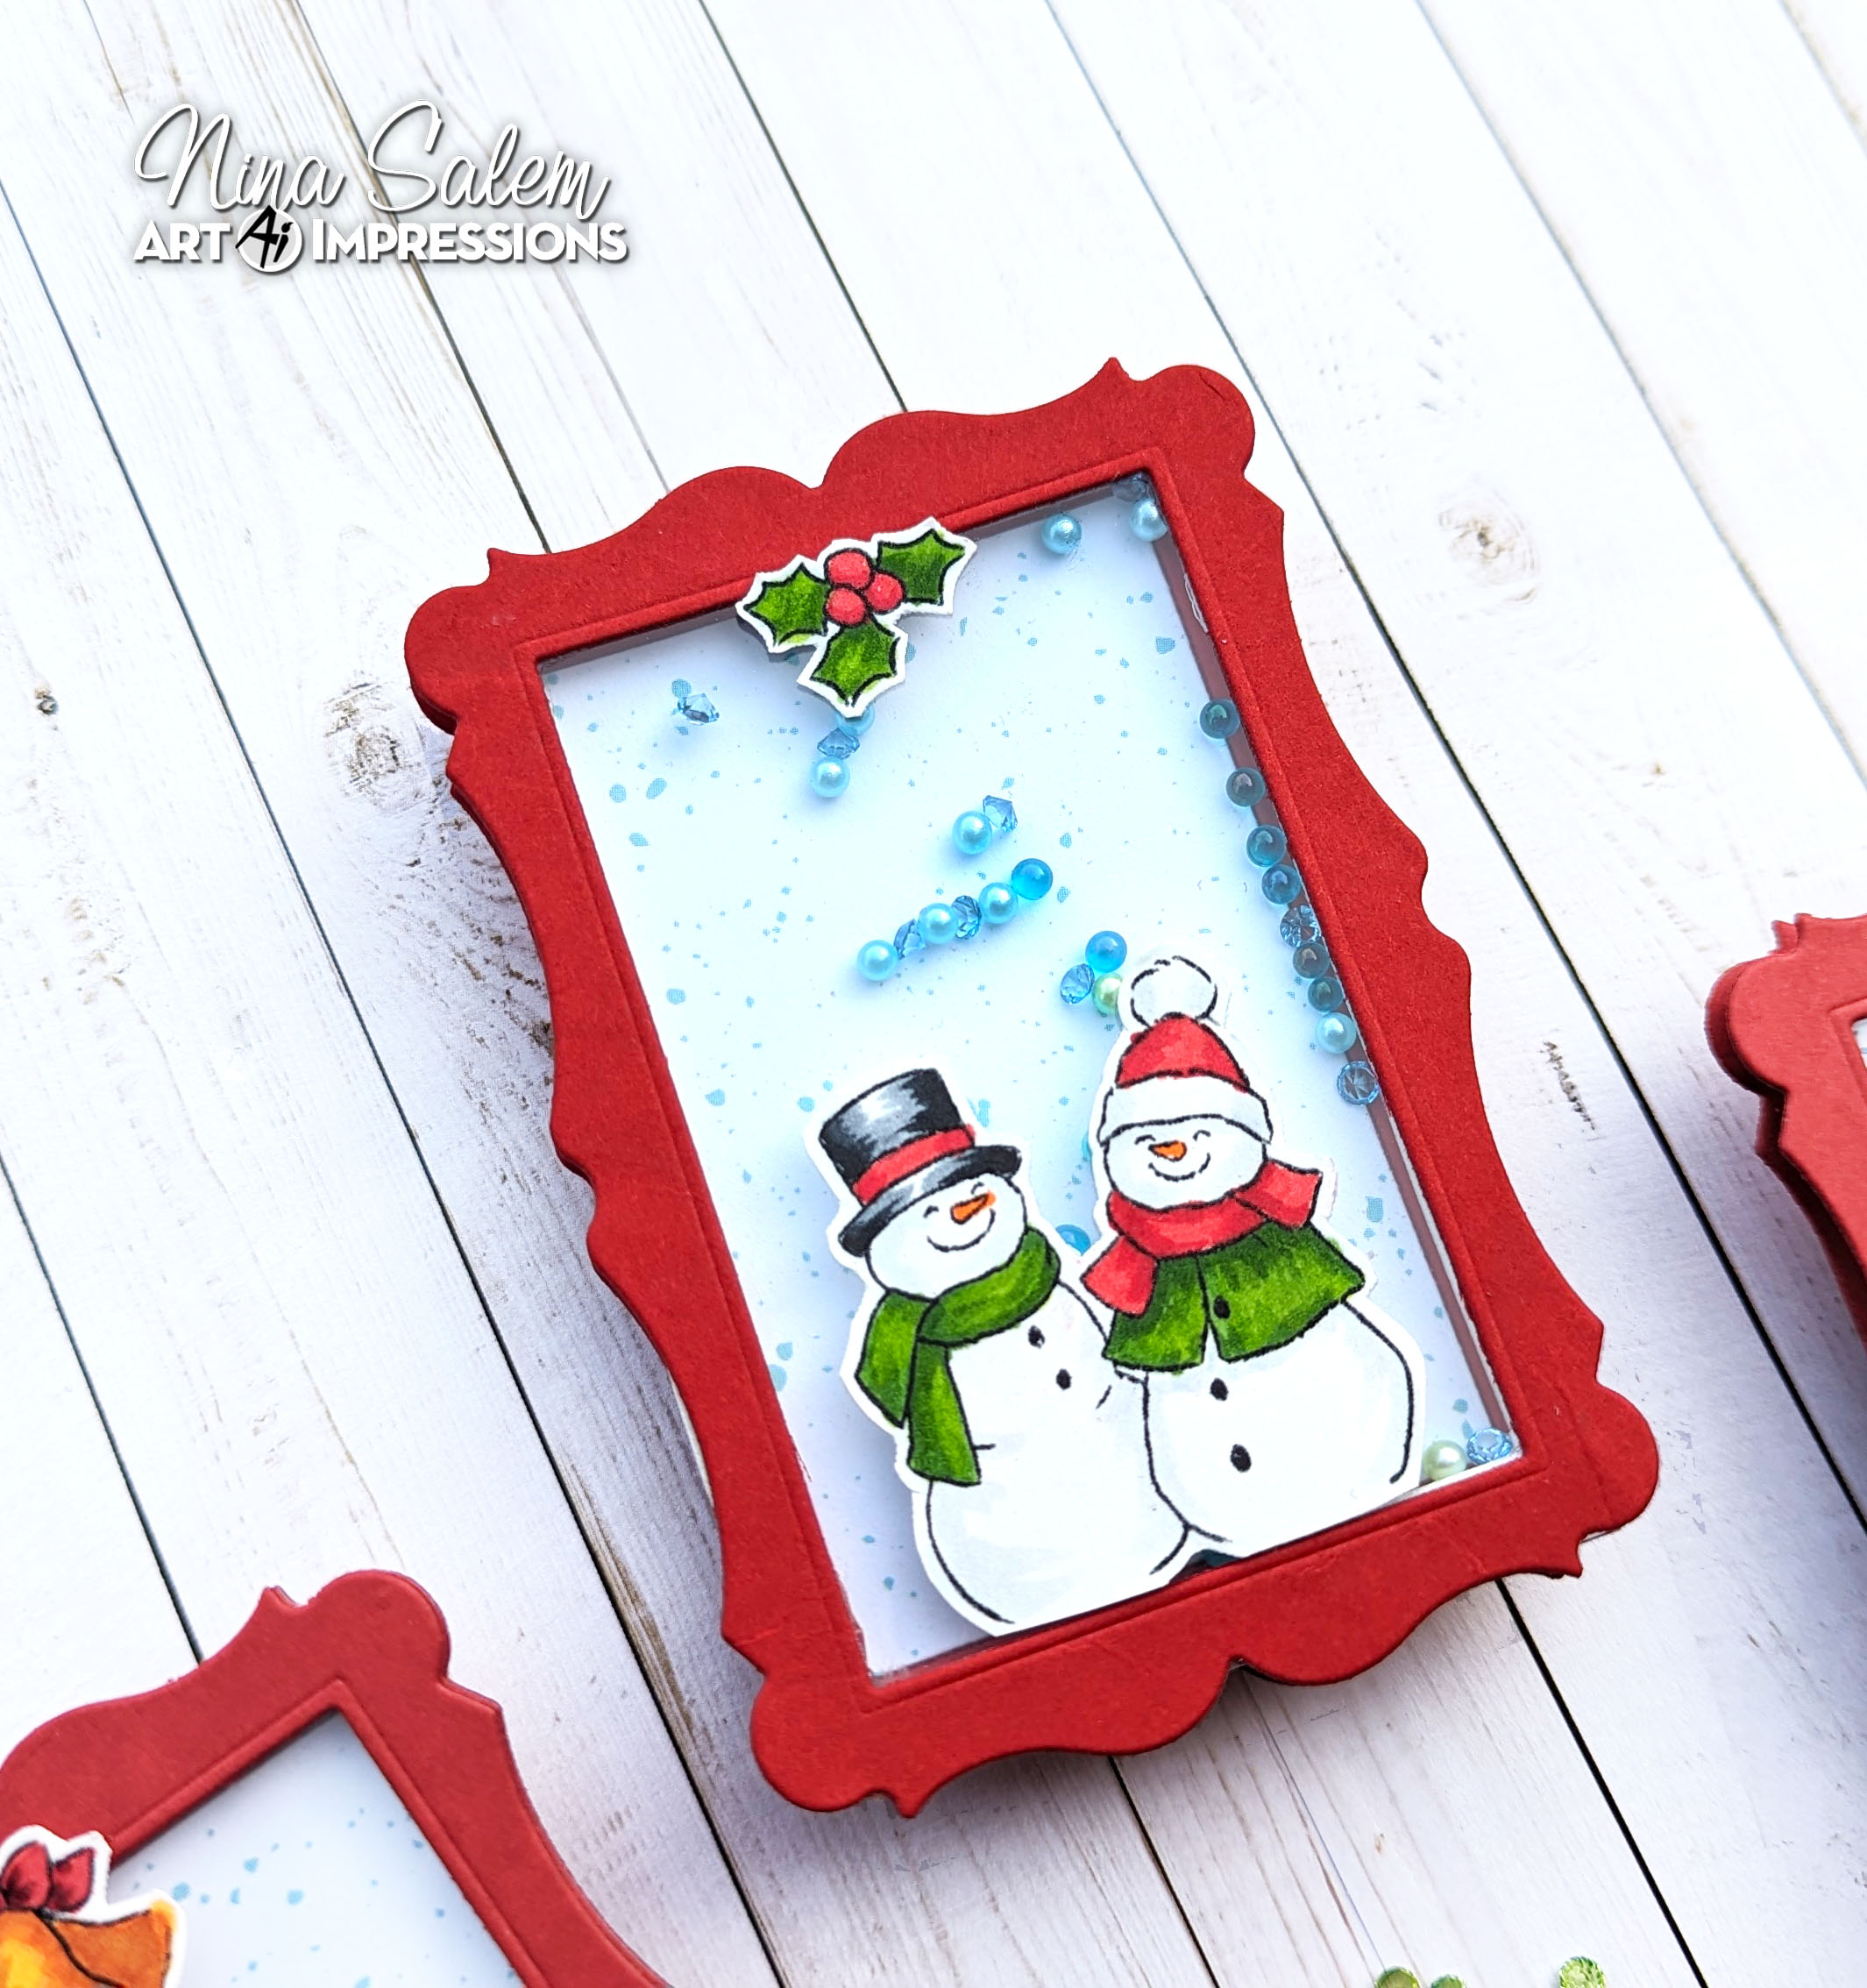
Hello Ai fans, Nina here and I am so excited to share with you today's project. I made these adorable Christmas shaker tags that you can easily recreate and use for your Christmas gifts. I used our recently released Mini Christmas Set and the Journal Template Die Set.
I started by Stamping all these cute images on a thick white paper using Memento Tuxedo Black Ink and my Mini Misti and colored them with Copic markers.
I then cut all around the images leaving a white border all around which gives this chic finish to the images.
To create the shaker part I basically die cut two frames from the Journal Template die set and sandwiched the shaker beads in between both the frames. Let me explain in details.
For each tag I die cut the frame twice. I choose red cardstock to match my Christmas theme. for one of the frames I taped the inside rectangle to the outer frame from the back and then backed it with a scrap of paper to hide the tape, this would be the bottom background. I then glued this very light blue background.
To create a well for the beads to freely move in without falling out, I placed thin strips of foam tape on the edges of this bottom layer. Make sure they are too thin and place it on the outer edges only so that when you attach the top frame all the foam tape is hidden underneath.
I then poured the beads and placed a piece of acetate wide enough to attach to all the foam tape all around so the beads donot escape.
I then added glue on the edges of the acetate and placed the final frame on top of it.
Finally I attached all the images on top of the acetate with double sided tape.
I forgot to add the twine loops to be able to hang the tags before taking the pictures. If you keep them without the loop they are so cute to attach to the box of a gift or the mini gift card boxes. to make it a tag just cut a small twine and glue it to the back.
Thursday, November 16, 2023
Making Spirits Bright Challenge #364 week 2
Hello everyone and welcome to week two of our Making Spirits Bright challenge!
As promised last week, we have Janet's feature tutorial for you. Her card is so full of sparkle and cheer that it's sure to make everyone's spirits bright! Let's see what Janet has prepared for you!
Hello everyone! It's week 2 of our Making Spirits Bright challenge. To participate and possibly win free stamps from Ai, you just need to make an upload a holiday themed card to our challenge post.
Today I'm showcasing the 5779 - FB Snowman stamp and die set. To begin this project, I stamped the front and back of the snowman, colored them with Copic markers, and cut them out with the dies included in this set. I glued them together. Because they are a Front Back set, they match up perfectly when glued glued with wrong sides together.
To make the front of the card, I started with a white glitter A2 sized card. I cut a piece of holly cardstock from the 5812 - Christmas S2 PP with the 3rd largest rectangle die from the 5724 - Nested Rectangle Dies set. I cut another piece of green cardstock with the largest rectangle die. I glued these on top of each other and then glued the stack to the top of the card. I used the rectangle die in the 5719 - FB Fence & Window Dies to cut a rectangle in the three layers of cardstock. This die is exactly the correct size so that the fence die in this set fits around the rectangle. After cutting the rectangle, I cut two fence pieces and glued one on the front of the car and the other on the inside.
Inside I added a rectangle covered in winter glitter washi tape. When the card is shut, the glittered trees and snow show through the window cut with the fence die.
Janet - YouTube - Blog - Facebook - Instagram - Pinterest
What a gorgeous card Janet!! Thank you for such amazing holiday inspiration!
Now for the rest of the Design Team.
You saw my card last week and can find all of the details here.
Next we have Tasha who used:
4936 – Christmas Wonder Set
5782 – Snowflake Frame Die
5566 – Christmas Sentiments
WC Poinsettia Set (5828)
Lg Snowflake Dies (5353)
Snowflake Frame Set (5782)
Christmas Sentiments Set (5566)
Christmas S2 Paper Pack (5812)
You are invited to the Inlinkz link party!
Click here to enterTuesday, November 14, 2023
Happy Holidays Tag by Nina
Hello Ai fans, Nina here and today I have a very adorable pinkish Christmas/Holidays tag using Ai Stitched Die Set and MB Christmas.
I started by stamping images from the Matchbook die set using Memento Tuxedo Black Ink and Mini Misti and then colored them with my Copic Markers.
I then cut the images and backed them with foam tape for extra dimension.
I cut the tag using the biggest die from the die set from a pink pattern paper. I also die cut the ground from a matching pattern paper to be the ground where my images will sit on.
I placed my cabinet images on the floor strip and placed the toys shelf a little above as if it is hanging on the wall above the cabinets.
I then found these cute letters in my stash that matched perfectly my color palette. I used them to write my sentiment Happy Holidays.
I cut another tag from white sturdy paper and attached them together to make the tag more sturdy and added a hole reinforcer around the top hole.
Tuesday, November 7, 2023
Gone Fishing Card by Nina
Hello Ai fans, Nina here with a bright fun card using the cutest Ai Sport Shelf throwback set and Stitched Rectangle and Stitched Squares Die Sets.
I chose the fishing image from the Sport Shelf set and stamped it using my Mini Misti and Tuxedo Black ink and then colored it using my Copic Markers.
I then cut all around my images and backed them with foam tape.
I also cut a strip of paper and colored it with Copic brown shades to be a shelf under my image.
I used Stitched rectangle dies to cut the background from a striped bright pattern paper and used stitched square dies to cut a small square to place under my image to define it against the colorful background.
I attached the square to the striped background and then attached my large image on top and the image of baits hanging from the square.
I then used alphabet stickers to write my sentiment "Let's Go Fishing"
I placed the whole panel on a slightly larger white paper.