
Welcome to the latest Art Impressions challenge!
For the next two weeks, we want you to get ridiculous.
That's Ridiculous!!
Funny cards or crafty projects.
Before we see what our Featured Designer Tasha has created for your inspiration, let's see who won our You Spin Me Round challenge.
For our Top Spot we selected:
Liz Williams
She used 5283 – Frog Set

Simone Carr was our Lucky Random Winner.

She used 5399 – Gull-Friends Set.


Hi everyone!
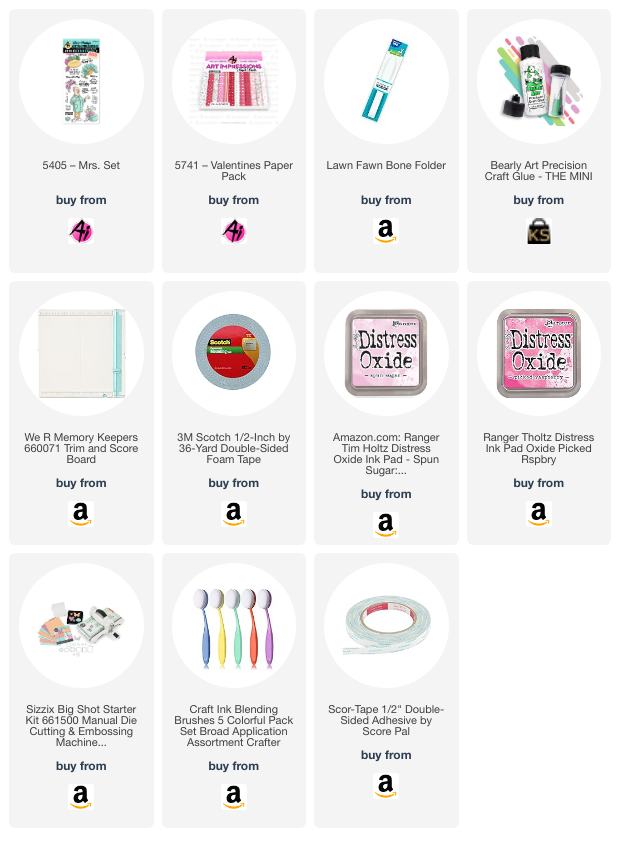
I'm thrilled to share with you a delightful Easel with Drawer Card inspired by the "That's Ridiculous" Challenge! This project features the fun 5405- Mrs. Set, this lady totally brings a fabulous flair to this theme! To kick things off, I stamped the lady, her hairpiece, and a fitting sentiment using black hybrid ink. Cutting out the images was a breeze with the included dies, especially the hat dies, which cleverly craft an opening for her head, allowing for easy hat changes!

For the backdrop, I stenciled a cool brick wall using two shades of pink Distress Oxide Ink and created a wooden floor. Using foam tape, I centered the lady on the card and adorned the wall with several white enamel dots, creating a chic frame for our High Maintenance lady.
Once the background was set, it was time to make the interactive card base, box base, and drawer. While they may seem intricate, fear not—once you dive in, it all comes together seamlessly.

With the base pieces assembled, I turned my attention to cutting the paper layers. The Art Impressions Valentines Paper Pack prints perfectly complemented the heart-print pajama pants. And who can resist the classic combo of pink and red? To add a touch of elegance, I opted for black and silver glitter paper to mat the layers, framing the pattern paper flawlessly.

To add the finishing touches, I punched a hole in the drawer and added a modern black & white ribbon as a handle. Oh, and let's not forget the pièce de résistance—several pieces of candy nestled inside the drawer to complete the project!
I hope you enjoyed today's project and are inspired you to join in the "That's Ridiculous" Challenge!

Card Box:
- Box Base: Cut a piece of paper measuring 7" x 11".
- Scoring: Score along the 7" side at 5" and 6", and along the 11" side at 1" and 6".
- Crease Lines: Use a bone folder to crease each scored line.
- Cutting Tabs: Cut on the 5" and 6" score lines up to the 1" and 6" score lines to create tabs.
- Assembly: Use strong liquid glue to assemble the box base.


Drawer:
- Drawer Base: Cut a piece of paper measuring 6-7/8" x 6-7/8".
- Scoring: Score at 1" on all four sides.
- Cutting Sides: Cut on each side where the X is marked.
- Crease Lines: Use a bone folder to crease each scored line.
- Assembly: Use strong liquid glue to assemble the drawer base.


Easel Card:
- Easel Base: Cut a piece of paper measuring 5" x 10".
- Scoring: Score on the 10" side at 5" and 7-1/2".
- Crease Lines: Use a bone folder to crease each scored line.


Center Card Layers:
- Glitter Layer: 5" x 5"
- Black Layer: 4-7/8" x 4-7/8"
- Pattern Layer: 4-3/4" x 4-3/4"
- Black Layer: 4-1/2" x 4-1/2"
- Center White Paper: 4-3/8" x 4-3/8"
Bottom Easel Card Layers:
- Black Layer: 4-7/8" x 4-7/8"
- Pattern Layer: 4-3/4" x 4-3/4"
- Pattern Strip: 3/4" x 4-3/4"
- Greeting: Cut to fit the sentiment you want to use.
Drawer Layers:
- Black Layer: 7/8" x 4-3/4"
- Pattern Layer: 3/4" x 4-5/8"
Side Panel Layers:
- Black Layer: 7/8" x 4-7/8"
- Pattern Layer: 3/4" x 4-3/4"

✻ Please make a new card or handmade crafty creation. You can make any item you wish; this is not limited to cards!
3 comments:
Congratulations to the winners. A cute pop up card and box. Thank you for the direction on how to make the box portion of the card.
Thank you, Deb! :)
A huge congratulations to the winners! Great cards!! Tasha, I LOVE your card box!! What a great way to add a little gift!
Post a Comment