Showing posts with label 5741 Valentines Paper Pack. Show all posts

Sunday, January 18, 2026

Valentine Wreath Gate-fold Card and Sweet Wishes Storybook Frame by Diane Mason

 Hello, and welcome back for Watercolor Weekend! 

Hello all my Ai watercolor friends and fans, and Happy 2026! This is my first post of the year, and January 1st is always special to me—not only does it mark the start of a new year, but it’s also my Art Impressions Watercolor Design Team anniversary. I can’t believe it’s already been three years!

Today I’m excited to share two Valentine’s Day projects with you: a Valentine Wreath Gate‑fold Card and a cute little Valentine’s Storybook Frame.

Valentine Wreath Gate-fold Card:

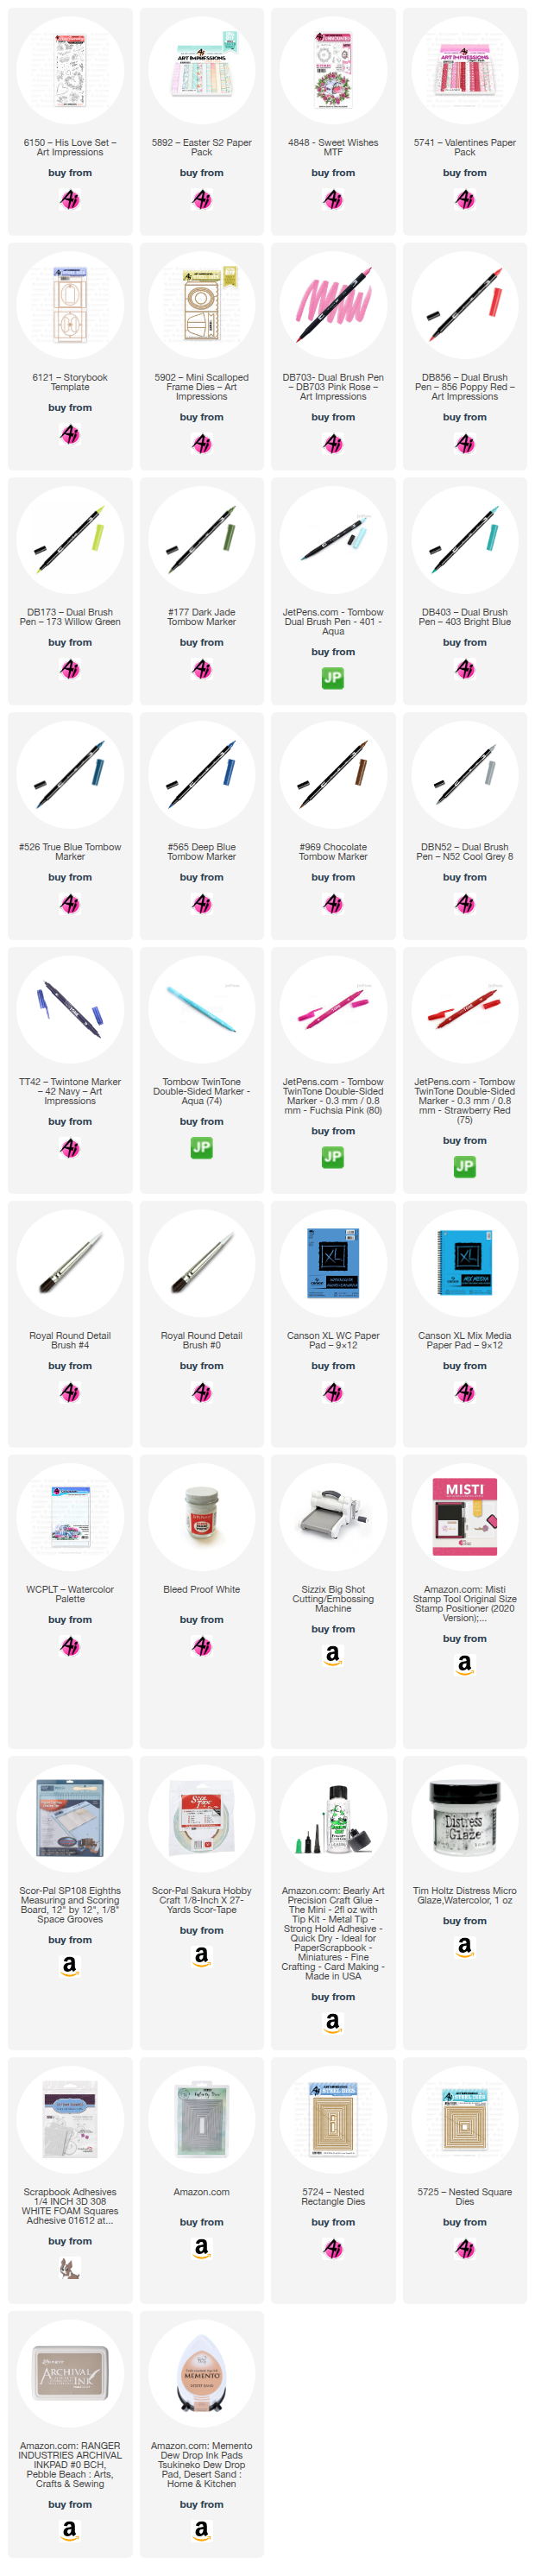
This soft, romantic gate‑fold card features images from the recently released Bible Journaling Set 6150 – His Love. Although it’s designed for Bible journaling, it’s also perfect for all kinds of love‑themed projects. I always enjoy sharing ideas for stretching your stamp collection and using sets in unexpected ways.

Using my stamp platform, I inked the wreath image with Memento Desert Sand and stamped it onto Canson XL watercolor paper. This light ink keeps the lines soft while still preserving the details. (You can ink the flowers and foliage separately in pink and green, but this particular stamp is quite detailed.)

I began by adding a light wash of 703 to each rose, leaving white space for highlights. To deepen the petals, I layered additional 703 into the shadowed areas until I was happy with the value. The hearts on the vine were also painted with 703.

For the rose centers, I dotted in a touch of TwinTone Chrome Yellow and softened it with a damp brush. The leaves were painted with 177, deepening the bases for contrast.

To create a soft, ethereal glow, I brushed a watery mix of 403 around both the inside and outside edges of the wreath. Once dry, I used a fine #0 brush to scatter tiny hearts in 703—just two simple strokes forming a little “V” shape. I also used the #0 brush to add 177 to the vines and refine the leaf details.

Where needed, I added definition to the roses with a Fuchsia Pink TwinTone and blended lightly with water. A touch of Dr. Ph. Martin’s Bleed Proof White restored any missing highlights.

I cut a piece of blue shimmer cardstock to 8½” x 5½”, scored at 1½” and 5¾”, and folded in the sides.

  • Left panel: pink patterned paper from 5892 – Easter S2 Paper Pack, cut to 1¼” x 5¼”
  • Right panel: blue‑green vine pattern from the same pack, cut to 2½” x 5¼”

Both panels were adhered with double‑sided tape.

The watercolor panel and its mat were die‑cut using 5725 – Nested Square Dies (3” x 3” and 3¼” x 3¼”). I mounted the finished piece to the card front, applying adhesive only to the left side so the gate‑fold can open properly.

Inside the card, I added a 4” x 5¼” pink mat and a 3¾” x 5” white panel.

  • The Valentine sentiment from 4848 – Sweet Wishes MTF was inked in 703.
  • The heart stems from 6150 were inked in 703 and 401.
  • The small heart border was stamped repeatedly along the bottom in 401.

Sweet Wishes Storybook Frame:

Late last year, Art Impressions released the Storybook Template Die along with two coordinating stamp sets for creating adorable Christmas ornaments. The template forms a 3D box where you can build a little scene inside. At the time, Bonnie hinted that more coordinating sets might be coming—I can’t wait to see what she dreams up next!

That got me thinking: why not use the Valentine images from the Sweet Wishes Mini TryFold to create a little Valentine storybook scene?

For this sweet frame, I combined the 4848 – Sweet Wishes MTF set with the 6121 – Storybook Template. The tag was created using a banner die from 5902 – Mini Scalloped Frame Dies. The box is cut from white shimmer cardstock, and the heart patterned paper is from the 5741 – Valentines Paper Pack.

All images were stamped in Memento Desert Sand onto Canson XL Mix Media Paper.

Here’s the color palette I used for each element:

Rose Wreath

  • 177 (vine and leaves)
  • 856 (roses)
  • Dr. Ph. Martin’s Bleed Proof White

Mailbox

  • 256 (mailbox and interior lid)
  • 565 (post, flag clips, slot, knob)
  • 856 (ribbon, flag)
  • N52 (flag post)
  • 403 (sky)

Bird with Letters & Candy

  • 856 (heart and letter)
  • 703 (letter)
  • 403 (letter)
  • 703 + 565 (bird, mailbox interior)


Once everything was painted, I die‑cut the center from the wreath and die-cut the opening for the mailbox lid. The mailbox piece was trimmed to match the die size of the die with the oval opening (approximately 2⅝” x 3”). I cut a second piece the same size to mount the bird image on.

The included die cuts the interior of the wreath, but not the outer edge, so I fussy‑cut the wreath with fine detail scissors, leaving a small white border. Mix Media paper cuts easily, so this step went quickly.

The oval opening on the Storybook die was slightly too large for the wreath to sit neatly on top. To fix this, I cut the heart patterned paper again at 2⅝” x 3” and used a smaller oval from 5902 – Mini Scalloped Frame Dies to create a better‑sized opening. The wreath was then adhered to the box front with double‑sided tape.


To assemble the layers, I used foam squares to pop up each piece, starting with the bird layer and working forward. I positioned the bird so it peeks out when the mailbox lid is opened—such a fun little surprise for the recipient. Once all the layers were in place, I glued the box closed.

I die‑cut an ornament topper from white shimmer cardstock and attached it to the top of the box to hold the ribbon and tag. I folded and glued the topper about two‑thirds of the way down, then folded out small tabs on each side so it could be secured to the box.

For the tag, I stamped a sentiment from 4848, die‑cut it with the banner die from 5902, and tied it on with red baker’s twine. A double bow of red ribbon was added with a glue dot.

To finish the back, I layered more red heart paper with Mix Media paper. The Valentine sentiment and heart border from 6150 were stamped in 856, and the rose was painted using the same colors as the wreath.

Just look at that cute little guy peeping at you from the mailbox! I think it will be fun for the recipient to open the mailbox lid and get a sweet little surprise.

That’s all for now—thanks so much for stopping by for Watercolor Weekend! I hope these ideas inspire you to experiment with some “out of the box thinking” and create something fun for Valentine’s Day with your stamp collection.

Until next time, Happy Painting!

Saturday, March 22, 2025

Pet Shop Matchbook Card by Janet


I'm back this week with another new Matchbook card. It's called 6016 - MB Pet Shop. And this one sure doesn't disappoint! The details of all the little critters and birds are pretty incredible. Mice, dogs, cats, fish, birds, bunnies, and even a gerbil make this card so very cute for any animal lover. It even includes reptiles with a cheerful turtle and frog. I'm glad there's no snakes but if there were, I'm sure somehow it would drawn in the most cute way.

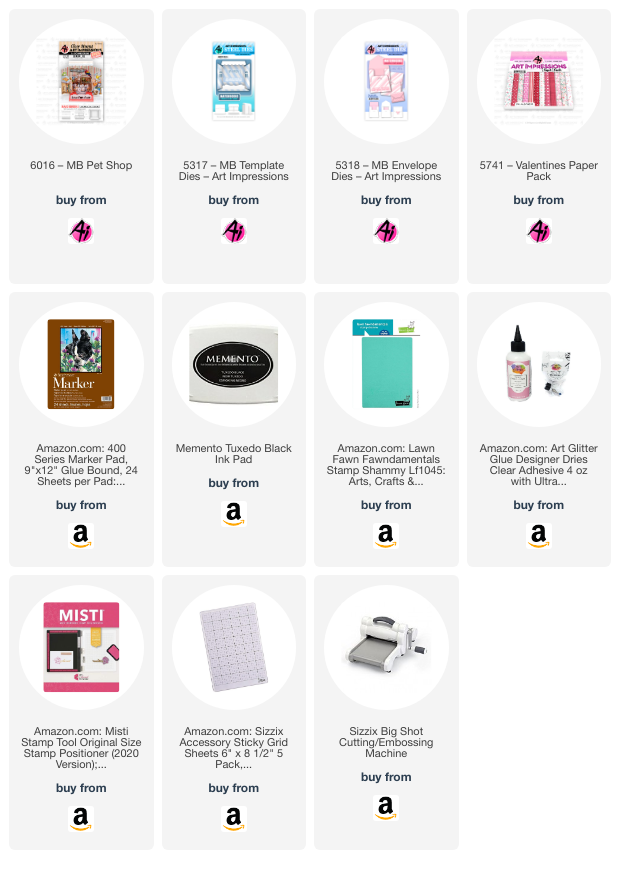
This card is made using the base card set used for all MB image sets. It's 5317 - MB Template dies. I used heart patterned paper from 5741 - Valentines Paper Pack. I used a coordinating heart paper from the pack to cut out an envelope using 5318 - MB Envelope Dies. I decorated the envelope with a bow cut from a die in the set to decorate my envelop too. I folded the envelope following the score lines that the die pushes into the paper and decorated it with a paper bow and red pearl heart.

Making a MB card is easy. I started by stamping the images from this set on alcohol ink friendly paper. I colored using my Copics and then used the dies to cut the pieces out. The dies score fold lines in the pieces so they can be easily folded and glued into the card base. Once done, you simply fold the card base together, making sure to tuck in the stamped images. Then you can insert it into the envelope and it's ready to give away! The MB series creates so many wonderfully whimsical scenes. You are sure to find a theme that will delight anyone in your life. Best of all, no matter their age, they will find delight in them.

Thanks so much for joining me here today and I hope you enjoyed seeing my matchbook card. As always, please visit the Ai Store for the products I used and all the things for your card, journal, and tag making projects. Happy Creating!

Janet YouTube - Blog - Facebook - Instagram - Pinterest 

Friday, January 31, 2025

I Love You Tons! Card by Tasha

 Happy Friday Ai Friends!

Tasha here sharing a new Valentine's Day card created with 5219-Lovable Animals Set and inspired by the current Art Impressions "Highlights" Challenge. This set has four adorable animals, but I just love this sweet elephant with his little bow tie!

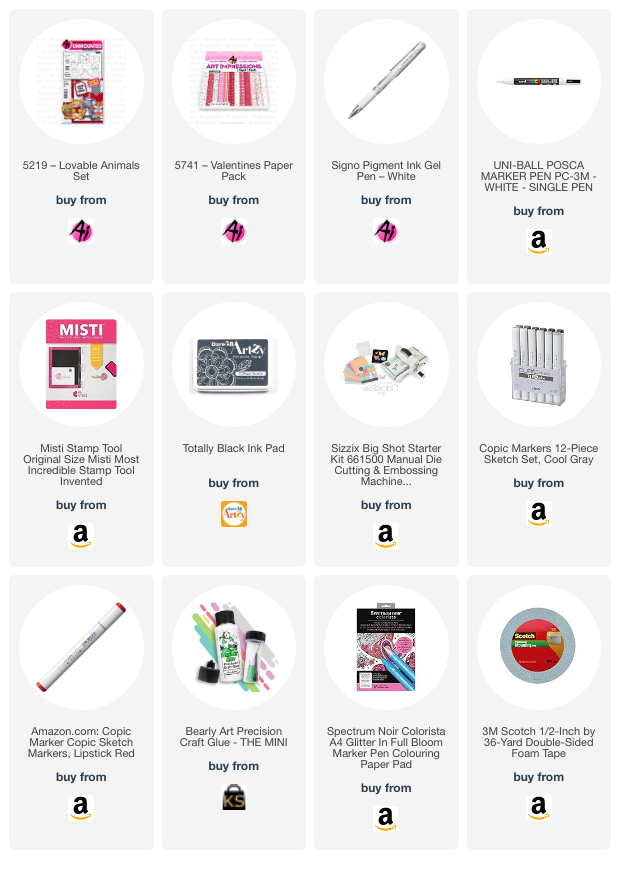
The elephant was stamped with black hybrid ink, colored with Copic markers, and cut with the included dies. The die also creates the opening on the arms, so you can add different accessories to customize your card or project. Since Valentine's Day is coming up, I used the included small heart die to cut a red heart and added white accents with my paint marker. I also used my paint marker to add little dots on the bow tie; so cute!

After the elephant was colored, I made a background with puffy clouds and a wooden floor. The greeting "I Love Sharing My Heart With You" goes perfectly with the theme of this card and coordinates with the paper heart; I love it! 

Lastly, I attached layers of black, red, and white card stock, silver glitter paper, and a piece of heart pattern paper. I also attached white enamel dots to complete the design.

Thank you for stopping by and I hope your enjoyed today's card and will join in the "Highlights" Challenge!


Thursday, January 30, 2025

Highlights! Challenge #396 Week #1

 Welcome to week #1 of our Highlights Challenge.

We want to see you use either a white gel pen or Dr. Ph Martin's paint to add some highlights to your projects. We all know that a little highlight here or there can add so much dimension to a project. Let's see what you've got!

Before we see what our Featured Artist Tasha has in store let's see who won our Monochromatic challenge.

For our Top Spot we selected


Please contact Leah at Feedback@artimpressions.com
to claim a free stamp set of your choice!! ***Leah is out of the office until further notice***
but someone is covering for her. Please be patient if there is a slight delay.
Also, be sure to grab our badge to display on your blog, Facebook or Instagram!

Our Lucky Random Winner was #13
(who says 13 is unlucky...lol!)


Please contact Leah at Feedback@artimpressions.com
to claim a free stamp set of your choice!! ***Leah is out of the office until further notice***
but someone is covering for her. Please be patient if there is a slight delay.
Also, be sure to grab our badge to display on your blog, Facebook or Instagram!

Congratulations to you both! Enjoy your new stamps.

Tasha is our Featured Artist and for those of you who don't know, she is the QUEEN of white gel pens. 
I just know that you're going to love what she created. I learned something from her. I didn't know that white gel pens come in different sizes like Microns or other markers. Cool!

--------------------------------------------------------------------------------------------------------------------------------------------------------


Hi everyone, Tasha here sharing a new card created with the fun Happy Mailbox Cubbies Set. I love all the mailboxes and it was so much fun customizing the envelopes with my white paint/gel pens!

I started by stamping all the images with black hybrid ink and used the included coordinating dies to cut everything out. The dies cut everything perfectly and makes the mailbox openings, so all you need to do is decorate!

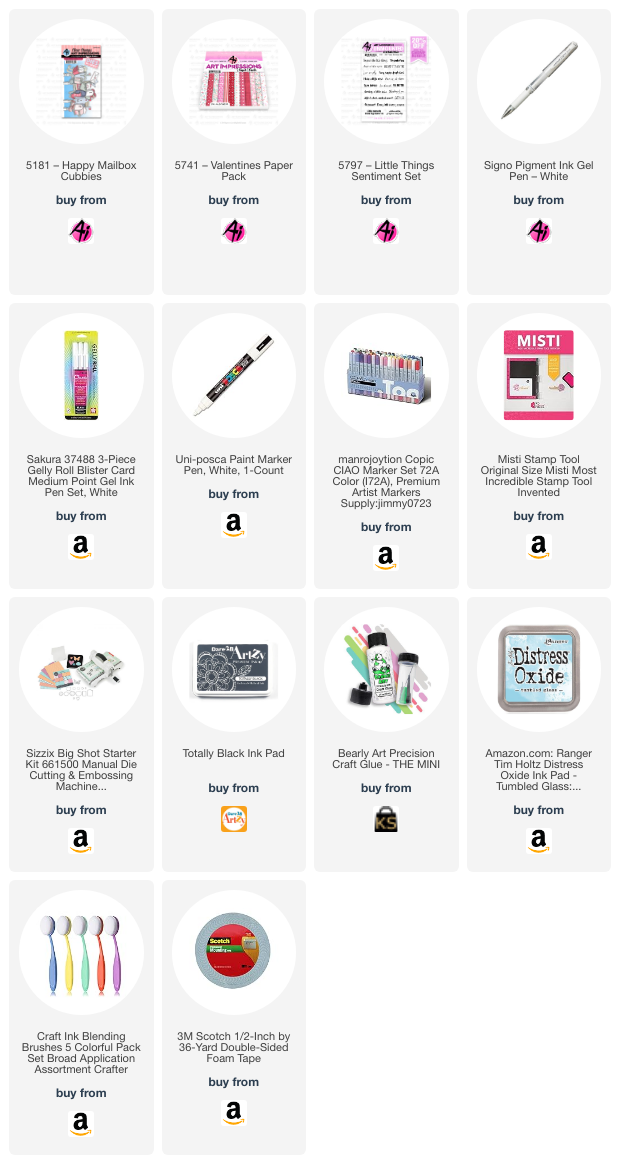
After I had all the images cut, it was time to start coloring. I used Copic Markers and my white gel pens for my project. I am a big fan of adding white accents to my cards and this challenge is the perfect time to get really creative with white details!

I used different types of white ink pens to make my designs. My favorites include a fine paint pen and the #5, #8, and #10 sized white gel pens, I usually mix and match these on my cards. the #5 is really small and is great for eyes, or adding cute details to small critters or floral stamped images. 


For the background, I made puffy clouds with Distress Oxide Ink and a cloud stencil. I just used one color of ink for the sky and love the soft blue and white color combination.


For the ground, I used a slimline grass die and green polka dot pattern paper. The dots add so much detail and go with the highlights theme.

For the greeting, I stamped "Sending a Little Hello" on to white paper and added layers of glitter paper and pink card stock to bring in more color and sparkle. I also attached the greeting to the card with foam tape to raise it up a bit. 

Lastly, I added a pretty pastel pink scalloped frame and attached additional layers of silver glitter paper, deep pink card stock, and a piece an Art Impressions heart pattern paper. I love the tiny hearts and the colors coordinate well with the shades used on the mailboxes. 

I hope you enjoyed todays project and are inspired to join in the "Highlights" Challenge!


You are invited to the Inlinkz link party!

Click here to enter

Friday, January 24, 2025

Love You More! Card by Tasha

Happy Friday Art Impressions Friends! 

Tasha here sharing a new Valentine's Day card created with the super cute 5005 - Valentine Bears Set and 5741 - Valentines Paper Pack. 

I have been working on Valentine's Day cards lately and just had to create a card with this sweet little bear stamp. He is adorable with his paper heart banner and little blue top. I started by stamping the bear with black ink and used masking paper to cover him before creating the background. I made a dark brown wooden floor and covered the background wall with red hearts to bring in more color and coordinate with the Valentine's Day theme. 

After the center card was completed, I added layers of gold glitter paper, red, black, and white card stock, and a piece of pretty heart pattern paper. Lastly, I stamped "Love You More" on to a simple white banner to complete the design. I think this card will be perfect to send to a special someone this Valentine's Day!

Thank you for checking out today's project and I hope you have a wonderful day!


Monday, February 26, 2024

Having a bad day? by Sharon Caudle

 Hello AI Fans!


My card today features another Laugh Lines Set! This one is #5518 Hot Mess. LOL! How many times have you felt exactly like this? I know I've sure been there a few times. HAHA  If you haven't entered our "That's Ridiculous" challenge, you still have a few more days to do so! Just make a funny card or project and you might win a free stamp set of your choice! I also used #5741 Valentines paper pack. She's stamped with Memento ink and colored with Copic markers which are listed below. 


That's it for me today! Thanks so much for stopping by for a visit and until next time - stay crafty!


Copic markers used:

E000, 00, 11, 21, 23, 33, 35, and 37

B00, 21, and 23

G82 and 85

R20

Y26