Welcome to Watercolor Weekend! I am so humbled to be here creating my first-ever blog post as the new design team member for Art Impressions, Tricia left some big shoes to fill, and I hope I can do her proud. My name is Gennette (Nettie) Houghton, and I would love it if you would follow along with me as I share the cards I have made.
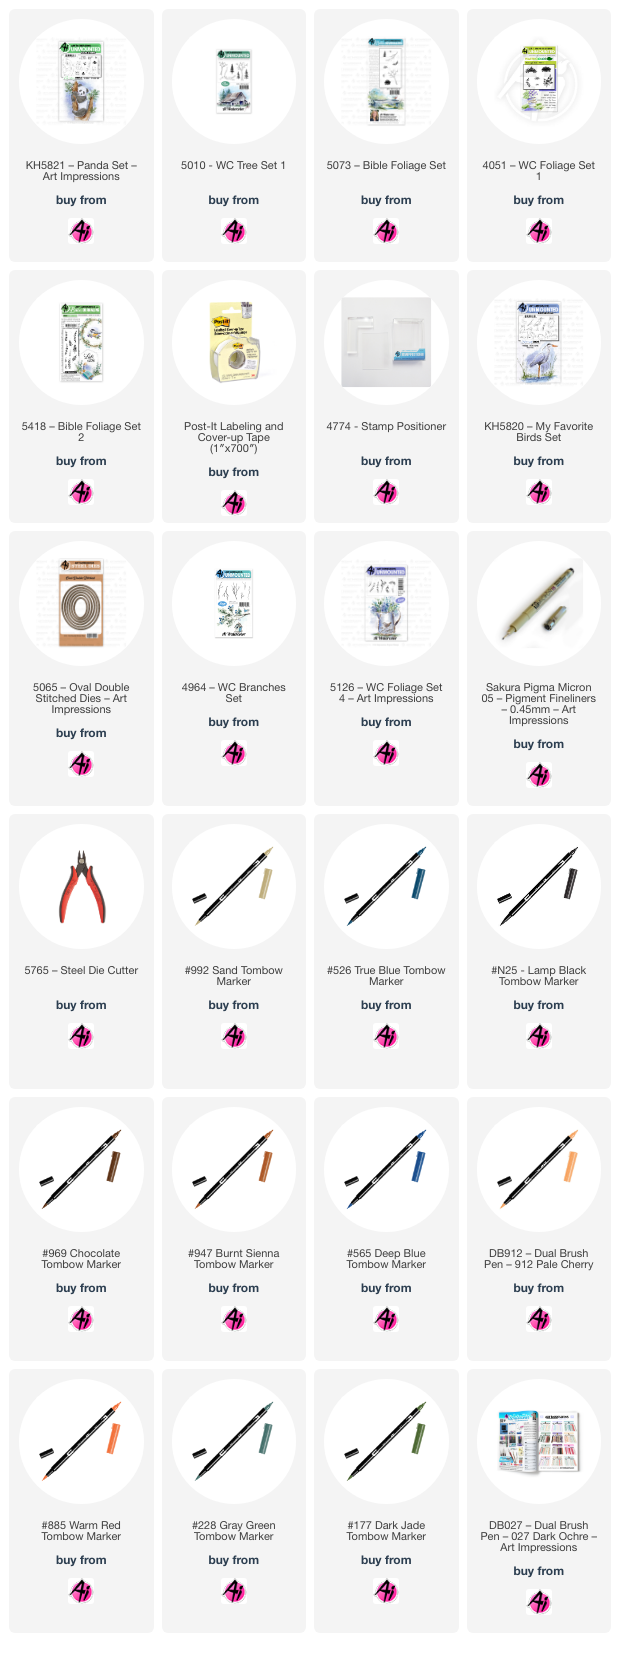
For the 1st card I used Kim’s new set KH5821 Panda set, I started off inking the Panda in Tombow N25, stamping off a couple of times so the lines would be light. Masking the Panda I then used 5010 WC Tree set 1 in TB 969, and a stamp positioner to place the tree behind the panda. I then masked the two branches with post-it tape, and with the positioner, placed the 3rd branch using part of the stamp. Pulling the color out of the tree, I then added more 969 from my pallet to darken the shadowed areas and create more definition. Since I stamped the panda in N25 I only pulled color out of the darker areas, adding several layers to darken and leaving highlights where needed. With a touch of TB 947 in the white areas to create some texture and TB 565 for the shadows. A black micron was used on the eyes and nose.
For the foliage I used 5073 Bible foliage set (you can also
use 4051 foliage set 1), using just 1/3 of the stamp I inked it in TB 912,
walking the stamp to create the base of the foliage section. Then using a small
section of the same stamp I used TB 905 underneath to create a shadow
effect. I found it easier to turn my
paper upside down for this step. Adding
water to blend the two colors together and letting it dry, I then used the
smallest bamboo leaf from the panda set in TB 885, turning it in different
directions to make it look more natural.
Since I didn’t want to lose any definition of the leaves, no water was
added to them.
TB 133 was used for the sky, being careful going around the
leaves, if it bleeds a little bit just rinse your brush off before continuing. Then I used TB 228 as a layer for the ground
and TB 565 for a shadow under the Panda.
Then added the teeny tiny grass from 4051 Foliage set 1 in TB 177 and
pulled some of the color out. I then
finished it using the small bamboo leaf, inking only one leaf in TB 905 for the
falling leaves. Using set 5418 Bible
Foliage set 2, inking half of the Kendra dot stamp in 912, added some dots
throughout the scene.
I live in the country, and one of my favorite things to do is to step outside at night and listen to the sounds of the native wildlife. It’s always a joy when I get to listen to the owls in the area “talk” to each other. It is almost like they are having a deep conversation with the length of time they go on conversing with one another. For my next card I used another set of Kim’s, the KH5820-My Favorite Birds Set.
I decided I wanted to set this in an oval frame, so I chose the dies from
the 5065-Oval Double Stitched Dies, if you want a thicker frame skip the next
size up and use the next largest one.
Using the smaller die a traced the outline on my watercolor paper to
give me a guide. Stamping the owl with
the base colors TB 565 and 969, stamping off twice to then place my image in
the center of my guide. I then used a
pencil to extend the owl’s branch to each side.
I wonder if you would be surprised with the colors I used, after
defining the shadowed areas by pulling the color out, I used a mixture of TB
177 and 969, changing the amounts of each color to get a variation in different
areas. I used a black micron pen for the
eyes with TB 025, the talons were colored with TB 992 and in the highlight area
a touch of TB 025 with TB 969 for the shadows.
The branch was colored with TB 969, darkening the underside for
dimension. With TB 526 I colored in the
sky adding a touch of TB 027 along the top edge for more depth with the
foliage. I colored the branch from 4964 WC Branches Set with TB 027, framing
the owl along 3 sides. The leaves are from 5126 WC Foliage Set 4 and I
alternated between TB 228, 177, 027 to give a depth of color. I used the two dies to create the frame and
then used the largest one to cut out the image, lining them up and attached the
frame with glue. Thank you for joining
me today, I sincerely hope you enjoyed my tutorial, until next time,
Create…Share…Inspire!


3 comments:
Beautiful cards Gennette!! And great post!
Great first post, Gennette!
What a gorgeous set of cards to begin this new journey, Gennette! Beautiful work!!
Post a Comment