Showing posts with label KH5820 My Favorite Birds Set. Show all posts

Monday, June 1, 2026

June 2026 Monthly Challenge with Guest Designer Debbie Hedges

Happy June everyone and welcome to our Monthly Challenge!

As always, this challenge has no theme, so anything you want to create is fine as long as you use something from Art Impressions on it. You might be the next winner of a free stamp set from Art Impressions. Winner is chosen randomly so all skill levels have a fair chance of winning. Two lucky winners will also receive a freebie from me.  (Renee)

Now let's see what Debbie created to inspire you.

Father’s Day is only a couple weeks away and then it will officially be summer! 


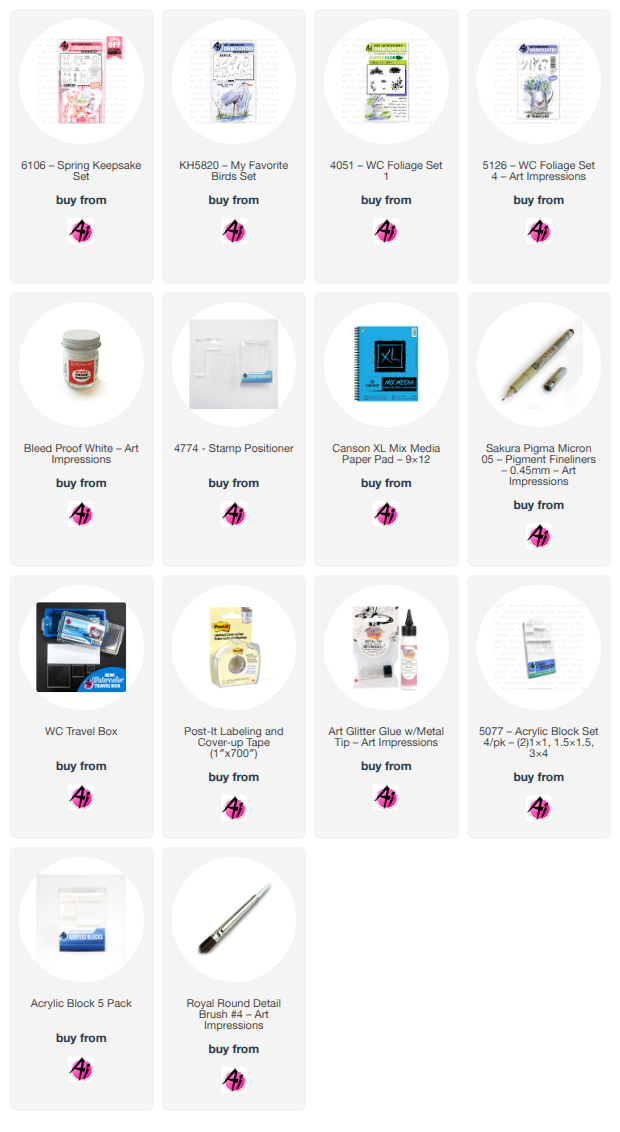
 For my June project, I created a tag with the adorable frog from the Spring Keepsake Set (#6106). I inked the little frog with Pumice Stone Distress ink, stamped off once on watercolor paper and then stamped him on Canson Mixed Media paper. I painted him mainly with lt. green (#11) and then olive green (#15) for the shading. Using the fine-tip, I added dots in olive green (#15) and then touched my brush to them to soften the color. Using a black Micron pen, I darkened his eyes, leaving a white spot for a highlight. I then cut out the frog on a scrap piece of paper and used that as a template to line up the die over my painted frog. Once I had it in position, I secured it with Post-it tape and ran it thru my Cuttlebug. My next step was to cut a stitched tag with Canson Mixed Media paper. I wanted the little frog to be sitting on a river bank, so I sketched a line for the water and then sketched another line for the bank. Using steel blue (#17) from my palette, I added water on the bottom portion of the tag, starting with a darker line where my pencil line was and then making sure I had light and dark areas. I then used sepia (#45) to do the same with my bank. I added my sky next, leaving light and dark areas with sky blue (#75). With my teeny tiny grass (#4051), I stamped grass in a repeat on the left side of the bank to almost the middle of the tag. I wanted wild grass along the bank in more than one height, so I used a tall cattail from Kim’s bird set (KH5820) and a tall grass from Foliage Set 4 (#5126). With the fine tip of my violet marker (#8), I added some dots to the tops of the grass stems for a few wildflowers. Then with Dr PH Martin’s white, I added daisies and some dots for wildflowers. I also added some white lines in my water to look like ripples. Once the daisies were dry, I added centers with the fine tip in brilliant yellow (#43). In the left upper corner of the tag, I stamped leaves to give the impression of a tree using Foliage Set 4 (#5126). I used an embossing folder to emboss the blue paper for the top of my tag. I then used the same tag die to cut the top of the tag and then a border die to cut the decorative edge. I used Art Glitter glue and glued the tag to my card base and then positioned the frog so he was just off the right edge of the tag, giving him a 3-D look. I glued him to the tag and also glued the heart button. I still use Marvy Le Plume markers for my projects.  Most of these can be converted to Tombow colors, but choose colors that work for you. These just happen to be 
some of my go-to colors for any project I work on. 

Here is the link for the Tombow conversion chart:

 https://www.artimpressions.com/shop/art-impressions-most-loved-color-conversion-chart/


 I hope you’ll give this project a try and please be sure to post your project so we can all enjoy it! I adore this little frog! Also, don’t forget to enter the Monthly Challenge for a chance to win a free stamp set! Enjoy the beginning of summer and happy stamping! 


Now let's see who won our May Challenge!


Our Lucky Random Winner was: #4 Diane Z.


Please contact Leah at Feedback@artimpressions.com
to claim a free stamp set of your choice!!

The first winner of a freebie from me is #17 Licia B.

The second winner of a freebie from me is #9 Pat S.


Please email me at Renee@artimpressions.com
with your full name and address and I'll send you a photo of the freebies I have available for you to choose from.

Now for our new monthly challenge, here are the rules.

 ✻ Please make a new card or handmade crafty creation using either stamps, dies and or designer paper from Art Impressions. You can make any item you wish; this is not limited to cards! (unless specified)

✻ Limit two submissions per person.
One random winner will receive a free stamp set from Art Impressions and one random winner will receive a freebie stamp from me.
 ✻Please include your first name and last initial on your submission. You may include your entire last name, but it's not necessary.
✻We love to comment on your entries, but keep in mind if you use a private group or a platform that you need to sign up for, we probably won't be able to.
✻ The Ai Challenge is open to everyone, international submissions are welcome!
✻ Include a link back to the Ai Blog or grab our button on the top right of our sidebar!
✻ Share the Ai love if you can, by clicking and commenting on your fellow crafters.
✻ Make sure to get your link up by the deadline to enter your creations.
✻ Good luck and happy stamping!

You are invited to the Inlinkz link party!

Click here to enter

Tuesday, July 1, 2025

July 2025 Monthly Challenge with Simone Carr

Hello Ai fans!

Welcome to the July 2025 Monthly Challenge!
This month our Guest Designer is Simone Carr.
Please welcome her back and enjoy all of her wonderful creations!


 Hello Crafty Friends,


Today I’m sharing a peaceful coastal scene featuring a pelican perched on a rock. I had a lot of fun building this tranquil moment using a combination of watercolor stamping, masking, and scene layering.


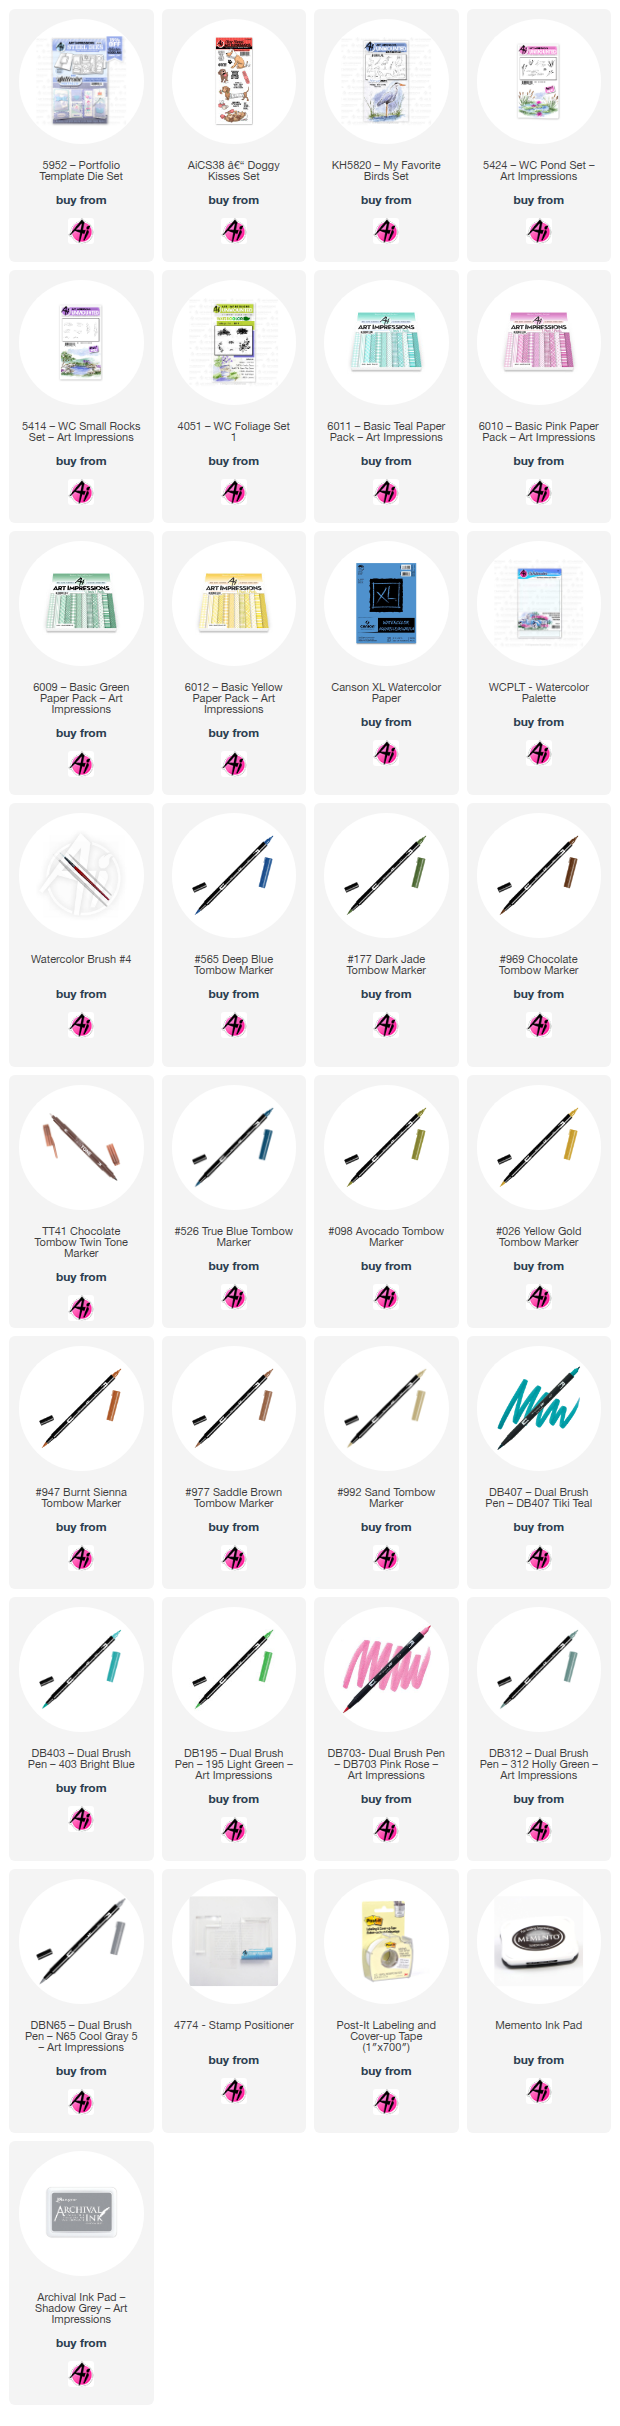
On a piece of watercolor paper, I marked off a square measuring 2 ½" x 3 ¼" and placed Post-it tape around the edges to create a clean, framed look. I stamped the pelican from the KH5820 – My Favorite Bird Set using Tombow 565 and 969, stamping it off once for a softer outline, then onto the paper. Using my stamp positioner, I stamped the rock below the pelican using the same colors.

With the main images in place, I began painting the scene. I mixed Tombow 526 and 177 to create a serene water tone and brushed it in around the base of the rock. I taped off the horizon with Post-it tape and used 026 to paint a soft glow in the background, deepening the color to the left and right sides for balance. For the sky, I brushed in 565 and softened the edges with 526, fading it gently around the pelican.

Next, I added grass using the small grass from Foliage Set 1 (4051) stamped in 098. After shifting the tape slightly upward, I stamped in the cattails from Pond Set (5424) for added detail. In the foreground, I included more grasses using Tombow 177 and 969.

To finish, I watercolored the pelican with light shading in N55 and 969, keeping most of his body white, and added 026 on the beak. The rock was painted by pulling color from the lines, and I added definition with a brown TwinTone marker.

For a final touch, I wrapped some natural string with beads around the bottom of the card to give it a little coastal texture and interest.

Materials Used:

Stamps:

    KH5820 – My Favorite Bird Set

    Foliage Set 1 (4051) – Small Grass

    Rocks Set (5414)

    Pond Set (5424)

Inks & Markers:

    Tombow Markers: 177, 026, 098, N55, 526, 969, 565

    Brown TwinTone

Other:

    Canson Watercolor Paper

    Stamp Positioner

    Post-it Tape

    Natural String and Beads (for embellishment)


I had so much fun creating this playful get-well card using the Doggy Kisses Set (AI CS 38) that I ended up making two bonus cards as well, experimenting with different colors and layouts—perfect for sending a little extra comfort and cheer.


I stamped the image using Archival Ink in Shadow Grey onto Bristol Smooth Cardstock to keep the outlines soft and watercolor-friendly. To color the pup, I started with Tombow 947 for a light wash in the shadow areas, added 992 on the face and belly, and used 977 on the head and legs. I returned with 947 to deepen the shadows for more dimension. The teddy bear was colored with 899 and 992, while 703 added blush to the cheeks, ear, and tissue box. I used 407 for the slippers and 403 for the cup.

The tissue box and cup were fussy cut for added detail. I paired the scene with patterned paper from the Basic Teal Paper Pack (6011) and used an Envelope Edger Die to finish the layout with a clean, curved edge.


Materials Used:

Stamps:

    Doggy Kisses Set (AI CS 38)

    Catastrophe Set (4933)

    Portfolio (5952)

Paper:

    Bristol Smooth Cardstock

    Basic Teal PP (6011)
    Basic Pink PP ( 6010)
    Basic Green PP (6009)
    Basic Yellow PP (6012)

Inks & Markers:

    Archival Ink – Shadow Grey
    Memento Ink Pad

    Tombow Markers: 947, 899, 977, 992, 407, 403, N45, 195, 703, 177, 312, N55, N65, 026, 565

Other:

    Envelope Edger Die

    Fussy Cut Elements (Tissue Box, Cup)

Thanks so much for stopping by! I hope this cheerful card brings a little smile and inspires you to create something heartwarming of your own.
Until next time, happy crafting!
—Simone

You are invited to the Inlinkz link party!

Click here to enter

Sunday, June 9, 2024

Animals In Nature, Panda and Owl by Gennette Houghton


Welcome to Watercolor Weekend! I am so humbled to be here creating my first-ever blog post as the new design team member for Art Impressions, Tricia left some big shoes to fill, and I hope I can do her proud.  My name is Gennette (Nettie) Houghton, and I would love it if you would follow along with me as I share the cards I have made.  


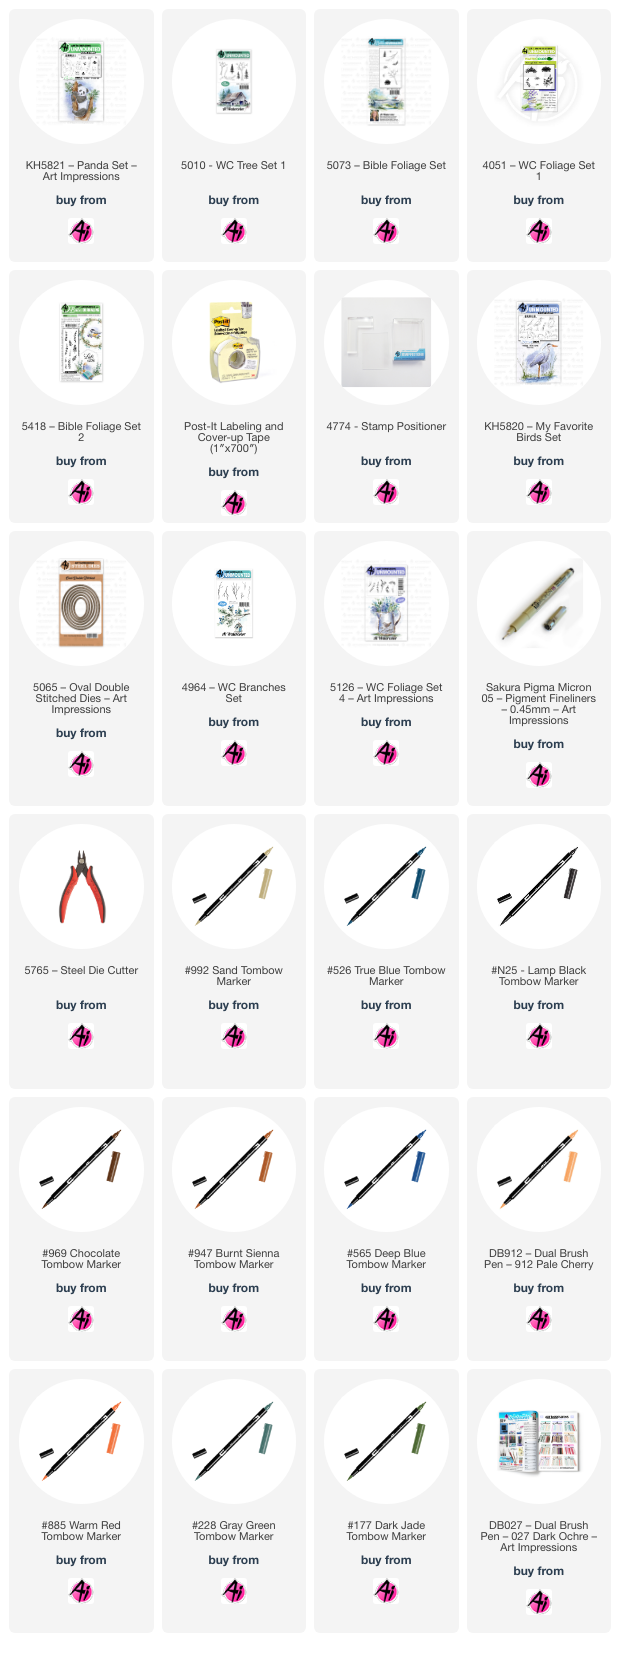
For the 1st card I used Kim’s new set KH5821 Panda set, I started off inking the Panda in Tombow N25, stamping off a couple of times so the lines would be light.  Masking the Panda I then used 5010 WC Tree set 1 in TB 969, and a stamp positioner to place the tree behind the panda.  I then masked the two branches with post-it tape, and with the positioner, placed the 3rd branch using part of the stamp.  Pulling the color out of the tree, I then added more 969 from my pallet to darken the shadowed areas and create more definition. Since I stamped the panda in N25 I only pulled color out of the darker areas, adding several layers to darken and leaving highlights where needed.  With a touch of TB 947 in the white areas to create some texture and TB 565 for the shadows.  A black micron was used on the eyes and nose.


For the foliage I used 5073 Bible foliage set (you can also use 4051 foliage set 1), using just 1/3 of the stamp I inked it in TB 912, walking the stamp to create the base of the foliage section. Then using a small section of the same stamp I used TB 905 underneath to create a shadow effect.  I found it easier to turn my paper upside down for this step.  Adding water to blend the two colors together and letting it dry, I then used the smallest bamboo leaf from the panda set in TB 885, turning it in different directions to make it look more natural.  Since I didn’t want to lose any definition of the leaves, no water was added to them.


TB 133 was used for the sky, being careful going around the leaves, if it bleeds a little bit just rinse your brush off before continuing.  Then I used TB 228 as a layer for the ground and TB 565 for a shadow under the Panda.  Then added the teeny tiny grass from 4051 Foliage set 1 in TB 177 and pulled some of the color out.  I then finished it using the small bamboo leaf, inking only one leaf in TB 905 for the falling leaves.  Using set 5418 Bible Foliage set 2, inking half of the Kendra dot stamp in 912, added some dots throughout the scene.  


I live in the country, and one of my favorite things to do is to step outside at night and listen to the sounds of the native wildlife.  It’s always a joy when I get to listen to the owls in the area “talk” to each other.  It is almost like they are having a deep conversation with the length of time they go on conversing with one another.  For my next card I used another set of Kim’s, the KH5820-My Favorite Birds Set.


 I decided I wanted to set this in an oval frame, so I chose the dies from the 5065-Oval Double Stitched Dies, if you want a thicker frame skip the next size up and use the next largest one.  Using the smaller die a traced the outline on my watercolor paper to give me a guide.  Stamping the owl with the base colors TB 565 and 969, stamping off twice to then place my image in the center of my guide.  I then used a pencil to extend the owl’s branch to each side.  I wonder if you would be surprised with the colors I used, after defining the shadowed areas by pulling the color out, I used a mixture of TB 177 and 969, changing the amounts of each color to get a variation in different areas.  I used a black micron pen for the eyes with TB 025, the talons were colored with TB 992 and in the highlight area a touch of TB 025 with TB 969 for the shadows.  The branch was colored with TB 969, darkening the underside for dimension.  With TB 526 I colored in the sky adding a touch of TB 027 along the top edge for more depth with the foliage. I colored the branch from 4964 WC Branches Set with TB 027, framing the owl along 3 sides. The leaves are from 5126 WC Foliage Set 4 and I alternated between TB 228, 177, 027 to give a depth of color.  I used the two dies to create the frame and then used the largest one to cut out the image, lining them up and attached the frame with glue.  Thank you for joining me today, I sincerely hope you enjoyed my tutorial, until next time, Create…Share…Inspire!


Tuesday, May 7, 2024

So Thankful...by ReneƩ Matarese

 Hey everyone!

Are you enjoying the Birds of a Feather challenge as much as I am?

I love all of the beautiful cards I've seen entered so far.

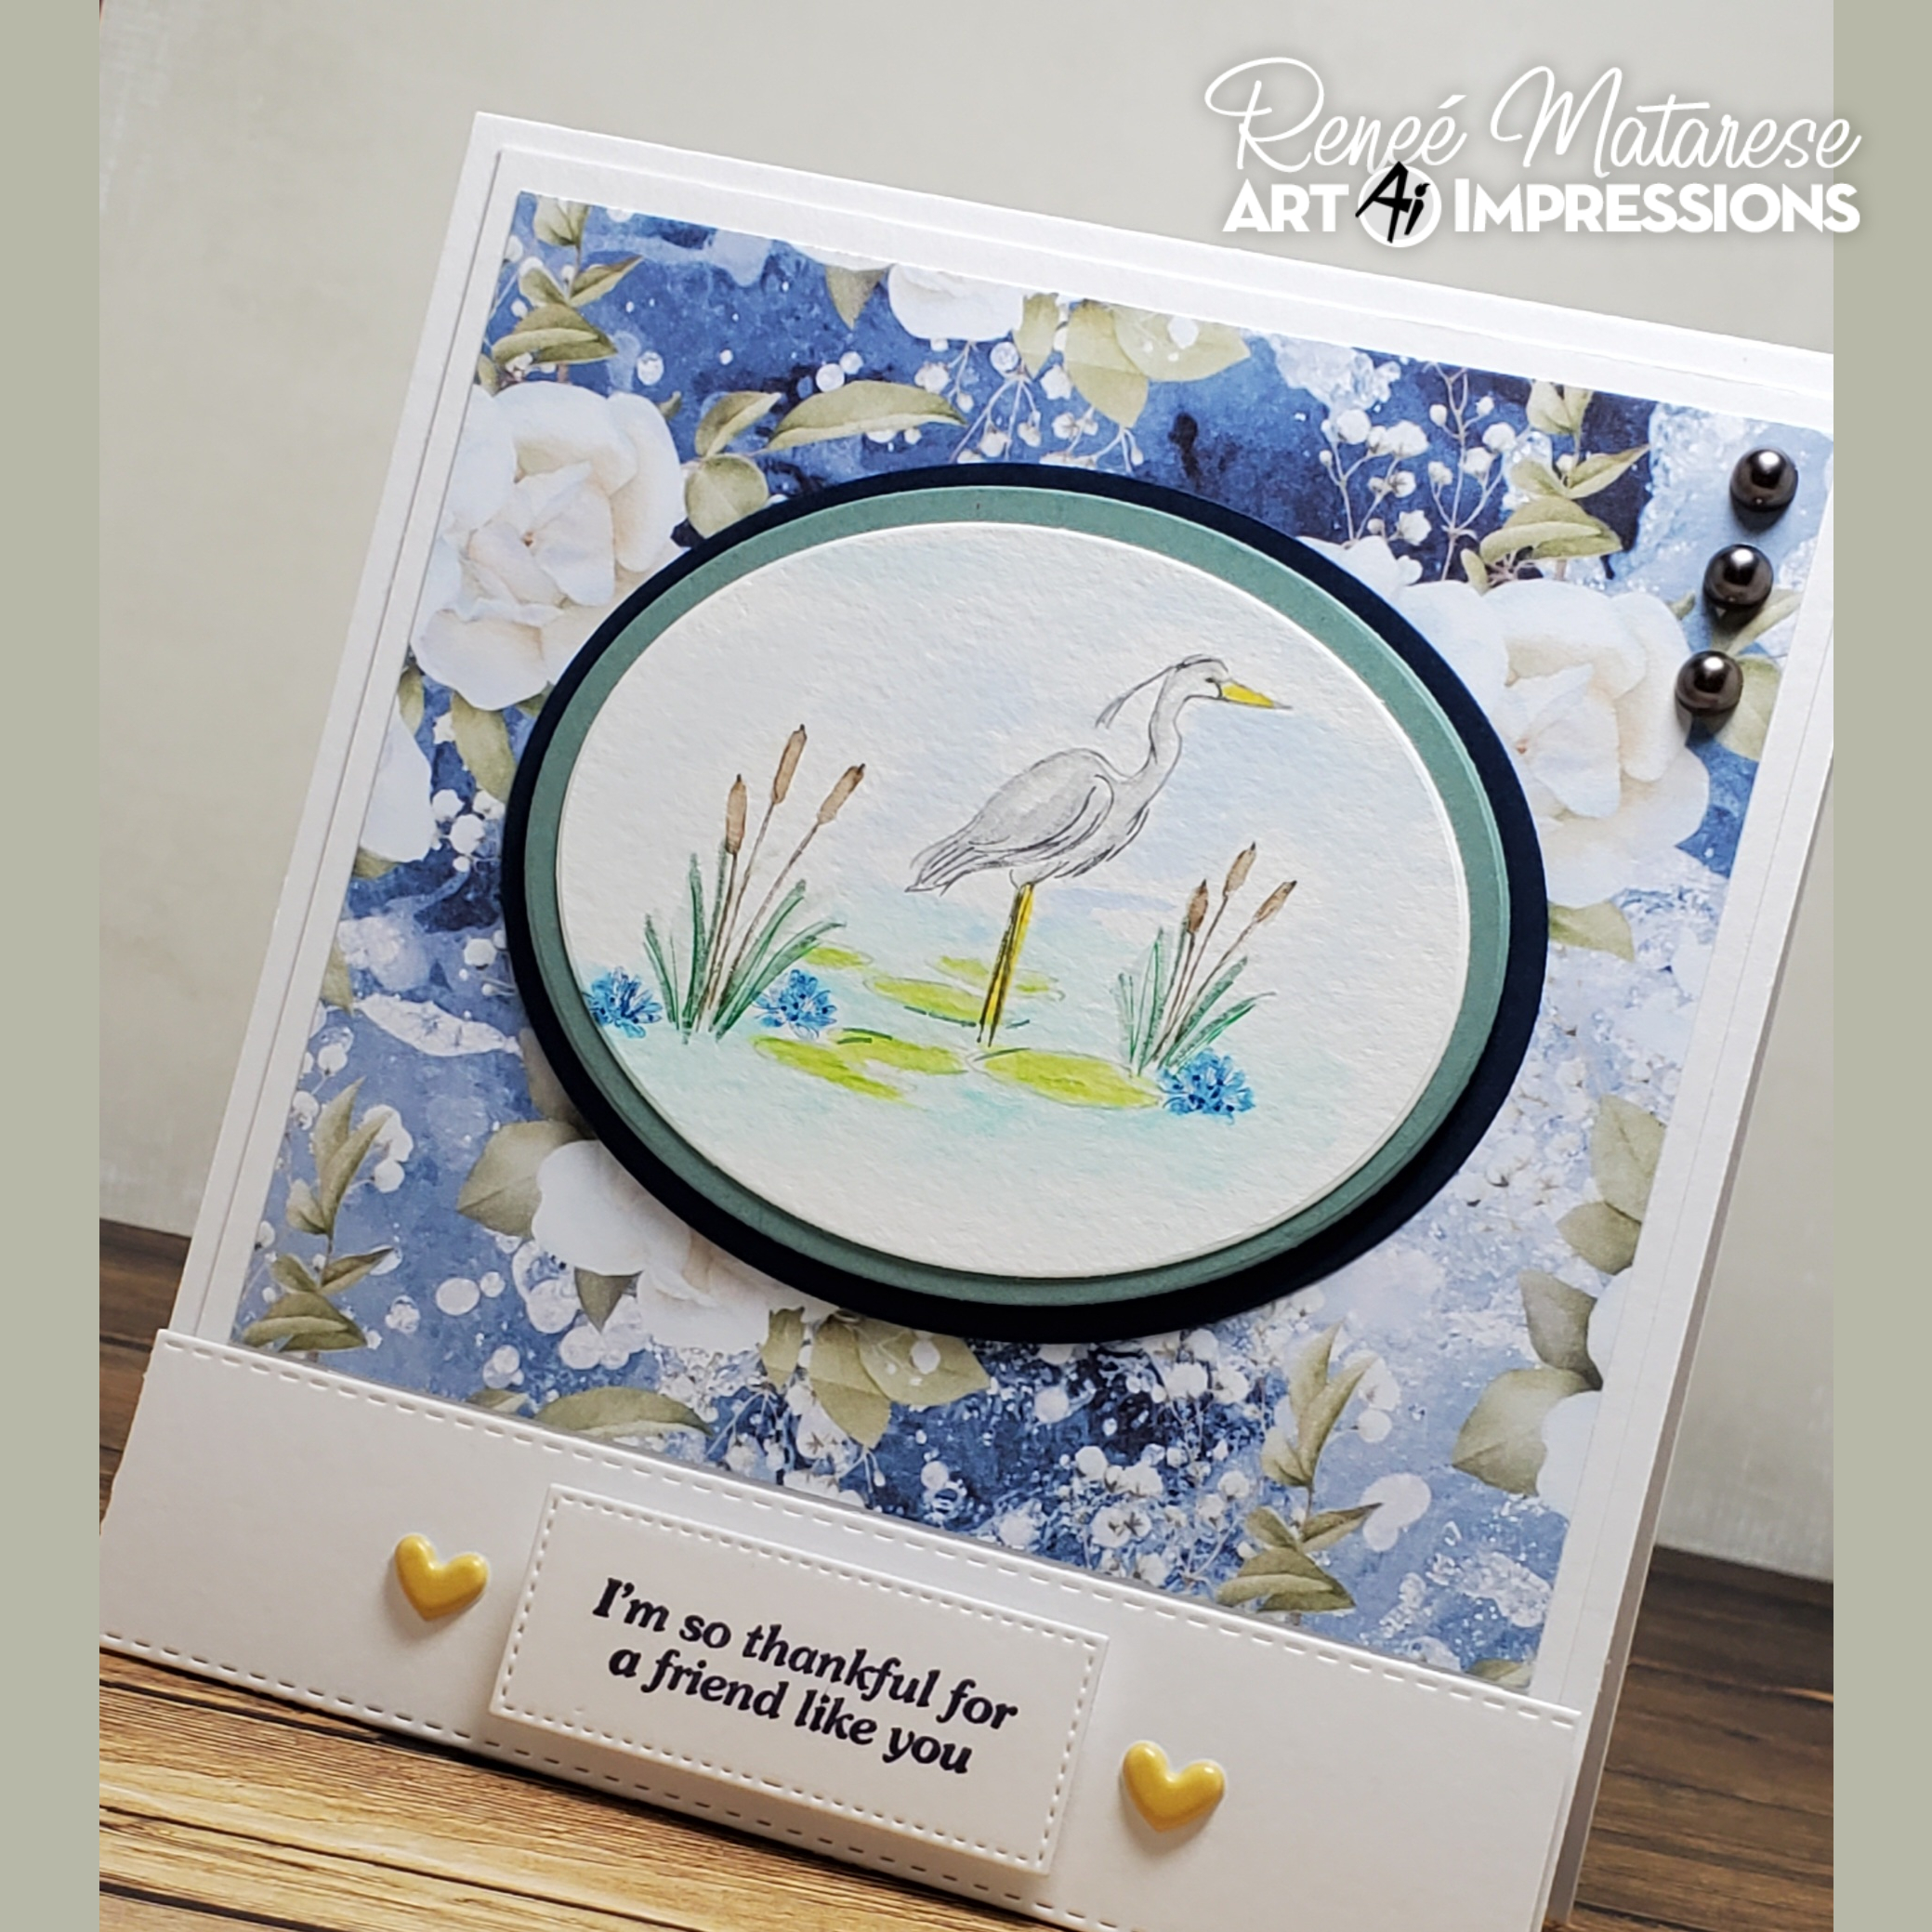
Where I live we have a bird called the Great Blue Heron. The only bird with 
a larger wing span where I live is the Bald Eagle. The heron is large, beautiful
and majestic. I have loved them since I was a little girl.


I was inspired by Kim's new KH5820 – My Favorite Birds Set. I am NOT a watercolor artist,
but for this card I wanted to give it a try. I used a #4 brush and a combination of WC pencils, Marvy markers, Tombow markers and Twin Tone markers.

I used two Ai die sets and the 5734 – Friend Sentiment Set. I'll link them all below.


WC Pencils:
Staedtler
50, 80

Derwent
6 Deep Cadmium, 30 Kingfisher Blue, 40 Turquoise Green

Twin Tone Markers:
Green, Gray

Marvy Markers:
45 Sepia, 99 Periwinkle

Tombow Markers:
N65, 158, 312, 528

Friday, May 3, 2024

Thinking of You Card by Tasha!

 Happy Friday Ai Friends!

Tasha here sharing a new card inspired by the current "Birds of a Feather" Challenge. My card features the swans from the new KH5820-My Favorite Birds Set. This set includes several different bird stamps, but I love swans and could not wait to use it on a project.

I started by stamping the swan couple on to white card stock and used masking paper to cover the images before creating the background. To make sure I had a crisp line, I used purple tape across the card so I wouldn't get any ink on the bottom. 

For the water, I used two shades of blue Distress Oxide Ink and a white gel pen to add a water-like detail around the birds; I love gel pens! After the color for the water was done, I used two shades of ink to make a colorful sky. The glow around the swans is so pretty!

Lastly, I stamped the "Thinking of You" greeting from the 5797 - Little Things Sentiment Set and added some white splatter to the sky. I also attached layers of black paper, gold glitter paper, heart pattern paper, and a pink enamel heart to complete the card.

I hope you enjoyed todays card and are having a great day!


Sunday, February 18, 2024

Swan Easel Card and Red-crowned Crane Card by Diane Mason

 Hello and welcome, Watercolor Weekend Fans!

Kim Hein has recently launched a new watercolor stamp set named My Favorite Birds Set (KH5820). This amazing set includes a pelican, two sizes of owls, baby ducks, swans, a heron, and water foliage. Kim and her daughter love birds, and so do I! As soon as I saw the facing swans stamp, I just knew I had to make a card. For my second card, I modified the heron stamp to resemble a Red-crowned Crane, also known as a Japanese Crane. Let's begin!

Swan Easel Card

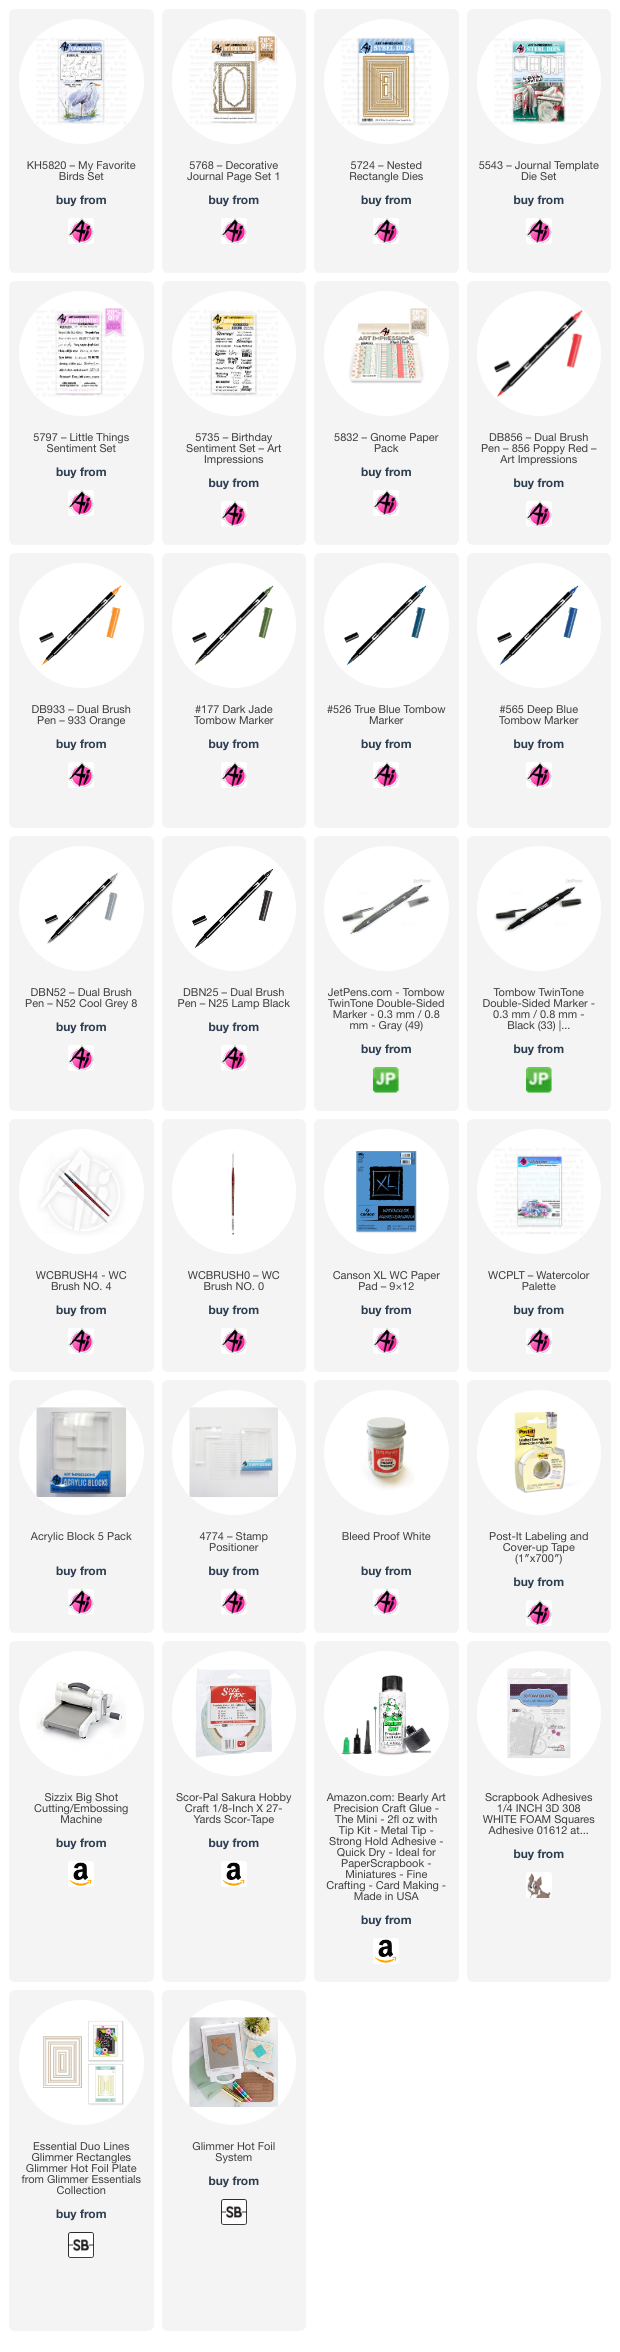
The beautiful new bird stamps are fairly quick and easy to paint. I die-cut two pieces of Canson XL watercolor paper using the decorative oval shapes from 5768 – Decorative Journal Page Set 1 and 5543 – Journal Template Die Set. I created some colored cardstock mats for my die-cuts. However, this step is optional. Next, I inked the swan stamp in N52 and stamped it onto the die-cut. I shaded the swans using N52 and added a touch of 565. For the beaks, I used 933. Then, I stamped the lily pads in front of and around the swans in 177. To create the water and sky, I used 526. Lastly, for the water grasses, I masked the swans and stamped the grasses in 177. Any missing details were added back with a gray TwinTone marker. I used the smaller die-cut decorative oval to stamp the sentiment from the Birthday Sentiment Set (5735).

To create the card base, I cut a piece of colored cardstock to 8 ½ x 5 ½ inches, then scored and folded it at 2 ⅛ and 4 ¼ inches. Next, I selected a patterned paper from the 5832 – Gnome Paper Pack and cut it to 4 x 5 ¼ inches. If your chosen paper has a directional pattern, make sure to cut it accordingly. I then cut the patterned paper in half to create two pieces measuring 2 x 5 ¼ inches each. These pieces were glued to the front of the card base, aligning them with the 2 ⅛ score line. I placed them next to each other, matching the patterns as closely as possible. To create the interior, I took a strip of patterned paper measuring 5 ¼ x ½ inches and attached it to the bottom edge of a piece of white cardstock that was 4 x 5 ¼ inches. Next, I applied double-sided tape to only the bottom half of the swan die-cut and attached it to the front of the card. This way, when the card is folded into an easel shape, the top portion of the die cut is free to stand up. Using foam squares, I popped up the sentiment die-cut on the interior. This will help to keep the easel in place when displayed. I think this would make a lovely birthday card, as well as an engagement, wedding, or anniversary card.

Red-crowned Crane Card

For my second card, I decided to paint a Red-crowned Crane (also known as the Japanese Crane) instead of the heron that Kim suggested. With a slight bit of modification and using a reference photo, I think I was able to achieve the desired result. I used a beautiful gold embossed origami paper with cranes for the background and a hot foil plate with gold foil for the frame on my watercolor paper. I stamped the crane with N52 and shaded it with layers of N52. I used 856 for the red crown, N25 for the neck, legs, and dark feathers, and added two small bumps on the legs for the knees. I sketched some hills and a mountain inspired by Mount Fuji with a pencil and painted the water with 526. I created a subtle misty backdrop for the hills and mount with a very watery mix of 526 and a touch of N52. Once dry, I erased the pencil lines and brushed in the sky with 526. I stamped the water grasses in 177 and added additional water ripples with 526. I used a small amount of Dr. Ph. Martin’s Bleed Proof White for highlights and added any missing details with a gray or black TwinTone marker. I popped up the painting on the card front with foam squares and used a sentiment from the 5797 – Little Things Sentiment Set for the interior.

Thank you, Kim, for sharing your love of birds with us and creating these awesome stamps. I enjoyed creating beautiful nature scenes with the new bird stamps and I look forward to painting the additional birds as well! Be sure to tag Art Impressions on social media if you create something with these beautiful new stamps. We love to see your work!

In addition, I want to thank my Ai Watercolor Fans for joining me for another Watercolor Weekend. Until next time, Happy Painting!

For the Swan Easel Card and The Red-crowned Crane Card: