

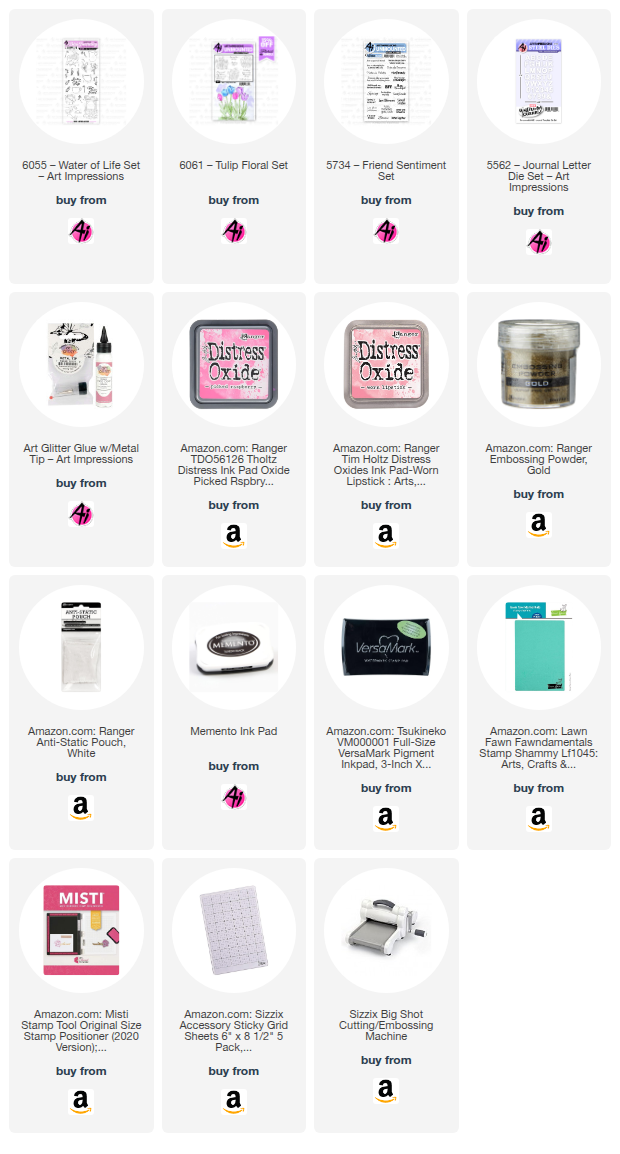
I started by cutting a 5 1/2" x 4 1/4" piece of smooth white cardstock. To create an elegant gold floral border, I used stamps from the 6061 - Tulip Floral Set for the corner iris and tulip bunches, filling in between with smaller clusters from the 6055 - Water of Life Set. I stamped these with VersaMark ink, sprinkled on gold embossing powder, and then heat-set them for a beautiful, raised effect.
Next, I created a lovely pink gradient on the edges using two Oxide inks. I applied Picked Raspberry heavily on the very edges with a brush, then feathered out the lighter Worn Lipstick to create a soft transition to white in the center. After this, I gently buffed the piece with a cotton cloth to ensure the gold embossed images were perfectly clean and vibrant.
To achieve that pretty stitched, rounded corner look, I took the largest die from the 5062 - Rounded Rectangle A2 Double Stitched Dies, centered it on my inked and embossed panel, and ran it through my die-cut machine.
Then came the "ILYSM" letters! I used the perfect-sized letters from the 5562 - Journal Letter Die Set, carefully arranging and gluing them straight in the white area of the panel. Below that, I stamped a coordinating sentiment from the 5734 - Friend Sentiments Set, which I think pairs wonderfully with the ILYSM message.
For the final assembly, I created an A2 card base from white cardstock. I then layered a slightly smaller piece of pink shimmer cardstock on top, centered my inked and embossed panel on that, and adhered everything down. To add a touch of sparkle, I scattered several silver and blue sequins across the card.
This card turned out exactly as I'd hoped! It's simple to make, right on trend, and can easily be customized with your favorite colors. Plus, it was so relaxing to create. I can't wait to give it to someone special!

2 comments:
How pretty Janet!
Beautiful card, Janet! Love the gold embossing!
Post a Comment